We love Salmon in our house, and we have a variety of ways to prepare it. Blackened salmon is one of our favorites, and I would say we eat it twice a month! It’s spicy, and such an easy preparation. If you make extra spice mixture, then there’s hardly any work at all in the preparation when you make them the next time.
You can buy salmon fillets from your market. This may sound crazy, but we love the Costco frozen salmon farm-raised salmon fillets. They are so easy, and with just 1 hour of soaking them in water, we are ready to make this any time. I know fresh is better, and we do that sometimes too, but this is a great recipe, whether you use fresh or frozen fillets. I think one of the keys to finishing the salmon is a liberal lemon squeeze on it when you plate it. It makes it sparkle and you can taste the difference.
Enjoy! – Mike
Ingredients
2 tbsp Paprika (I used Smoked Paprika)
1 tbsp Black Pepper (Course is better than Shaker Grind)
2 tsp Brown Sugar
1 tsp Kosher Salt
2 tsp Garlic Powder
2 tsp Onion Powder
1 tsp Cayenne Pepper
1 tsp Oregano
1 tsp Thyme
4 Salmon Filets
Butter or Olive Oil
1 Lemon, Cut into wedges for squeezing
Directions
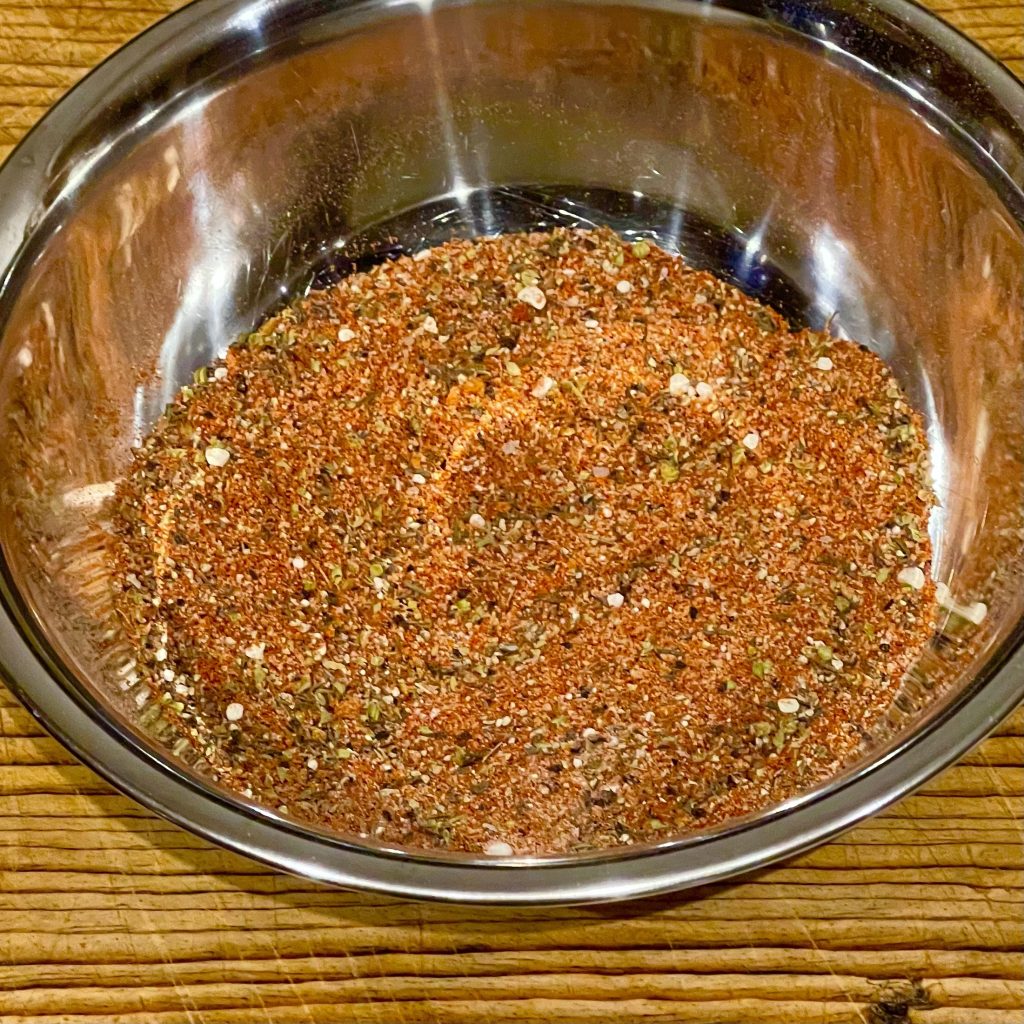
Mix all spices together. This should be enough for two dinners at least. I keep a spice jar of it in my spice drawer so I am ready to go at a moment’s notice.
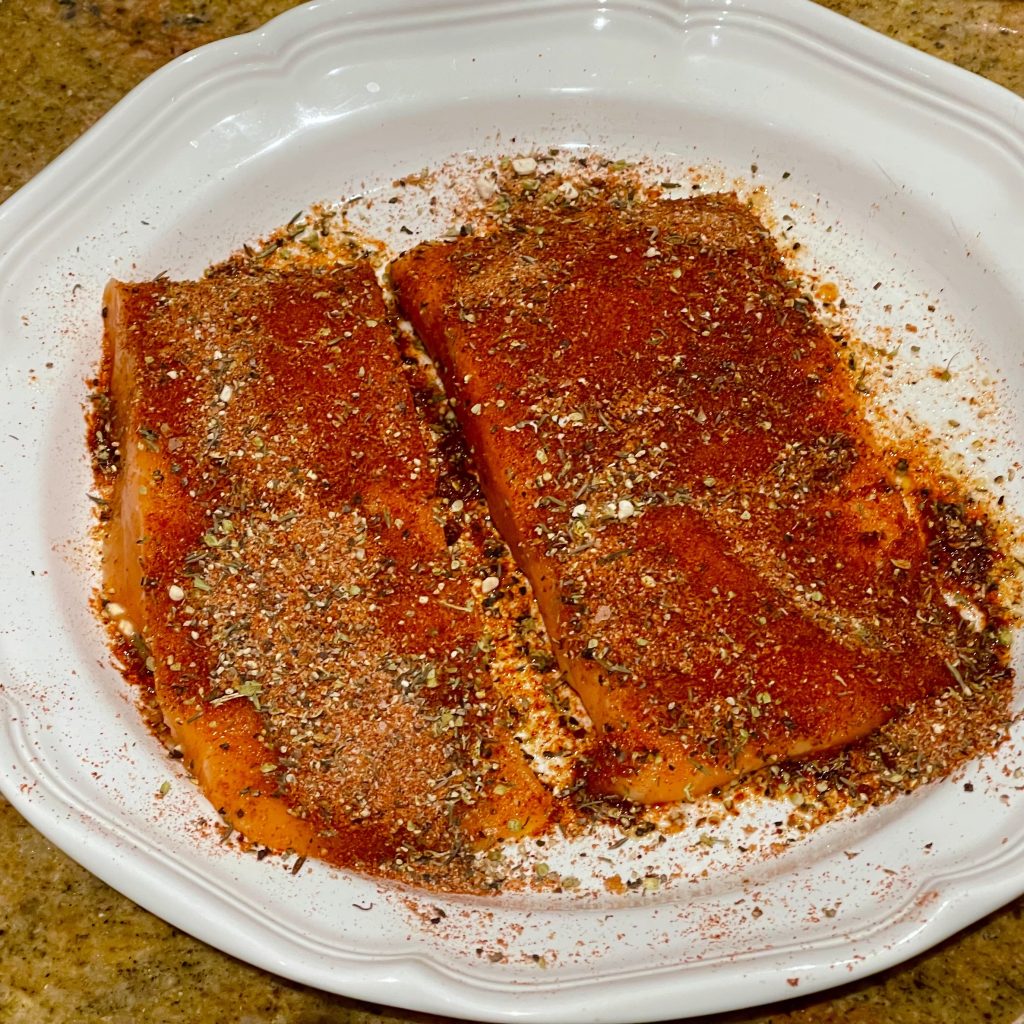
Coat salmon fillets with a little olive oil or butter, then spoon or shake spice mixture onto salmon. Press into the salmon to make sure it is affixed. Let sit for 10 minutes or so. Do not add additional oil or butter. You don’t need it!
On your stove or on your outdoor grill, heat a cast iron skillet until it begins to smoke. Without adding any oil to the pan, place salmon, spice side down, into the skillet. You don’t need to press down. You don’t need to move it around at all. Let it sizzle for 4 minutes.
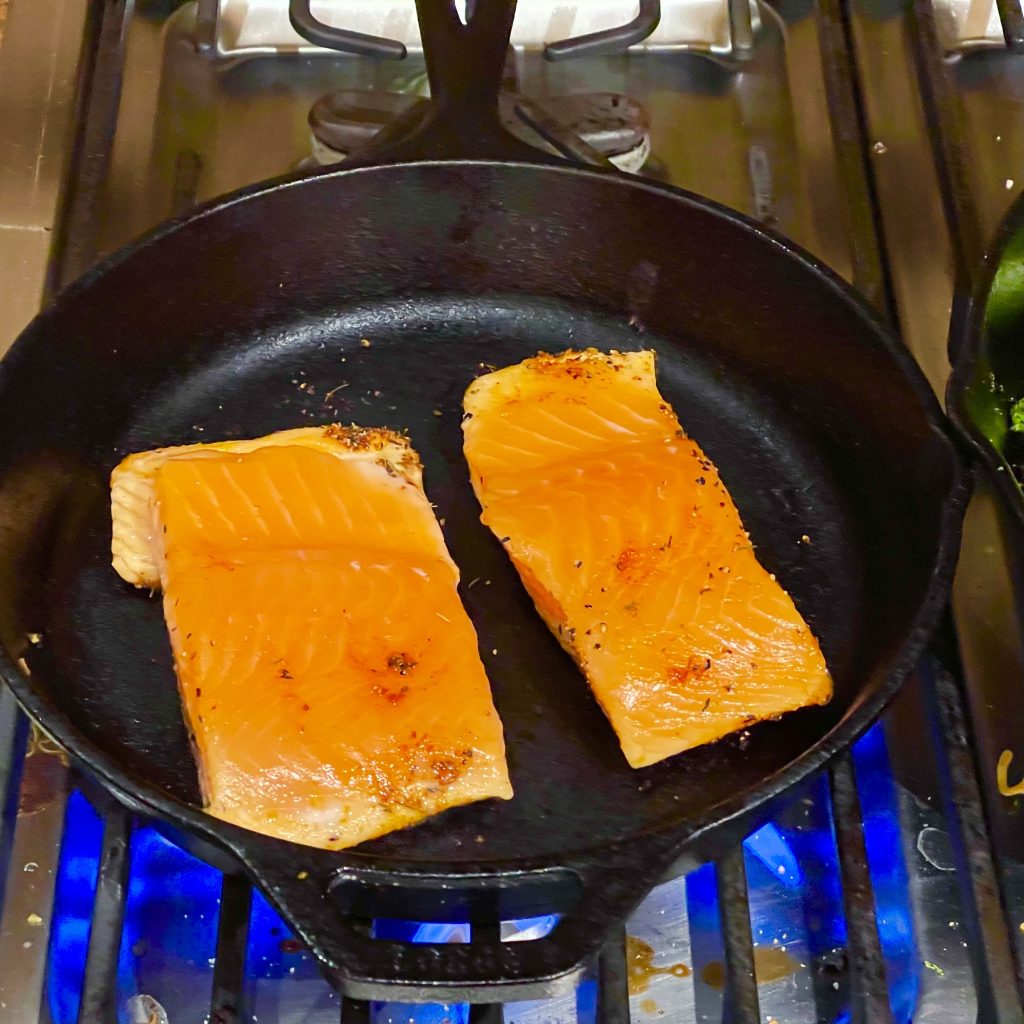
With a metal spatula, slide under the salmon, keeping the edge as close to the pan as possible, and flip each piece over. You are going to want to cook it until it is 130 to 135 degrees internal temperature. It’s probably another four minutes, depending on the thickness of the filets.
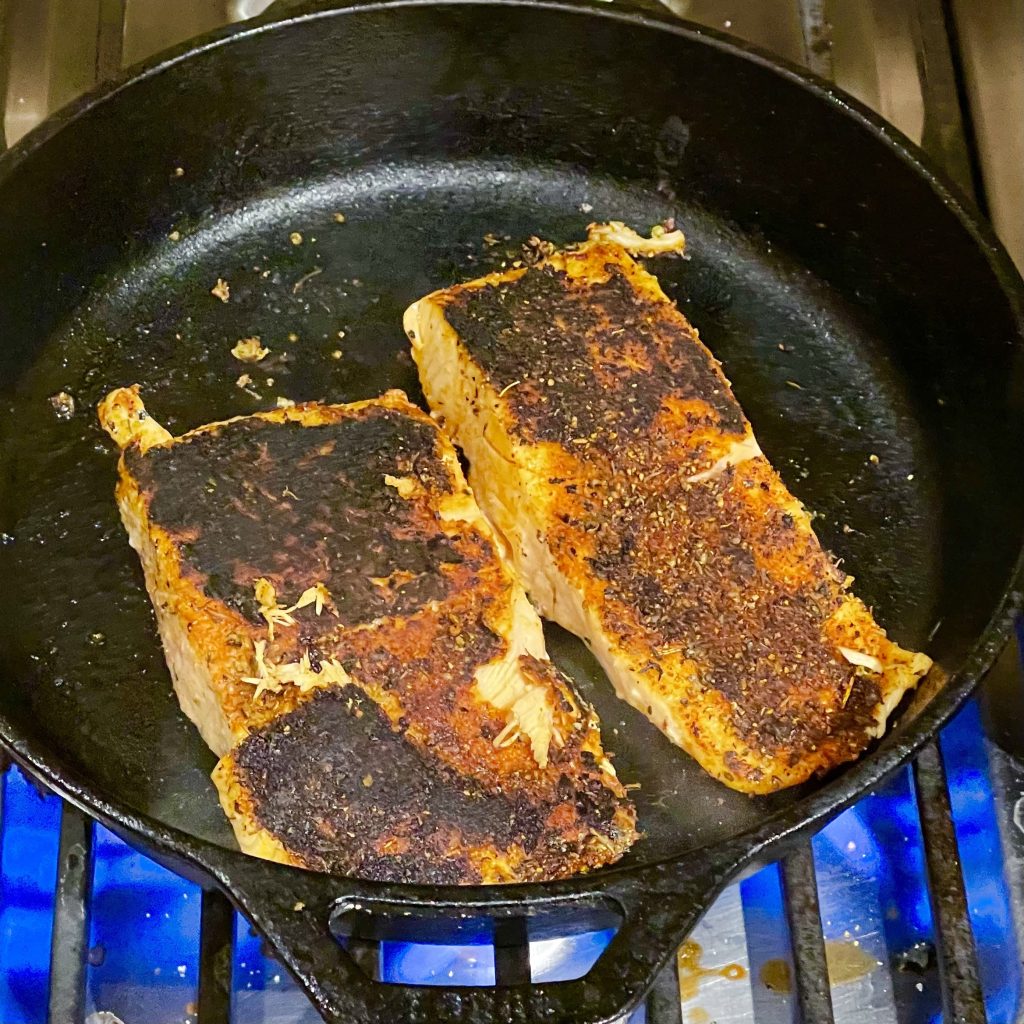
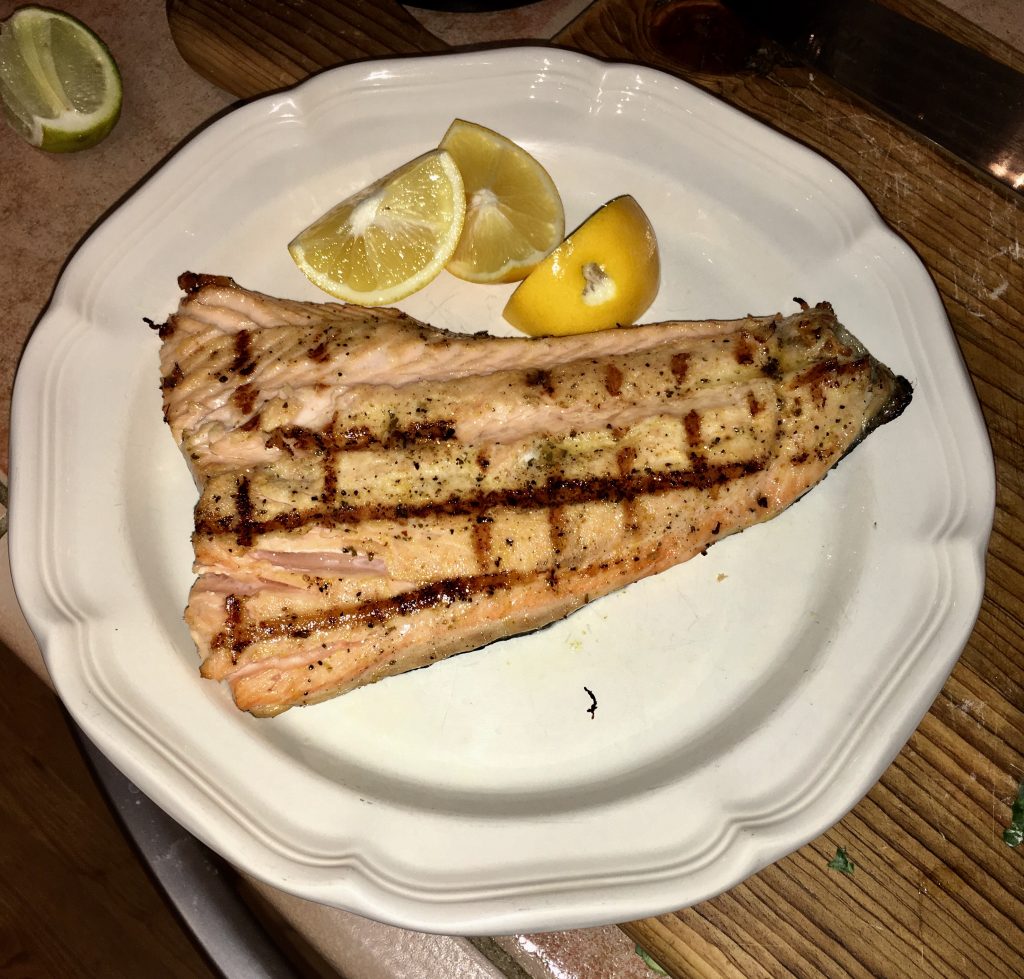
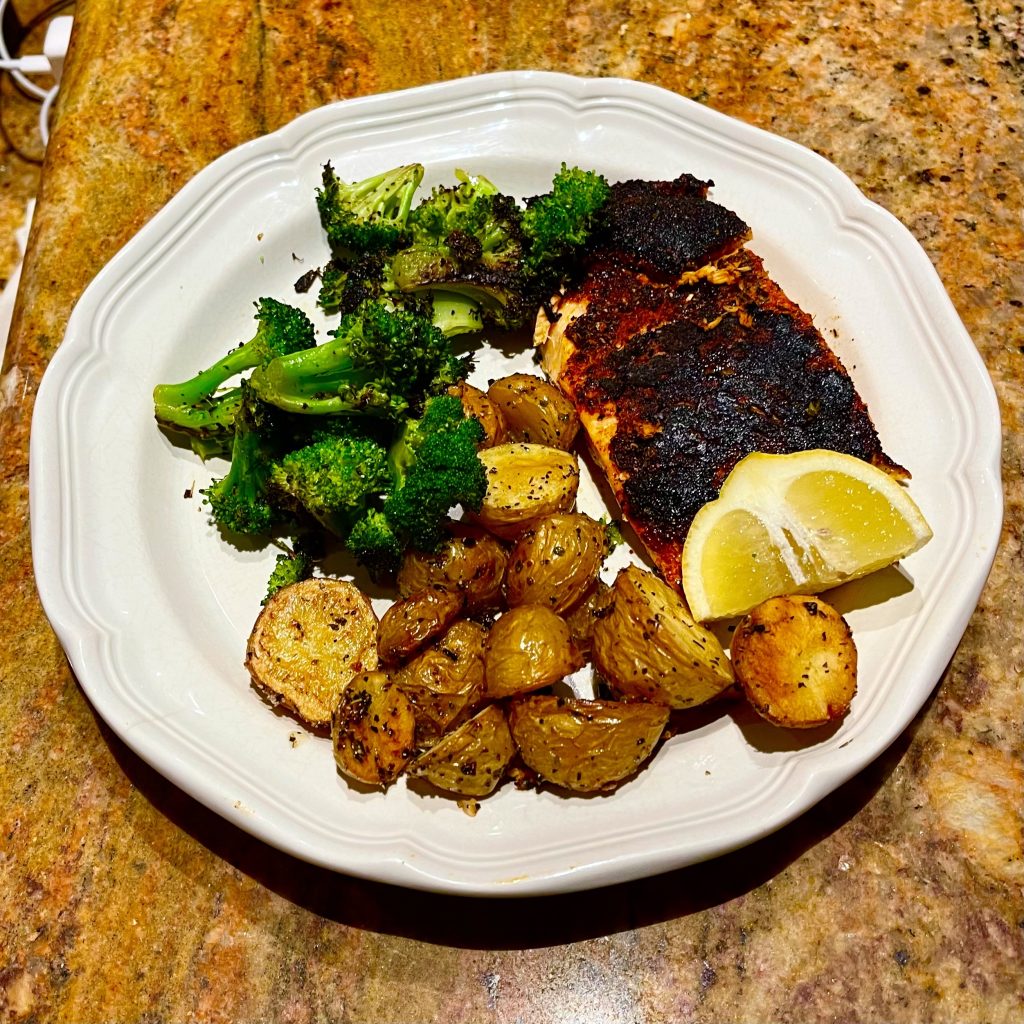
Plate the salmon, spice side up, and squeeze a lemon wedge over it, and serve. You will love it!

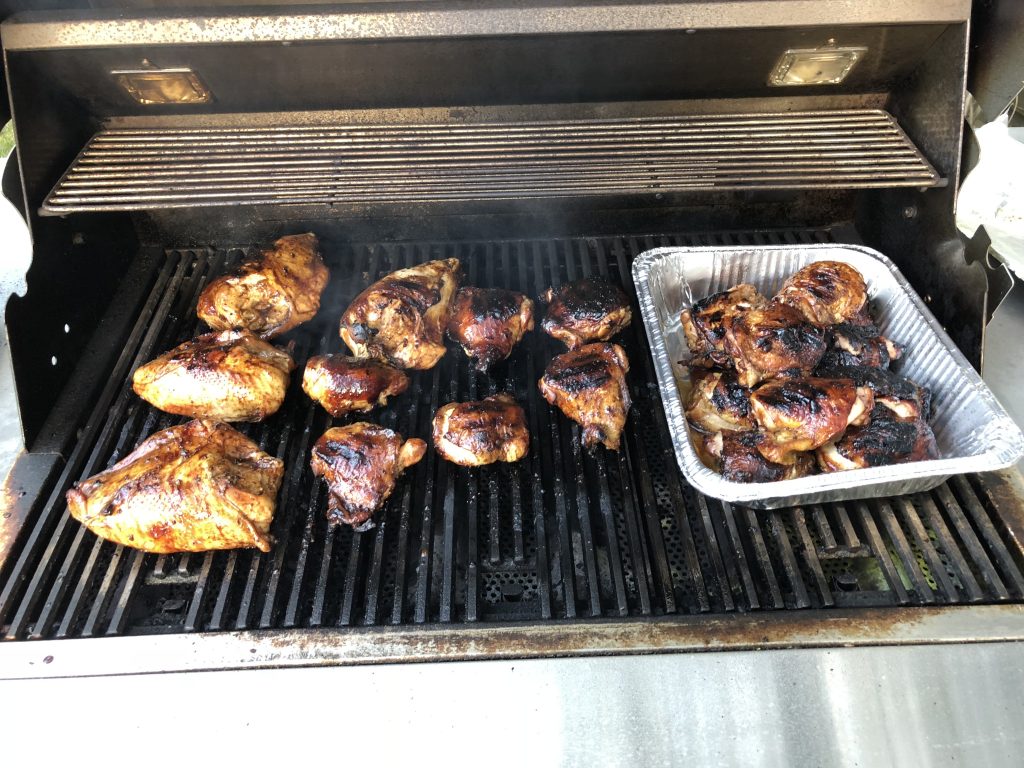
BBQ Chicken. It’s a pretty perfect food. The only food more perfect than BBQ chicken may be fried chicken. And I don’t have that perfected yet. But it will be mine. Oh yes. It will be mine.
Where was I? Oh yes, the virtues of BBQ chicken! You can serve it at a dinner, a lunch, a picnic, or anything, and if you do it right, it makes great leftovers. Don’t be that chef who cooks the chicken over a hot grill, ending with the outside burned and the inside raw. You’re better than that! Here’s my version.
Ingredients
Chicken
4 Chicken Thighs with Skin (my favorite, but use the pieces you like)(I put 4 here, but choose your number folks. Leftovers are always good!)
Seasoned Salt
¼ cup Balsamic Vinegar
Balsamic Glaze
½ cup Balsamic Vinegar
⅔ cup Brown Sugar
2 tbsp Dijon Mustard
½ tsp Salt
Directions
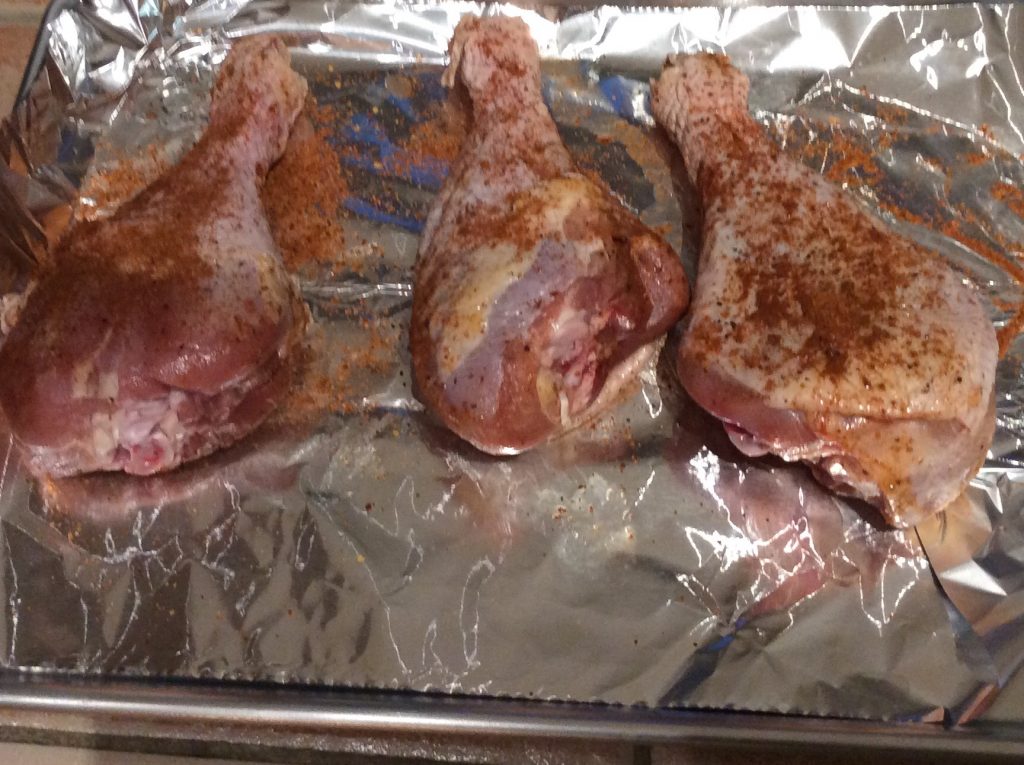
Season chicken liberally on both sides with Seasoned Salt. Sprinkle balsamic vinegar on them and place in plastic bags for 1 to 8 hours.
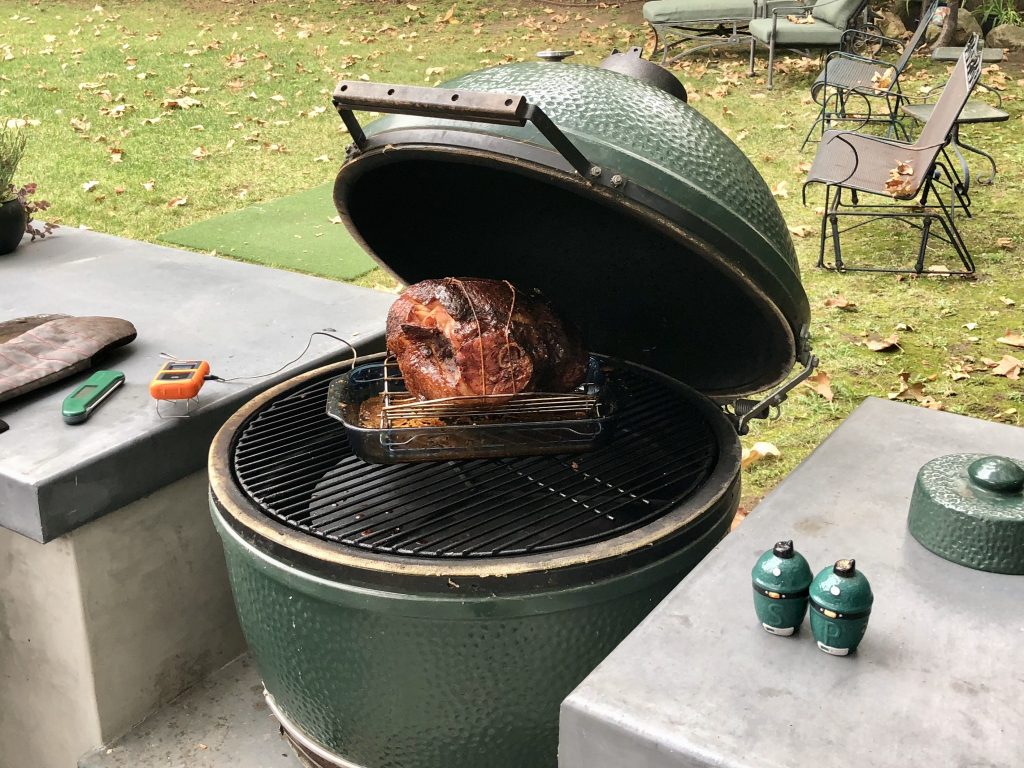
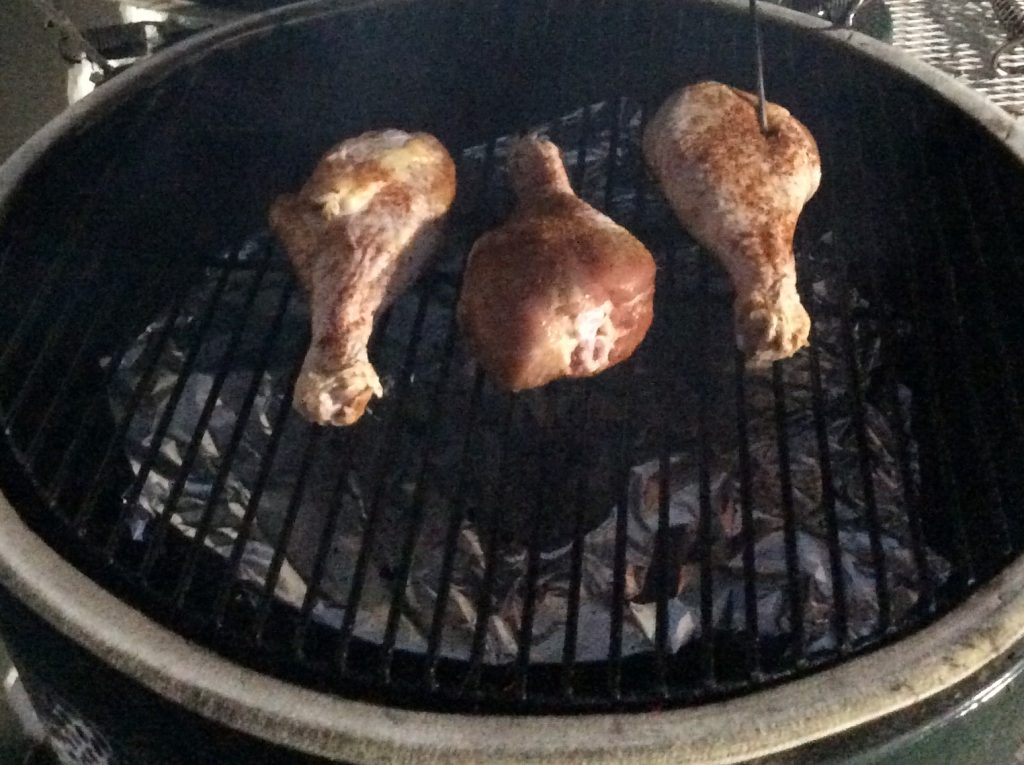
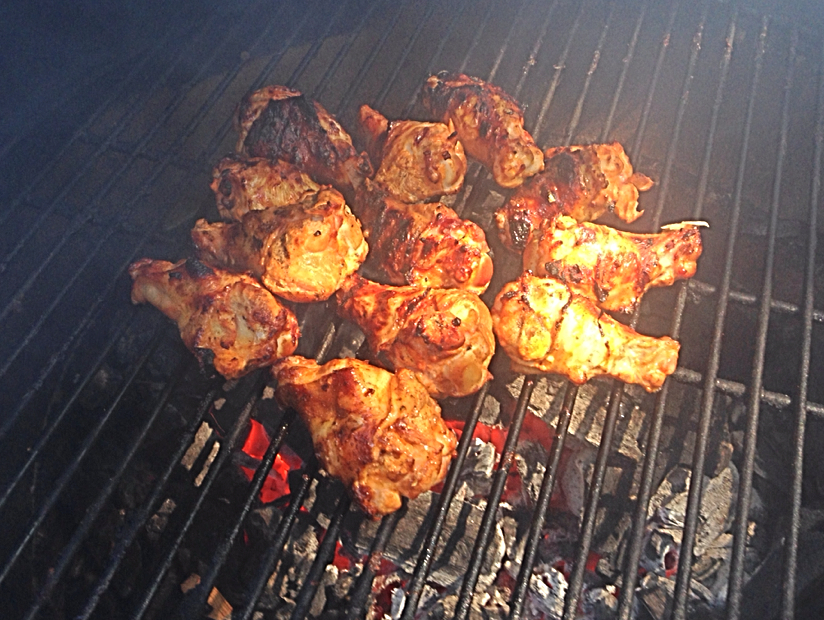
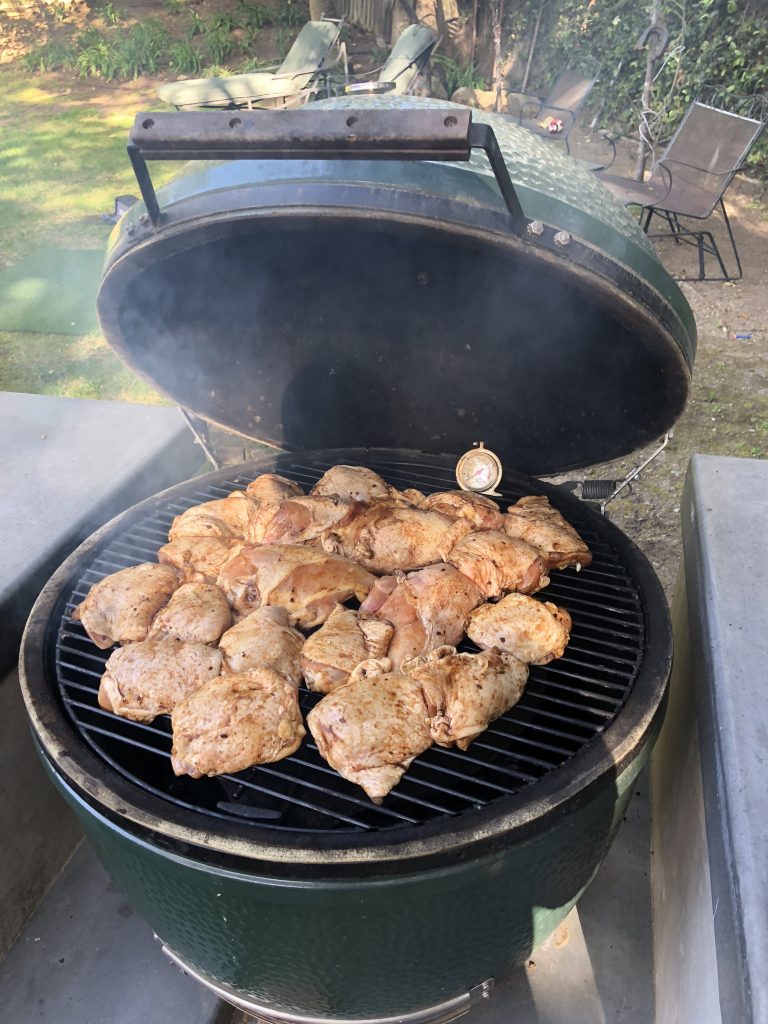
I use a reverse sear process here. I put them on the Big Green Egg at 300 degrees or so first. I use some apple wood with that. You could use indirect heat on a grill, or you could do this part in the oven. (See note below). Flip over every 10 minutes or so. Cook until they are done – 175 degrees for thighs; 165 for breasts. Cooking the dark meat a little more is fine, but you have to be pretty exact with white meat. Remove the chicken when it hits the right temp and cover tightly with foil until ready to sear. You can hold it here for at least an hour – for safety reasons, don’t let the chicken temperature dip below 140.
Note: Indirect Heat is the key to good BBQ. Big Green Egg people put a “platesetter” over the coals to turn the BGE into an oven. Traeger people flip a switch. If you have a gas grill, you can turn on the burners on one side of the grill, close the lid and let the oven heat up, then use the side of the grill where the burners are off. Real outdoor chefs use indirect heat!
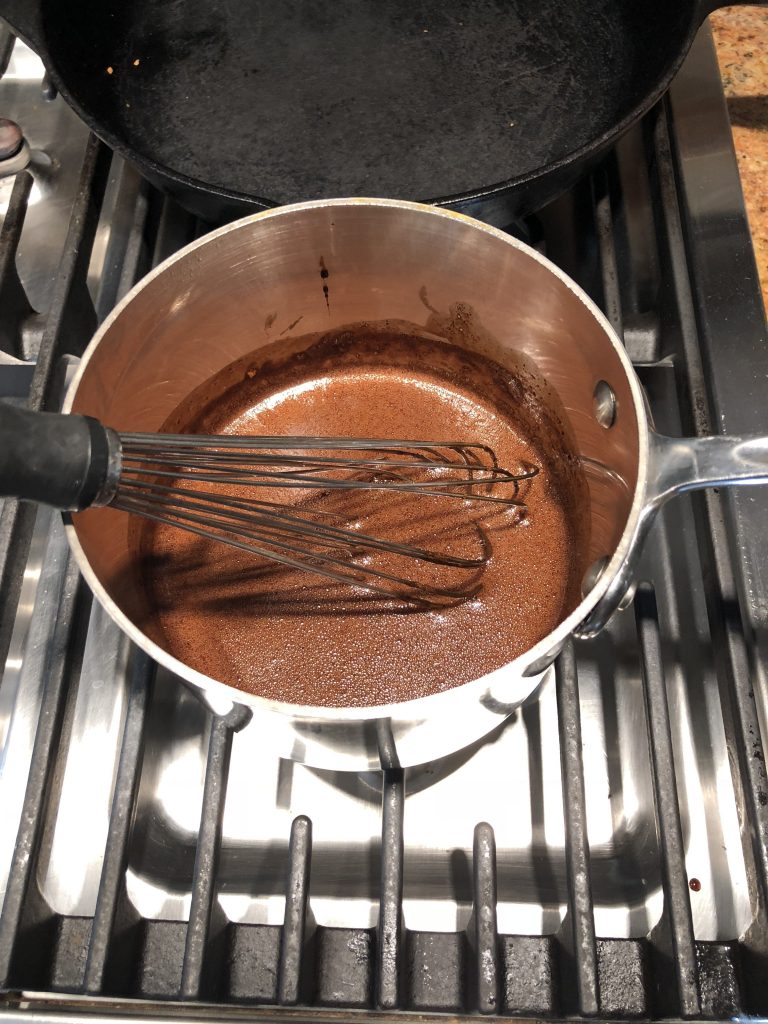
While the chicken is indirect cooking, prepare the glaze. Add all ingredients in a sauce pan, whisk together and simmer for 10 minutes. It will thicken. Do this while the chicken is cooking.
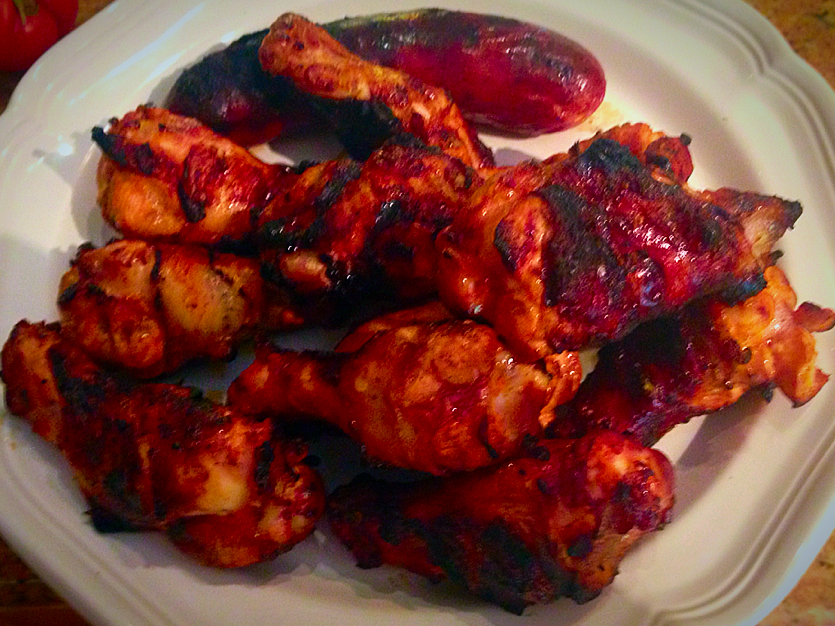
Using direct heat, heat up your grill to a high temperature. Apply oil to the grill grates. You can spray it or wipe it with a paper towel dipped in canola oil and held by tongs. Move the chicken to the hot grill, basting with the glaze and flipping every two minutes until it looks perfect. A little flame is not going to hurt you! You’ll have a nice beautiful charred glaze on there and be ready to serve!
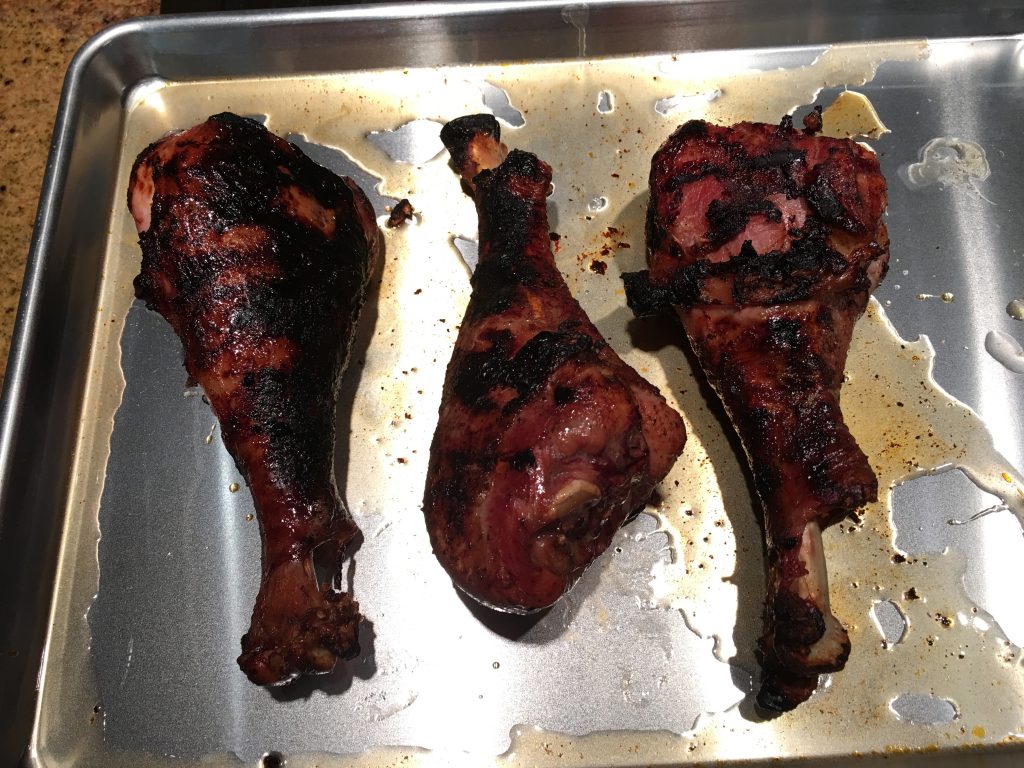
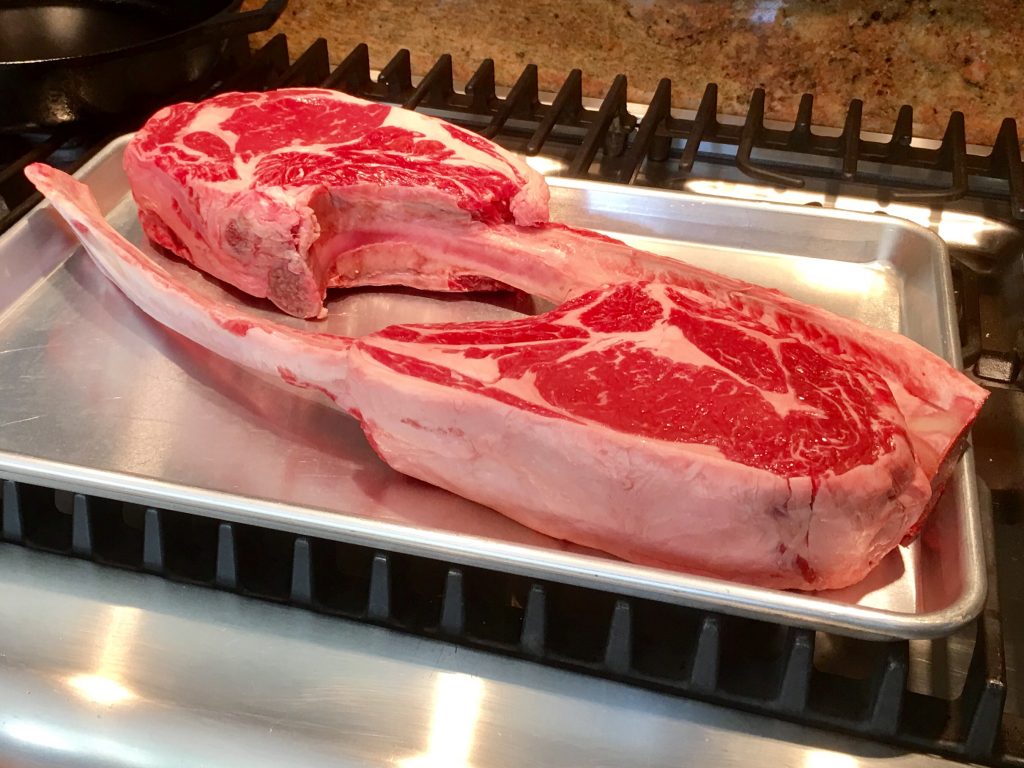
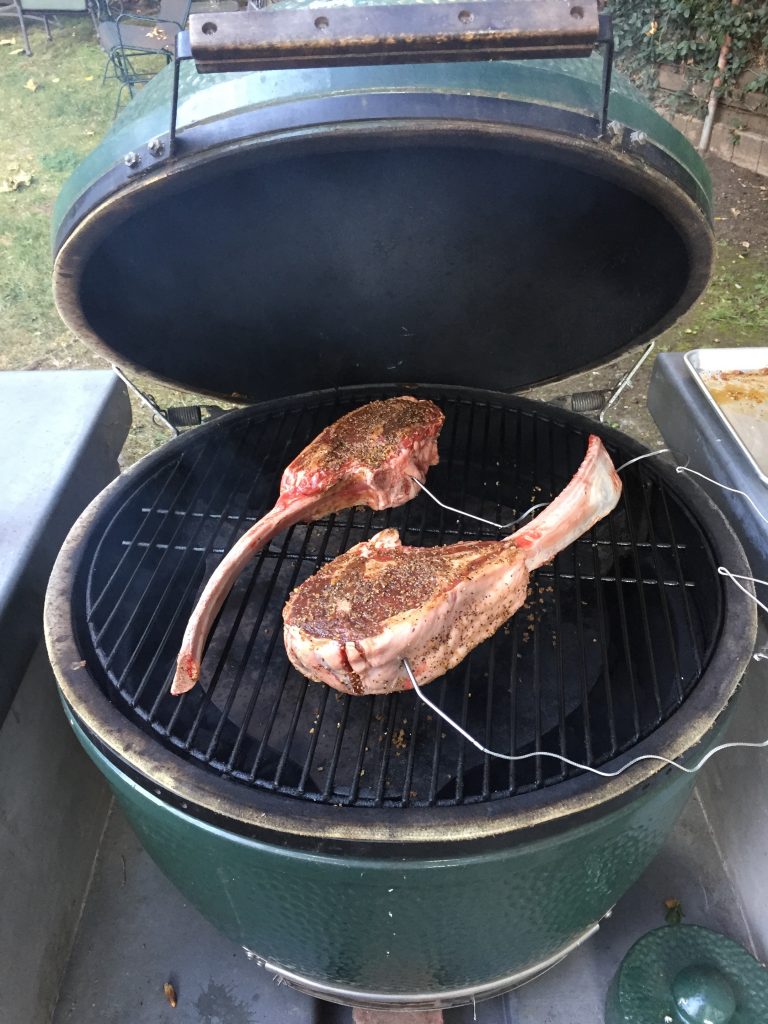
I had been eyeing the Tomahawk Steaks at our local grocery store for sometime. They were the showcase feature of the butcher’s display case. A few years ago (when Dawson was just 14), I decided it was time and invited our friends Steve and Karen – great cooks themselves – over to enjoy. Steve, who burns about 17,000 calories a day biking all over the Santa Monica Mountains, thinks that one of these is just about a perfect serving size!
These super big and super thick steaks are quite a show and really fun to cook, serve, and eat! Cooked low and slow, then seared at the end, they are super tender and just amazing.
Ingredients
1 Tomahawk Ribeye Steaks – With the bone, they weigh about 3 pounds. Serves 2 to 3.
Soy Sauce
Montreal Steak Seasoning
Directions
You may need to ask your butcher for these. These were choice grade (fantastic), and I got them from Pavilions. I have heard they can be found sometimes at Costco.
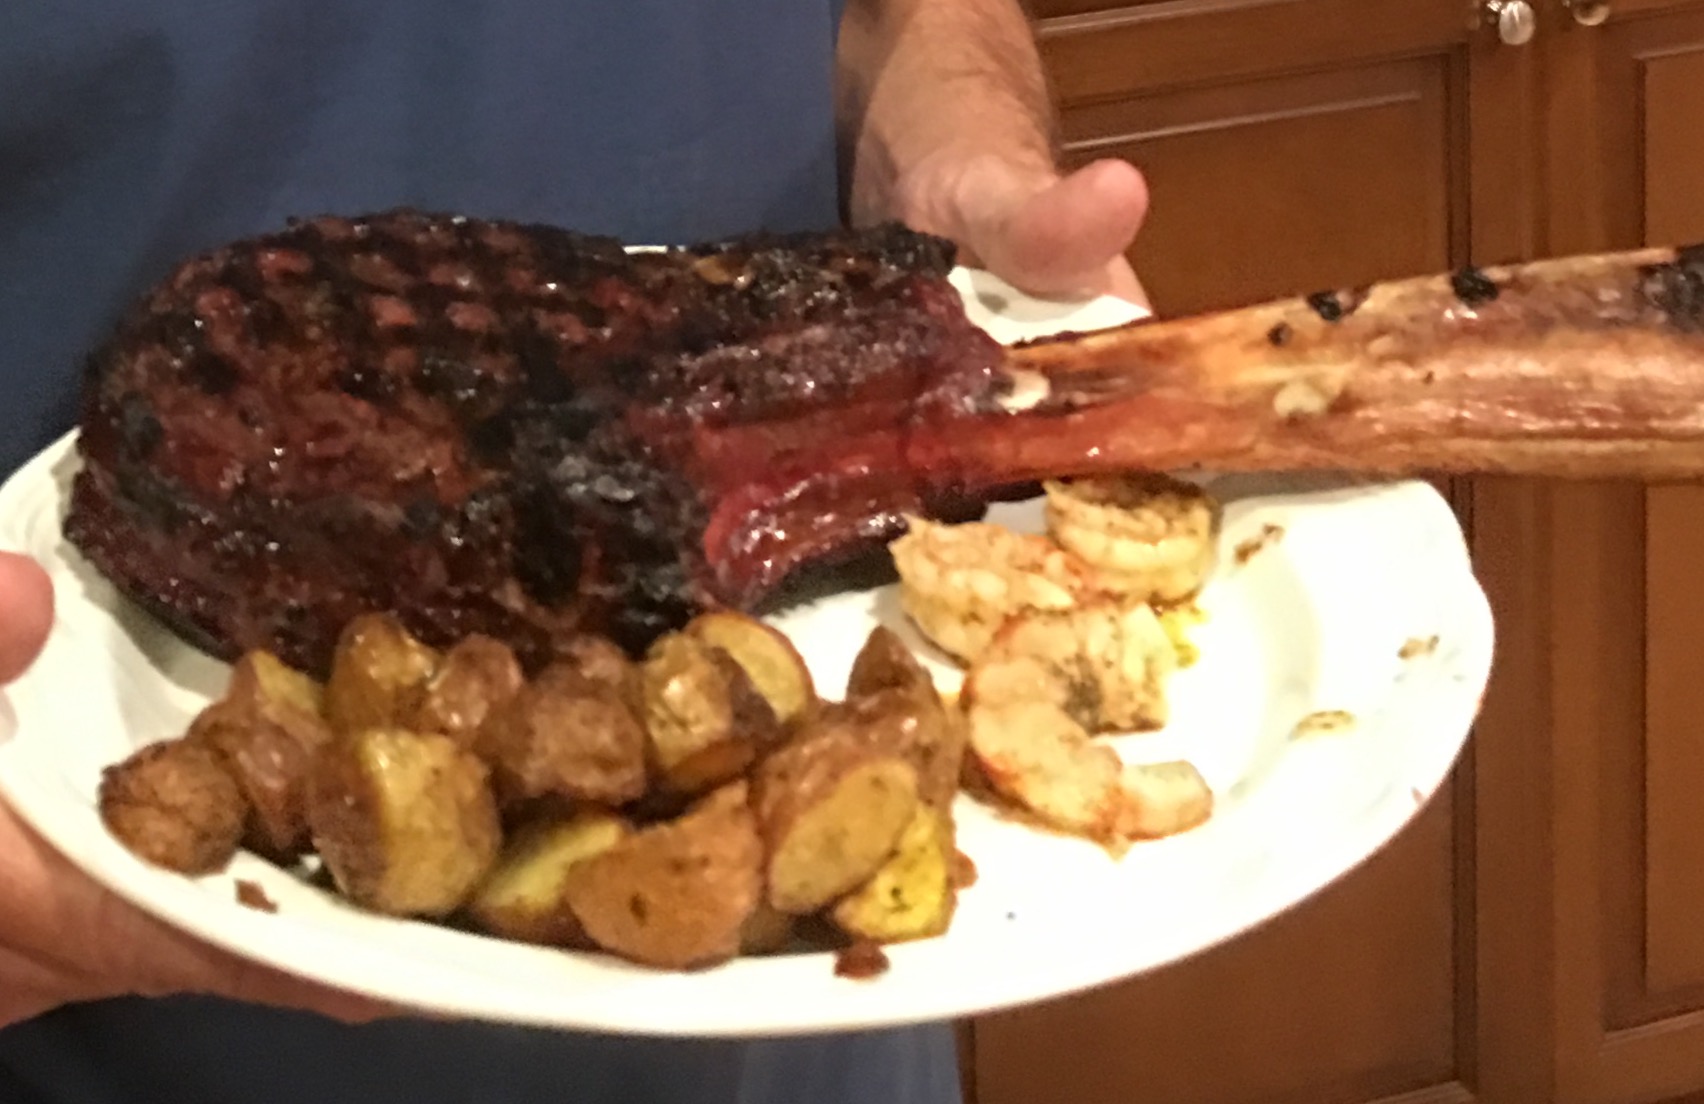
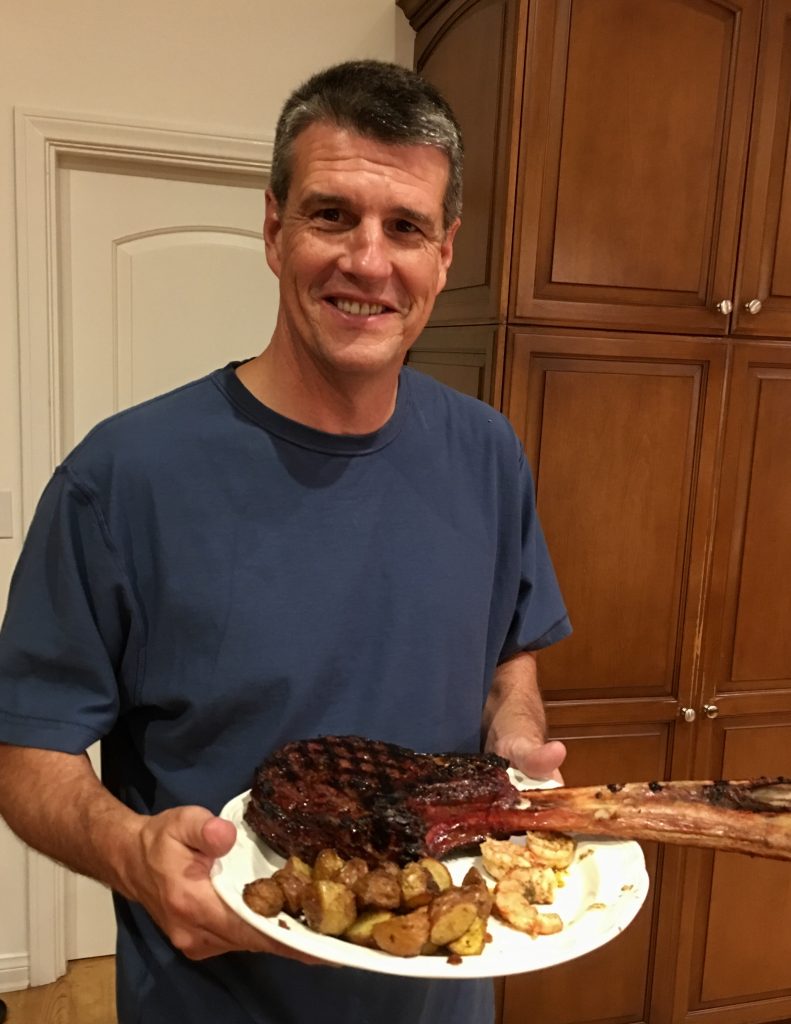
Try to stop your son from playing with the food. Another parenting failure on my part.

I only use two seasonings on steak: soy sauce and Montreal Steak Seasoning. I went heavy on the Montreal. Please let this sit with the spices for at least 30 minutes. You can go up to 12 hours. Letting the salt do its magic is worth the time.
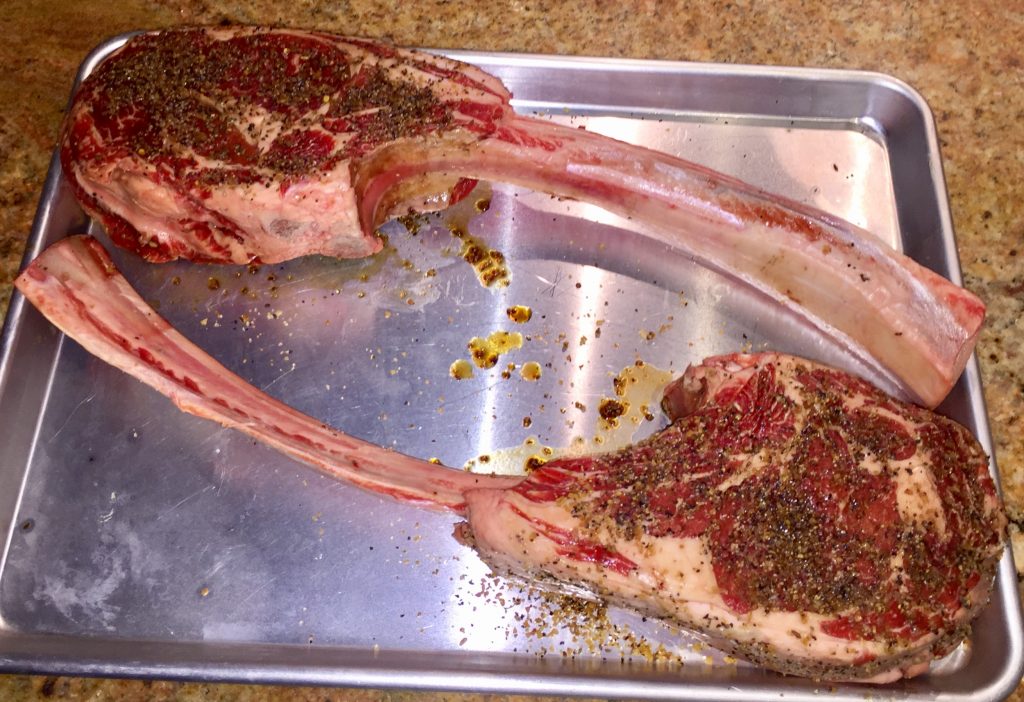
The key with these steaks is that they are almost roasts. They are almost 3″ thick. I think the best way to cook them is to use low, indirect heat (250 degrees) for an hour or so until they reach the desired temp. Then sear them to get a crust and make them look beautiful. My indirect heat source is our course my Big Green Egg, but Traegers are wonderful too. If you are using the cool side of the grill, make sure to rotate the steak every 20 minutes or so.
I am using my new Thermopro probes in there to monitor the temp. I’ll take them off when they hit 128.
I used a small amount of pecan wood for a hint of smoke flavor. Don’t over do it!
Turn them over once during the cook.
Take them out of the Big Green Egg/Oven when they hit your desired temp, and let sit for 10 minutes.
Prepare a high heat grill, and sear each side for 1 to 2 minutes. You’re just looking for a beautiful seared finish here. Turn the steaks 90 degrees halfway through to cross hatch it.
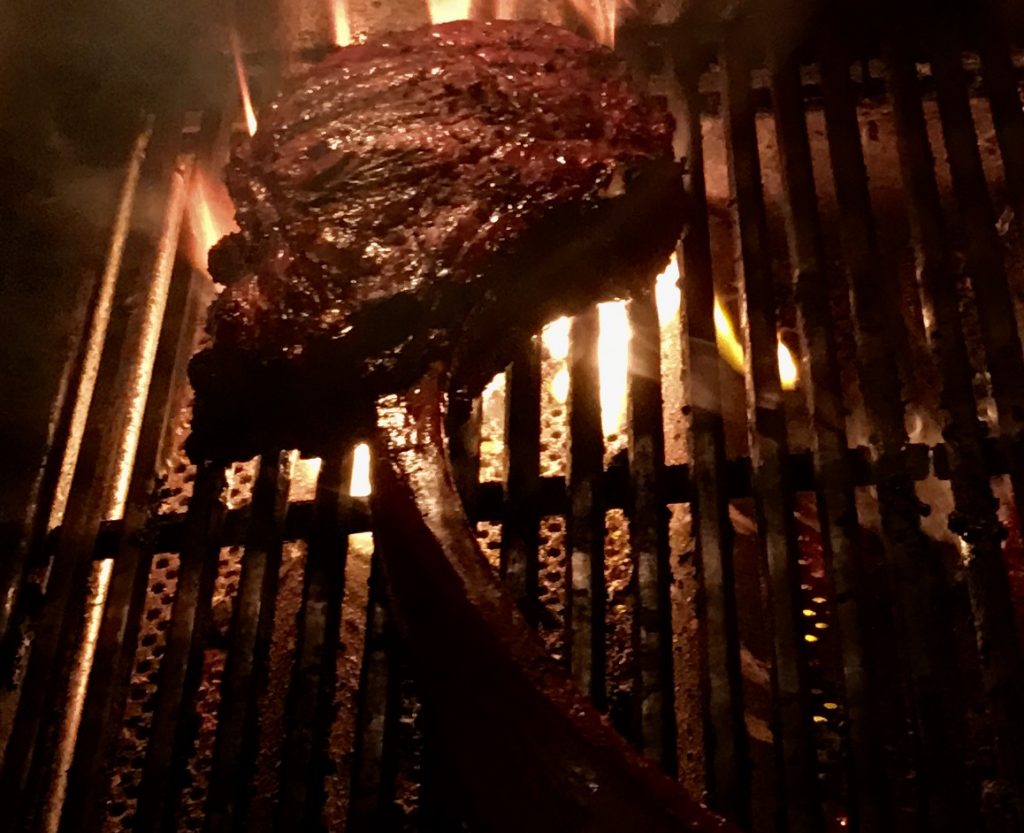
Plate it up!

Serve it up!
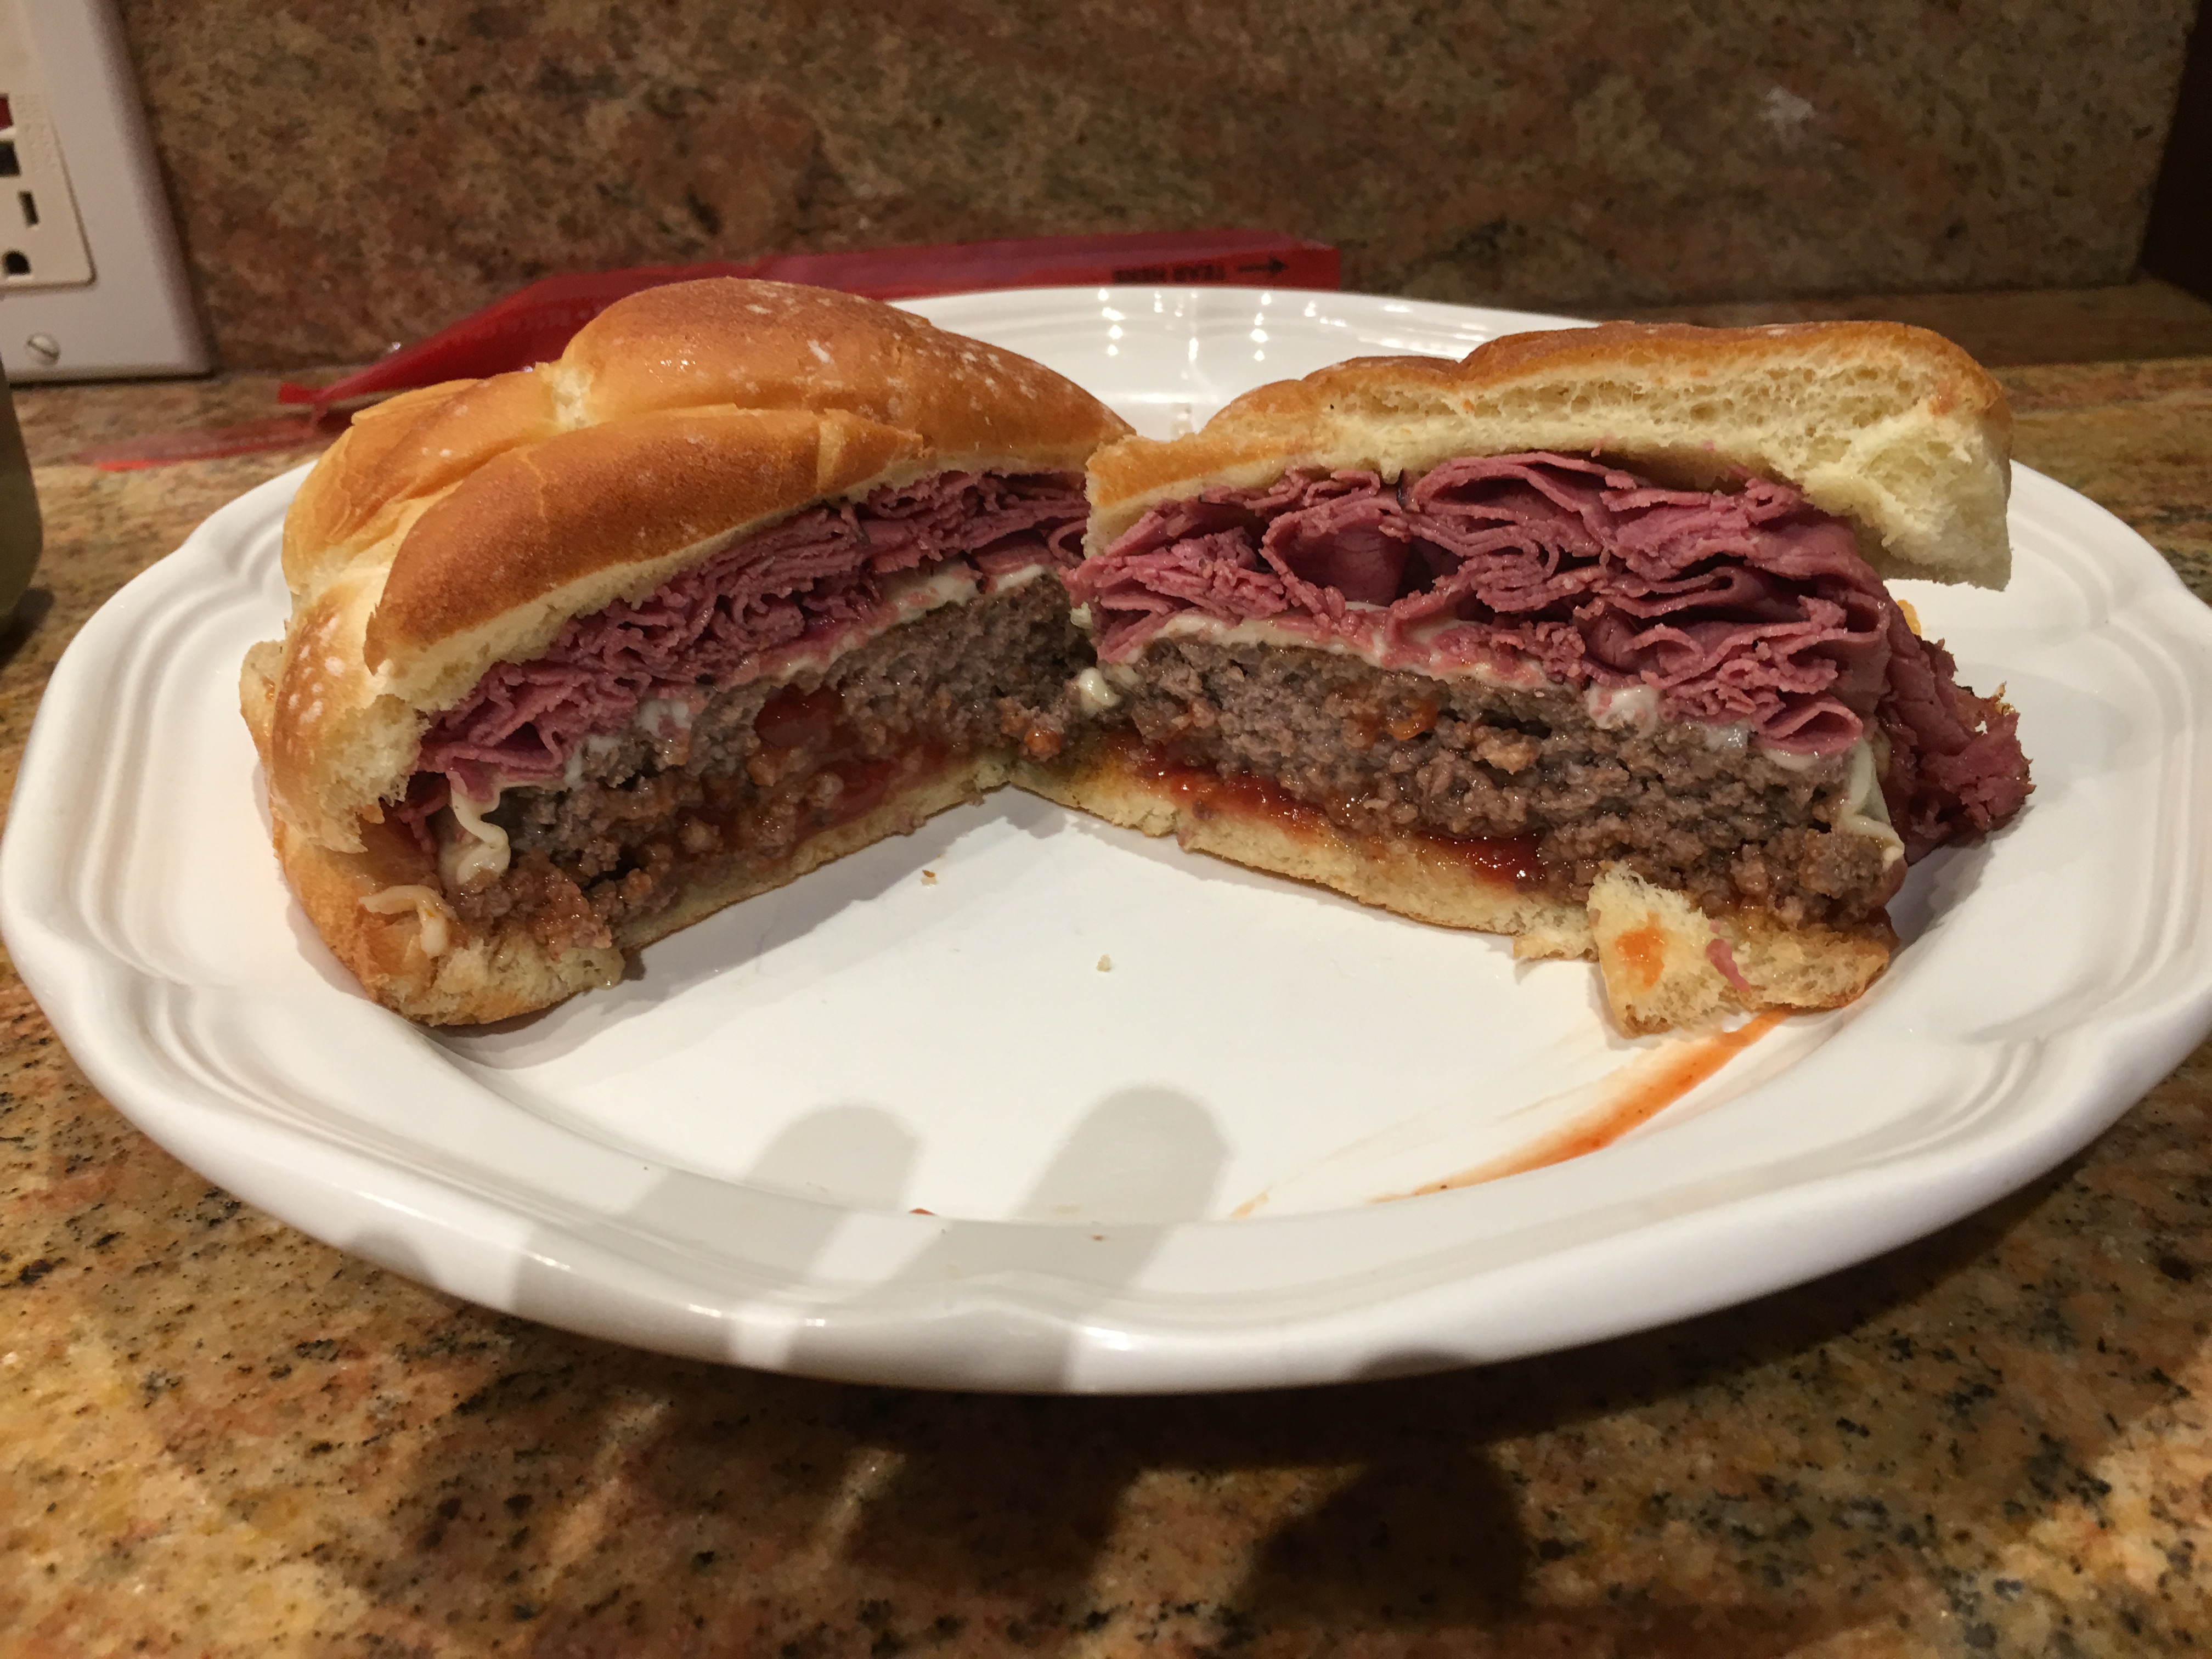
Guy Fieri from Diners, Drive-Ins, and Dives loves a good burger, and so do we! His favorite burger is the Pastrami Burger from a place called Hodad’s in San Diego. Mike Hardin , who ran the place until he recently passed away, had a tatoo of Guy on his thigh. I’m not going to do that. But I’m still a fan, and we will go there one day, have this burger and meet his son who’s now running the place. In the meantime, it’s a good day when pastrami cheeseburgers are happening in my house.
One of the keys to recipes is the amount of mustard you put on the bottom bun of each burger. It’s a lot! But when I was serving these up to my son Ryan and his friends, his friend Dusty said, “Mike. I now know what you’re superpower is. It’s mustard. Nobody else knows the right amount of mustard like you do.” So I got that going for me. Which is nice.
Ingredients
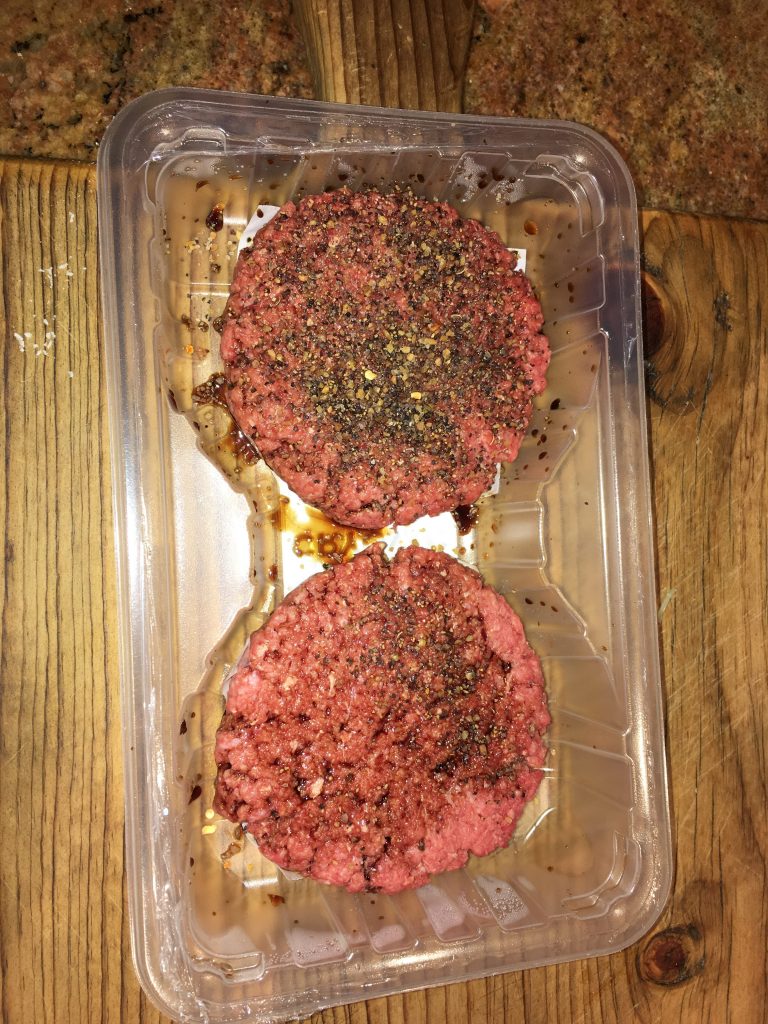
¼ lb hamburger per person. 85/15 is the leanest you should go.I usually make 1/3 pound burgers, but there's so much pastrami, a thin patty works out great.
¼ lb Beef Pastrami, per person. Thinly sliced from your favorite deli. Get more than this, and make some great sandwiches this week.
1 Slice cheese per person, swiss is nice here, but choose your own.
½ Onion, sliced, per person
1 Soft Hamburger Bun, per person. Brioche buns are hot right now, but find a good one.
Mustard, Yellow, Dijon, Spice – the one you like the most with pastrami or a burger.
Ketchup
Soy Sauce
Montreal Steak Seasoning
Directions
Season burgers like you season steaks. Soy sauce and Montreal Steak Seasoning.
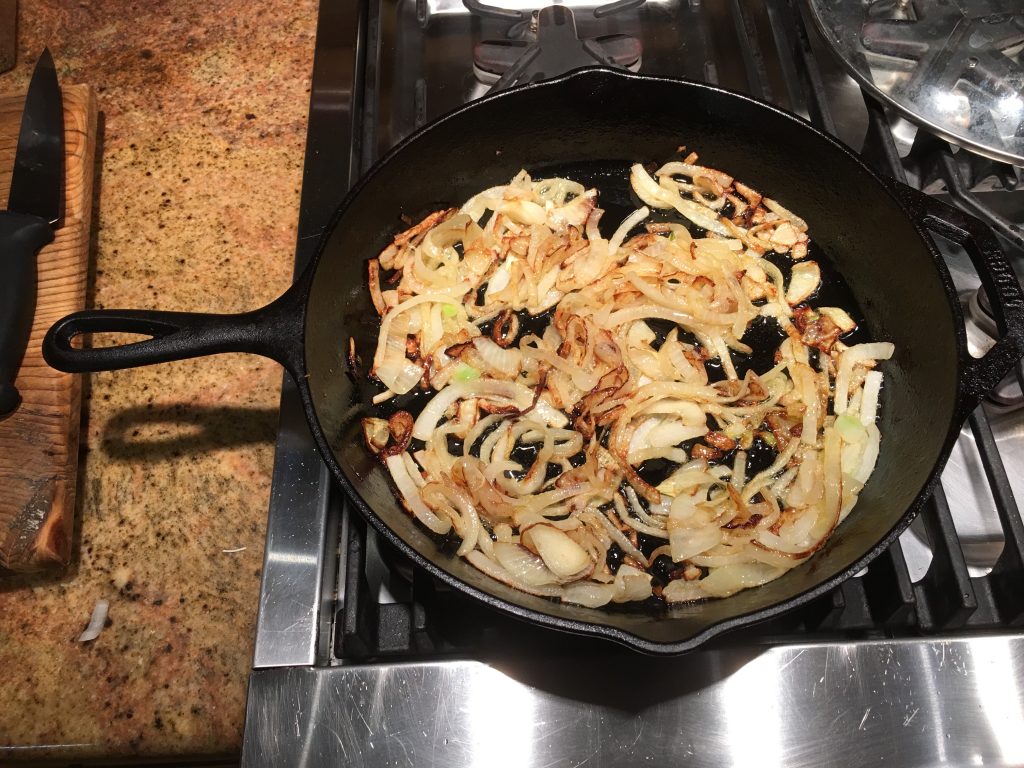
Slice onion thinly and saute in olive oil until nice and browned. Take them out and set aside.
Grill the burger to your satisfaction. I’m a medium well to well done burger guy. Please don’t judge. I like the outdoor bbq grill more, but you can use a griddle or cast iron skillet indoors. That’s how Hodad’s does it.
Just before the burger is done, heat the thinly sliced pastrami. I do this in the cast iron skillet with a tiny bit of oil.
Add cheese to the burger, close the lid, and let it melt for no more than 1 minute.
Assembling the burger
Start with the bottom half of the bun. Put twice as much mustard as you usually put on a burger. Twice. May be 2 and a half times. Go big.
Put the burger with cheese on the mustard-laden bottom bun. Add enough pastrami to make a decent-sized pastrami sandwich. Not a NY Deli sized pastrami sandwich, but enough to be good by itself.
Add the grilled onions. This is a big burger!
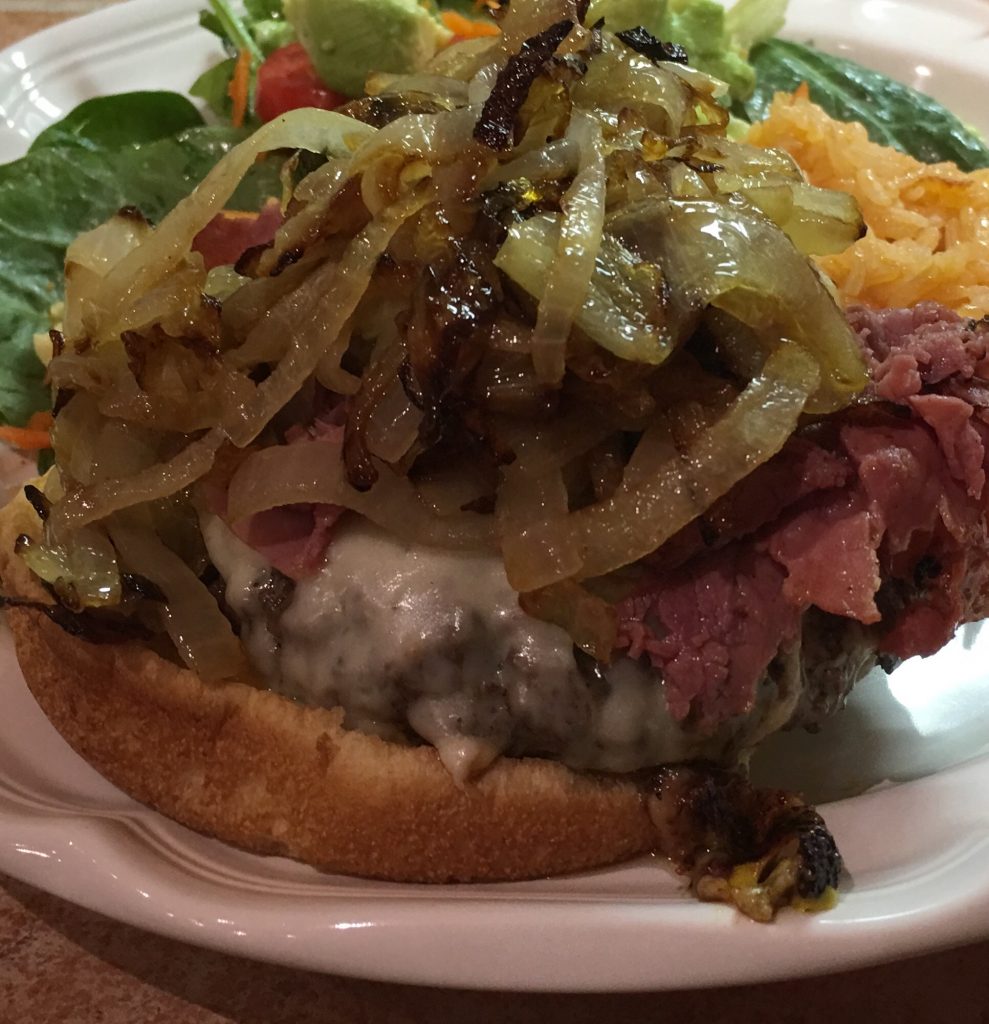
Put a normal sized amount of ketchup on top, place the bun, slice in half if you want, and you are ready to go!


Every year, we go “glamping” (glamour camping) at El Capitan Canyon above Santa Barbara with four other families. Jill’s friend Shari and I love cooking for the group. Shari is an outstanding cook who carries a tackle box of cooking tools on every trip. It’s a good look. I’ve learned a lot from Shari over the years, and I’m happy to share one of her recipes here.
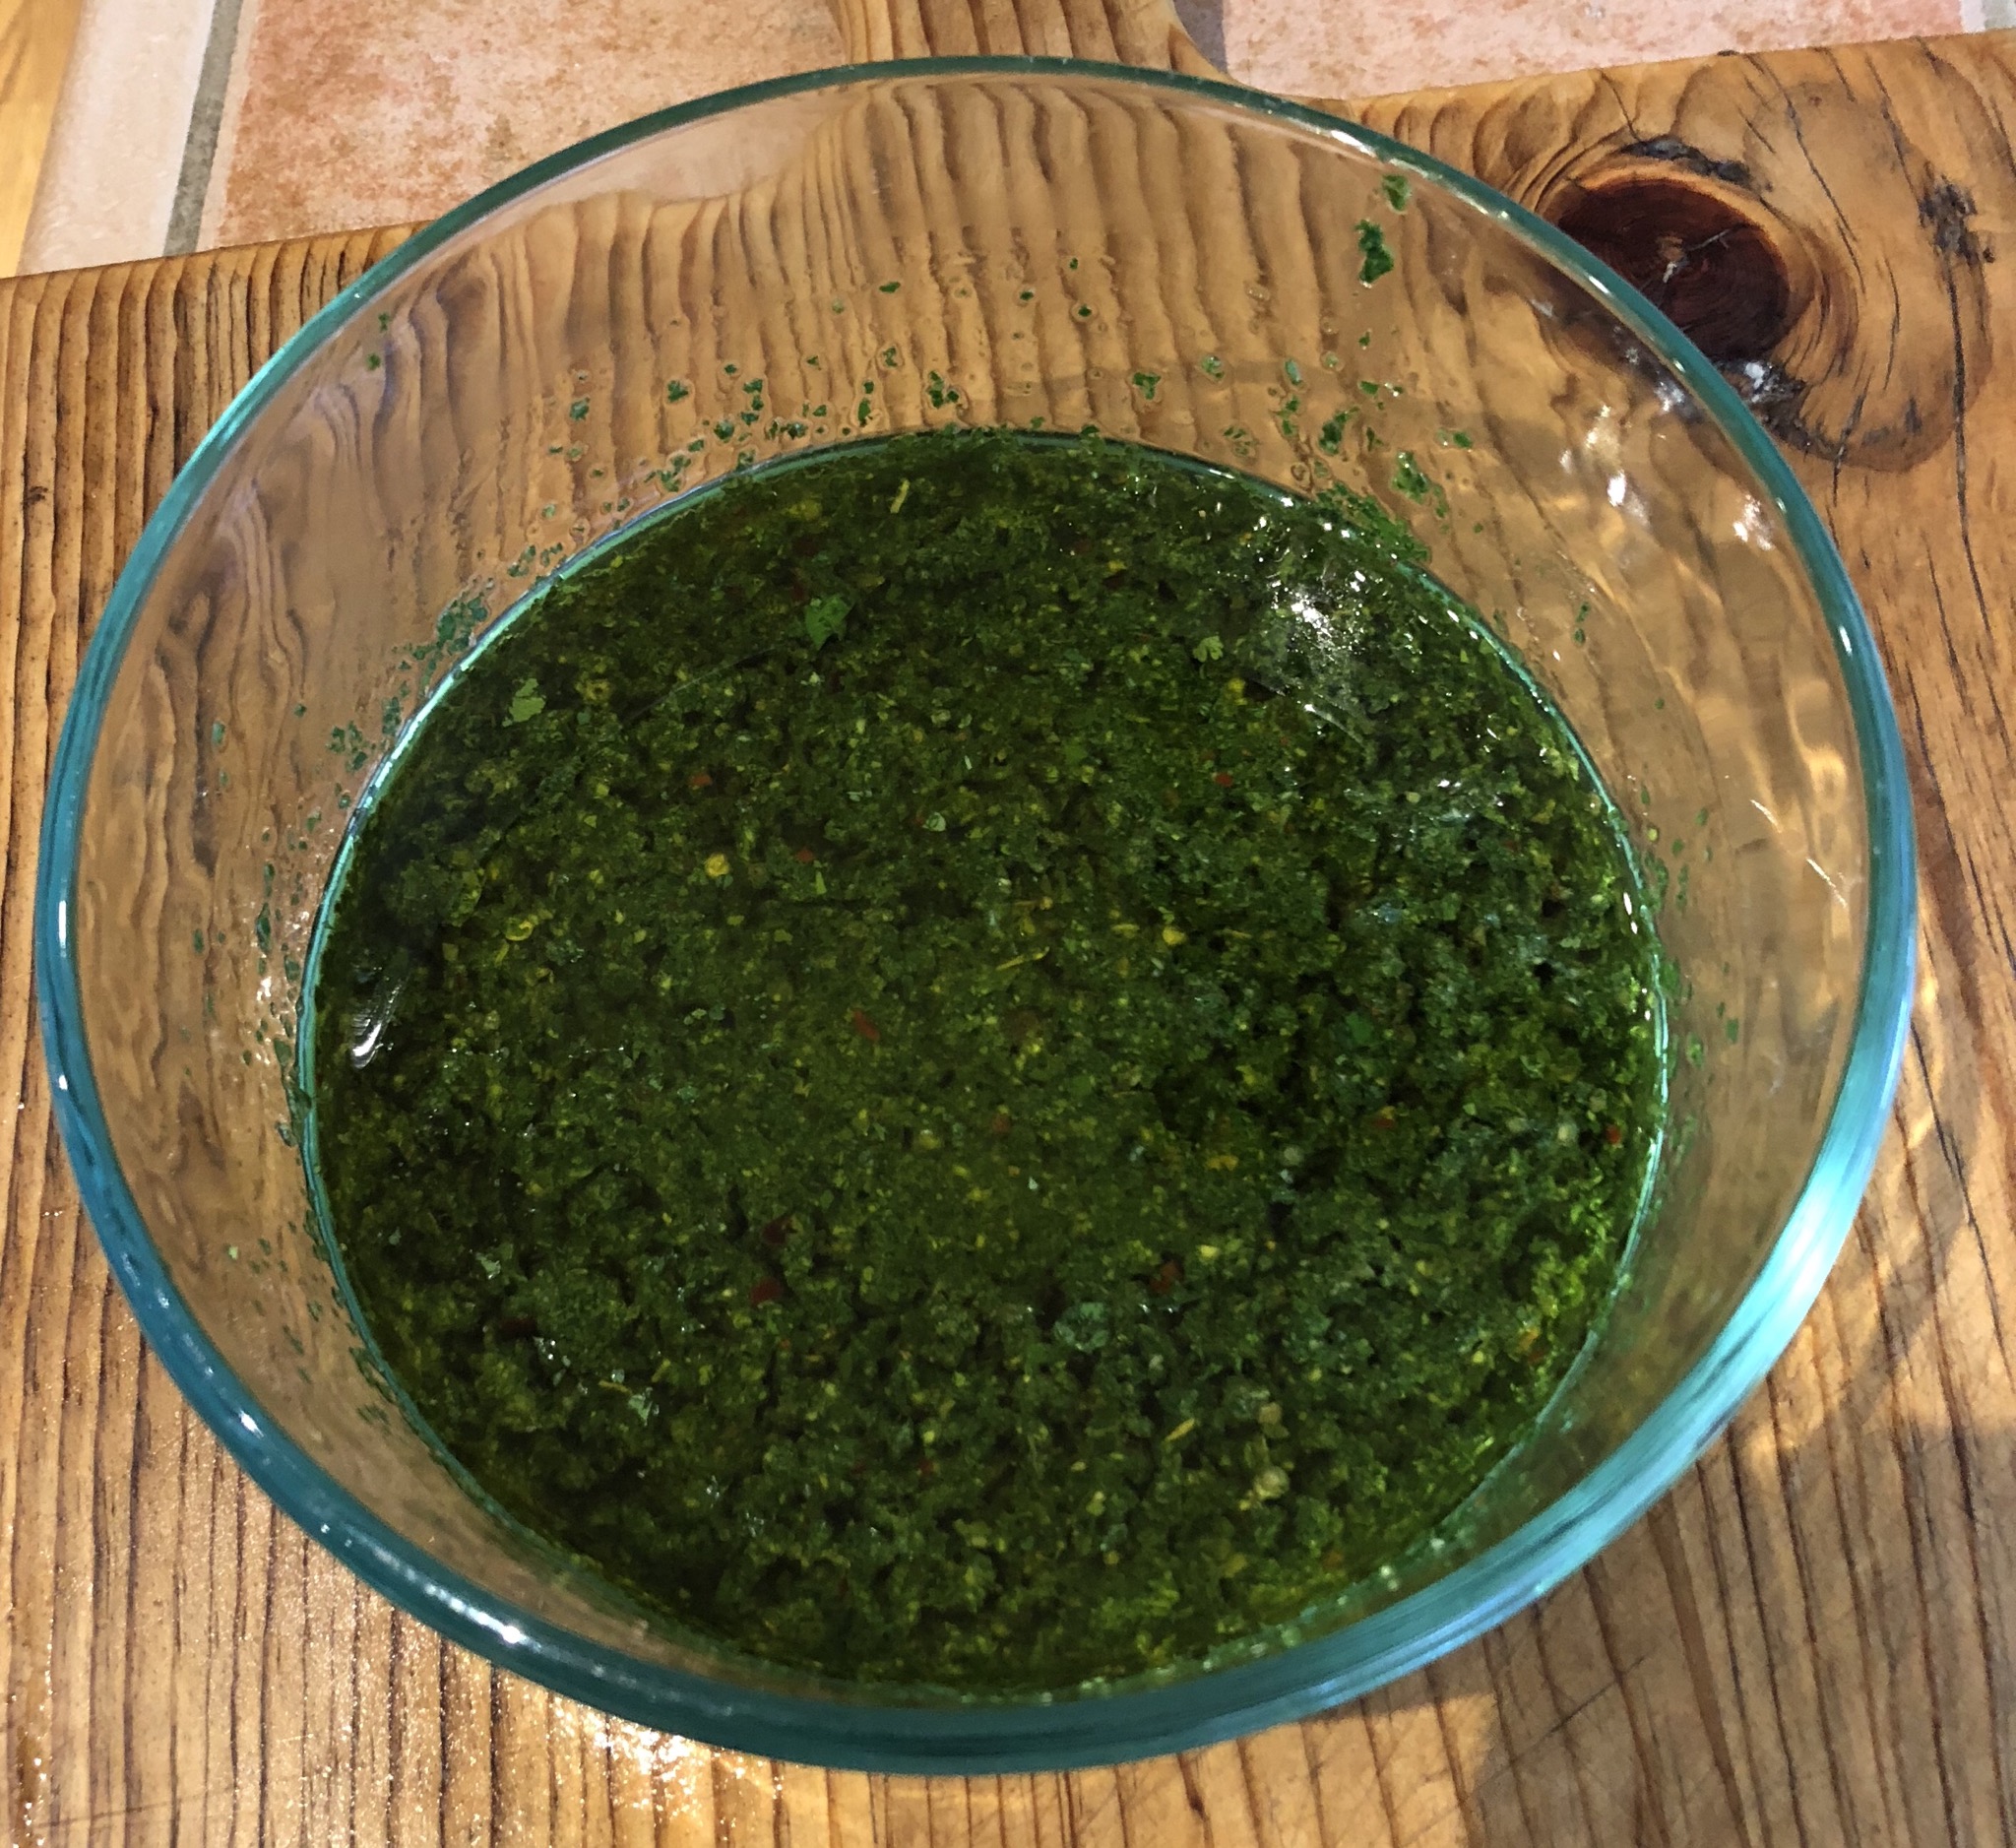
This Korean marinade is so easy, and it’s perfect with any beef, pork, or chicken. And I always reserve one half cup (at least) to spoon over the dishes as I serve them.
Ingredients
1 cup Soy Sauce
4 tsp Sesame Oil
4 tbsp Sugar
2 tsp Crushed Hot Red Peppers
2 tbsp Fresh Ginger, gratedI often don't have fresh ginger, so I'll use 2 tsp of ground ginger instead.
2 Bunch Green Onions, Chopped
Directions
Uh . . . Mix it Together!

We love fish tacos! Our friends, especially my friend Merlin, love fish tacos. When I tell Merlin it’s fish taco night in the Matthews house, he always asks the same question, “Is it all you can eat?” Yes, Merlin, it is.
They are easy to make, healthy, inexpensive, and wildly popular. Any fish will do, but our favorite by far is salmon. Halibut, swordfish, cod, or tilapia are also great. You can gently reheat last night’s fish for some great fish tacos too. Don’t Microwave the fish. Just don’t. Jim Rome, a sports radio host, has the best take on this ever. He has taken time during several of his “sports” shows to try to teach the world never to microwave fish. It’s worth a listen. I join him in his crusade.
Ingredients
Salmon (or other excellent fish) – about 1/3 to 1/2 pound per person.
Cajun seasoning, Salt, and Ground Black Pepper
Cabbage (1 head is plenty for 8 servings)
Roma Tomatoes (1 tomato for every 2 servings)
Ranch Dressing or Sour Cream
Salsa
1 lime, plus 1/2 lime per serving
Avocados (1 avocado – 4 servings)
Corn Tortillas
Directions
Make a cream sauce of 1 cup sour cream, 3 Tbsp Salsa, zest and juice of 1 lime, 1/2 tsp salt, and 1/2 tsp black pepper. Add a little hot sauce (Cholula or other) if you like.
I have a good tartar sauce recipe tartar sauce recipe that I have not yet put on the website. But for me, with the grilled fish tacos, I much prefer straight salsa or this cream sauce.
Mix together cabbage and tomatoes, add a little onion if you want. Dress with some of the cream sauce if you like. Refrigerate both cabbage mix and cream sauce.

Prepare the tortillas by either
(1) Heating them up on a griddle (very healthy),
(2) Lightly frying them in canola oil, then resting on paper towels or hanging them in the oven over the oven rack (very awesome),
(3) Wrapping in a paper towel and microwaving for 30 seconds.
Cut up avocado into small slices.
Lay out prepared fish, cabbage salad, cut up avocados, lime slices, cream sauce, and hot sauce. Let people make their own and go to town!