We love Salmon in our house, and we have a variety of ways to prepare it. Blackened salmon is one of our favorites, and I would say we eat it twice a month! It’s spicy, and such an easy preparation. If you make extra spice mixture, then there’s hardly any work at all in the preparation when you make them the next time.
You can buy salmon fillets from your market. This may sound crazy, but we love the Costco frozen salmon farm-raised salmon fillets. They are so easy, and with just 1 hour of soaking them in water, we are ready to make this any time. I know fresh is better, and we do that sometimes too, but this is a great recipe, whether you use fresh or frozen fillets. I think one of the keys to finishing the salmon is a liberal lemon squeeze on it when you plate it. It makes it sparkle and you can taste the difference.
Enjoy! – Mike
Ingredients
2 tbsp Paprika (I used Smoked Paprika)
1 tbsp Black Pepper (Course is better than Shaker Grind)
2 tsp Brown Sugar
1 tsp Kosher Salt
2 tsp Garlic Powder
2 tsp Onion Powder
1 tsp Cayenne Pepper
1 tsp Oregano
1 tsp Thyme
4 Salmon Filets
Butter or Olive Oil
1 Lemon, Cut into wedges for squeezing
Directions
Mix all spices together. This should be enough for two dinners at least. I keep a spice jar of it in my spice drawer so I am ready to go at a moment’s notice.
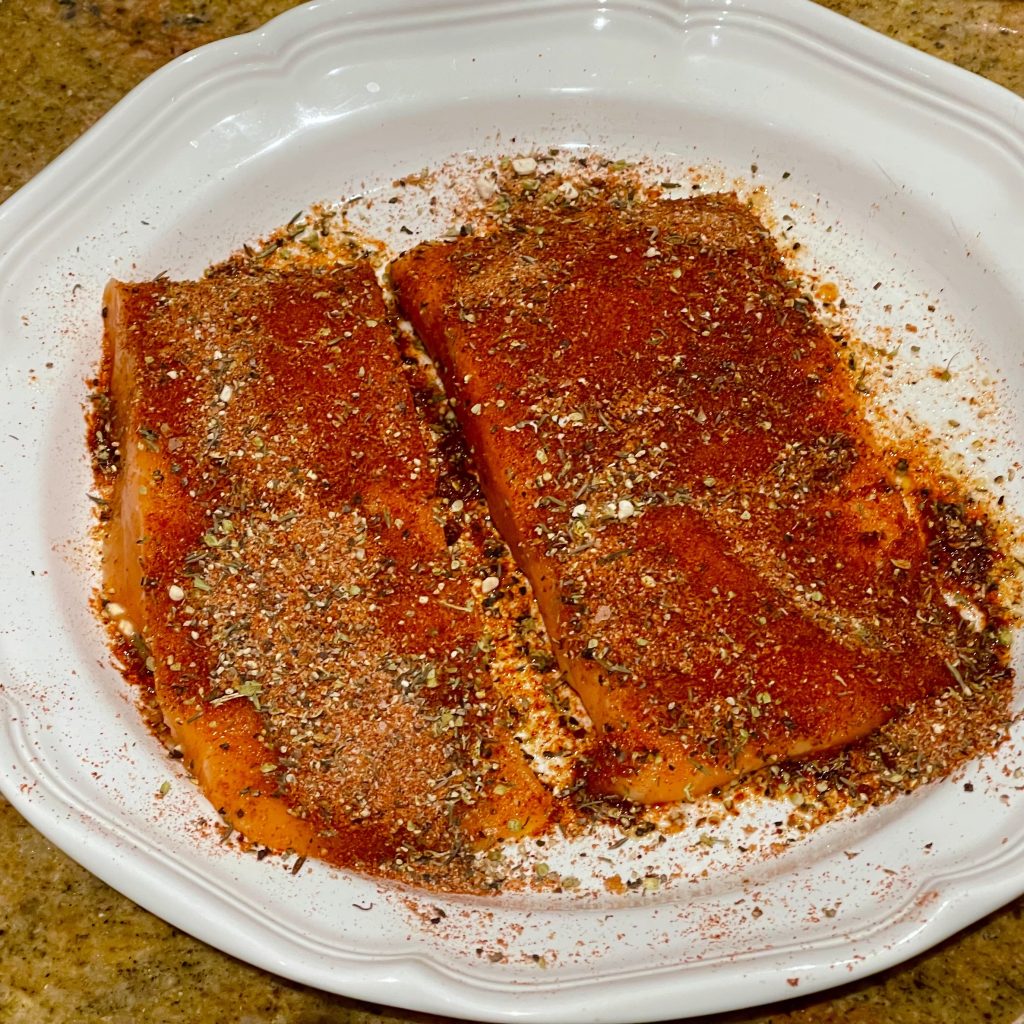
Coat salmon fillets with a little olive oil or butter, then spoon or shake spice mixture onto salmon. Press into the salmon to make sure it is affixed. Let sit for 10 minutes or so. Do not add additional oil or butter. You don’t need it!
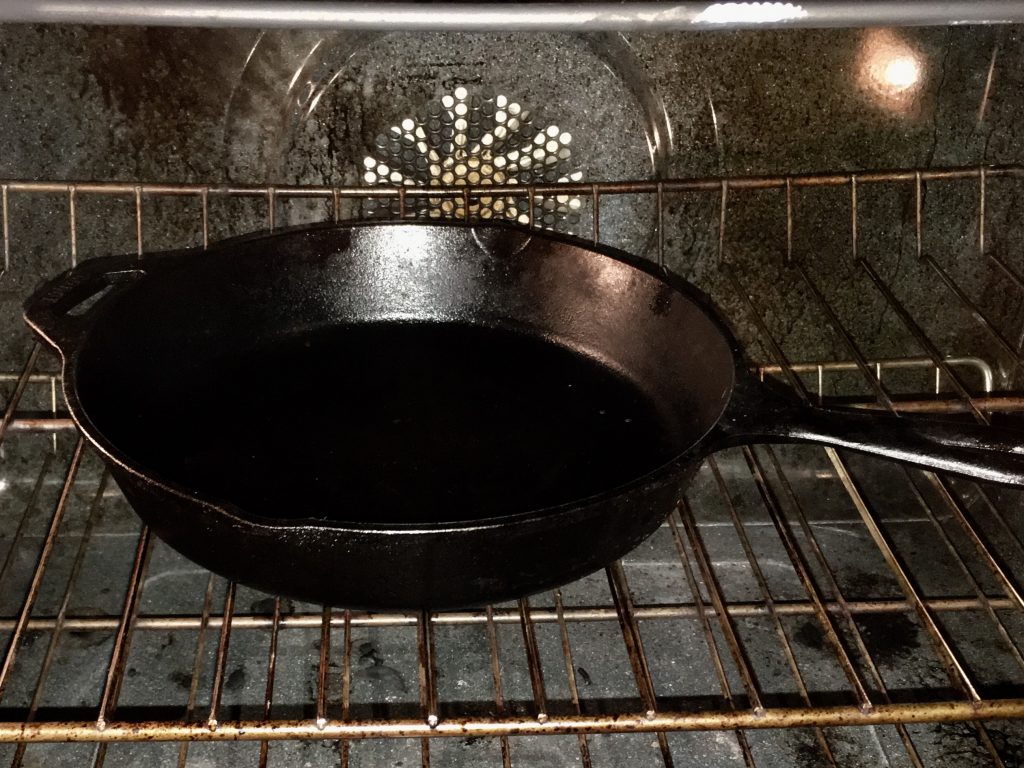
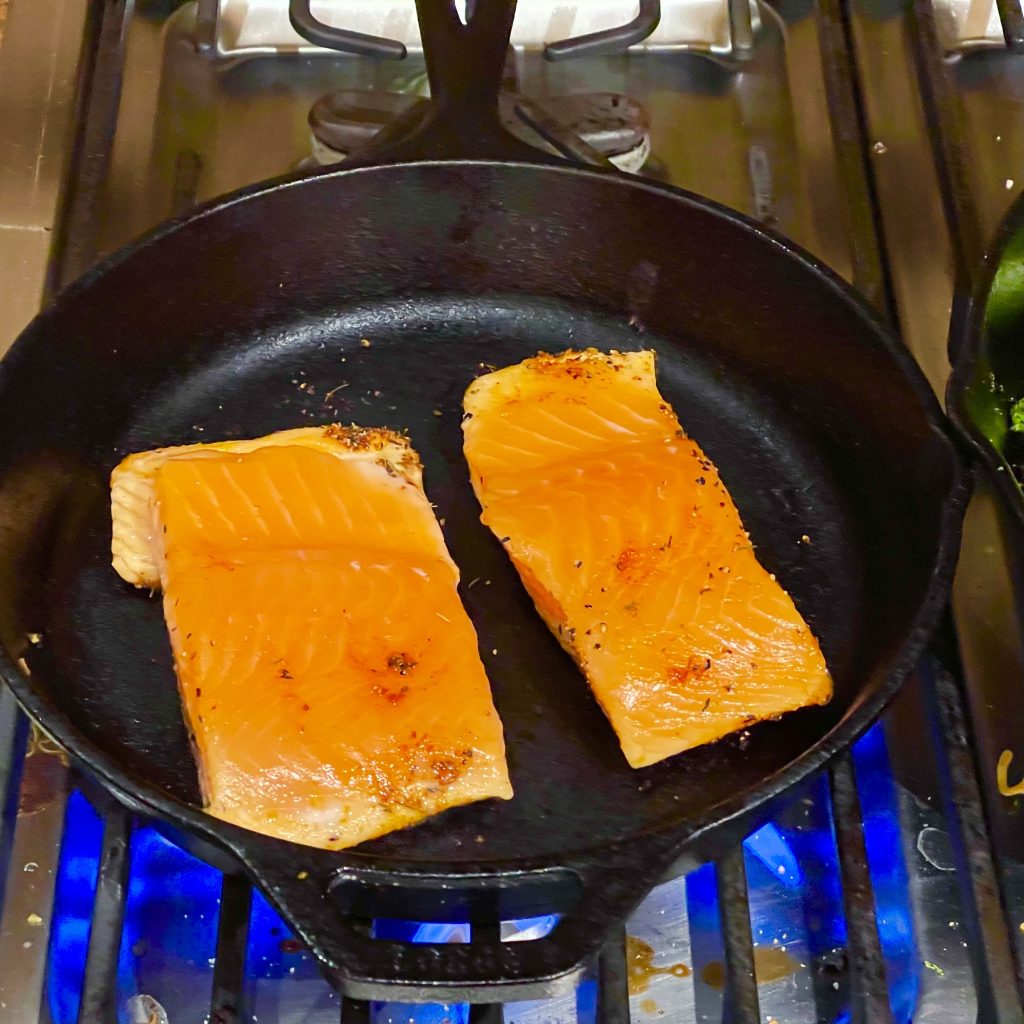
On your stove or on your outdoor grill, heat a cast iron skillet until it begins to smoke. Without adding any oil to the pan, place salmon, spice side down, into the skillet. You don’t need to press down. You don’t need to move it around at all. Let it sizzle for 4 minutes.
With a metal spatula, slide under the salmon, keeping the edge as close to the pan as possible, and flip each piece over. You are going to want to cook it until it is 130 to 135 degrees internal temperature. It’s probably another four minutes, depending on the thickness of the filets.
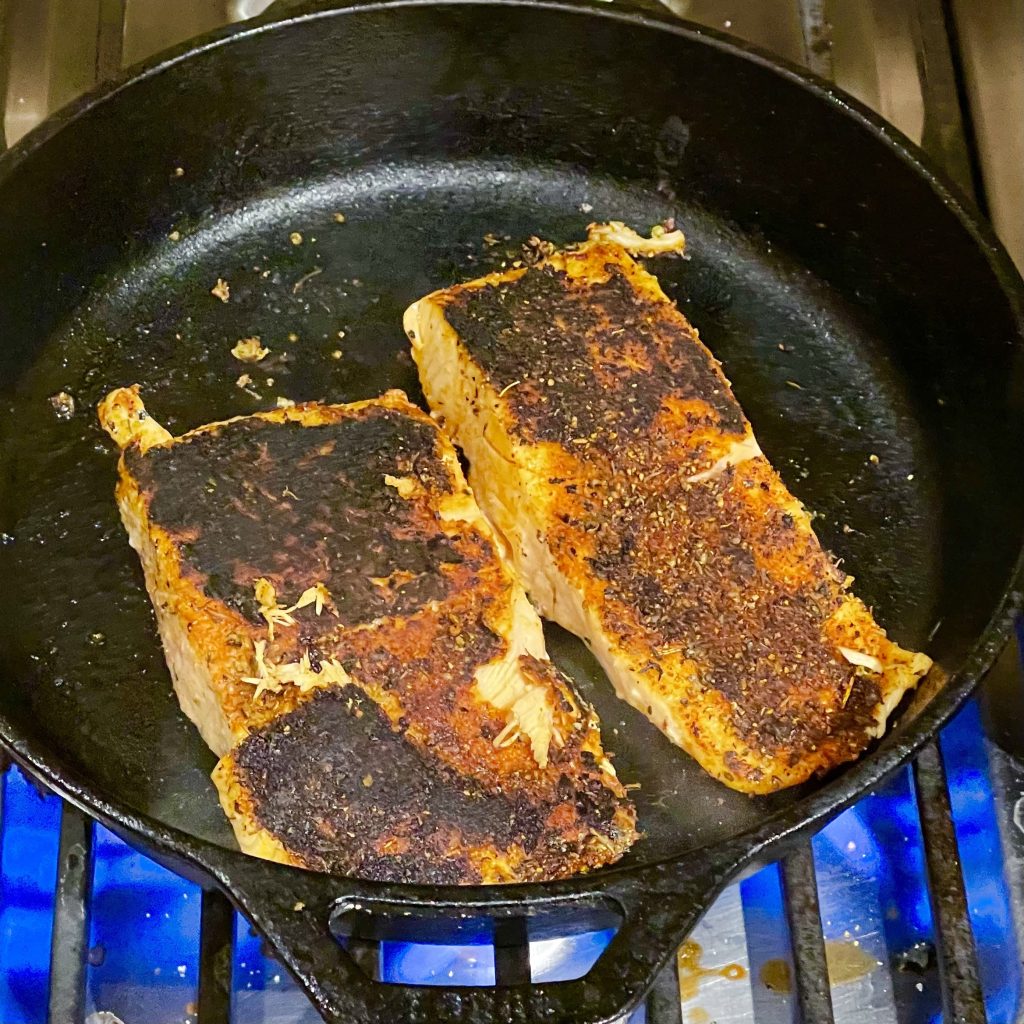
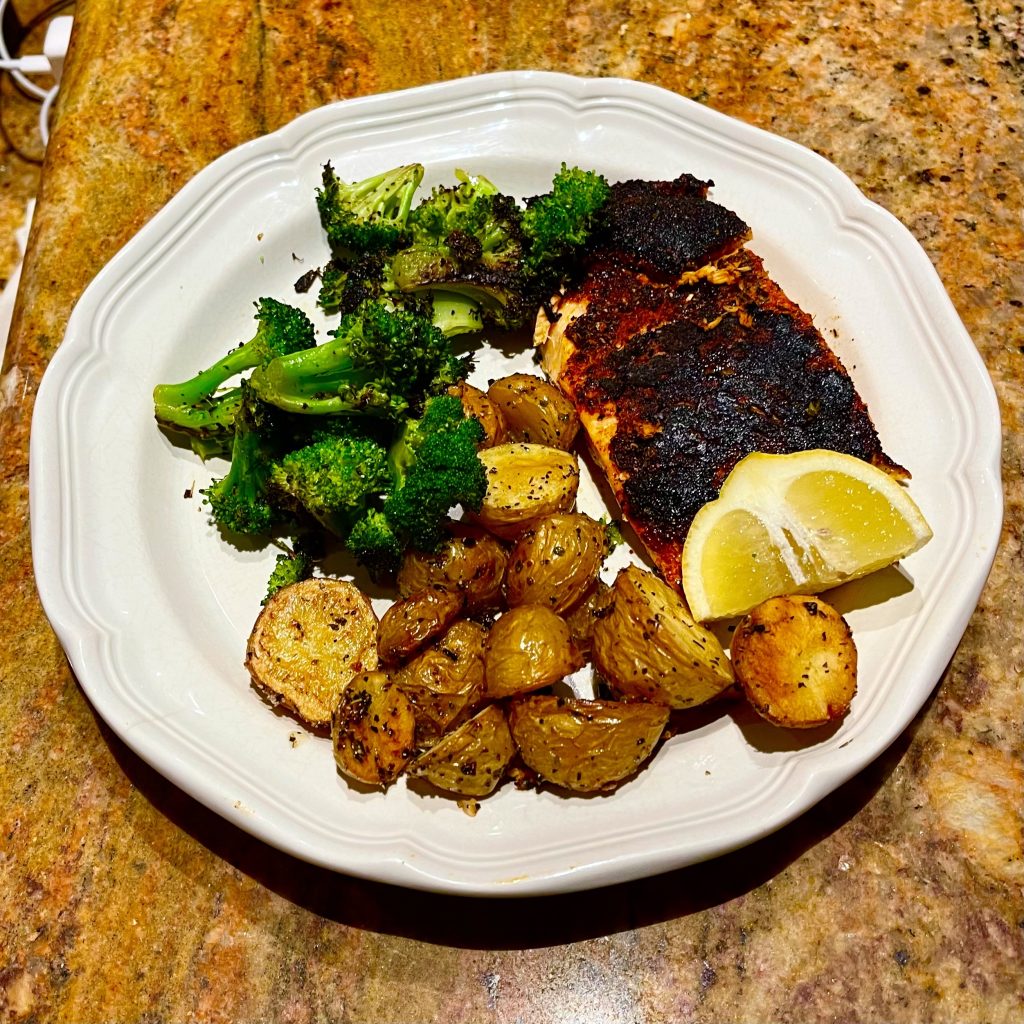
Plate the salmon, spice side up, and squeeze a lemon wedge over it, and serve. You will love it!
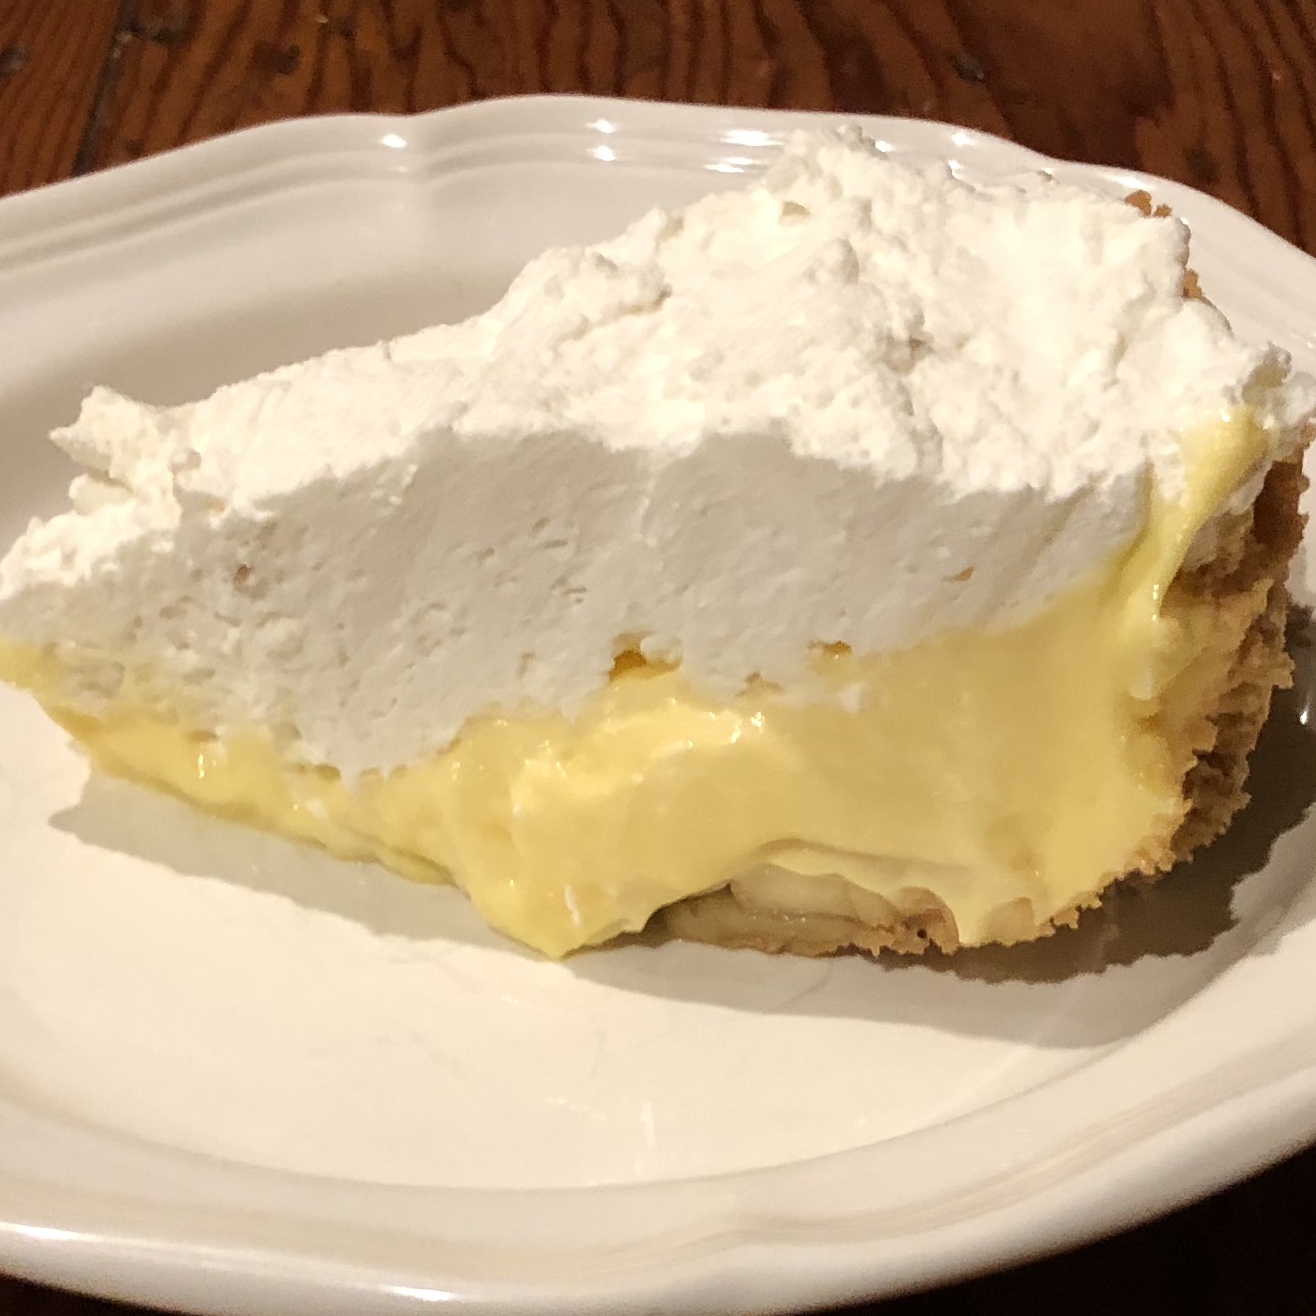
That pie shaped empty space that’s been in my life so long? It’s all good now.
When I was in my mid-forties, I remember telling Jill that I missed the days when I could eat anything and my weight just remained constant. I told her, “I was living the good life and I didn’t even know it.” Well, those days are long gone, but, to quote Joel Goodson’s dad in Risky Business, “Every once in awhile you just got to say, ‘what the heck’ and take some chances.” It’s a pretty sad testament to my risk taking at this point in life that banana cream pie is up there. But there you have it. I just have repeat my Stuart Smalley mantra, “I’m good enough, I’m smart enough, and doggone it people like me.”
Ingredients
Filling Ingredients
3 cups Whole Milk
3 Eggs Yolks
¾ cup Sugar, White Granulated
⅓ cup Flour, White
¼ tsp Salt
1.50 tsp Vanilla Extract
2 tbsp Butter
4 Bananas: 3-4 Large Bananas; 4-5 Small Bananas
Whipped Cream Topping
1 cup Whipping Cream
1 tbsp Granulated Sugar
1 tsp Vanilla
Graham Cracker Crust
1.25 cups Graham Cracker Crumbs
¼ cup Granulated Sugar
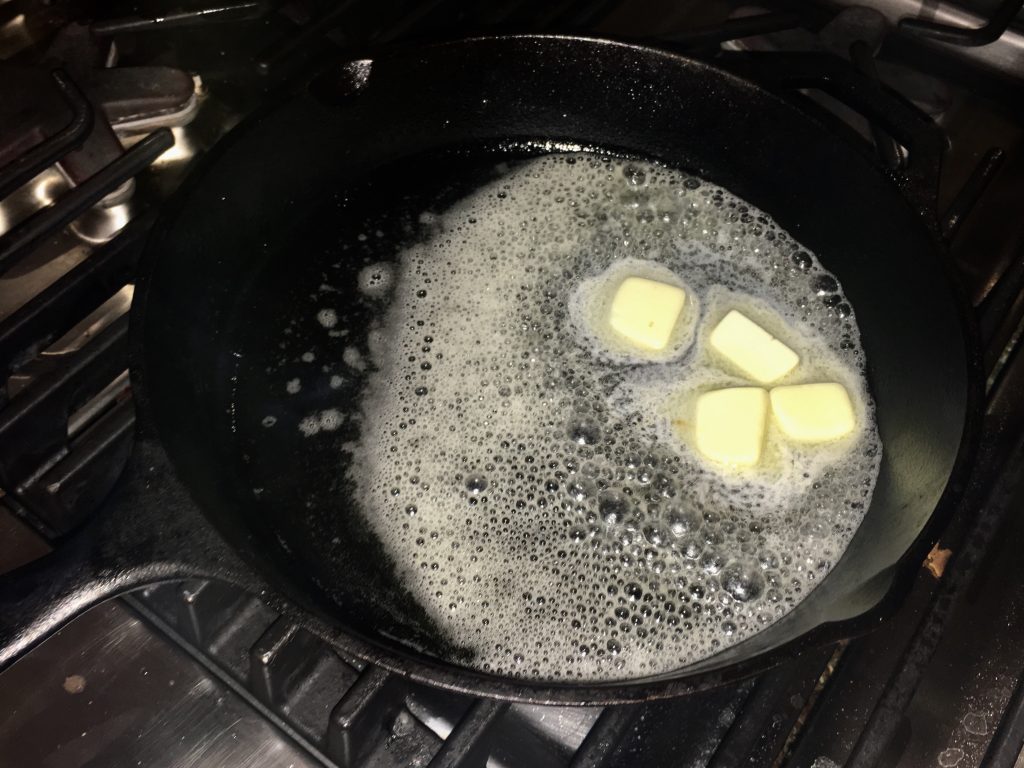
5 tbsp Melted Butter
Directions
Making the Crust
Mix Graham cracker crumbs, sugar, and melted butter in a bowl with a spoon. Placed buttered crumbs in a nice pie plate. (This pie deserves a nice pan!) Note: At some point, I’m going to try smushing a banana into this mixture. I’ll keep you posted!

With your fingers, press down the crust and do your best to make an even crust that pushes up the sides of the pie plate. Bake the crust at 375 for 7-8 minutes. Do not overbrown!

Making The Filling
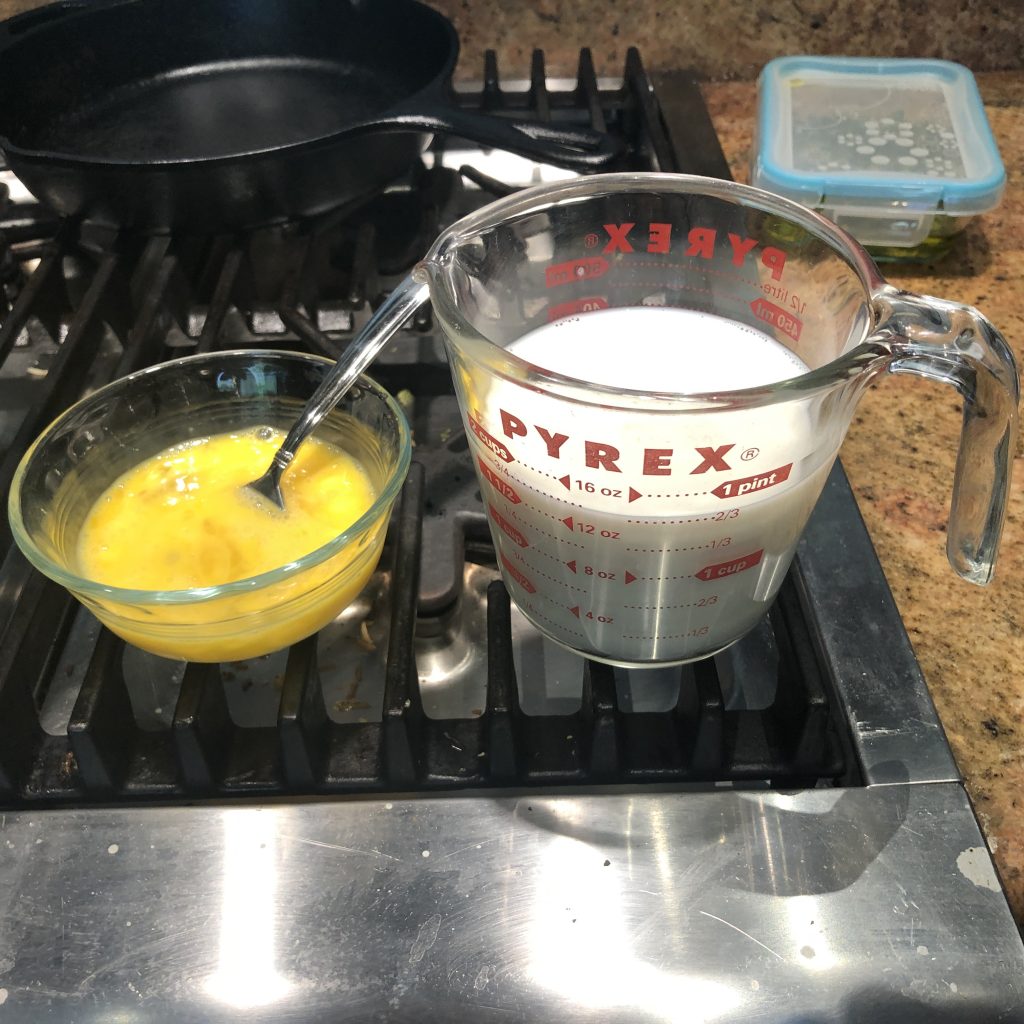
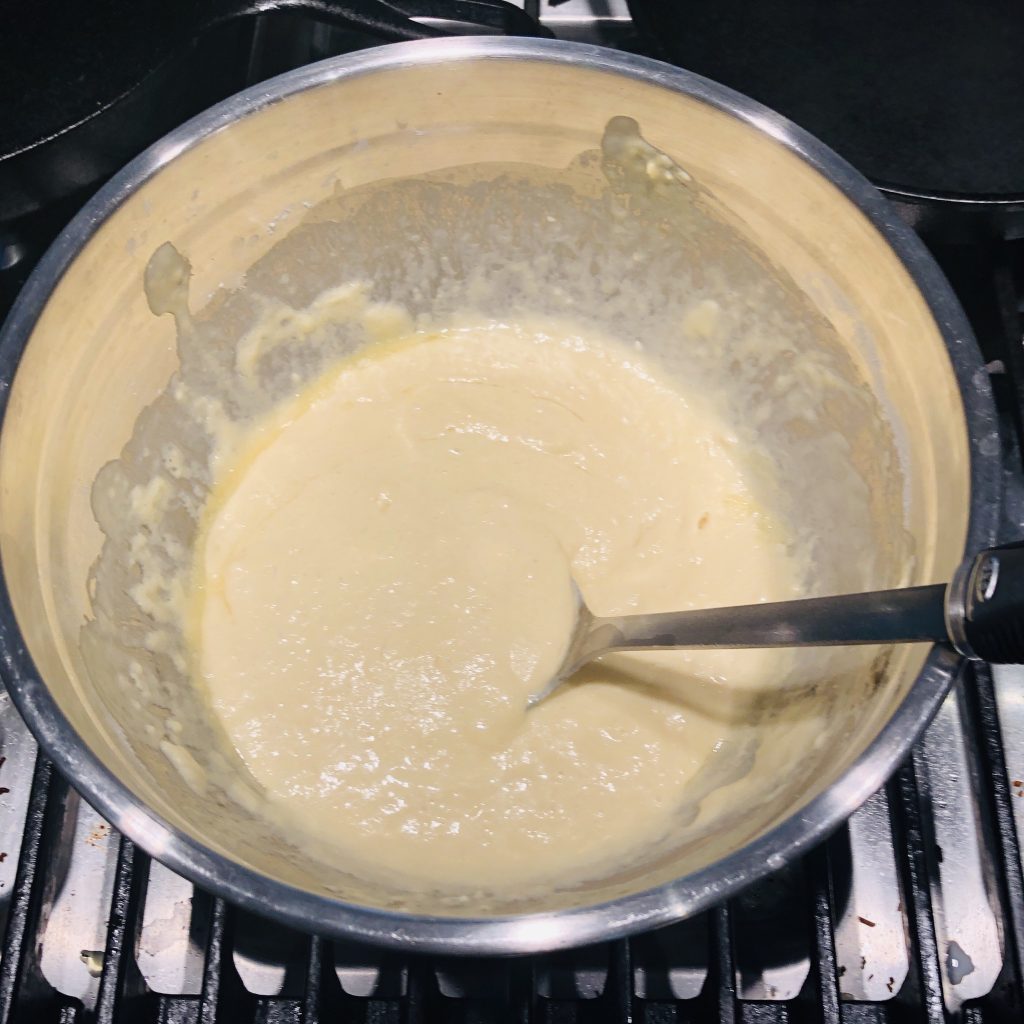
Pour 3 cups whole milk into sauce pan and scald. Stir to make sure it does not brown. Turn off heat.
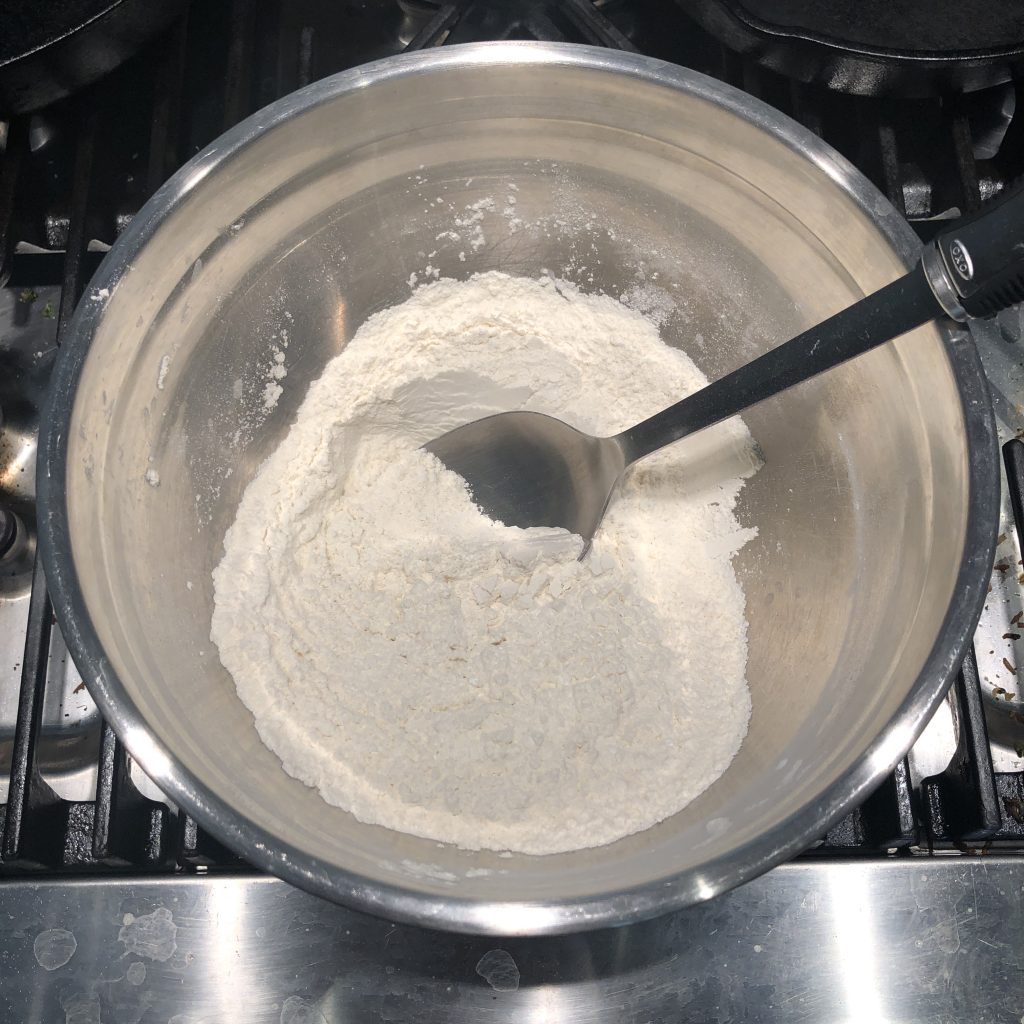
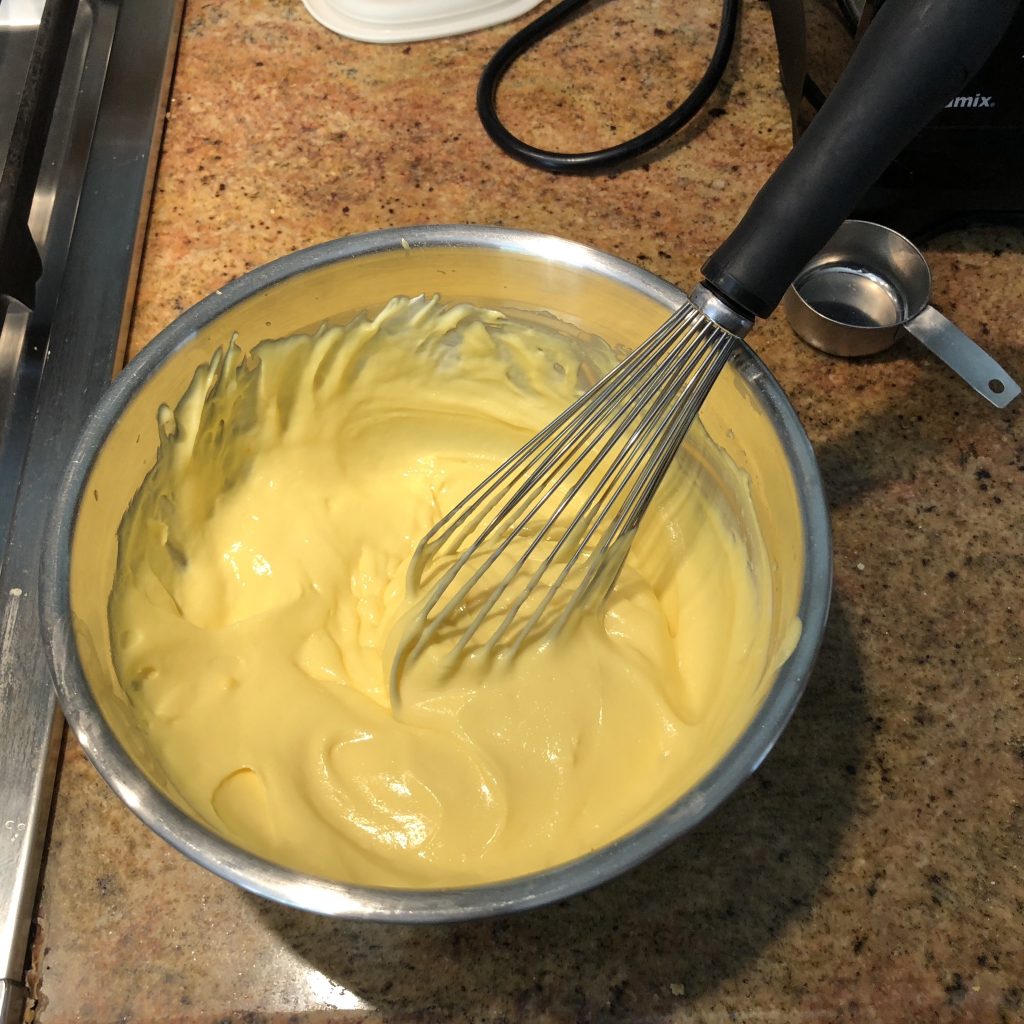
Mix sugar, salt, and flour together. Slowly whisk into milk. Turn heat back on. Cook for five minutes, stirring regularly. The mixture will thicken and start to turn pudding-y. But you’re not done yet! Cover for two minutes over low heat, stirring occasionally.
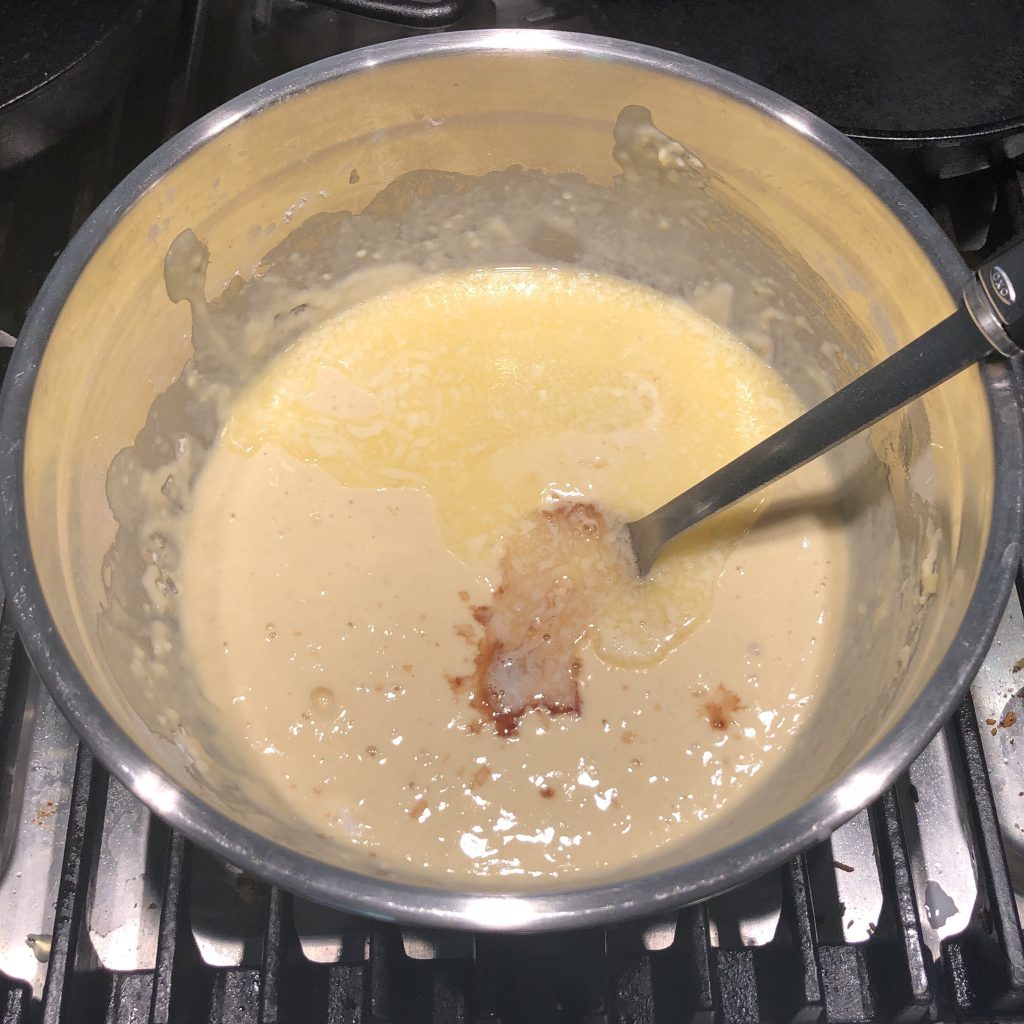
Beat the egg yolks. Take a few large spoonfuls of the warm milk mixture, and whisk into the eggs. Whisk constantly to keep the eggs from cooking. Pour egg mixture into milk, whisking continuously. Mix in vanilla and butter as well. Cook for one more minute. Then turn off the heat and let it sit. Nice work!
You are ready to spoon this into the pie once it cools down to luke-warmish and not scalding hot. 120 degrees is just fine.
Whipping the Cream and Assembling the pie
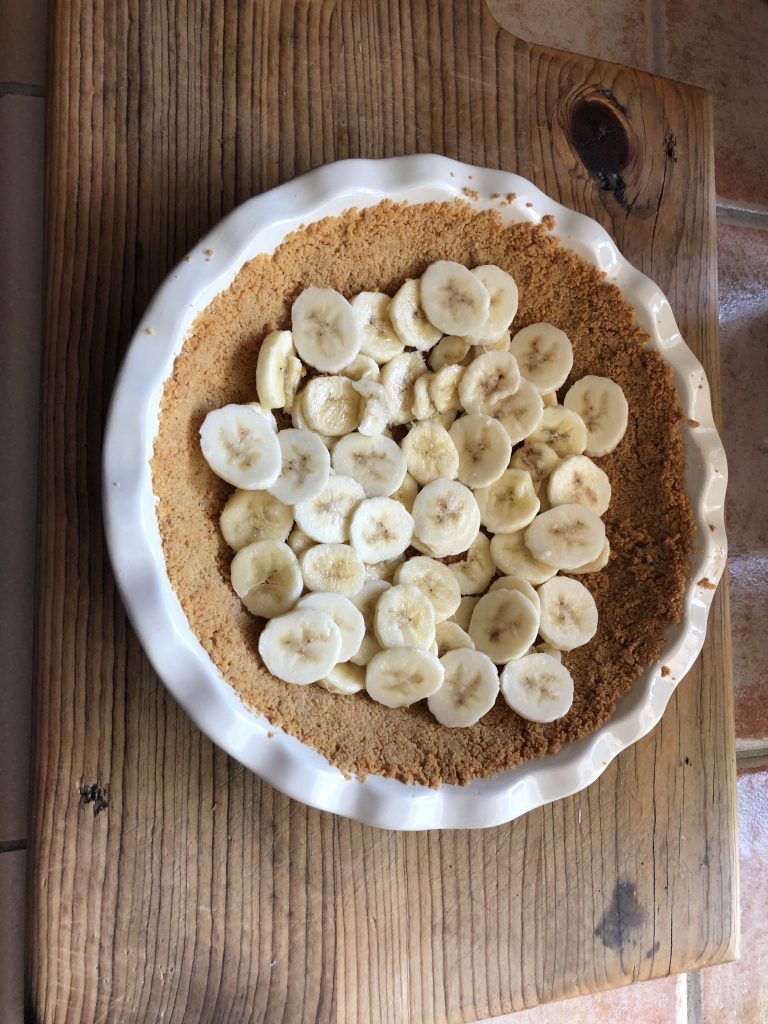
Slice bananas thinly – 1/4″ slices. I like a more banana-y pie, but go with your preference. Lay the 2/3 of the sliced bananas at the bottom of the pie.
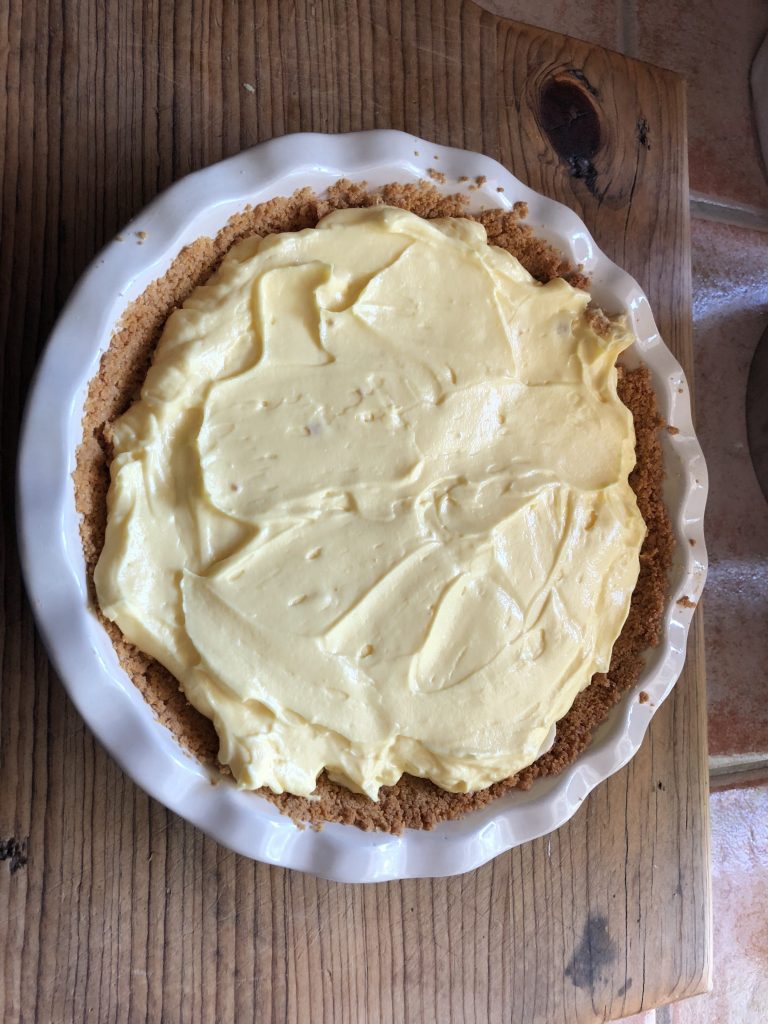
Spoon 1/2 of the pudding mixture over the bananas, spread the remaining bananas over that mixture, then spoon in the rest of the pudding. Chill. (Both you and the pie!)
Using a Kitchen Aid Mixer or whatever you have, whip whipping cream, slowly adding sugar and vanilla, until solid peaks form. (Note: My next time I make this, I’m using the leftover egg whites to make a merengue. I’ll keep you posted)

Spoon whipping cream over pie filling and smooth out evenly. If you just use half the whipping cream, it does a nice job and saves you a whole lot of calorie guilt. Or . . . Go for it and use it all! Chill for at least two hours.
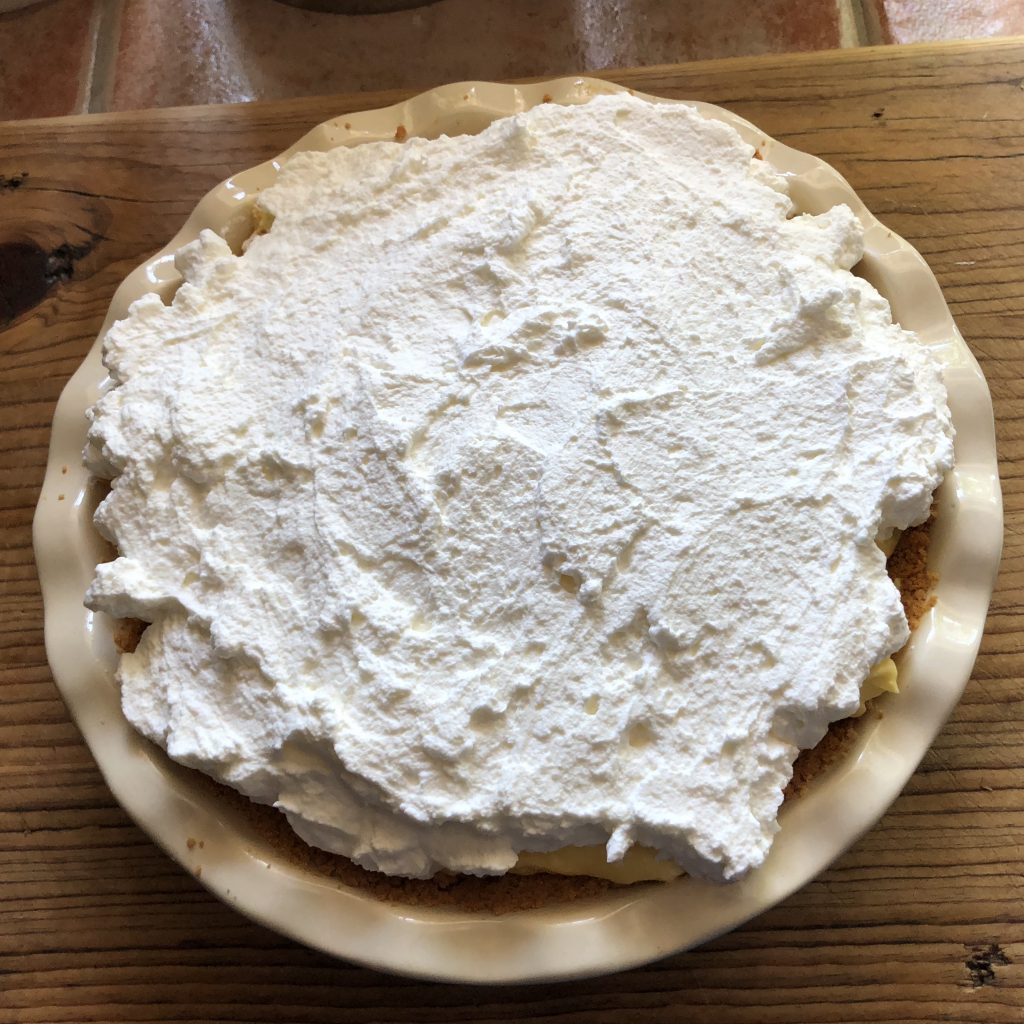
Cut beautiful slices and serve, immediately achieving hero status!

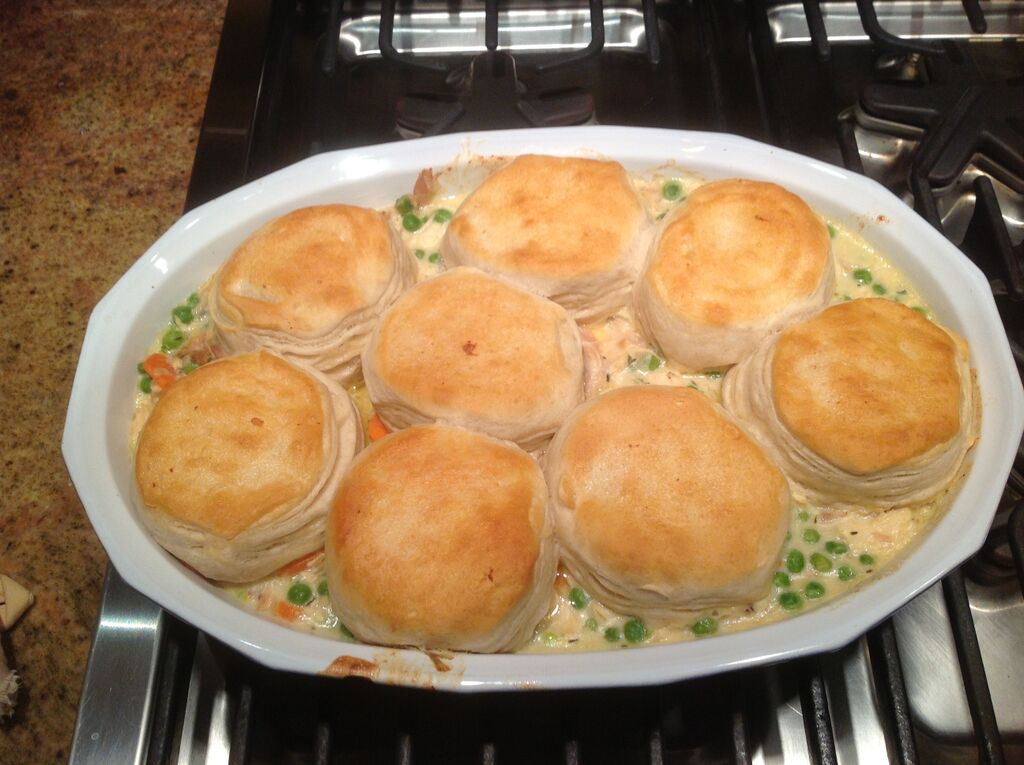
When I was in high school, I often came home from school very late during swim season. I would miss the family dinner, but my Mom always had food waiting for me. One oof my favorites was chicken and dumplings. There are many recipes in the same family. A hot and thick stew with chicken and vegetables, with either dumplings, pie crust, or biscuits. Over time, I have fallen more and more in love with biscuits, so why not eat them whenever you can. (Other than the obvious caloric reasons, which we should not even mention here!)
This recipe is a combination of Ina Garten’s chicken stew and Joanna Gaines’ biscuits.
Ingredients
1 Rotisserie Chicken (Hard to beat Costco’s)(That's about 5 or 6 cups of chicken!)
5 cups Chicken Stock
2 cups Onions, chopped
4 Stalks of Celery, washed and chopped
¾ cup Flour
6 Carrots, peeled and chopped
1.50 cups Frozen Small OnionsI love these – you don't need them, but they make the dish look way better!
1 cup Fresh or Frozen Peas
½ cup Fresh Parsley
Salt, Pepper
12 tbsp Butter (1 and a half sticks)
Directions
Preparing the Stew
Take the meat off of the Rotisserie Chicken., and put the carcass in just enough water to cover it up. Add some onions, carrots, celery and a bay leaf, boil then simmer for 90 – 120 minutes, and you will have an outstanding broth. 90 Minutes
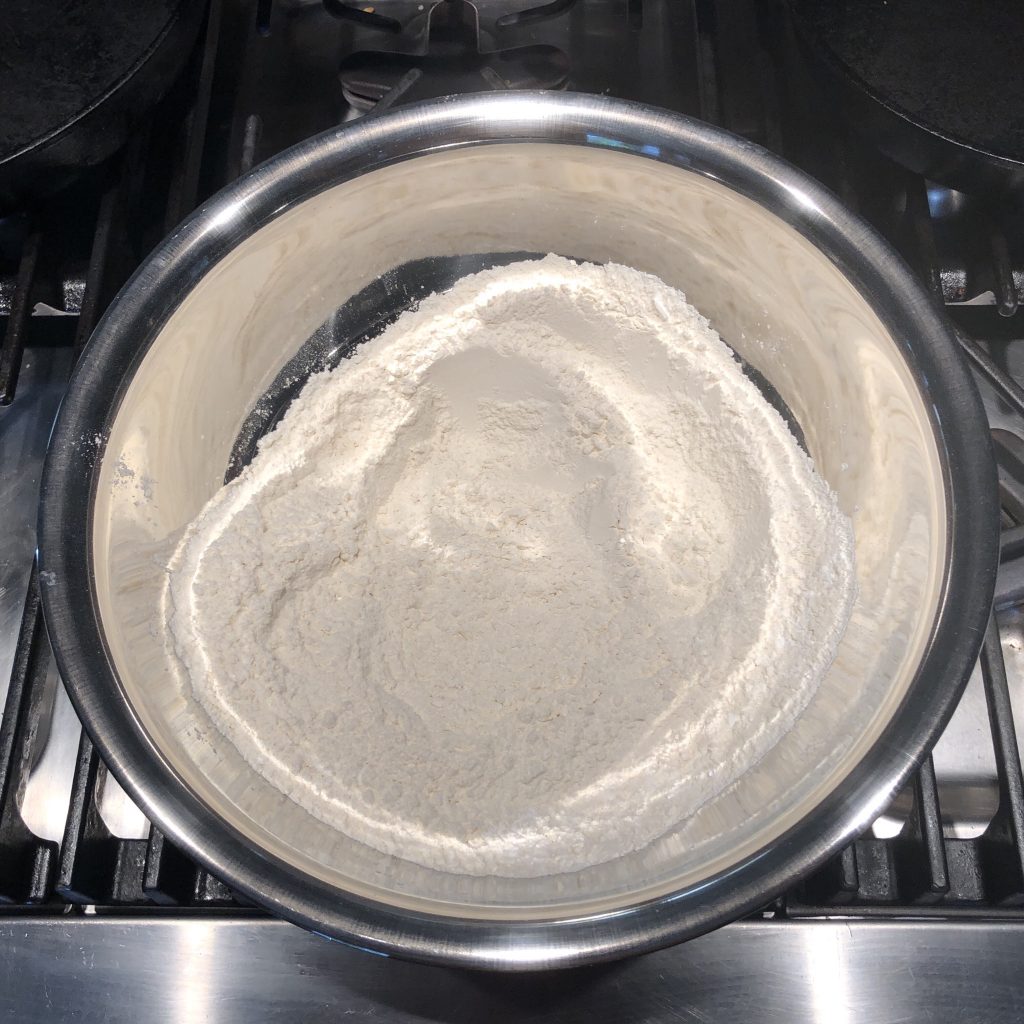
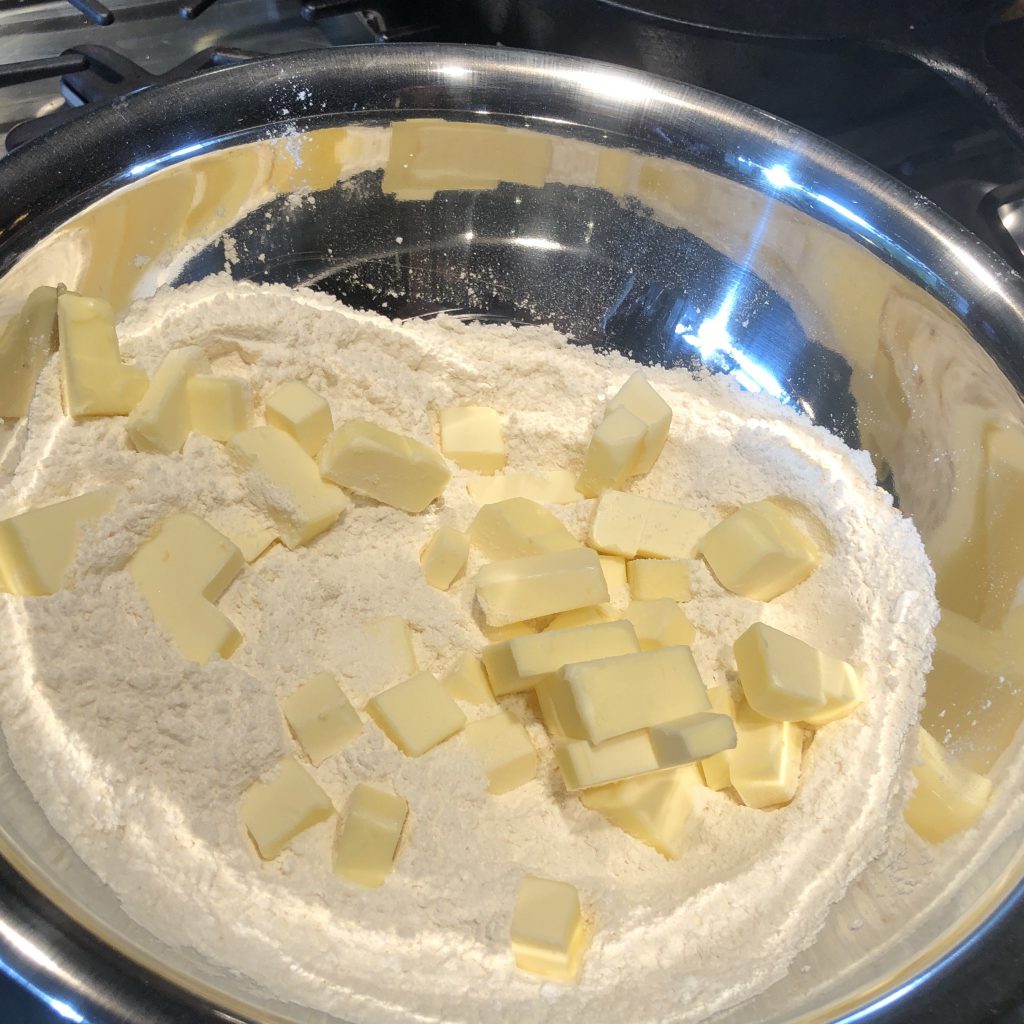
Begin the stew by making a roux. Melt 1.5 sticks of butter in a stock pot, add 2 chopped onions and chopped celery and sauté for 10 minutes or a little longer. Add the flour and stir for two minutes until it is quite thick.
Gradually add 5 cups hot chicken stock to the roux , stirring all along. Simmer and heat for 3-5 minutes.
Add carrots, peas, chicken, small whole onions and parsley. Add salt and pepper to taste. Start with 1 tsp pepper and 1 tsp salt. For me, it depends on the saltiness of the broth. Feel it from there! Ina’s original recipe called for some half and half to add creaminess , but I really don’t think you need it. Put aside until you are ready to cook. You can refrigerate this at this point.*
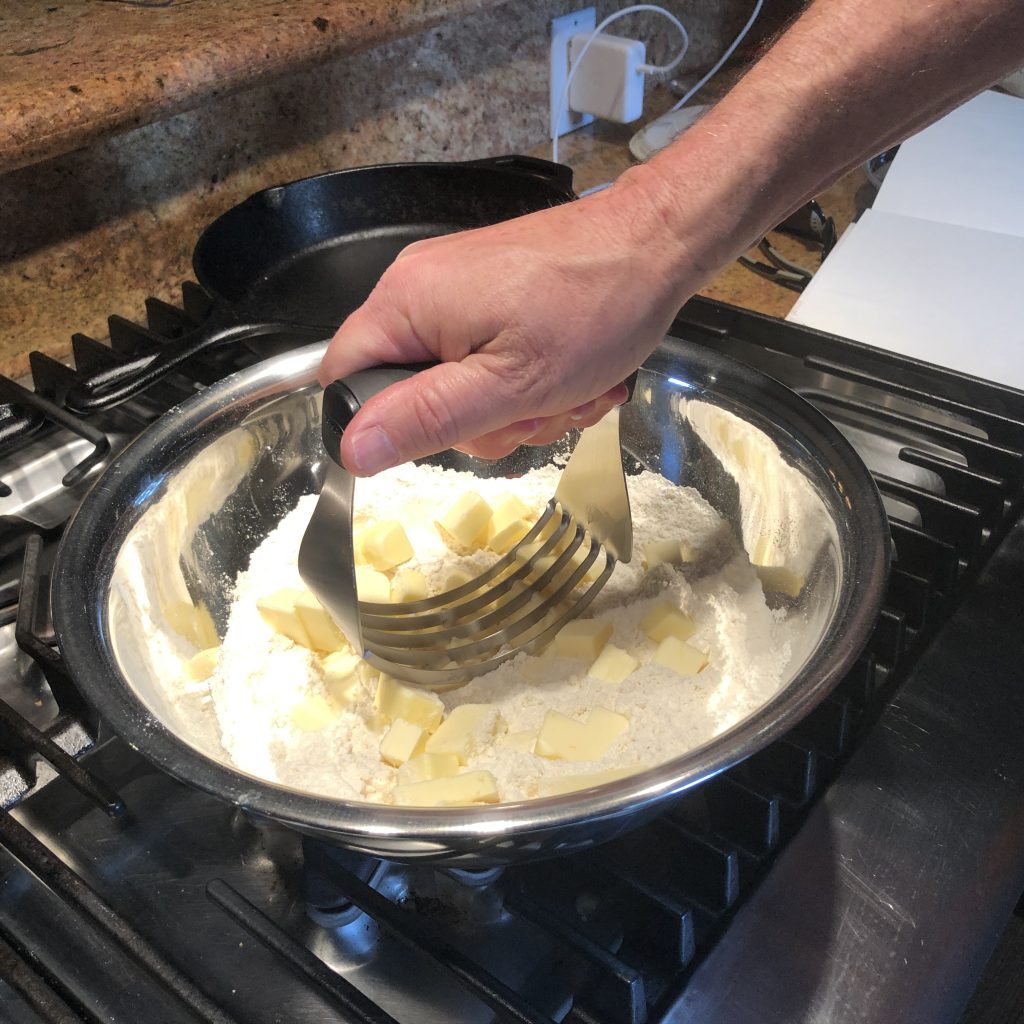
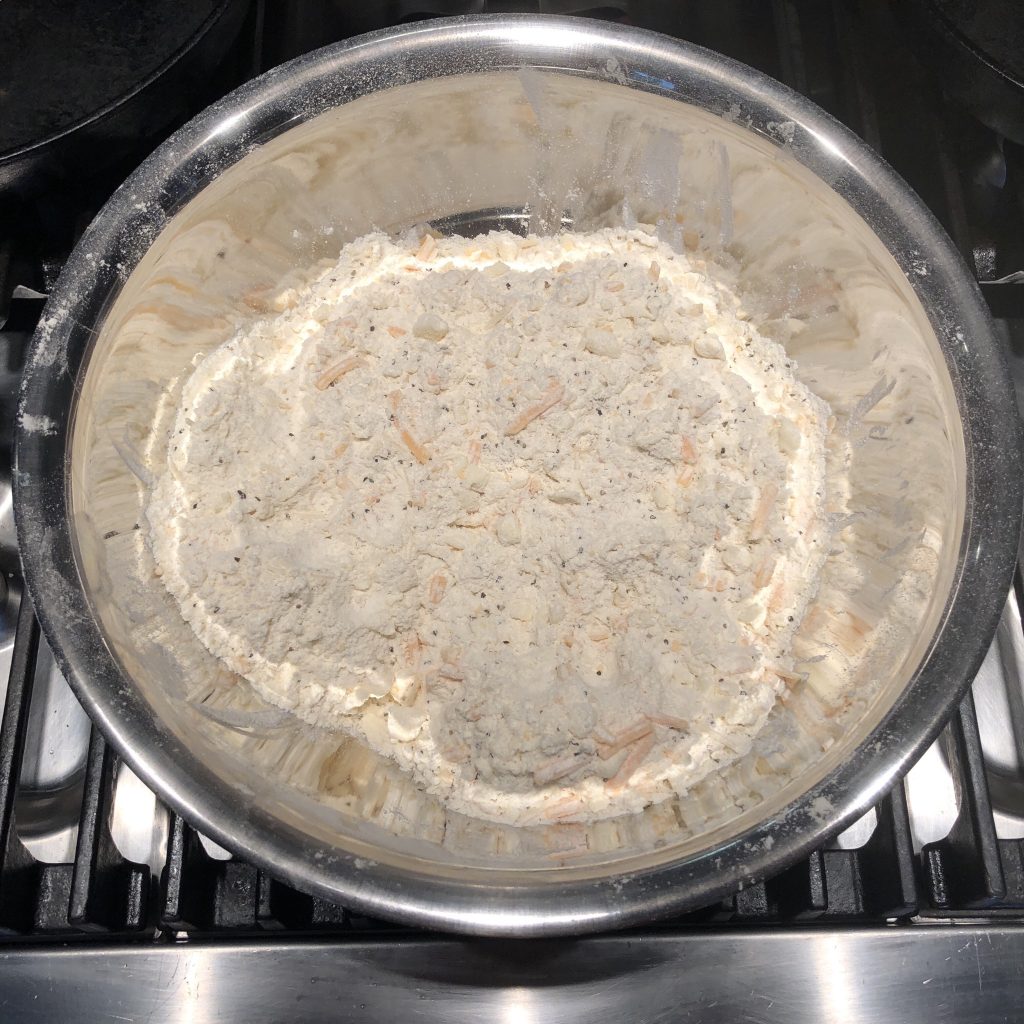
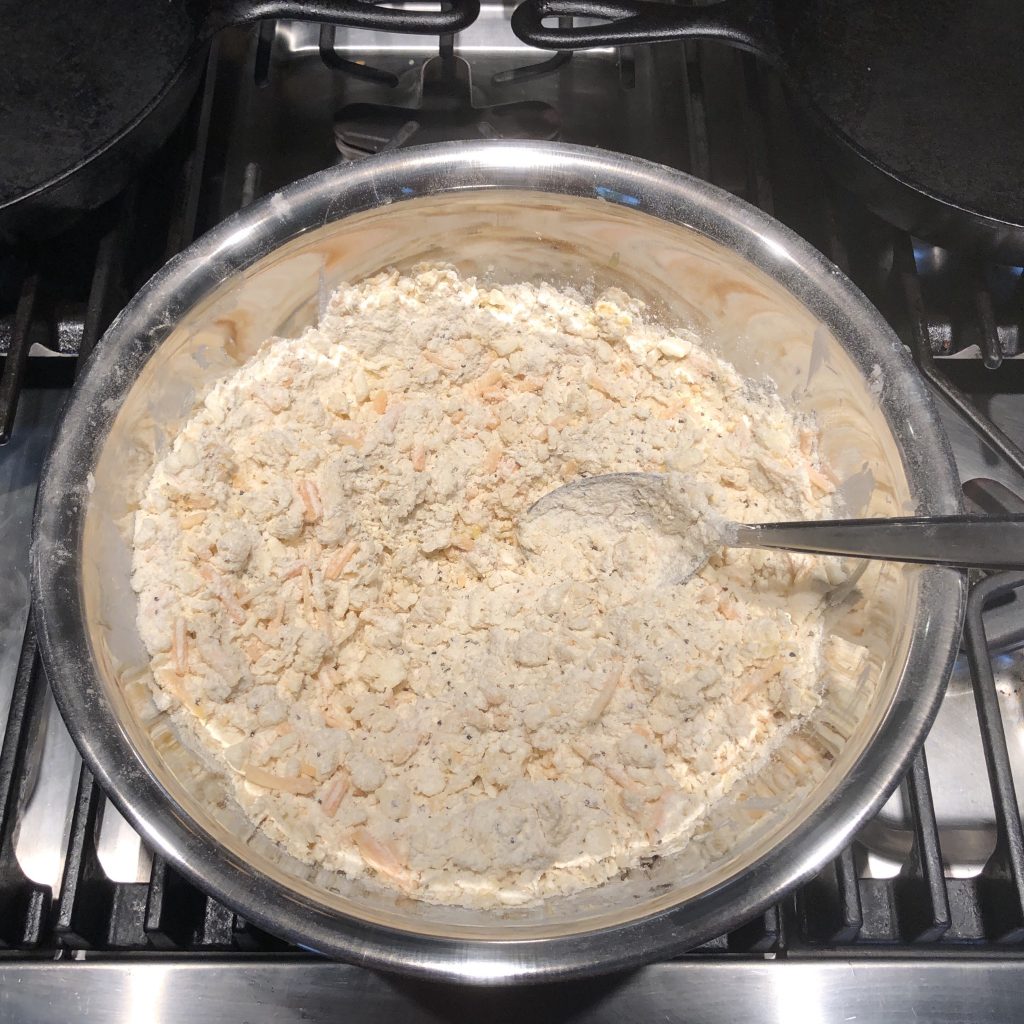
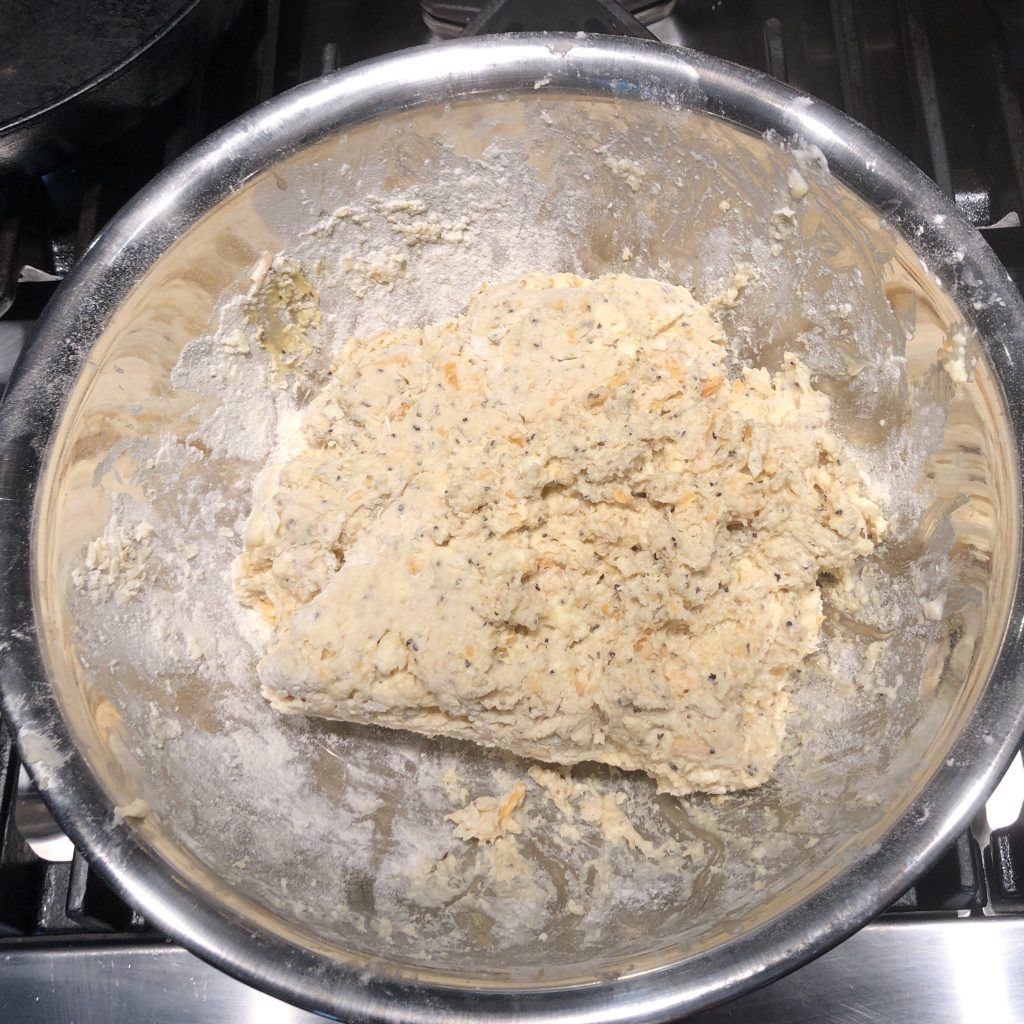
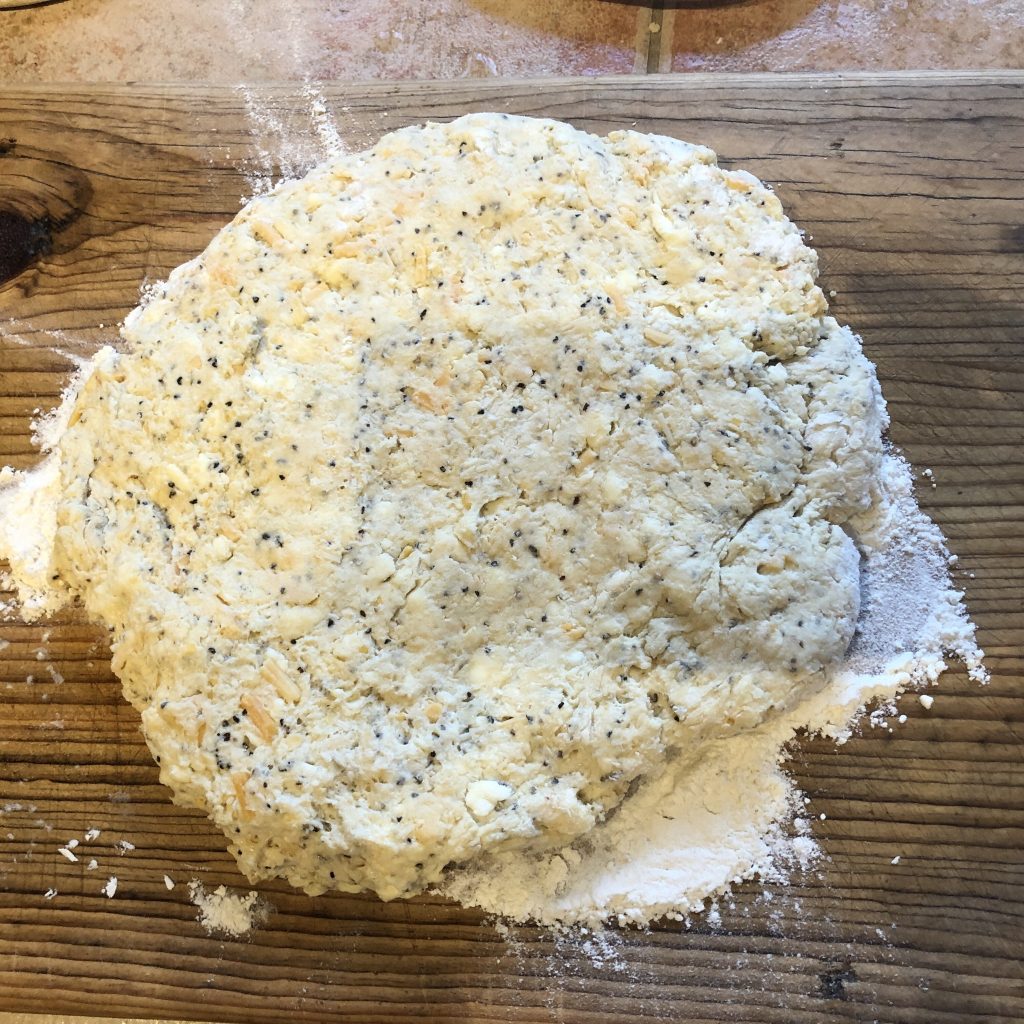
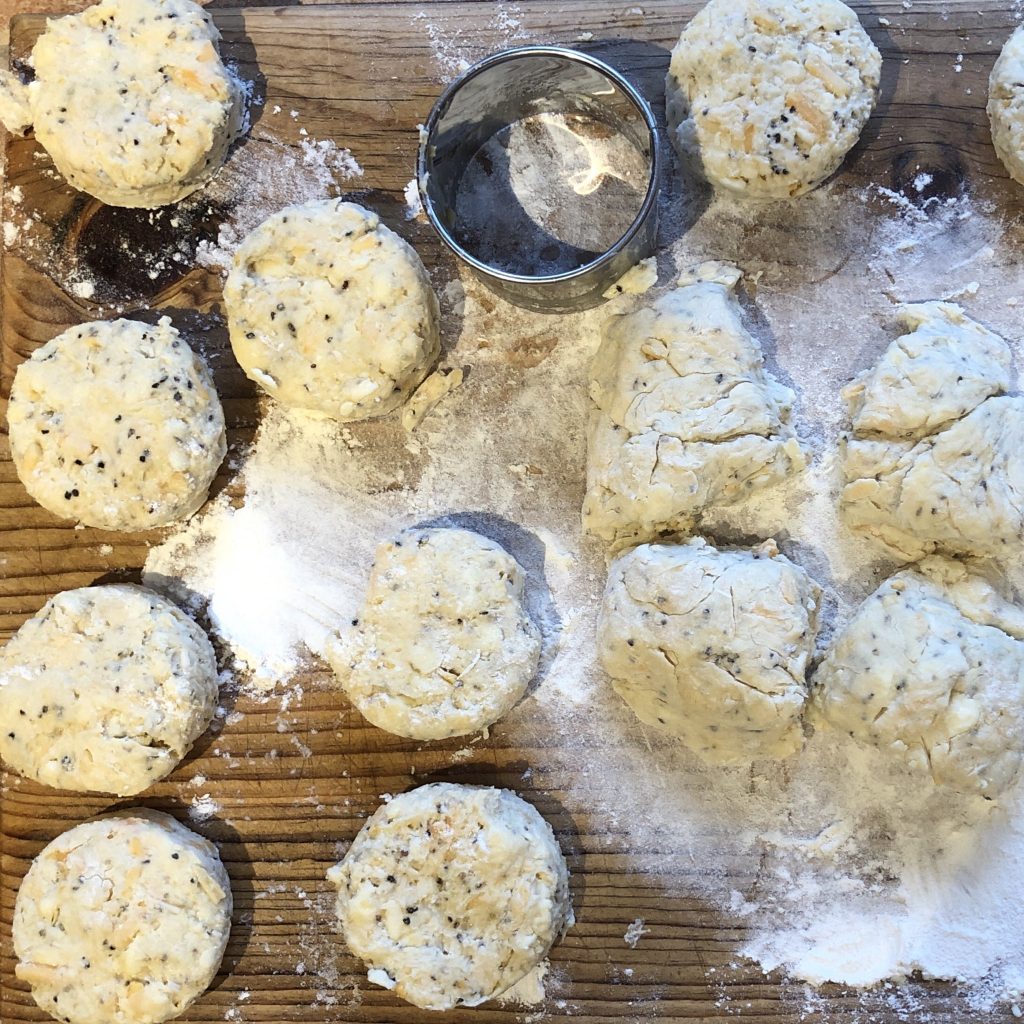
Making the Biscuits
Putting It All Together
When you are ready to cook, place the stew in a healthy big casserole dish (a little deeper than a normal 9×13 if you have it) and heat it until it is quite warm. This may take 15-25 minutes in a 350 degree oven.
After the stew is warm, place the biscuits on top and bake for another 30 minutes.
Take out and serve with a nice salad, or, since it has all the food groups in there (biscuits and everything else) just serve it on its own.
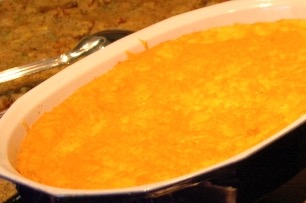
Growing up in the South, you didn’t ask for grits at a breakfast restaurant. They just came with the bacon and eggs. They are a cheap and filling food, and have just been part of southern menus for a long time. I do not crave grits. But cheese grits, that’s a different story. My mom always made cheese grits. They’re way better than just grits, far beyond ordinary, and deserving of a special place at the table.
Using non-instant grits is critical. If you are an oatmeal fan, then you should not be a fan of instant oatmeal. Instant oatmeal is a bunch of nothing. Steel cut or the whole grain oatmeal, the stuff that takes at least 10 minutes to cook, is the way to go. Same thing with grits. Get yourself some good stone ground grits (my favorite brand is Bob’s Red Mill), and you are ready to go. We serve this for dinners, pot lucks, and it’s even a staple on our Thanksgiving table.
Ingredients
1.50 cups Stone Ground Grits*We love Bob's Red Mill brand for all of our grains. See amount note in the directions. You want the right amount of grits to mix into six cups of water.
6 cups Boiling Water with 1 tsp saltYou can use a vegetable or chicken stock if you want more flavor.
4 cups Sharp Cheddar Cheese, grated
3 Eggs, beaten
8 tbsp Butter (1 stick)
2 tsp Kosher Salt
2 tsp Pepper, Black
1 tbsp Chili Garlic Sauce (Optional)
Directions
Cook the grits in boiling water until they reach a consistency where they won’t run off your plate and turn off heat.
Note: different grits have different measurements. Choose the right amount of grits to cook in 6 cups of water. Use some Common Core math skills here!
Add butter, and stir in until it is melted and blended.
Beat eggs in a small bowl, then spoon in some of the hot grits into the eggs and mix together (this keeps the eggs from cooking into scrambled eggs). Add back to grits and stir.
Mix in all but one cup of the shredded cheese.
Stir in salt, pepper, and if you want some spice (and you should!), the chili-garlic Sauce or your favorite hot sauce.

Prepare a nice casserole dish. A 13″ x 9″ size (3 quarts) is right. If you are using a deeper dish, you will need to bake a little longer. Use some butter or cooking spray and you’re set.
Pour the grits into the dish. You can refrigerate overnight at this point, or just go right to the next step.
When you are ready to bake, sprinkle cheese on the top. Bake at 350 degrees (325 convection) for 1 hour and 15 minutes, until just barely browned and the grits are set. 75 Minutes
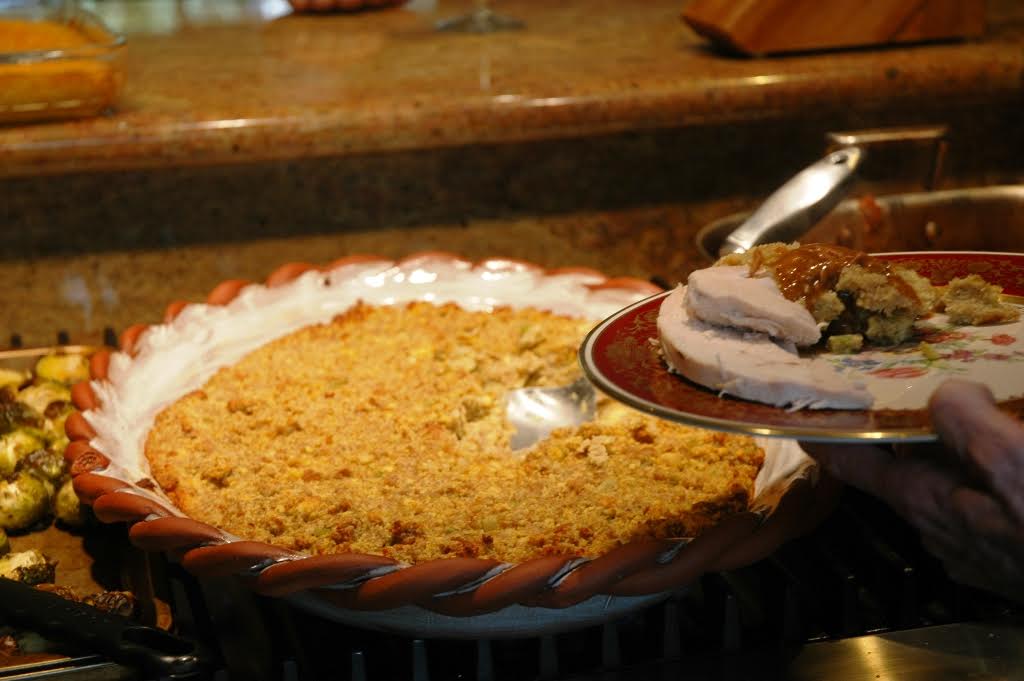
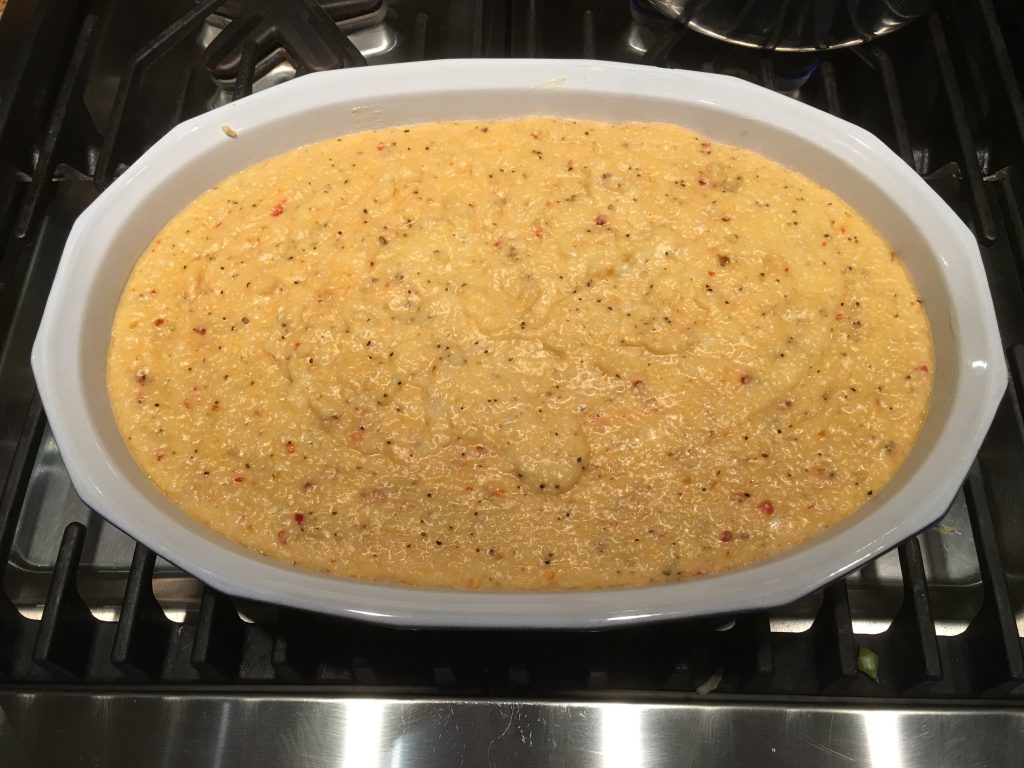
Granny Catlett was my cousins’ grandmother. I would see her quite often, as we lived just two doors down from our cousins, Kathy, James, Joe, and Helen. My brothers and sister (there were four of us too) were always at their house getting into some kind of mischief. Granny Catlett was kind and wonderful, always quick to smile, and she was a great cook. This recipe came out every Thanksgiving. Actually, there were two versions – this one, and the one with oysters mixed in. It was a bad day when you chose poorly. Everyone in my family who cooks uses this recipe – and this recipe makes no mention of oysters.
I think this is one of the many powers of cooking for people. These recipes are way more than chemistry. They are stories, they are memories of friends and loved ones, and they make us slow down and remember. That, my friends, is a good way to live.
Ingredients
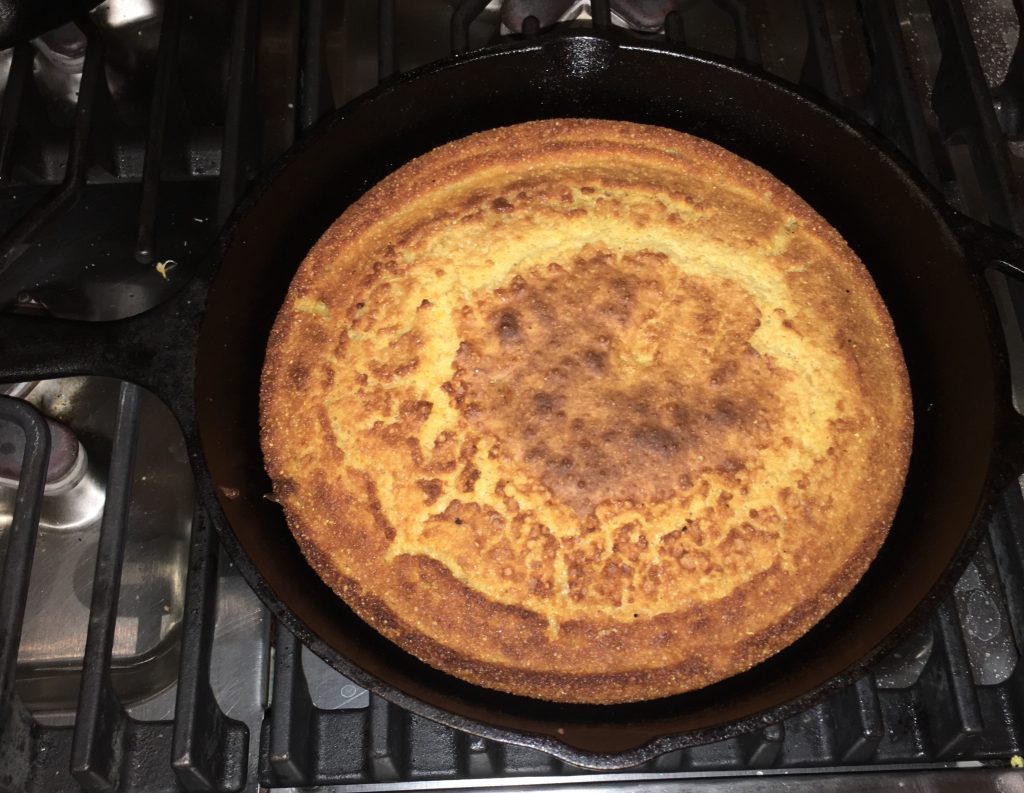
7 cups Cornbread (Make the night before if you want)
7 cups White Bread, slightly toasted
1 Bunch of Celery
1 Onion (Small – Use half if you’re not a big onion person)
4 cups Organic Chicken Broth
½ cup Butter (1 Stick)
4 tsp Salt
2 tsp Pepper
1 tsp Poultry Seasoning
2 tbsp Sage
2 Eggs (Beaten)
1 cup Milk
Directions
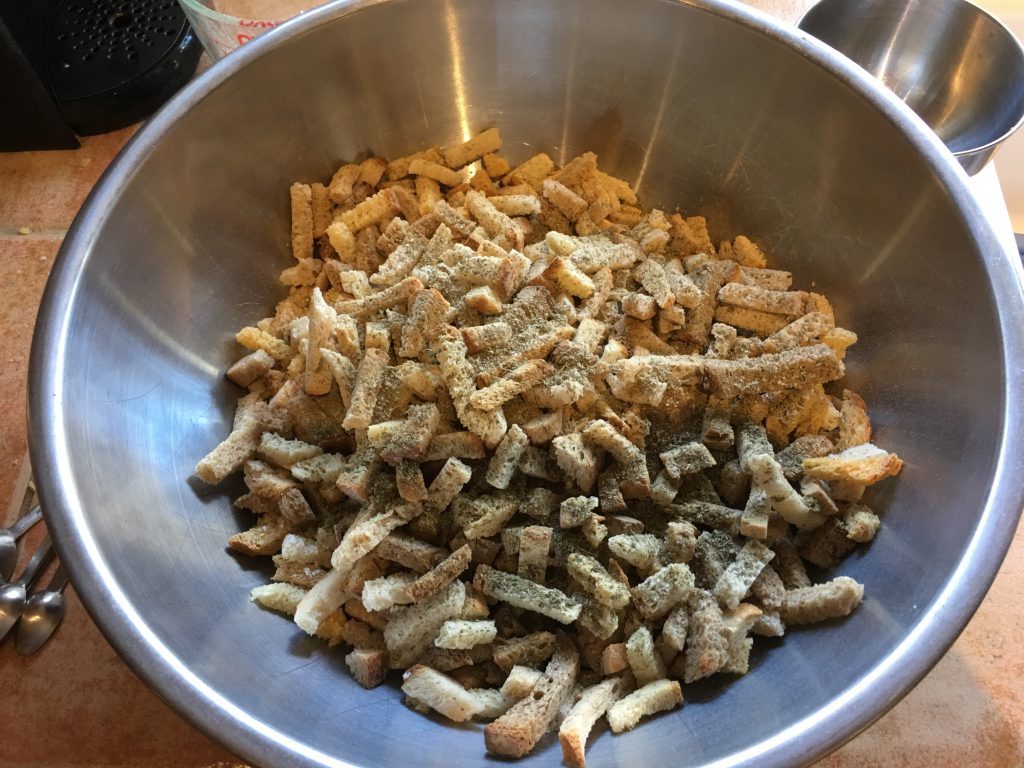
Make cornbread the night before. Crumble 7 cups of cornbread and place into large bowl.
Slightly toast 1/2 loaf of white bread. I use my oven for this. Just put the bread right on the racks and heat for 3 minutes at 350. This dries it out. Crumble 7 cups (just break and tear) and add to large bowl.
Sauté chopped Celery and Onion in the butter. Get it nice and soft.
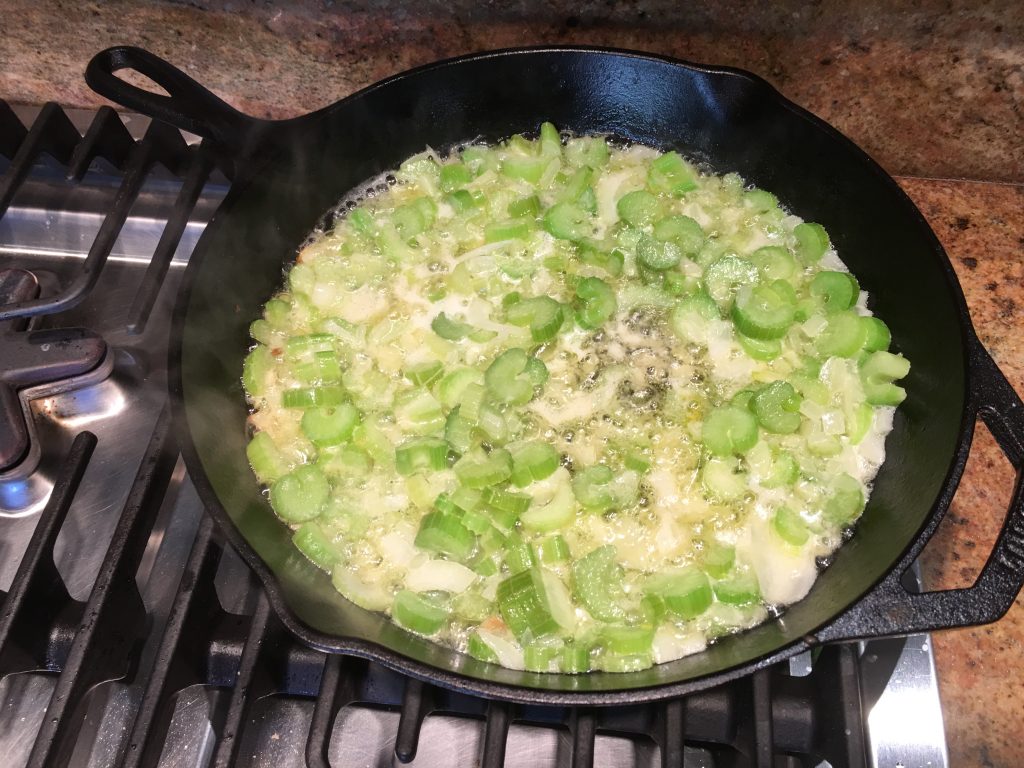
Add all of the seasonings. Give the whole mixture a few gentle stirs to mix it up.
Add onion and celery, and everything else into the large bowl! It should be thick, pouring in large globs. Add broth if it’s too thick. Add cornbread if it’s too runny.
Bake at 350 degrees for 45 minutes, or until it’s slightly brown on the top and a little crispy.
Note: You can prepare this the day before (no baking) and refrigerate it overnight. Take out of the fridge one hour before baking.