Chicken Wings

Wings are something I’ve always enjoyed, but I’ve never made them until recently.   I’m a fried chicken lover, but it’s so much work, and until I get an outdoor fryer, I’m steering clear.   When I do, chickens and catfish beware! These wings are not too hard to make, and the results are fantastic.


Ingredients

1.50 lbs Chicken Wings, per person
BBQ Rub or Marinade*
¾ cup Cholula Hot Sauce Or Your Favorite Hot Sauce
8 oz Butter (1 stick)
cup White Vinegar
½ tsp Garlic Salt

Directions

Sprinkle some Arkibu Rub or Salt and Pepper on the wings at least one hour before cooking. Doing it overnight is even better. You can also marinate it in Hot Sauce or Teriyaki sauce or Korean Marinade. I recommend the rub before and the sauce after.

Preheat oven to 350 and get a grill or your Big Green Egg going at about 400 degrees.

Put seasoned wings on a rimmed baking sheet or in a 9×13 pan and roast in the oven for about 20 minutes. Remove and head outside.

Put the wings over direct heat for about 5 minutes, then turn and heat for another 5 minutes. They should be beautifully crisped up by now. You don’t need to sauce them up on the grill.

Make the sauce. Melt the butter, and add hot sauce, vinegar, and garlic salt.

Put wings in a big stainless steel bowl, pour sauce over them, and move the bowl around so that the wings spin around until they are coated and ready to go. (This is what restaurants call the “hand spun” wings. Such a crazy way to describe a simple process.)

Add some green onions or blue cheese sauce if you like. I like having celery too, as it turns this into a health food dish.

Cheese Grits

grits-sprouts-dressing

Growing up in the South, you didn’t ask for grits at a breakfast restaurant. They just came with the bacon and eggs. They are a cheap and filling food, and have just been part of southern menus for a long time. I do not crave grits. But cheese grits, that’s a different story. My mom always made cheese grits. They’re way better than just grits, far beyond ordinary, and deserving of a special place at the table.

Using non-instant grits is critical. If you are an oatmeal fan, then you should not be a fan of instant oatmeal. Instant oatmeal is a bunch of nothing. Steel cut or the whole grain oatmeal, the stuff that takes at least 10 minutes to cook, is the way to go. Same thing with grits. Get yourself some good stone ground grits (my favorite brand is Bob’s Red Mill), and you are ready to go. We serve this for dinners, pot lucks, and it’s even a staple on our Thanksgiving table.

Ingredients

1.50 cups Stone Ground Grits*We love Bob's Red Mill brand for all of our grains. See amount note in the directions. You want the right amount of grits to mix into six cups of water.
6 cups Boiling Water with 1 tsp saltYou can use a vegetable or chicken stock if you want more flavor.
4 cups Sharp Cheddar Cheese, grated
3 Eggs, beaten
8 tbsp Butter (1 stick)
2 tsp Kosher Salt
2 tsp Pepper, Black
1 tbsp Chili Garlic Sauce (Optional)

Directions

Cook the grits in boiling water until they reach a consistency where they won’t run off your plate and turn off heat.

Note: different grits have different measurements. Choose the right amount of grits to cook in 6 cups of water. Use some Common Core math skills here!

Add butter, and stir in until it is melted and blended.

Beat eggs in a small bowl, then spoon in some of the hot grits into the eggs and mix together (this keeps the eggs from cooking into scrambled eggs). Add back to grits and stir.

Mix in all but one cup of the shredded cheese.

Stir in salt, pepper, and if you want some spice (and you should!), the chili-garlic Sauce or your favorite hot sauce.

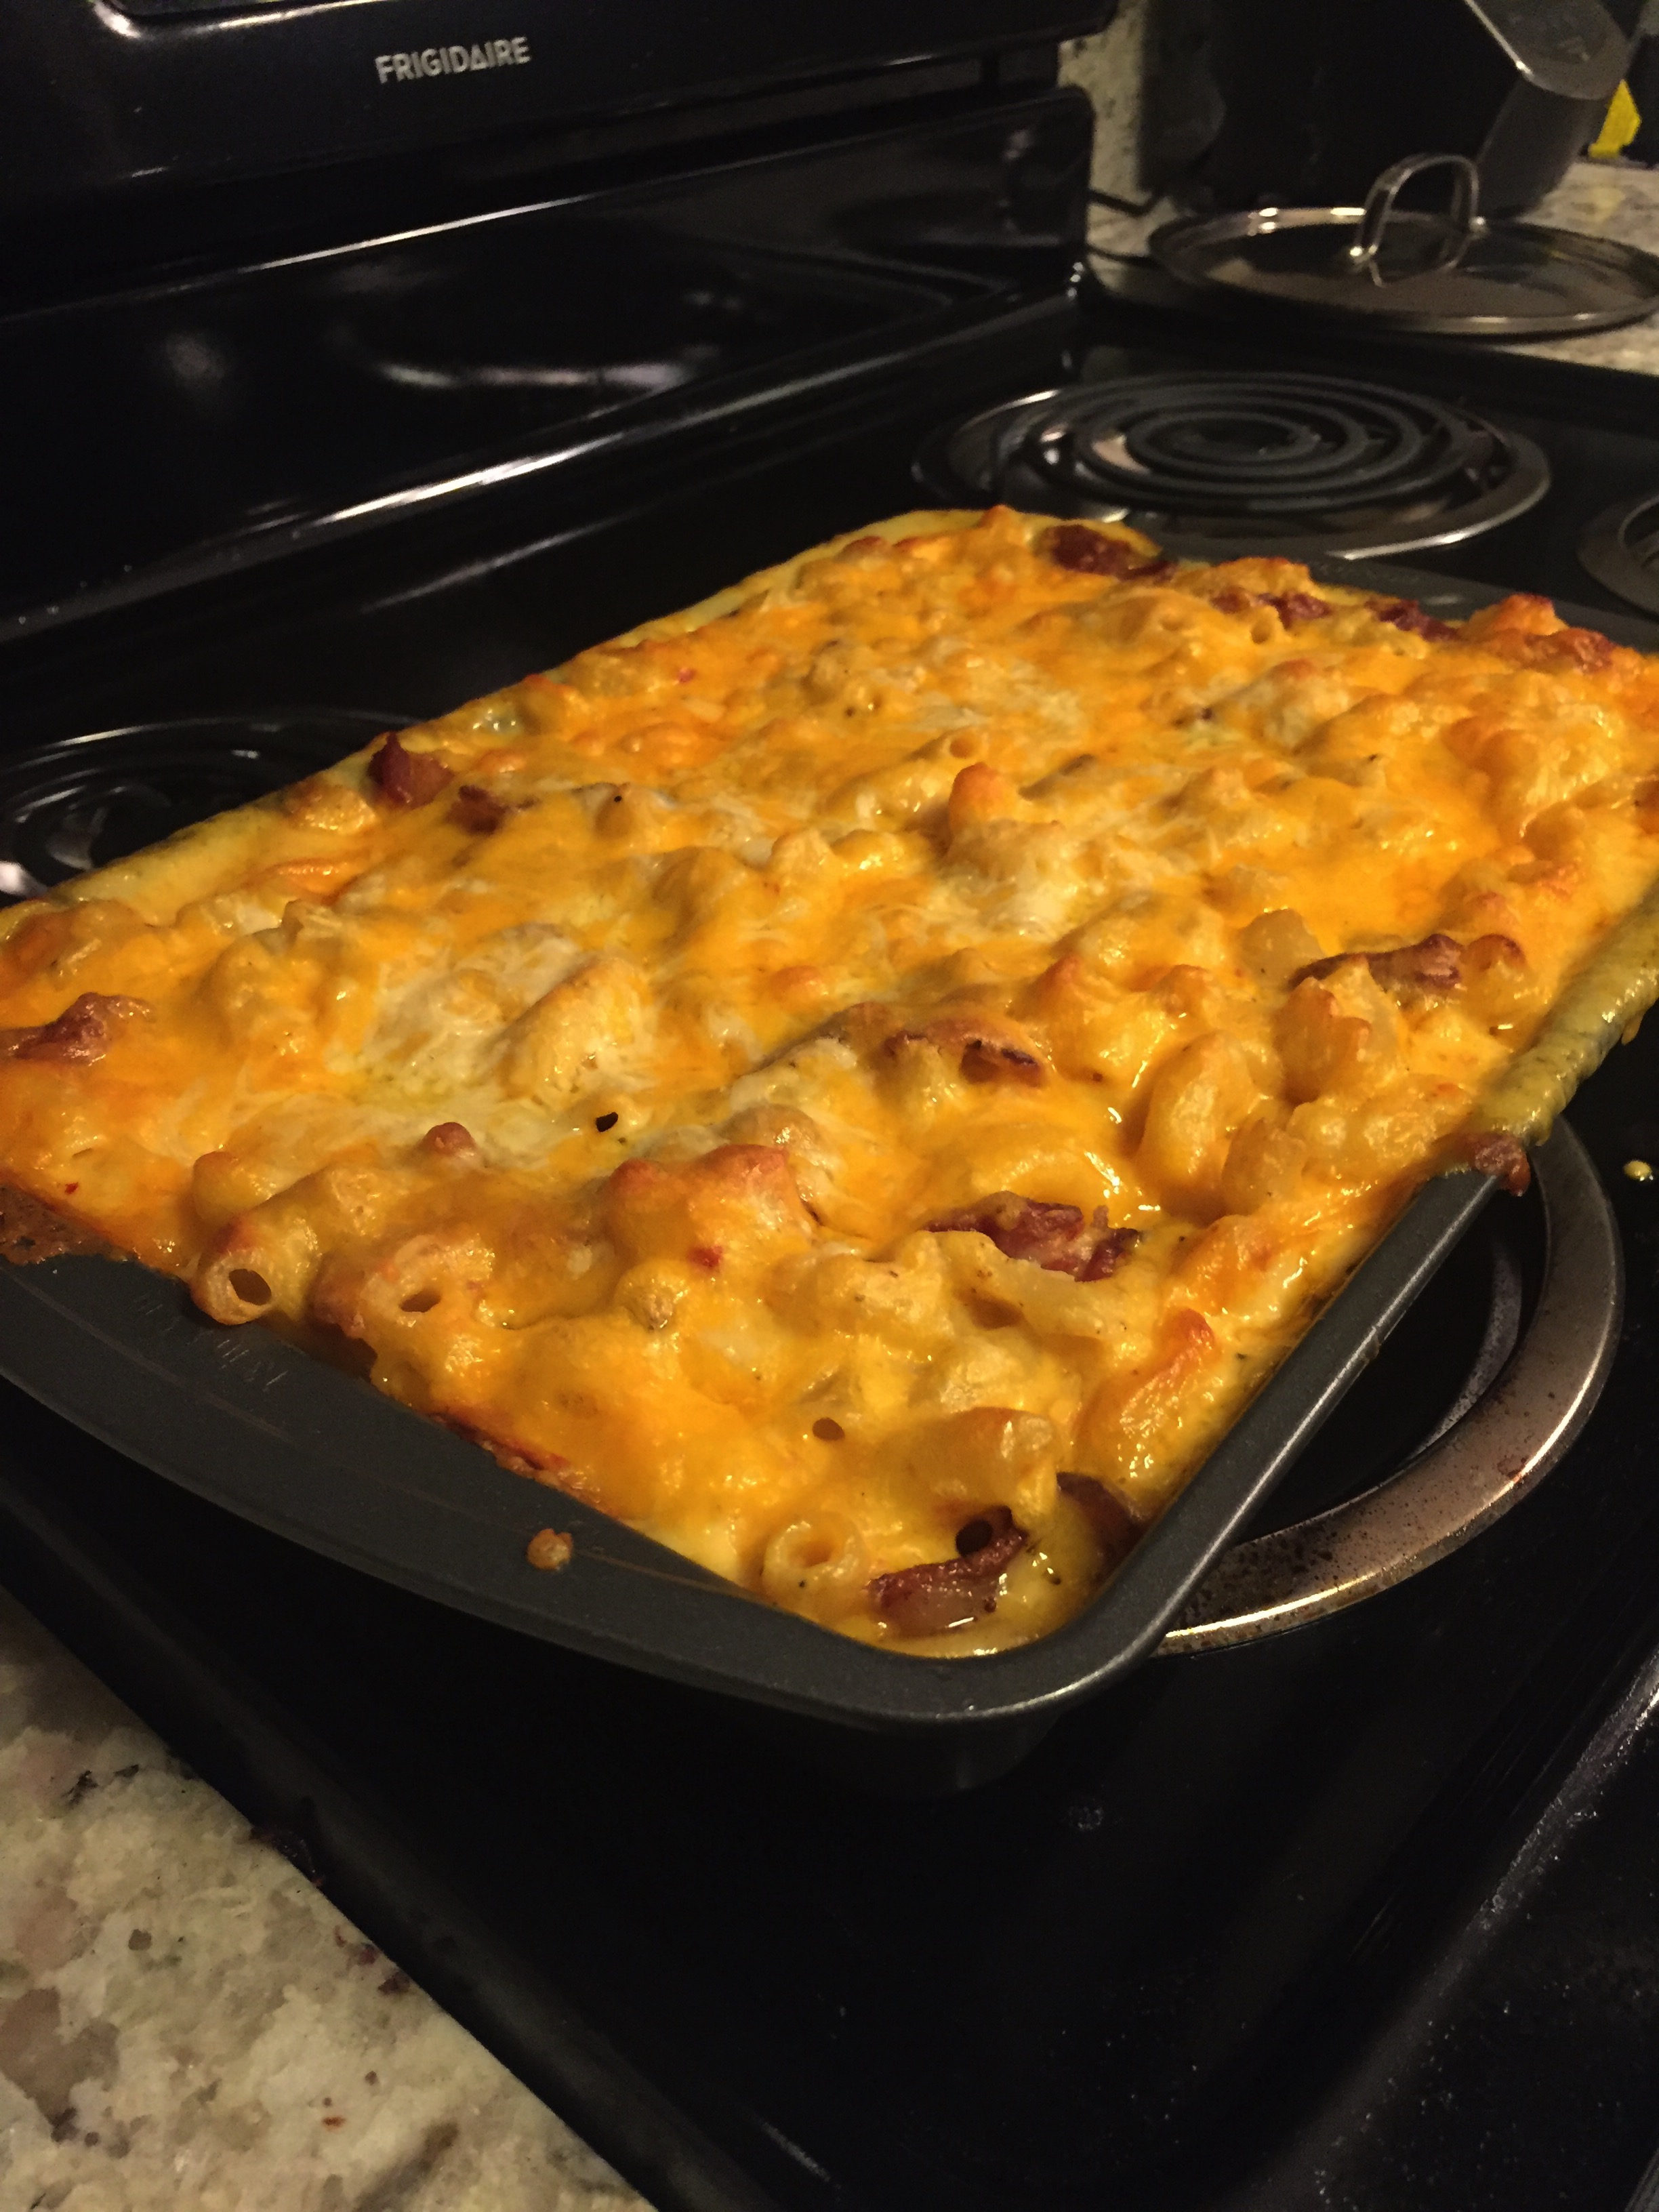
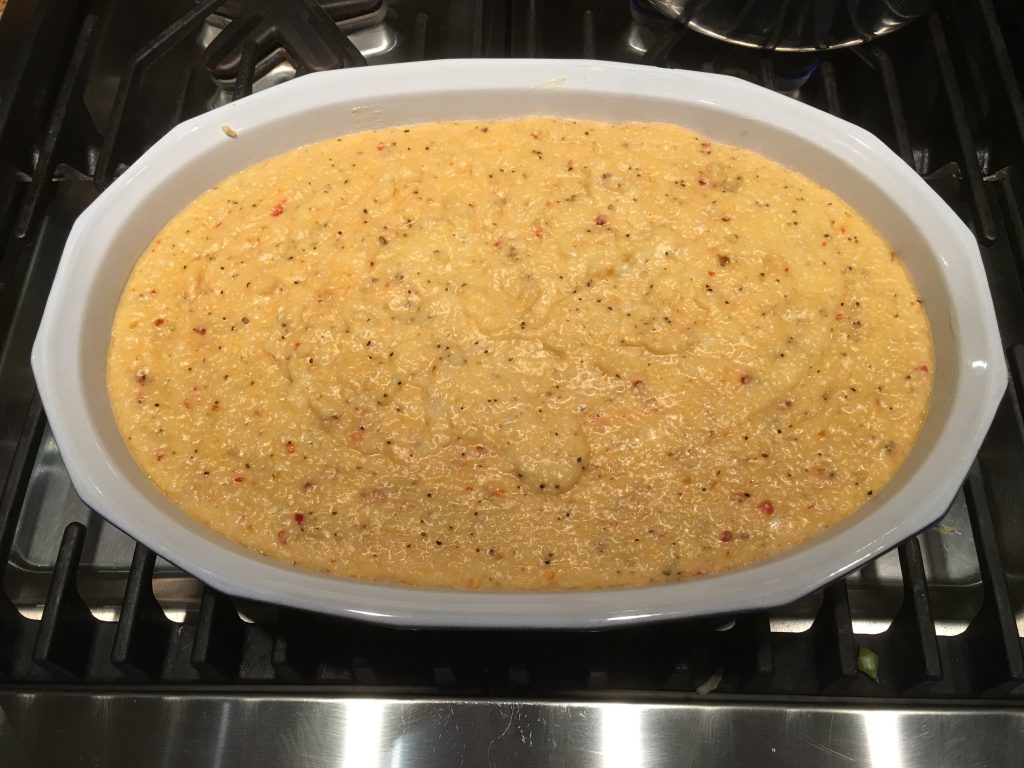
Prepare a nice casserole dish. A 13″ x 9″ size (3 quarts) is right. If you are using a deeper dish, you will need to bake a little longer. Use some butter or cooking spray and you’re set.

Pour the grits into the dish. You can refrigerate overnight at this point, or just go right to the next step.

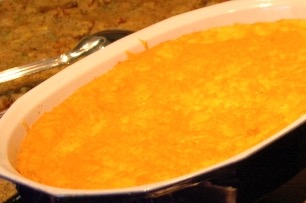
When you are ready to bake, sprinkle cheese on the top. Bake at 350 degrees (325 convection) for 1 hour and 15 minutes, until just barely browned and the grits are set. 75 Minutes

Oatmeal Chocolate Chip Cookies

It’s not often that a dad gets to be a hero. But every time I get two sticks of salted butter out of the refrigerator and ceremoniously lay (or for more effect, slap) them out to soften, there is an audible cheer in the house. They’re that good. And it’s just the old (not the updated!) version of the Quaker Oats recipe, with a few ever so slight changes.

So here’s the thing. If you buy a cardboard cannister of Quaker Oats, you still find the recipe for their “Vanishing Oatmeal Cookies” on the underside of the lid. But don’t be fooled. It’s the updated version, with way less butter. As the drive-in movie review columnist Joe Bob Briggs says, “Communist Alert!” As any chef, more butter is better. So let’s stick with the old recipe, get rid of those pesky raisins, and add some chocolate chips. Here’s my recipe.

Ingredients

3 cups Quaker Oats (Old Fashioned are the best)
1.50 cups White Flour
¾ tsp Kosher Salt
1 tsp Baking Soda
1 tsp Cinnamon
1 cup Butter (Two Sticks), Softened
1 cup Brown Sugar
½ cup White Granulated Sugar
2 Eggs
1 tsp Vanilla
1 cup Chocolate Chips, Semisweet

Directions

Mix Dry Ingredients (First Five) in a bowl.

In a mixer, mix butter and sugar. Beat until smooth. Mix in eggs and vanilla.

Mix wet and dry ingredients in one bowl.

Add chocolate chips and mix in.

Bake for 10 minutes in 325 degree convection oven, or 350 degrees regular oven. Removed when browned.

Cool on rack, then serve while they are still warm.

If you want to save dough, wrap in wax paper, then place in plastic bag. Thaw for at least 30 minutes before cooking.

Jilly’s Mini Pumpkin Pies

Once the Halloween Tree goes up, it’s time for Jilly’s Mini Pumpkin Pies! My wife Jill is an inventor. She has invented so many things over her life, the smartphone for example. She was way ahead of Steve Jobs. In 2003, long before the first iPhone in 2007, when she was holding her Treo 300 Palm Pilot in one hand, and her cell phone in the other, she knew they should be merged as one. We don’t make a lot of money off of her inventions, but we enjoy it when someone else finally figures it out.

These mini-pumpkin pies may be one of her greatest inventions. A friend of ours published the recipe in a cookbook, but did not give Jill credit. She’s OK with that, but come on! I bet we make five or six batches of this every fall. They’re a great dessert, breakfast, snack, or whatever you want them to be.

And here’s how I eat them. I peel away the muffin liner, hold the mini-pie in my hand, put whipped cream on top of that, and eat it in three bites. Let us know what style works best for you!

Oh! And that picture below? That’s Jill getting the honor of putting the witch on top of the old Halloween Tree! Wait. You don’t all do that? Our holiday tree comes out in October and becomes a Halloween Tree, then a Thanksgiving Tree, then a Christmas Tree. And if I had it my way, it would stay up the whole year long, arborally celebrating the different holidays. Alas, like many things in my home, I don’t get it my way, and I live with nine, sad, holiday treeless months. But I can’t wait for October!

Ingredients

1 14.5 oz Can Pumpkin – We Like Libby’s
1 Can, Sweetened Condensed Milk
2 tsp Pumpkin Pie SpiceWe think McCormick's is the best brand for this
2 Eggs
28 Ginger SnapsThe Nabisco Ginger Snaps are perfect.
Whipped CreamI usually like homemade, but the spray can works so well here.

Directions

Mix pumpkin, sweetened condensed milk, pumpkin pie spice, and eggs in a mixer or with a spoon.

(Note: If you want to make a big pie, just pour this into a pie crust and bake at 425 degrees for 15 minutes, then 350 degrees for 30-40 minutes, until a knife/toothpick comes out cleanly.)

Put a Gingersnap in the bottom of 28 foil cupcake cups arranged on 8.5 x 13 casserole dishes. Put 1/4 cup mix in each cupcake cup.

Bake at 425 for 15 minutes, then at 350 for 20 minutes.

Let cool. Then serve with whipped cream!

Green Lentils and Vegetables

I put this recipe together when we were attending a pot luck with many vegetarians in attendance. It’s a great protein, with so many beautiful veggies in it. And it’s a stunning dish to bring in to a a party. I believe this can serve 12 people easily, and it’s a perfect veggie dish for a pot luck dinner.

Ingredients

1.50 cups Green Lentils, sorted and rinsed
1 Bay Leaf
2 tsp Olive Oil/Vegetable Oil
1 Onion, diced
6 Carrots, diced in 1/2″ to 3/4″ pieces
4 Celery stalks, diced in 1/2″ to 3/4″ pieces
4 Garlic Cloves, mashed/pressed
1 tbsp Tomato Paste
cup Red Wine
2 tsp Dijon Mustard
2 lbs Spinach or Baby Spinach, Washed
3 tbsp Butter (Optional)

Directions

Preparing the Lentils and Vegetables

Place Lentils and Bay Leaf into 3 Cups Water. Add 1 tsp salt and bay leaf. Bring to boil then keep simmering for about 20 minutes. DO NOT OVERCOOK! Lentils should hold their shape and have some texture. Set aside when ready. 20 Minutes

Add 2 tbsp vegetable/olive oil mixture. Add onion, carrots and celery. Season with 1 tsp salt and 2 tsp pepper. Sauté for 8 minutes.
Add garlic and sauté for 1 minute.
Add tomato paste and mix in.

Pour wine into vegetables, and simmer for 8 minutes until wine is syrupy.

Stir in the mustard.
Stir in the lentils.
Stir in butter for extra goodness! (Or don’t if you want to keep the vegan goodness!)
Turn off heat and set aside. Do not cover. You don’t want to overcook the lentils.

Preparing the Spinach

I do this in two quick batches. In a large sauce pan, heat 1 tsp olive oil and 1 Tbsp butter. Add one clove of pressed garlic. Add spinach. Add salt and pepper (1/4 tsp each) Wait 1 minute then start stirring until it’s sauted and ready. This should take 3-4 minutes. Remove and drain in colander.

Repeat with 2nd pound of spinach.

Assembling the Dish

In a nice casserole dish, add the spinach and push to the edges.

Add the lentils in the middle. Garnish with parsley if you like and you are ready to serve!

If you are going to a pot luck, cover with foil and heat in the oven there for 10 minutes before serving.

Baked Brie

We have made this dozens of times, for our own parties and as an appetizer for others.  Each time I have served it, people can’t get enough of it.  We’re kind of famous for it in our own neighborhood.  It’s not hard (don’t tell the neighbors), and you can be as creative as you want with the filling. I’ve used phyllo dough and I’ve used puff pastry. The puff pastry is way easier , I mean WAY easier, to make and much less mess when you eat it.

Ingredients

1 6″ Wheel of Brie Cheese
1 Sheet Puff Pastry, thawed
½ cup Fig Jam
¼ cup Slivered Almonds

Directions

Thaw out the puff pastry per the package directions.

Scrape much of the rind off the brie wheel. It doesn’t have to be perfect.

Lay the brie on the puff pastry. If if needs to be larger to cover it all, get a roller and roll it out until it is the right size.

Lay the brie on the puff pastry. With a knife, draw a slight outline around the puff pastry. Remove the brie and put your toppings inside the circle you have created.

Lay the Brie on top of the toppings. And wrap the edges of the pastry around the brie. Crimp all pastry to try to have a tight seal. Turn the wrapped brie over and place it in a pie plate. You can refrigerate it now until you are ready to bake.

Brush some egg white on top of the pastry. Cook in a pie pan at 350 for 20 minutes or so until the pastry is nice and golden. Let it sit for at least 15 minutes and serve. It is beautiful and tasty! Serve with crackers or french bread.

Spicy Cranberry Sauce

img_6620

I started working on a spicy cranberry sauce back in 2010, and I really like this recipe that is an amalgamation of many ideas. It’s a hit on Thanksgiving and great with leftovers, and it just takes a little time. It’s not that spicy, and it tames with time. I hope you like it!

Ingredients

12 oz Fresh Cranberries
14.50 oz Can, Whole Berry Cranberry Sauce
12 oz Orange Marmalade
1 Onion, Small, diced
1 Apple, peeled and diced
1 Green Pepper, Cored, and Diced
2 diced jalapeños (2 peppers)
1 lime, juiced and zested

Directions

Mix it all together in a saucepan over medium heat.

Cook for for two to three hours, until the consistency starts to feel a little thick and the cranberries have cracked open. 120 Minutes

Refrigerate overnight and you are set!

Macaroni and Cheese


I am asked to bring this dish to parties all the time.  It’s such a hit with my family, friends, and co-workers.  This recipe takes a little time, but it’s a crowd pleaser, and great for leftovers.  Little kids may still like Kraft more, but once they have real taste buds, this takes the cake! It’s an entree, it’s a filling side dish, and it’s always a hit.

Ingredients

16 oz Large Elbow Macaroni
4 cups Sharp Cheddar Cheese
1 cup Grated Parmesan Cheese
4 cups Whole Milk, warmed
6 tbsp Butter
6 tbsp Flour (White)
2 tsp Kosher Salt
2 tsp Black Pepper
1 tbsp Chili Garlic SauceMaybe more – People love the zing!

Directions

In a large pot of salted water, boil macaroni. It should be al dente, as it will cook more in the oven. When finished, drain and rinse. Set aside.

Heat up the milk (I microwave it in a big Pyrex measuring cup, but old fashioned stove heating works perfectly too) so that it is nice and warm, almost hot. This will make the cooking go a lot faster. Make a roux by melting butter and whisking in flour. This is quick, so have your milk ready to pour in.

When the roux is thick and bubbly, start gradually add the milk, one cup at a time. Stir with a whisk, until it thickens, then add more milk. When all milk is added, you are done when it reaches it should a pancake batter like consistency. Don’t go too thick – – it will thicken more as it bakes up nicely. Turn off the stove heat.

Stir in salt and pepper, but taste it and see what you like. Add the chili-garlic paste for a little fire. 1 Tbsp is not that much, and people will like it!

Add 3 cups of the sharp cheddar and half of the fresh Parmesan. Mix well until it melts in.

Pour into a baking dish. This should fit into a nice 9 x 13 dish. At this point, you can refrigerate, then take it out about an hour before you are ready to bake it. Or, if you’re ready to go now, go now!

Add the remainder of the cheese on top, and bake at 350 degrees for 30-40 minutes, until the cheese is a little brown and the dish is bubbling. (If you refrigerate prior to baking, cover with foil for the first 15 minutes, then bake for 30-40 minutes.

Pulled Pork

Pulled Pork – The greatest BBQ food there is. You can make it perfectly every time with a good piece of meat, a smoker, some rub, and a meat thermometer! Pork Shoulders (also called Pork Butts?) are not small, so this is not a family dinner. This is a dinner/bbq with friends. I’ve made it for 8 people, and I’ve made for 100. As long as you have room on your smoker, there’s not much difference in effort. If you don’t have a smoker, there are a zillion great crockpot recipes out there, so don’t let that stop you.

Ingredients

1 Boston Butt (Pork Shoulder) Bone-In (Preferred) or Boneless, 10-14 pounds
½ cup BBQ Rub

Directions

Preparation

If using a boneless pork shoulder (aka Boston Butt), tie it up with twine, widthwise and lengthwise.

Seasons with at least 1/2 dry rub. Buy one you like at a store or use my Arkibu rub recipe. Cover every inch of the meat. Use your hands, and feel free to use some plastic gloves to keep everything clean.

Place in a pan and cover, or cover with plastic wrap or foil. I like to let it sit for at least 12 hours.

Smoking that Bad Boy

Prepare your Big Green Egg or other smoker. Stabilize it at 300 degrees of indirect heat.

Soak some apple wood chips or the chips of your choice. Subtle is better here. You only need to add smoke for the first part of the recipe. The smoker will do the rest.

Put the pork on the smoker and close it up. If you have a thermometer that you can keep an eye on the temperature with, insert that now.

Now you wait.

It’s going to be 5 to 7 hours, because nothing is exactly predictable. What is predictable is that 195 degrees is perfect, and take it off the egg once it’s there.

Take it off the egg, place on a large rimmed cookie sheet, one of those great disposable foil pans (pictured), or other pan, and cover tightly with foil for at least one hour.

You can keep ready to go for about six hours by putting the foil-wrapped pieces in  a high quality cooler, covering them with a towel, and closing the cooler.  I’ve had it sit in foil in a cooler for 7 hours, and it was still hot and ready to pull when I opened it up.

When you are ready to pull it, take the foil off and pull apart.  I use the bear claw tools that are helpful.  Some people just use forks.  

Don’t mix in BBQ sauce. It’s too good for that. But serve with BBQ sauce in a bowl or a squeeze bottle for people to use.

If you need to reheat it after refrigerating the pulled pork, put it in an oven at very low heat (200) with a little apple juice, or, my method is to put a little apple juice at the bottom of a large crock pot and heat it up there.