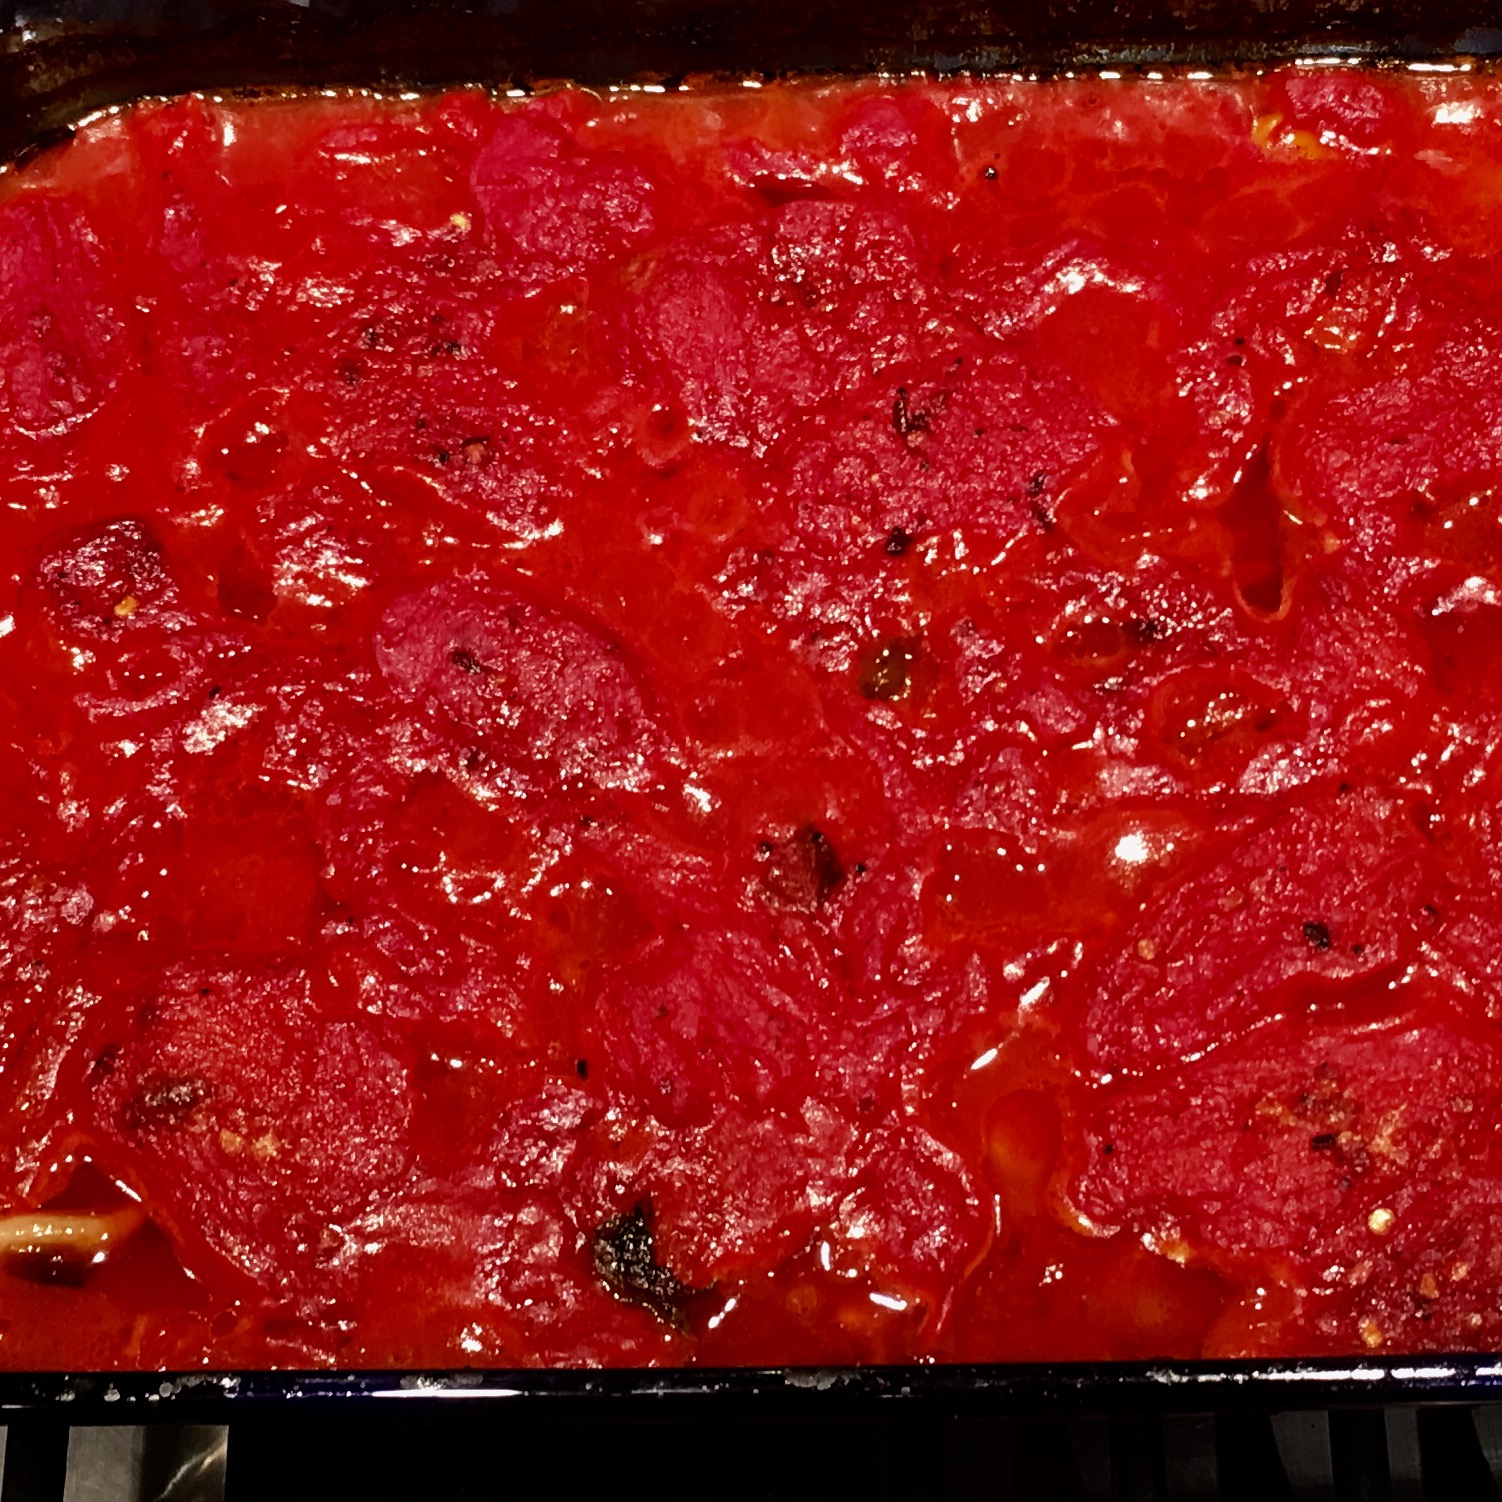
Fish Tacos

We love fish tacos!   Our friends, especially my friend Merlin, love fish tacos. When I tell Merlin it’s fish taco night in the Matthews house, he always asks the same question, “Is it all you can eat?” Yes, Merlin, it is. 

They are  easy to make, healthy, inexpensive, and wildly popular.  Any fish will do, but our favorite by far is salmon.  Halibut, swordfish, cod, or tilapia are also great. You can gently reheat last night’s fish for some great fish tacos too. Don’t Microwave the fish. Just don’t. Jim Rome, a sports radio host, has the best take on this ever. He has taken time during several of his “sports” shows to try to teach the world never to microwave fish. It’s worth a listen. I join him in his crusade.

Ingredients

Salmon (or other excellent fish) – about 1/3 to 1/2 pound per person.
Cajun seasoning, Salt, and Ground Black Pepper
Cabbage (1 head is plenty for 8 servings)
Roma Tomatoes (1 tomato for every 2 servings)
Ranch Dressing or Sour Cream
Salsa
1 lime, plus 1/2 lime per serving
Avocados (1 avocado – 4 servings)
Corn Tortillas

Directions

Make a cream sauce of 1 cup sour cream, 3 Tbsp Salsa, zest and juice of 1 lime, 1/2 tsp salt, and 1/2 tsp black pepper. Add a little hot sauce (Cholula or other) if you like.

I have a good tartar sauce recipe tartar sauce recipe that I have not yet put on the website. But for me, with the grilled fish tacos, I much prefer straight salsa or this cream sauce.

Mix together cabbage and tomatoes, add a little onion if you want. Dress with some of the cream sauce if you like. Refrigerate both cabbage mix and cream sauce.

Cook salmon as per the grilled salmon recipe or the skillet salmon recipe . The only difference is that you can add a lot more cajun spice in addition to lemon pepper. Don’t be shy!

Prepare the tortillas by either
(1) Heating them up on a griddle (very healthy),
(2) Lightly frying them in canola oil, then resting on paper towels or hanging them in the oven over the oven rack (very awesome),
(3) Wrapping in a paper towel and microwaving for 30 seconds.

Cut up avocado into small slices.

Lay out prepared fish, cabbage salad, cut up avocados, lime slices, cream sauce, and hot sauce. Let people make their own and go to town!

Gramma Sue’s Spaghetti Sauce

I used to host Pasta Feeds before doing triathlons. (By “doing” I mean surviving. I didn’t care what place I finished but I did like that I could finish!) It was one of the only good reasons I had for doing triathlons! I usually finished in the top 10% in the swim, top half in the bike, and bottom 0.1% in the run. Oh well – At least I got to make Mom’s spaghetti sauce for my friends the night before.

I remember coming home from swim practice in high school and eating 4 helpings of this. Those were the days! This old fashioned hearty tomato sauce is simple to make. It can simmer all day and make the house smell wonderful. And it’s great with leftovers. Thanks Mom!

Ingredients

1 lb Ground BeefYou can also use Italian Sausage, or some combination of both.
1 Onion, chopped
1 Large Can Crushed Tomatoes (28 oz)
12 oz Tomato Paste
12 oz Water or Red Wine
6 Garlic Cloves, chopped
1 tsp Oregano
1 tsp Italian Seasoning
1 tsp Salt
1 tsp Black Pepper
2 tbsp Dried Parsley
0.50 tsp Fennel Seed (or pinch of ground fennel)*(You don't have to have this, but for me it's a really nice addition. Fennel is a key ingredient in most Italian sausages, and it blends in nicely to this sauce.)

Directions

Brown Ground Beef and onions together, adding garlic in the last two minutes. Drain, or for a little more flavor, just spoon out the excess fat.

Add everything together (Godfather style) and simmer for at least one hour.

Grilled Salmon

Salmon is by far the most common fish that we eat. Our youngest son loves it. It’s easy. It’s available in many different varieties, and it’s usually fresh. That’s my brother Bill up in Washington catching himself a big salmon and loving it! Grilled salmon is a great dish any time of the year where the bbq is in use. Why not tonight?

Ingredients

1 Salmon Fillet with skin on – 1/2 to 3/4 pound per person
1 tbsp Olive Oil
1 tsp Lemon Pepper
½ Lemon per person

Directions

Get your grill ready to go – somewhere between 400 and 450 degrees. Clean the grates well. I know there are men out there who believe that cleaning grills takes all of that flavor away. Dudes. That’s the worst idea ever. Clean your grates before you cook and after you cook!

Spread the olive oil over both sides of the filet – use a brush or your clean fingers. Sprinkle lemon pepper liberally on non-skin side. If you don’t have lemon pepper, plain old salt and pepper will do just fine.

There are different philosophies of how to keep quick cooking foods from sticking to the grill. A common adage is “Oil the food, not the grill.” For me, with fish, I like to do both. You need the meat side of the fish to get a nice sear on it, then the rest of the cooking can be with the skin side down. So I oil the fish, and I either spray the grates with cooking spray (safely from a distance) or take some tongs and oiled paper towels and coat the grates that way. You need about four minutes of non-stickiness, and the combo does it nicely.

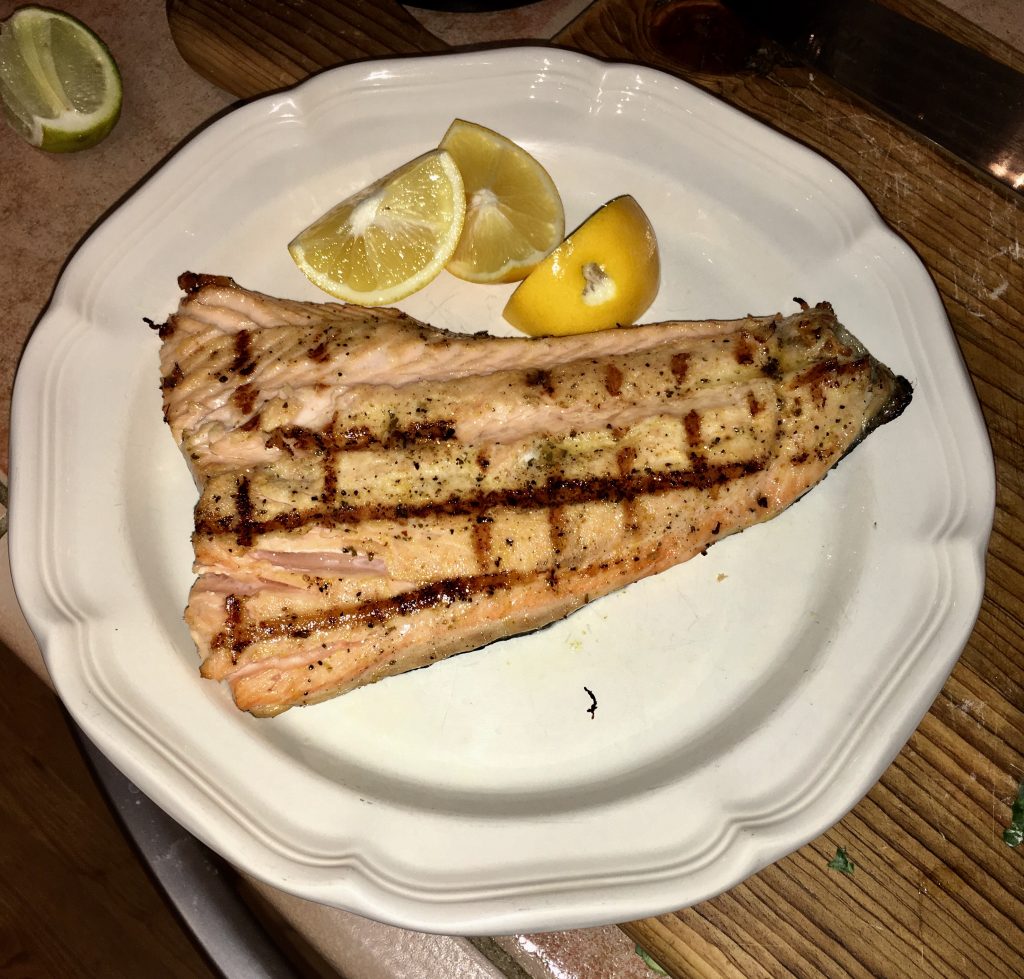
Place filet on hot grill, skin side up. Grill for 3 minutes. After a minute or so, put your spatula under there, not shifting position, just to make sure the fish is not sticking. With a spatula, turn 90 degrees and grill for 3 more minutes. Do the same non-stick trick after a minute and a half. Use a spatula to turn over. It should look nice like this picture!

Now comes the easy part. Close grill and cook for another 3-6 minutes, until the temperature reaches 130. Some people may like it a little more well done, but in my humble opinion, 130 is the perfect salmon temperature.

Take out with a large spatula. The skin may come off when you pull it off, and that’s OK. Place on plate so that the cross hatched grill marks show nicely. Squeeze some lemon over the fish and you are ready to serve!

Black Bean Veggie Burgers

I belonged to a 24 hour fitness gym back in 2007. I had a job where I drove all over Southern California, and I wanted to be able to work out wherever I ended up that day or night. So I was on their mailing list, and they sent out a newsletter with a recipe for a vegetarian black bean burger. I’ve adapted it a little, but it’s now my go to veggie burger. Jill loves them, and I do too. I recommend cooking them on a griddle or in a cast iron skillet. If you want to keep it all outside with the burgers you’re grilling, just throw that cast iron skillet on the grill and you’re good.

Ingredients

1 Can, Black Beans, Drained
¼ cup Onion, chopped
1 cup Salsa, thicker is better
2 Carrots, diced into smaller pieces (1/8″ pieces)
1 cup Bread Crumbs
½ cup Wheat Flour
1 Green Pepper, diced
½ tsp Salt
½ tsp Cumin
½ tsp Chili Powder

Directions

Preparing the patties

Steam carrots in the microwave for 90 seconds. Its enough to soften them up.

Mash black beans with a potato masher. Keep a few whole beans out, as they create better color and texture.

Add remaining ingredients (reserve 1/4 cup of salsa). Mix together. If it needs more wetness to hold, add more salsa. If it’s too wet, add bread crumbs or wheat flour.

Form 6 patties – 1/2″ thick is good. Place on wax paper on a baking sheet. Refrigerate until you are ready to grill ’em up.

Cooking!

I think these are best cooked on a griddle. Although you can grill them, it’s safer to cook them 3-4 minutes per side on a griddle. They should get just a little crisp on the outside.

Add cheese at the end of cooking if you want. Cover with a pot lid to help it melt faster.

Put on a bun, add your favorite ingredients, and you are living the vegetarian dream!

Green Lentils and Vegetables

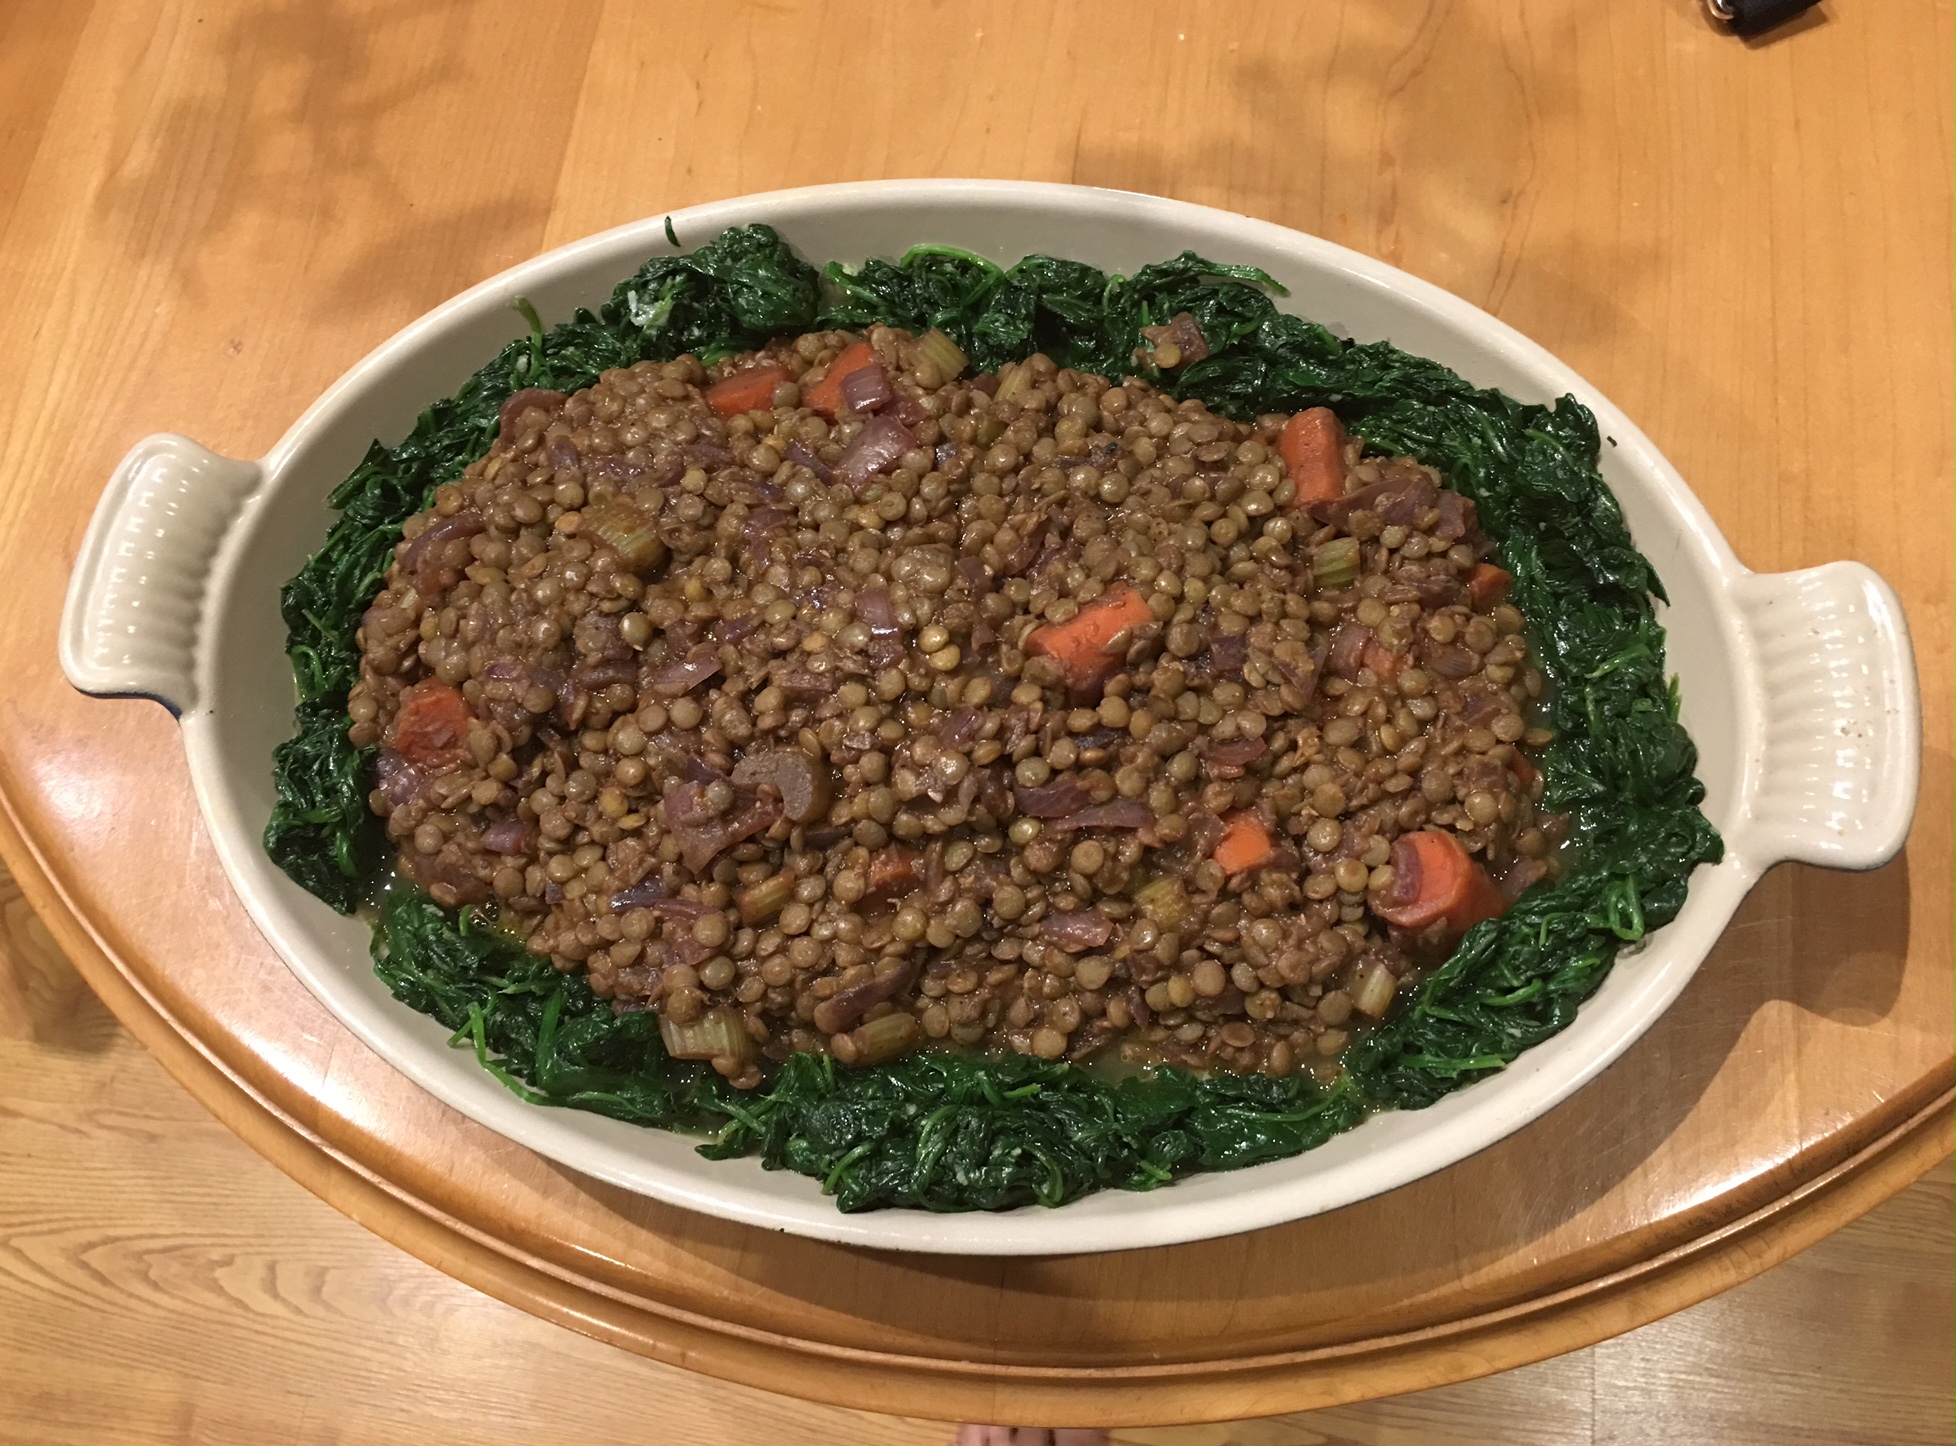
I put this recipe together when we were attending a pot luck with many vegetarians in attendance. It’s a great protein, with so many beautiful veggies in it. And it’s a stunning dish to bring in to a a party. I believe this can serve 12 people easily, and it’s a perfect veggie dish for a pot luck dinner.

Ingredients

1.50 cups Green Lentils, sorted and rinsed
1 Bay Leaf
2 tsp Olive Oil/Vegetable Oil
1 Onion, diced
6 Carrots, diced in 1/2″ to 3/4″ pieces
4 Celery stalks, diced in 1/2″ to 3/4″ pieces
4 Garlic Cloves, mashed/pressed
1 tbsp Tomato Paste
cup Red Wine
2 tsp Dijon Mustard
2 lbs Spinach or Baby Spinach, Washed
3 tbsp Butter (Optional)

Directions

Preparing the Lentils and Vegetables

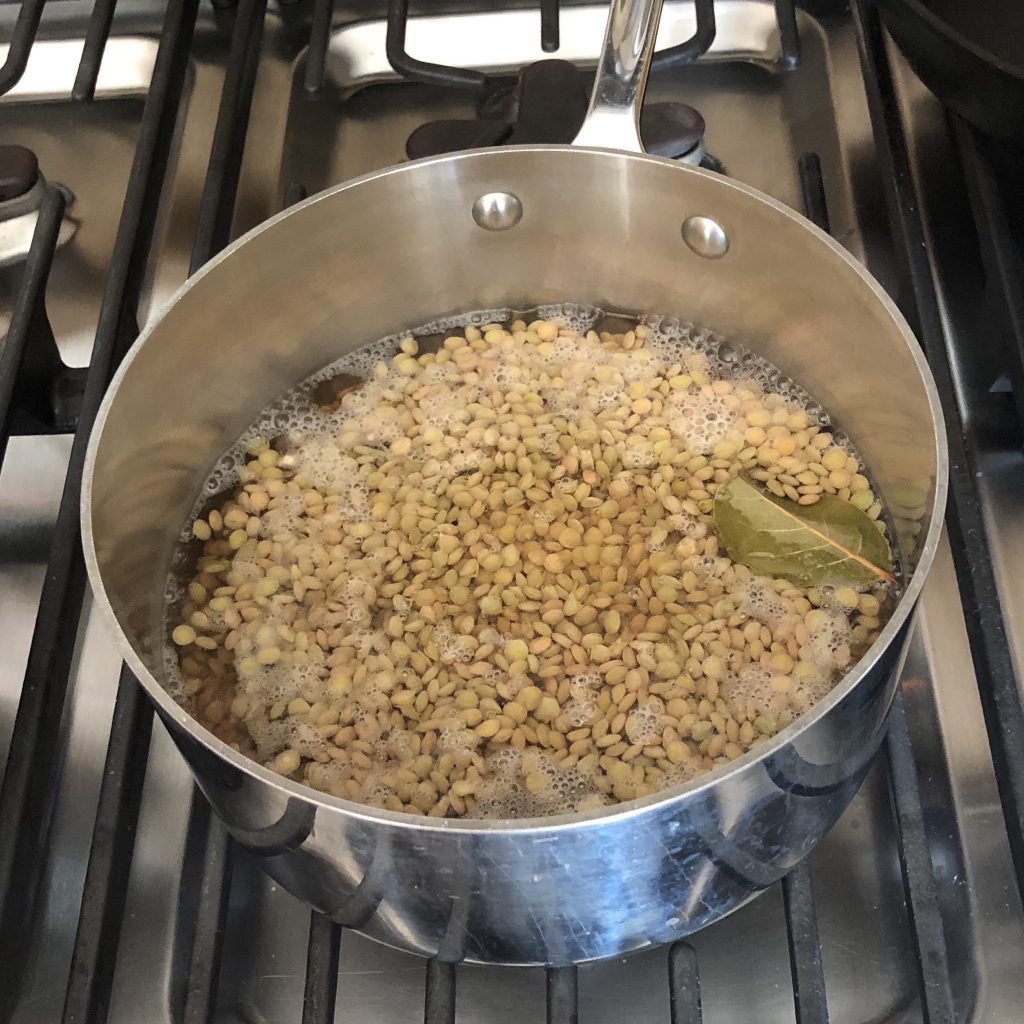
Place Lentils and Bay Leaf into 3 Cups Water. Add 1 tsp salt and bay leaf. Bring to boil then keep simmering for about 20 minutes. DO NOT OVERCOOK! Lentils should hold their shape and have some texture. Set aside when ready. 20 Minutes

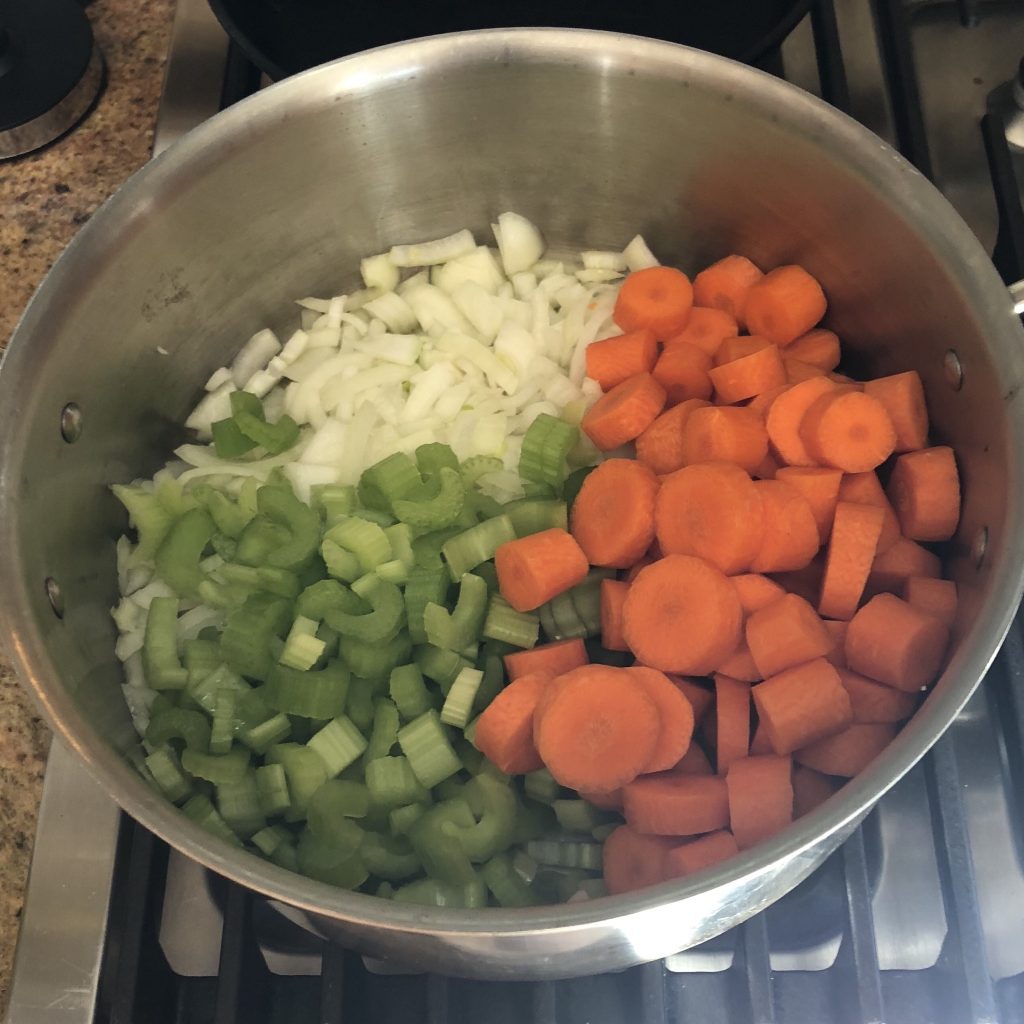
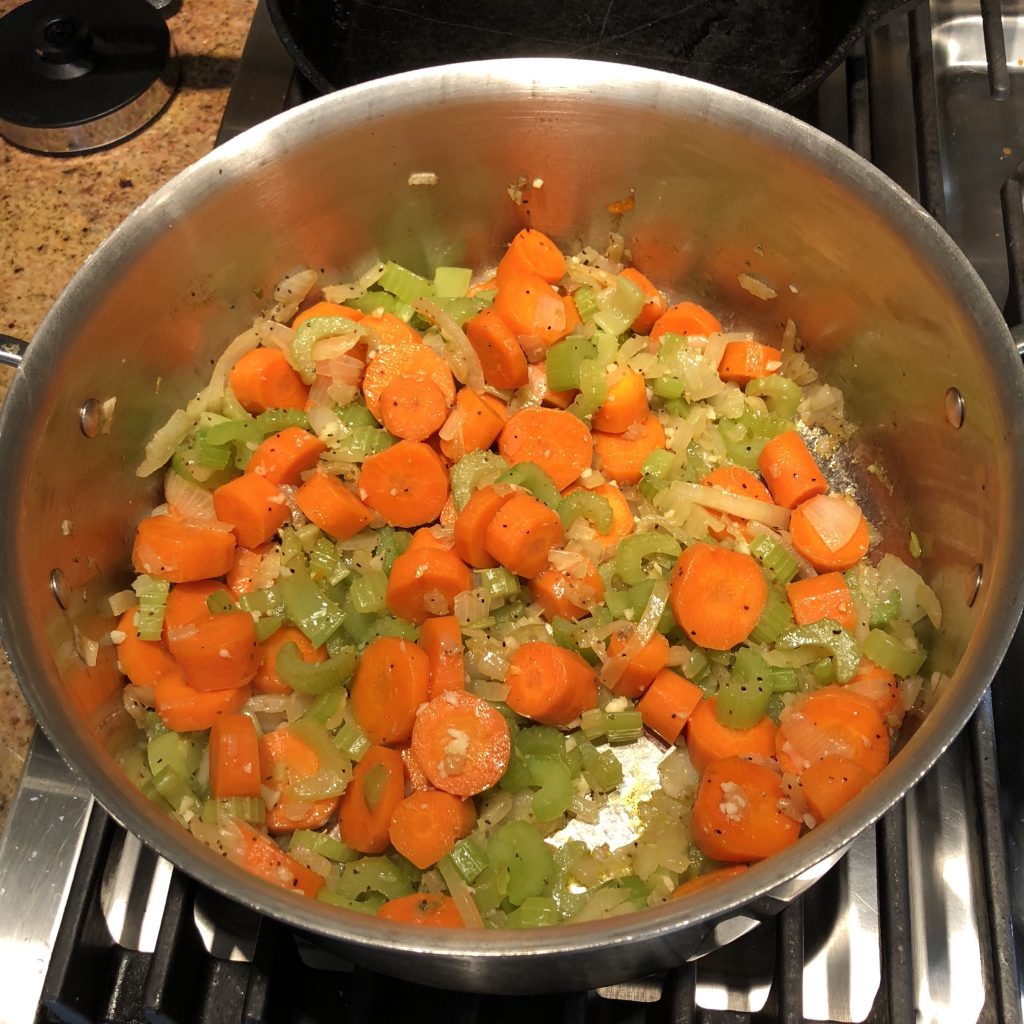
Add 2 tbsp vegetable/olive oil mixture. Add onion, carrots and celery. Season with 1 tsp salt and 2 tsp pepper. Sauté for 8 minutes.
Add garlic and sauté for 1 minute.
Add tomato paste and mix in.

Pour wine into vegetables, and simmer for 8 minutes until wine is syrupy.

Stir in the mustard.
Stir in the lentils.
Stir in butter for extra goodness! (Or don’t if you want to keep the vegan goodness!)
Turn off heat and set aside. Do not cover. You don’t want to overcook the lentils.

Preparing the Spinach

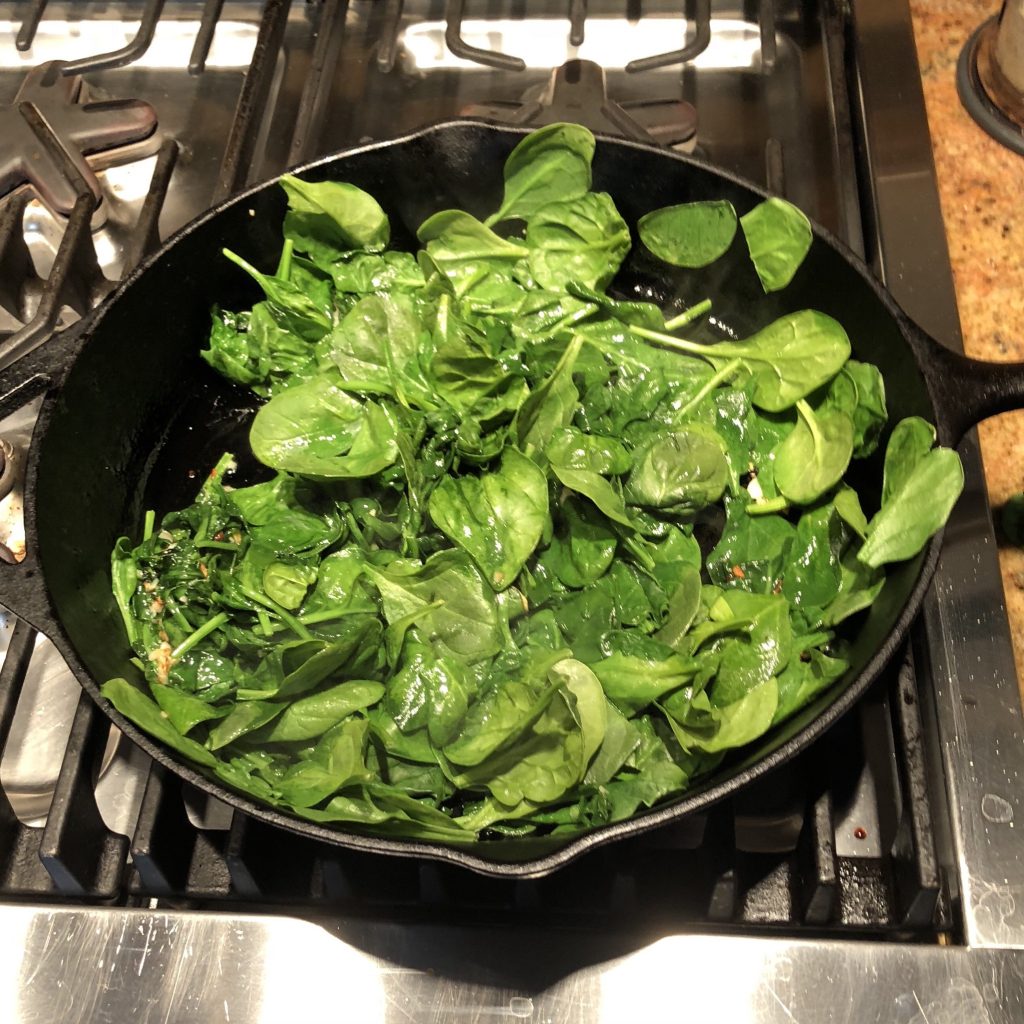
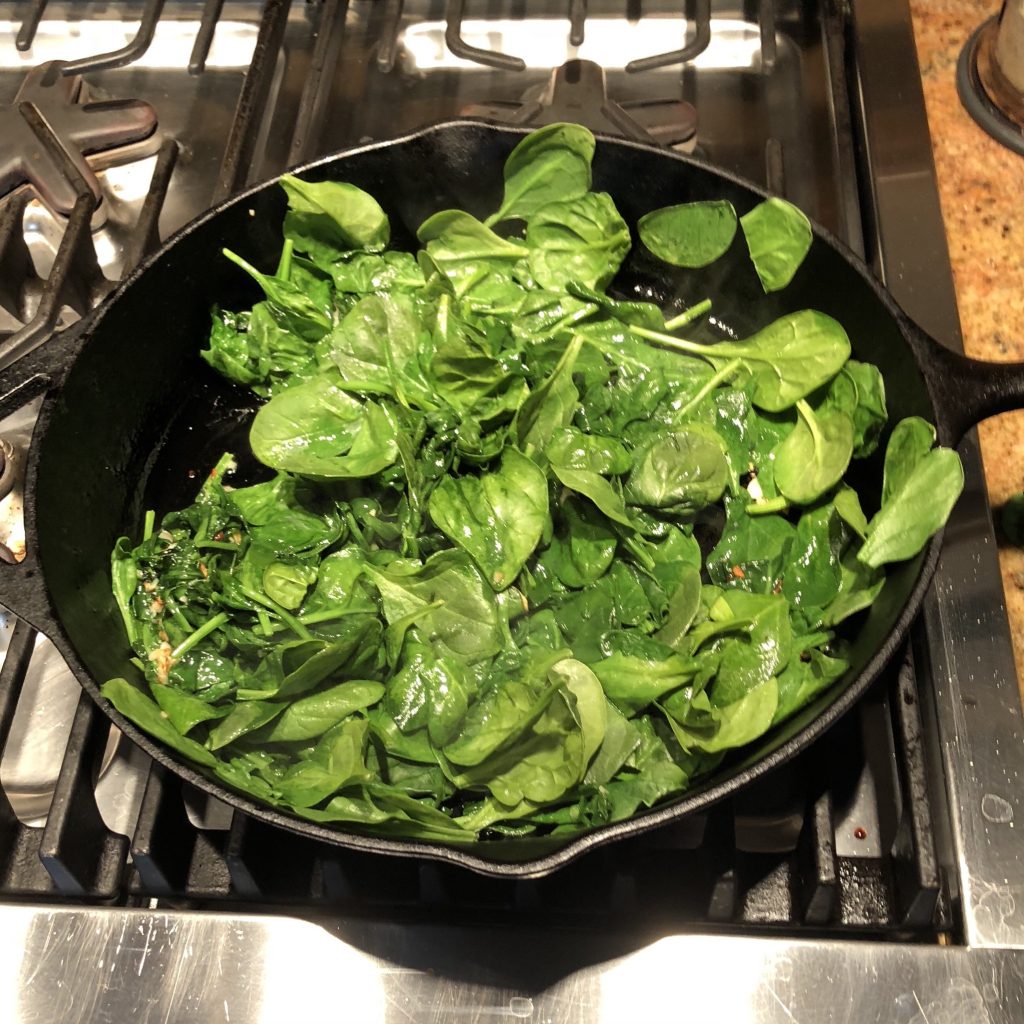
I do this in two quick batches. In a large sauce pan, heat 1 tsp olive oil and 1 Tbsp butter. Add one clove of pressed garlic. Add spinach. Add salt and pepper (1/4 tsp each) Wait 1 minute then start stirring until it’s sauted and ready. This should take 3-4 minutes. Remove and drain in colander.

Repeat with 2nd pound of spinach.

Assembling the Dish

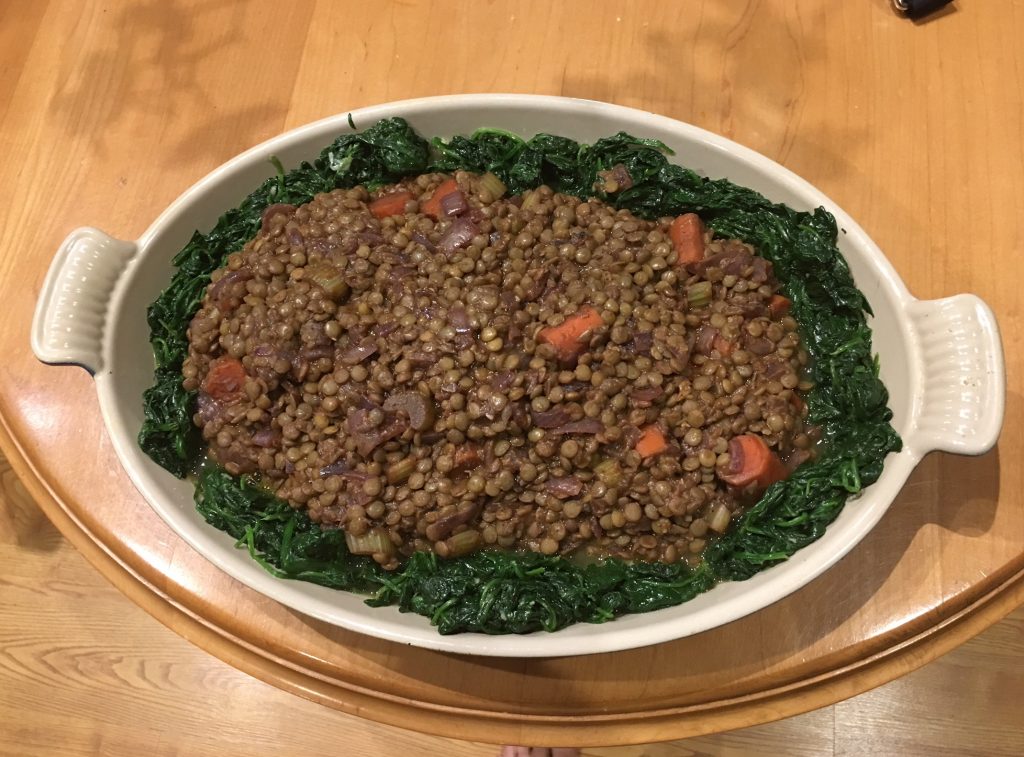
In a nice casserole dish, add the spinach and push to the edges.

Add the lentils in the middle. Garnish with parsley if you like and you are ready to serve!

If you are going to a pot luck, cover with foil and heat in the oven there for 10 minutes before serving.

Steak!

We love steak in my house.  Except for my lovely vegetarian wife.  But she supports the three boys in the house in our passion for steak. So what cut is best?

According to Dawson, nothing beats a filet. It’s butter soft, not as fatty as ribeyes, and a perfect steak for home or the steakhouse.

Ryan and I both prefer ribeyes – the fat is much higher, and so is the flavor. To me, the bone in ribeye is the steak to order in a steakhouse, and nothing beats it.

If high quality New York steaks are on sale, it’s always a fantastic option. They are tougher than filets, but a little more flavorful.

People love Porterhouses, which are like a T-bone, with a New York on one side of the bone, and a filet on the other. To me, they are too hard too cook. Getting two different cuts to the perfect temperature is super challenging.

Finally, when I’m buying steak in the grocery store, a good grass-fed steak is always a great option, as it creates both great flavor and texture.

Ingredients

1 Steak, per person*
Soy Sauce
Montreal Steak Seasoning

Directions

Take it out of the fridge and let it sit at least 30 minutes. Don’t let it sit for hours – it’s unsafe.

Season with Soy Sauce To me, it’s more interesting that Worcestershire sauce

Season with Montreal Steak Seasoning. It’s the best. I cover mine with it, and sprinkle Dawson’s lightly. It has a Steak-au-poivre feel to it.

Cook it on the grill or on the Big Green Egg (Direct Cooking). No other way to do it. Get it hot – 400 to 500 degrees is great.

3 Minutes on each side, Rotate 90 degrees and cook 3 minutes on each side again (makes nice cross-hatch marks). I cook my steak until it’s 130 degrees. It’s a perfect medium rare.

Now, if you have a super thick steak – over 2″ thick, please see my recipe for Tomahawk Steaks. You are going to need to use some indirect heat.

Let sit for 3-5 minutes, then serve it up!
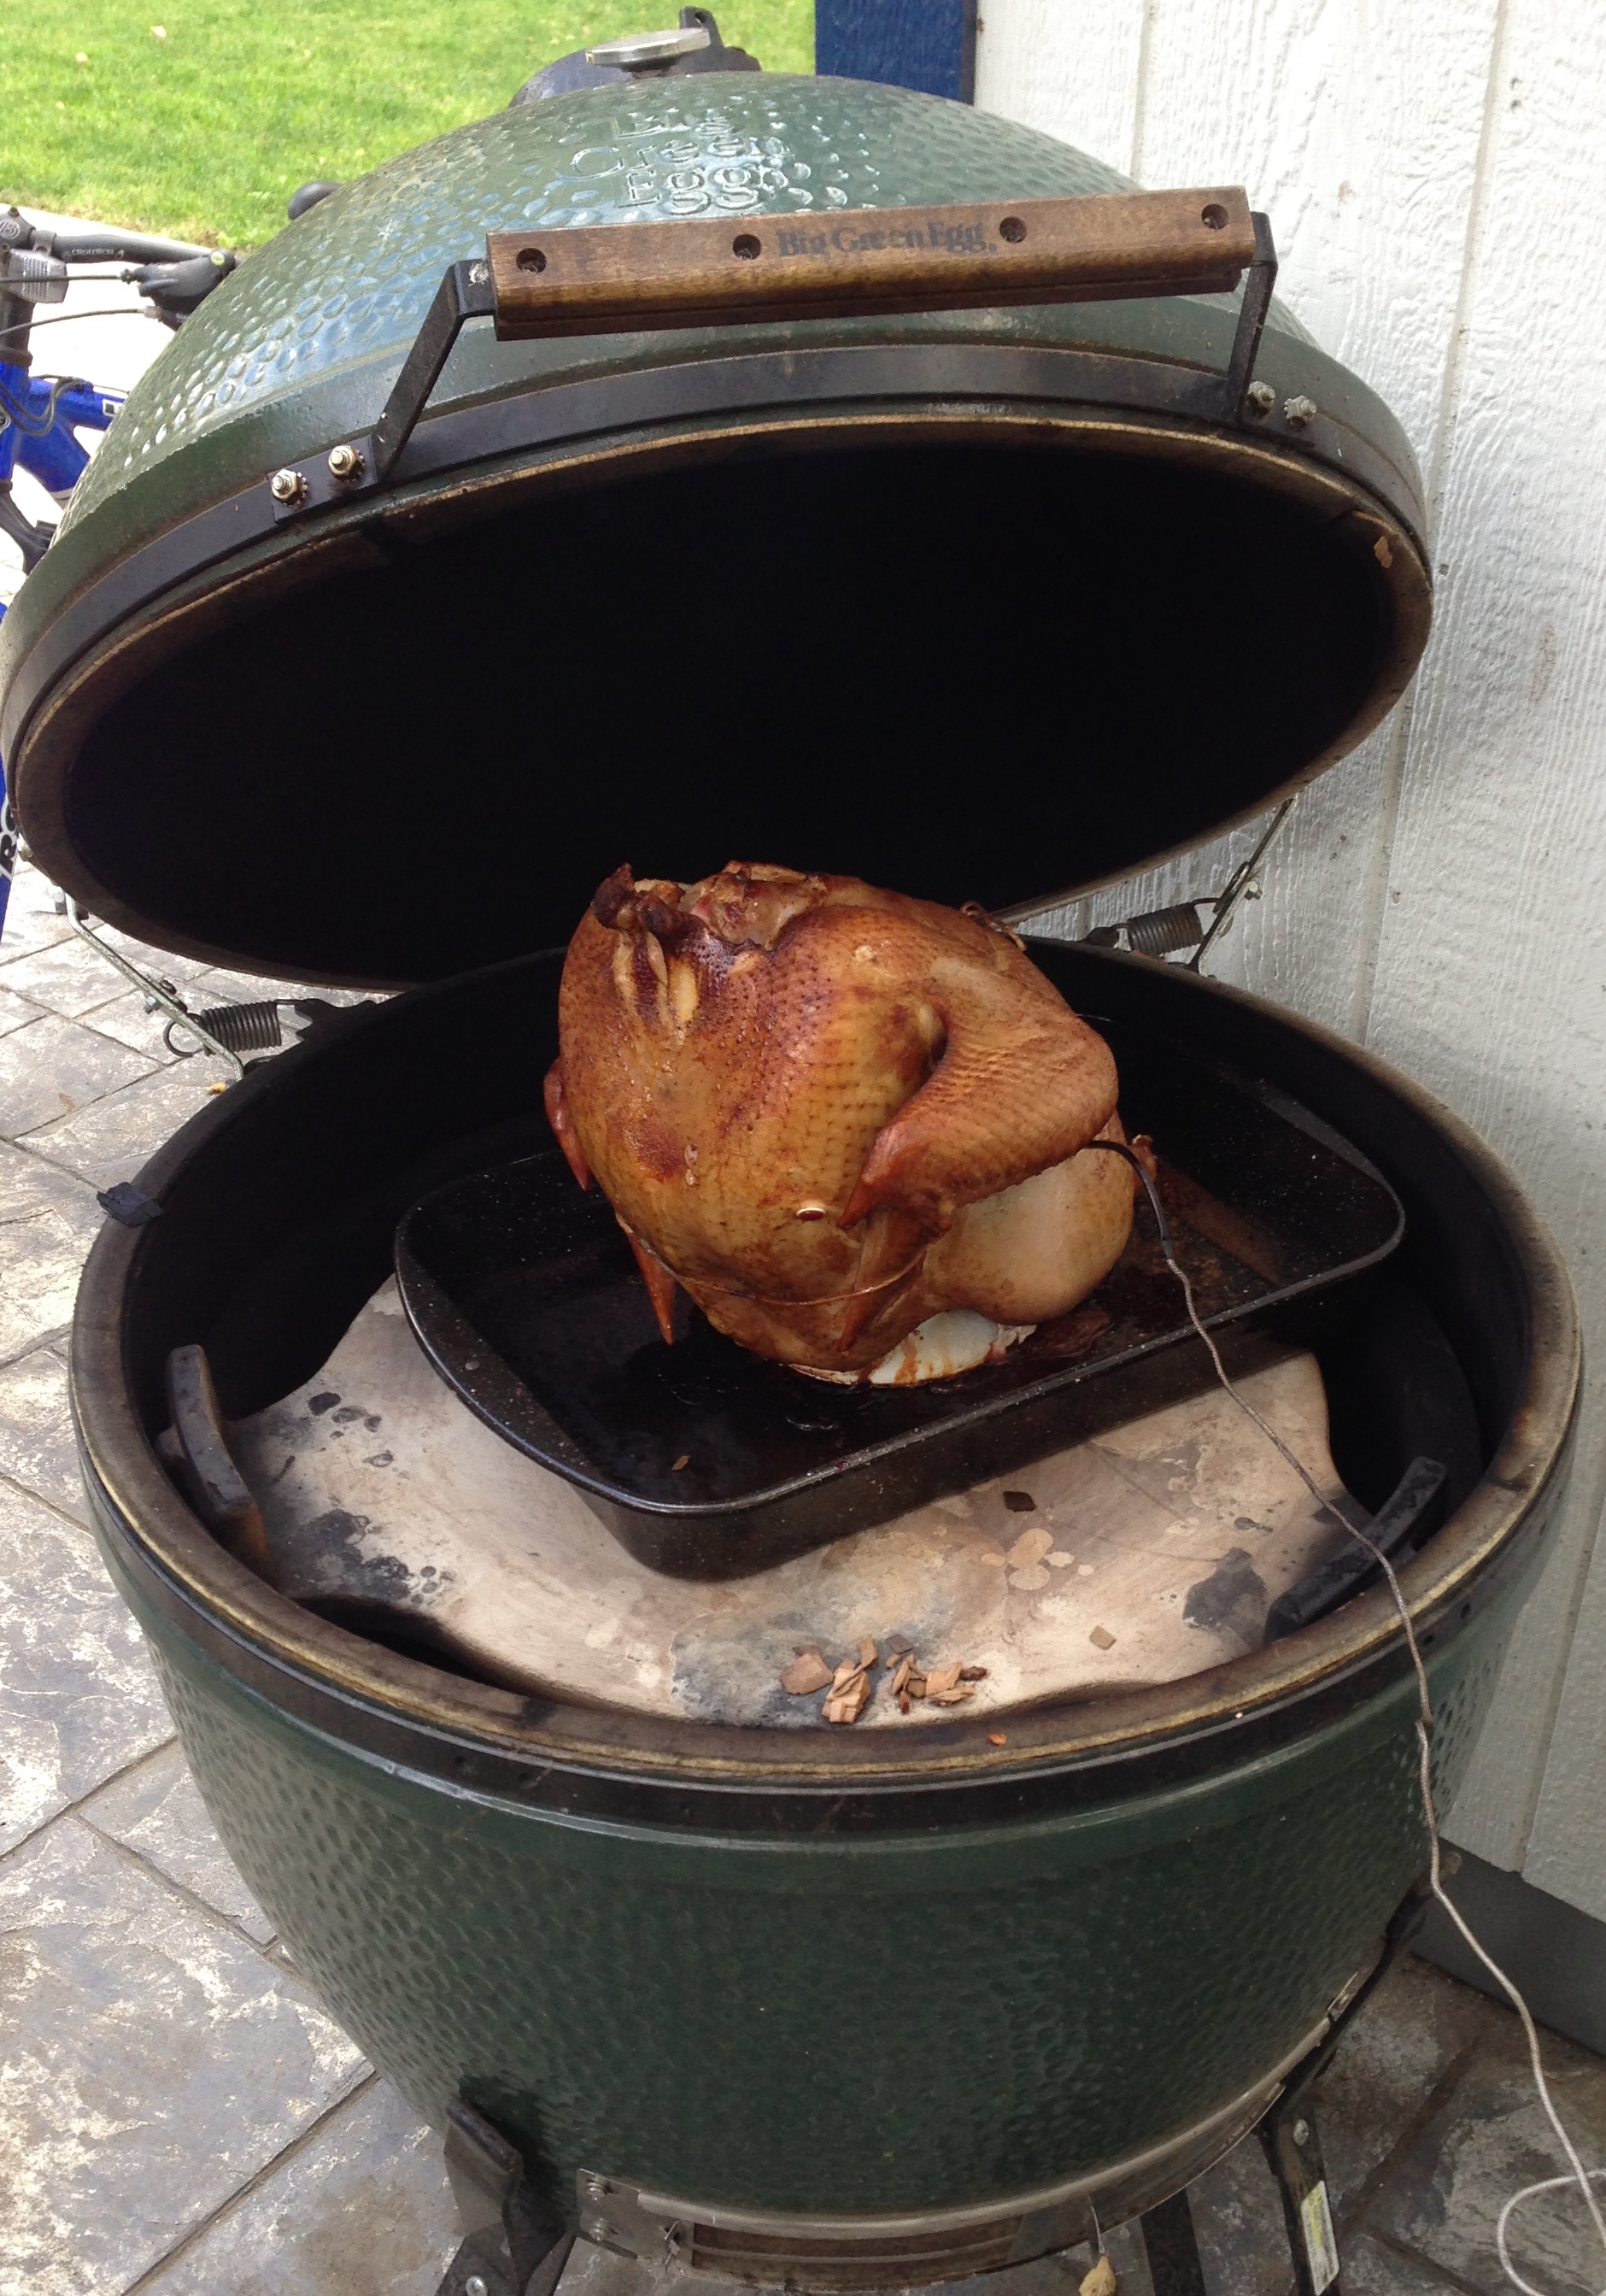
Smoked Turkey

bge-turkey

It’s easier than ever to add smoking to your outdoor cooking abilities. And with the right equipment, you don’t have to devote a whole day to the effort. I used to have to tend my $100 offset smoker every 30 minutes. It was tricky to keep the temperature right and the results were inconsistent. If you know this site, you know that I love my XL Big Green Egg. It holds the temperature like a champ, but it takes a little work to get it going, but once you do, it’s a rock and needs little to no attention. And the results are fantastic. But there are easier versions – the Traeger and its copycats are even easier. Plug it in, flip a switch, and you’re smoking. If you like smoke flavor, find your right fit and make it happen.

This is just like the Roasted Turkey recipe, but better. A real smoker is just like an oven. A lot of people believe in “low and slow,” where the temperature is 225 or 250, and it takes a long time. That’s a great strategy, but I like to smoke a turkey just like I do it in the oven. Same temp, same time, but a way different flavor.

Ingredients

Everything from the Roasted Turkey Page Make sure the turkey will fit in your smoker!
1 cup BBQ Rub. Choose your favorite or go with my Arkibu Rub .

Directions

Instead of dry brining the turkey, rub the turkey with the BBQ rub. There’s plenty of salt in that to do the work. Let sit for 24 hours.

Instead of preparing the oven, prepare the smoker. For me – it’s the Big Green Egg. Use the same temp as the Roasted Turkey Recipe – 320 degrees. Apple wood chips are outstanding.

Add apple wood chips, and Smoke until the breast temperature reaches 165. There’s no basting.

Pork Tenderloin

There is not much easier than this grilled or smoked pork tenderloin.  Really.  It is minimum prep, great for formal or informal dinners, it’s quick to cook, and as tender and good as can be. Costco has amazing deals on huge tenderloins, and you can find them in most grocery stores. I like to serve these with some kind of flavorful sauce, and with pork, anything goes, from bbq to chimichurri to some kind of cherry or blackberry sauce.

Ingredients

1 Pork Tenderloin (I use the 2-pack from Costco, 2 pounds each, Choice)
1 cup BBQ Rub. Choose your favorite or go with my Arkibu Rub .

Directions

Coat the pork tenderloin with a lot of the rub. Put it in a ziplock bag for 2 to 24 hours.

Heat up a grill or a cast iron skillet (I used my gas grill). Sear the pork about 5 minutes on each side to get some nice char on it.

I cooked the pork at about 400 degrees of indirect heat. I used my awesome Big Green Egg, but you could use an oven as well. Pecan wood chips add some very nice flavor. It took about 15 minutes. Take out the pork when the internal temp reaches 145 degrees, and loosely cover it with foil.

After about fifteen minutes, I sliced it and it was really, really good. I found a recipe for a blackberry sauce in the Big Green Egg cookbook. Or you can go the Brady Brunch route and get some applesauce or something! A sauce like that is quite nice with the pork. Happy cooking and eating.

Beef Tenderloin

This is an amazing dish that makes you look like a champ. But you’re going to spend some money to do it. If you like the flavor and texture of filet mignon, then you’ll love a beef tenderloin. This makes for a great dinner party dish, as it’s easier to get every piece of meat at the right temperature than it would be if you were grilling 10 different steaks. To me, a filet steak does not need a sauce, but a beef tenderloin does – chimichurri, horseradish, peppercorn, or something else you love.

Ingredients

6 Trimmed Beef Tenderloin (Costco has great prices. The Choice (rather than prime) is excellent)
1 cup Soy Sauce
10 Cloves crushed garlic
4 tbsp Montreal Steak Seasoning

Directions

Preparation

Tie up Roast with Twine. It should be fine, but tying it ensures it will be a beautiful presentation.

Make Marinade with remaining ingredients. Place meat and marinade in a Turkey Bag and marinate for at least six hours.

Cooking

Preheat to 400 degrees. I use a Big Green Egg Smoker with indirect heat at the same temperature. An oven works well too. You don’t need many wood chips here for the egg. I love pecan wood for this recipe.

Sear the meat on high heat on a grill or griddle large enough for the roast. Five minutes on each side.

Place in the Big Green Egg or in the oven. Insert meat thermometer. Close and take out when the internal temperature reaches 130 (medium rare). It should take around 45-50 minutes.

Let sit for at least ten minutes, and up to twenty, then slice and serve.

Grilled Chicken with Mexican Marinade

If I can find a good Carniceria or Grocery with high quality marinated chicken using a recipe like this – I’m buying!  But it’s not hard at all to make your own, and you will like the results.

Ingredients

4 Chicken Breasts, Boned and Skinned or 8 boneless chicken thights
¾ cup Olive Oil
¾ cup Orange Juice (Juice from 2 oranges is even better!)
3 Limes, Juiced
3 Lemons, Juiced
2 tbsp Paprika
8 Cloves Garlic, Crushed (or 2 tsp minced dried garlic)
2 tsp Cumin
2 tsp Oregano
1 tsp Salt
1 Onion, chopped1 large or 2 small

Directions

Mix all marinade ingredients together. Set aside 1/3 of the mixture to use after the chicken is done.

Marinate chicken in remaining marinade (with the fruit rinds!) for at least 1 hour. Overnight is excellent. A good ziplock bag works here.

Remove chicken from marinade. Drain. (You can get flame-ups if you don’t drain before placing on the grill. I learned that the hard way.)

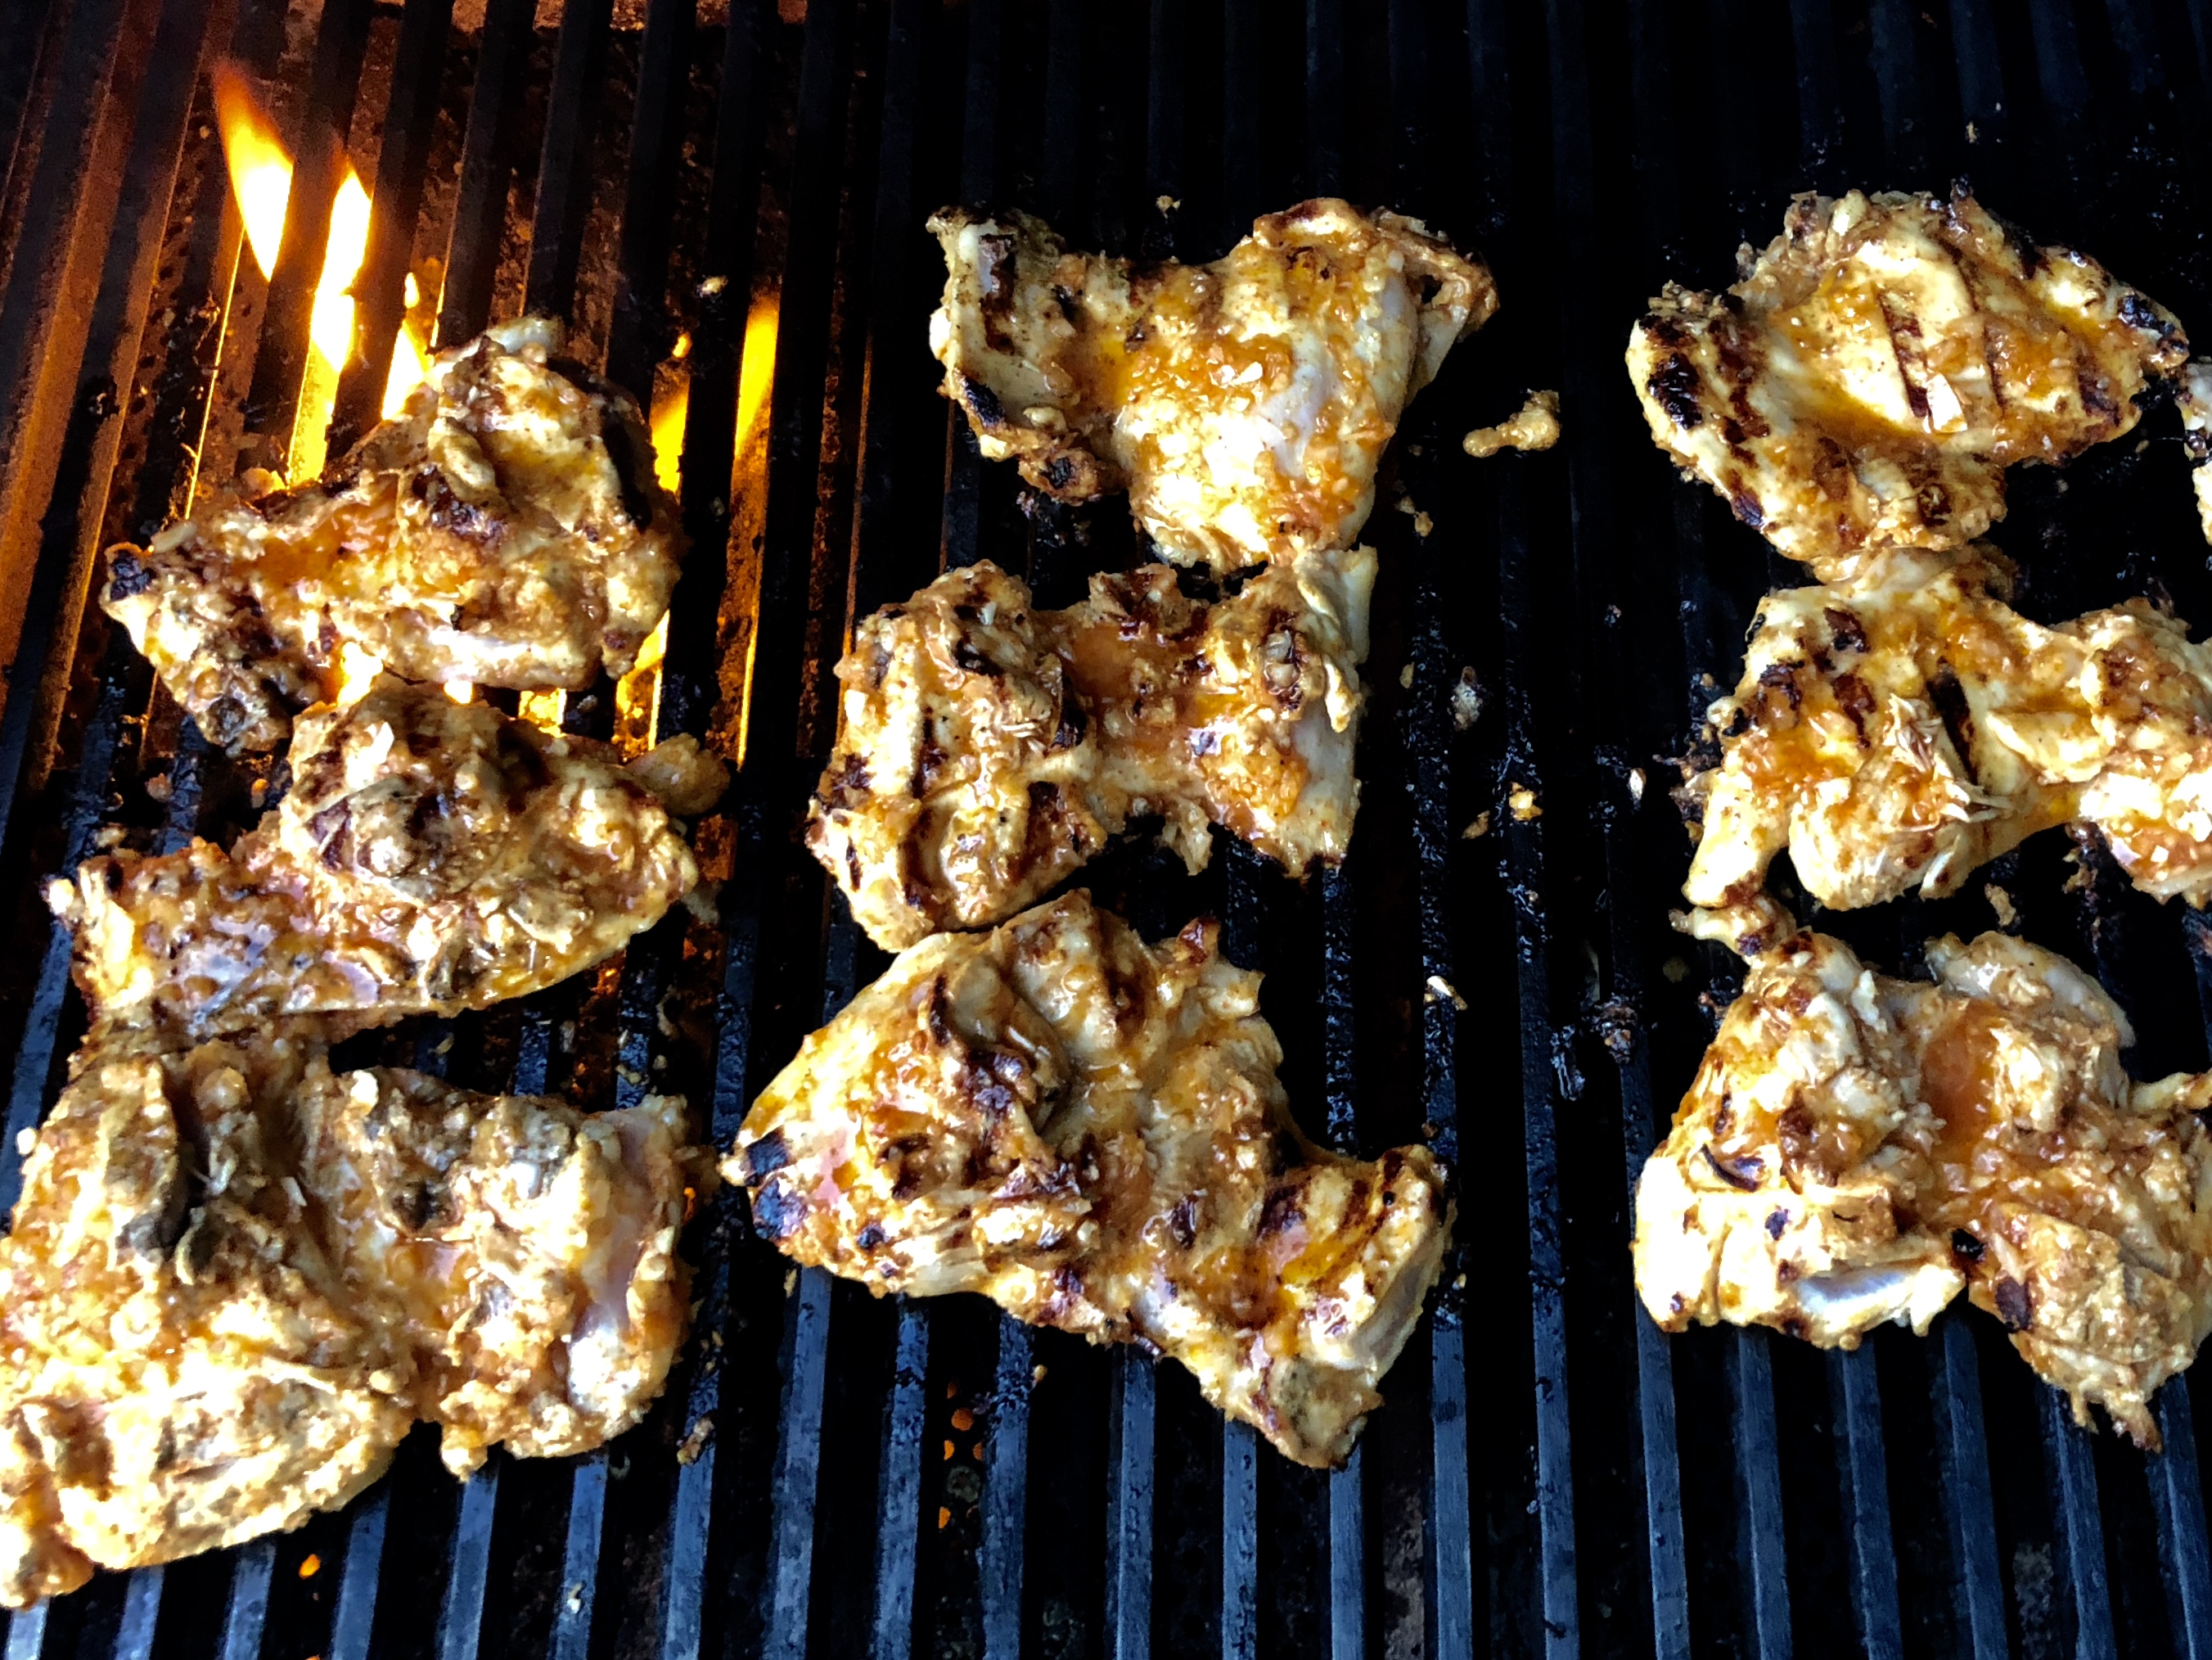
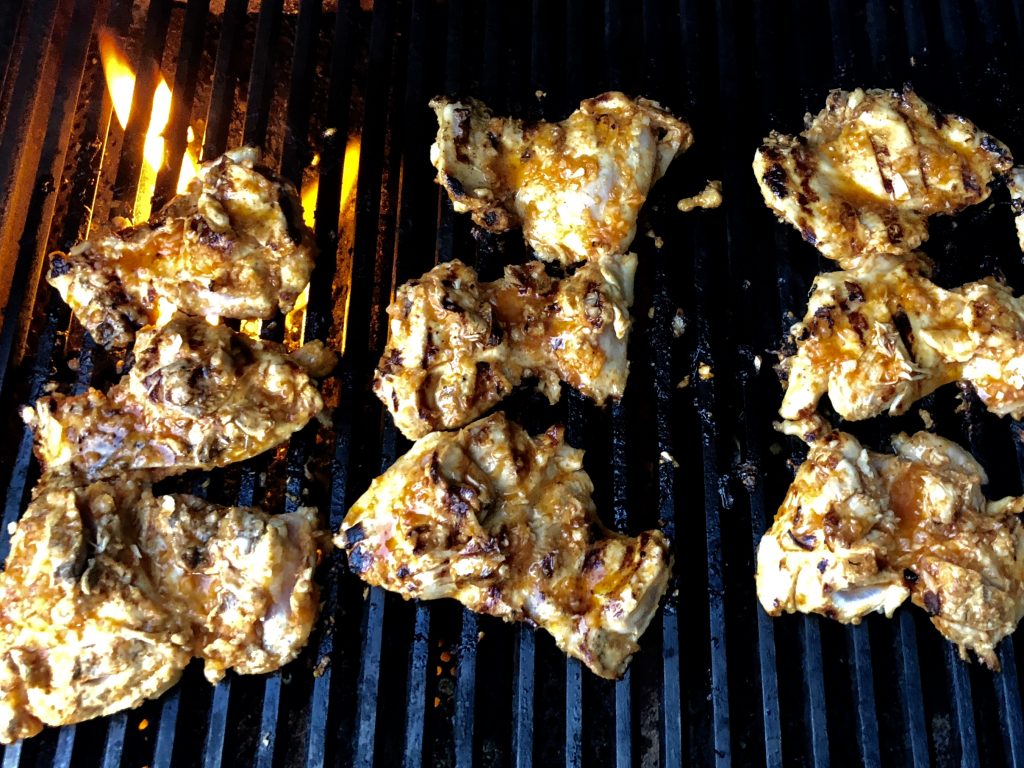
Cook chicken on a hot grill. Turn at least four times to get good grill marks on both sides. Take off the grill as soon as the internal temperature reaches 165 degrees (breasts) or 175 for thighs.

Plate the chicken or place it in some kind of dish, spoon the reserved marinade over it, and cover with foil until you are ready to serve. It will hold for 20-30 minutes. As always, for safety, don’t let the temperature drop below 140 degrees.

Roasted Turkey

It’s time to turk the cookie! That’s what my mom, the infamous “Gramma Sue” who is mentioned in so many of these recipes, would say every Thanksgiving morning. It was a mistake the first time, but she was kidding after. I think.

In our Thanksgivings, we do one smoked turkey and one roasted turkey. Jill, even those she’s vegetarian, loves cooking the roasted turkey, and it always comes out great each time. This is how we do it.

Ingredients

1 Turkey (16 – 22 pounds)
1 cup Butter (2 Sticks)
1 cup White Wine or Champagne
2 Onions
2 Oranges
1 tbsp Thyme
2 Stalks celery
1 tsp Black Pepper
8 Good Chicken Broth

Directions

Make sure the turkey is thawed!! To be safe, a frozen turkey should thaw for five days in the fridge.
If you have time, brine your turkey. It makes a big difference. I do a dry brine now. Here are the two ways you can brine:

If you have time. Do a three-day dry brine. It’s retty easy really. Take a combination of 2 Tbsp Kosher Salt and 1 tsp Herbs de Provence (or Italian Seasoning if you don’t have the French Stuff) for every five pounds of tukey. And rub the inside and outside of the turkey with the mixture. Put it in a turkey oven bag and keep it refrigerated for 3 days.

If you only have one day – Do an overnight soaking brine. My Aunt Catherine gave me this recipe. Add 1/2 cup salt and 1/4 cup sugar for every gallon of water. You can add lemon or orange slices if you like. She adds 4 cinnamon sticks and a handful of cloves. I don’t do that, but if that sounds good to you, go for it. In a large container, soak the turkey in the brine for at least one full day.
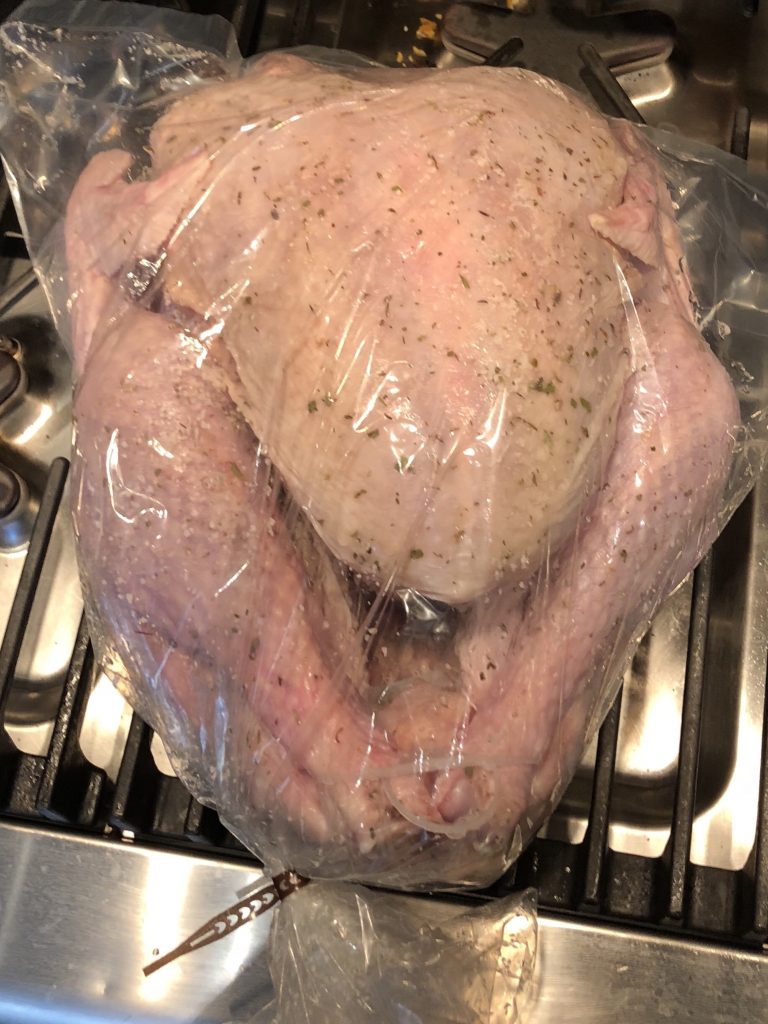
About an hour before you are ready to cook, take the brined turkey out of the fridge. Wash the turkey under running water. Take out the neck and giblets and reserve for broth.

Fill the cavity lightly (don’t stuff it) with a quartered onion, a cut up stick of butter, and some quartered oranges. Smear the turkey with softened butter, sprinkle top with salt and pepper, and cover with a cheesecloth. Yes, I know, it’s a lot of butter. It’s Thanksgiving – give yourself permission!

Preheat the oven to 300 (convection) or 325 (normal).

Make a mixture of the remainder of butter (melted) and the white wine or champagne. Use the cheap stuff! This is for basting.

Place in a Roasting Pan on a rack, and cook for 10-12 minutes per pounds.

Note – Time this out. For me – I plan on 12 minutes per pound (it is usually more like 10 in my oven) plus 30 minutes, and then it’s dinner time. So it you put a 20 pound bird in at 9:00 AM, it takes 240 minutes (4 hours) to cook, and I’m ready to serve any time from 1:30 to 2:30.

Baste the turkey every 30 minutes, using the wine/butter mixture at first, then using the turkey’s own drippings.

When the breast meat temp reaches 165, and/or the leg temp reaches 175, take the bird out, gently take off the cheesecloth, and let it rest for at least 30 minutes and for up to two hours. If you’re going to wait over an hour, cover loosely with foil.
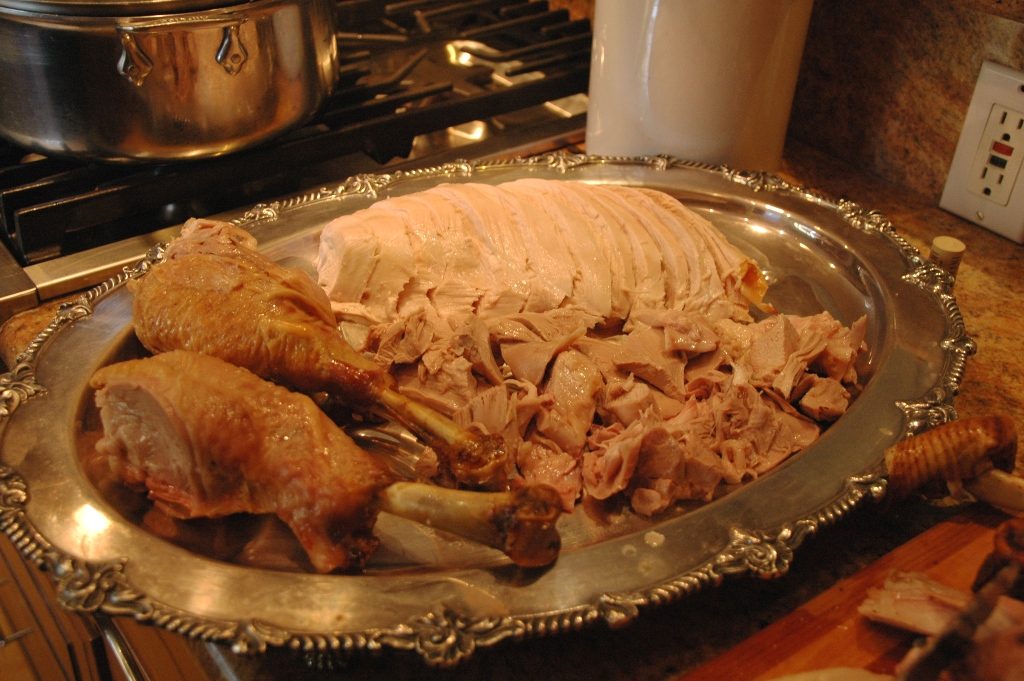
Making the Gravy!

While the turkey is roasting, Put the neck and the giblets (my father-in will eat giblets all day) in a sauce pan with 6 cups of water, 2 celery stalks, 2 carrots, thyme, a bay leaf, black pepper, and you’re off.  Cook for 2 hours, then strain. 
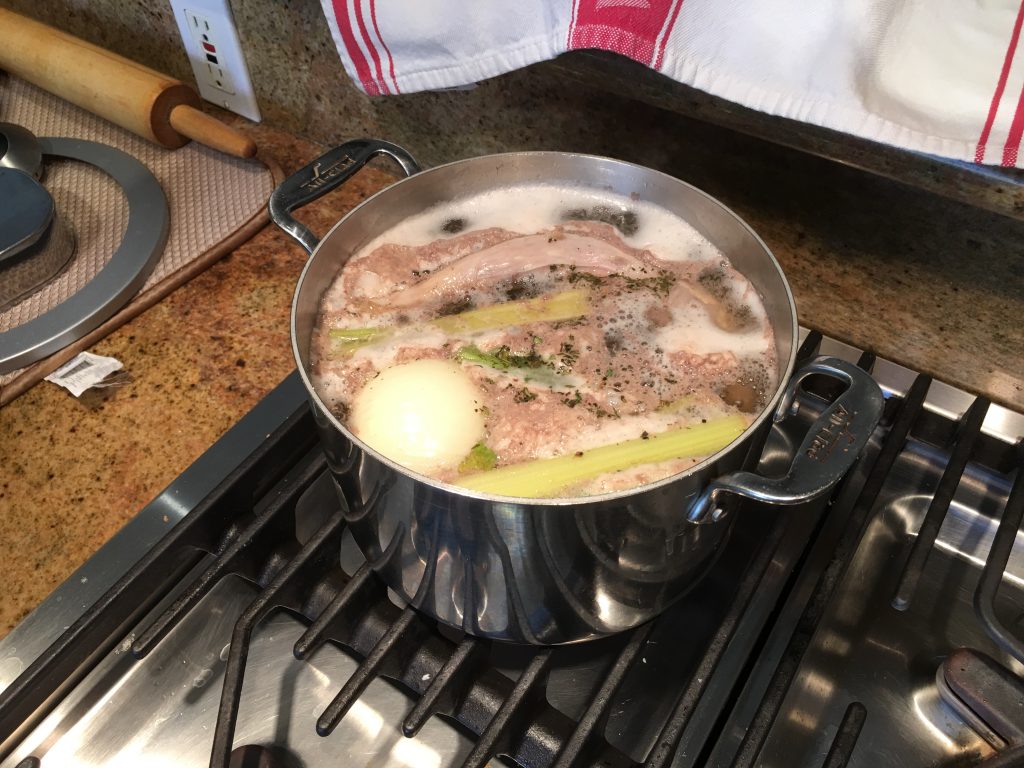
Save the broth for the gravy.   Cut up the neck meat for the gravy.  We use just the neck meat and let my father-in-law take care of the giblets – not everybody likes them! Throw away everything else. Put the broth and meat aside for later.

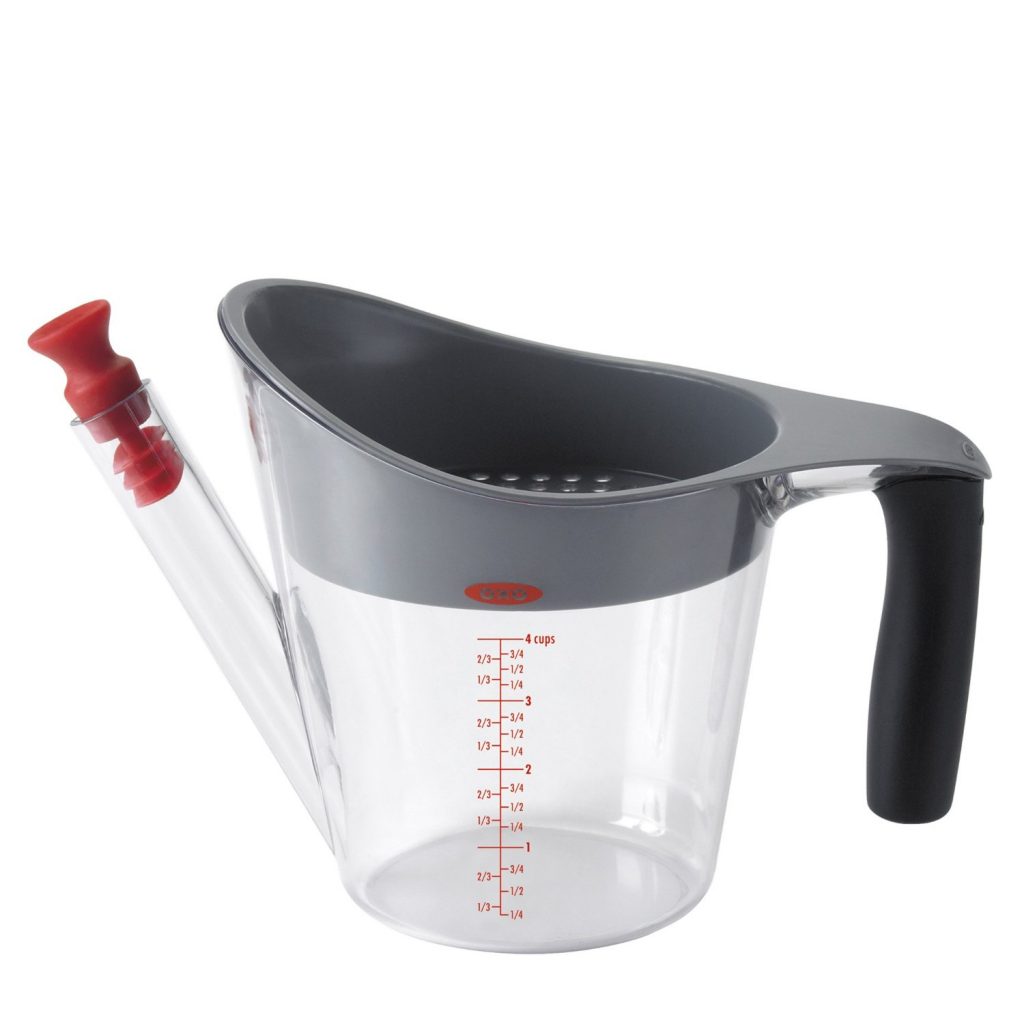
After the turkey is done, take the bird out of the roaster and let it rest. Skim the fat off of the top of the turkey drippings. I cheat on this one. My in-laws gave me a “fat separator” that is very easy to use. I pour the broth into it, wait 5 minutes for it to separate, and pour the fatty drippings back into the pan.
Take the turkey pan with all of the fat-reduced drippings and place it on the stove. Heat, then slowly whisk or stir in 1 cup of flour, making a nice roux.
Note – If your roaster pan won’t go onto the stove, then use another pan. It’s no problem.
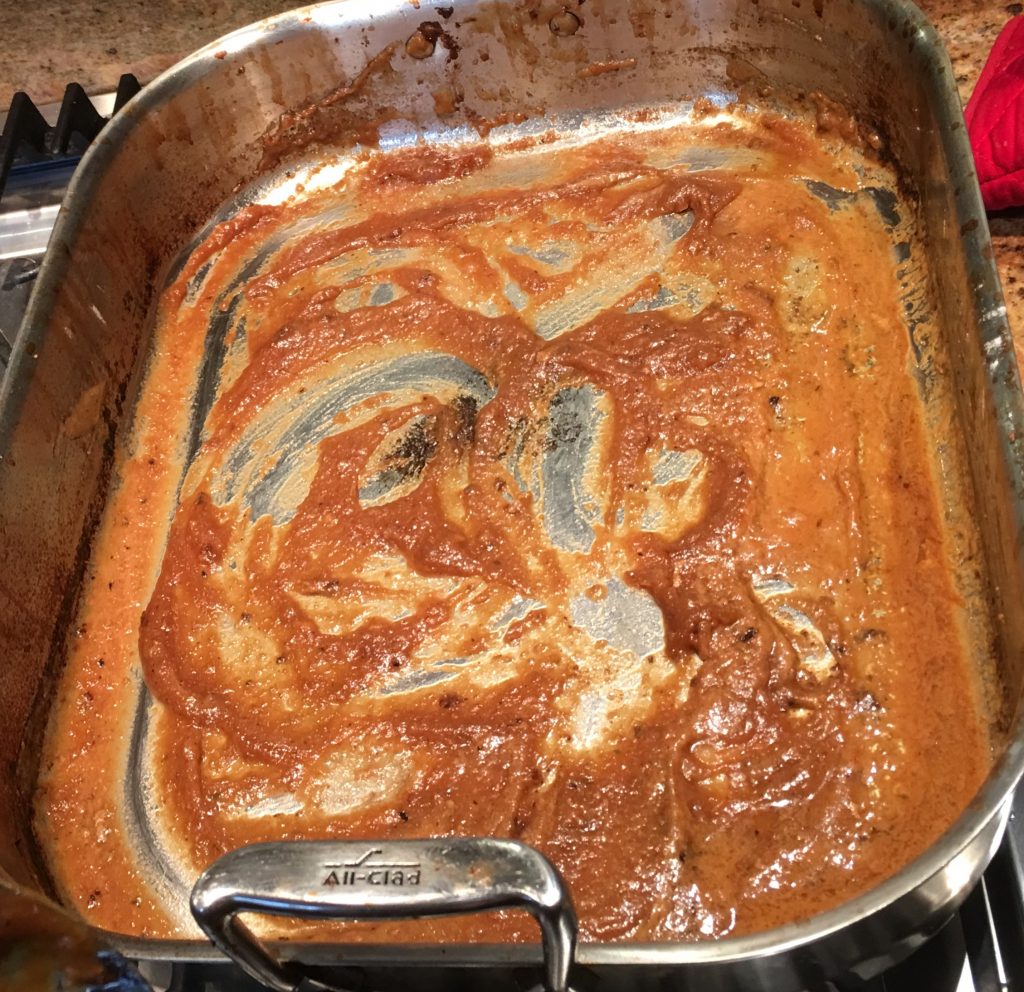
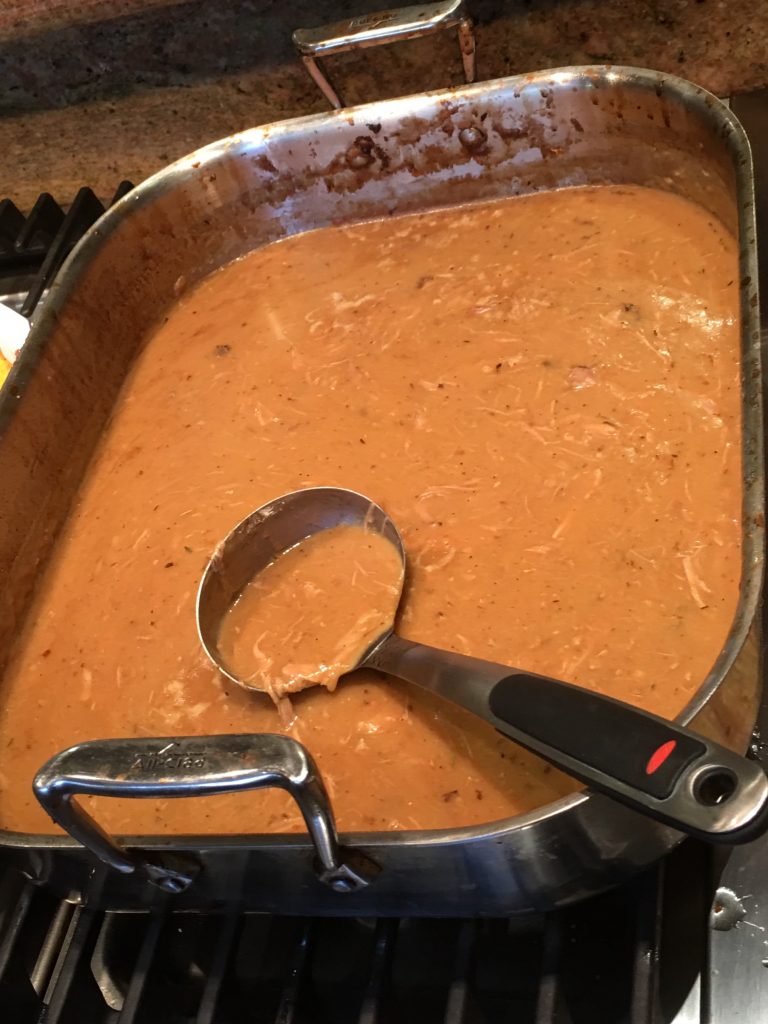
Slowly add the broth that you made, whisking or stirring it into the roux. Add extra broth if you need it until you have a thick, beautiful gravy. Taste and add salt if needed. Add the cut up giblets if you want. See thickening notes below.
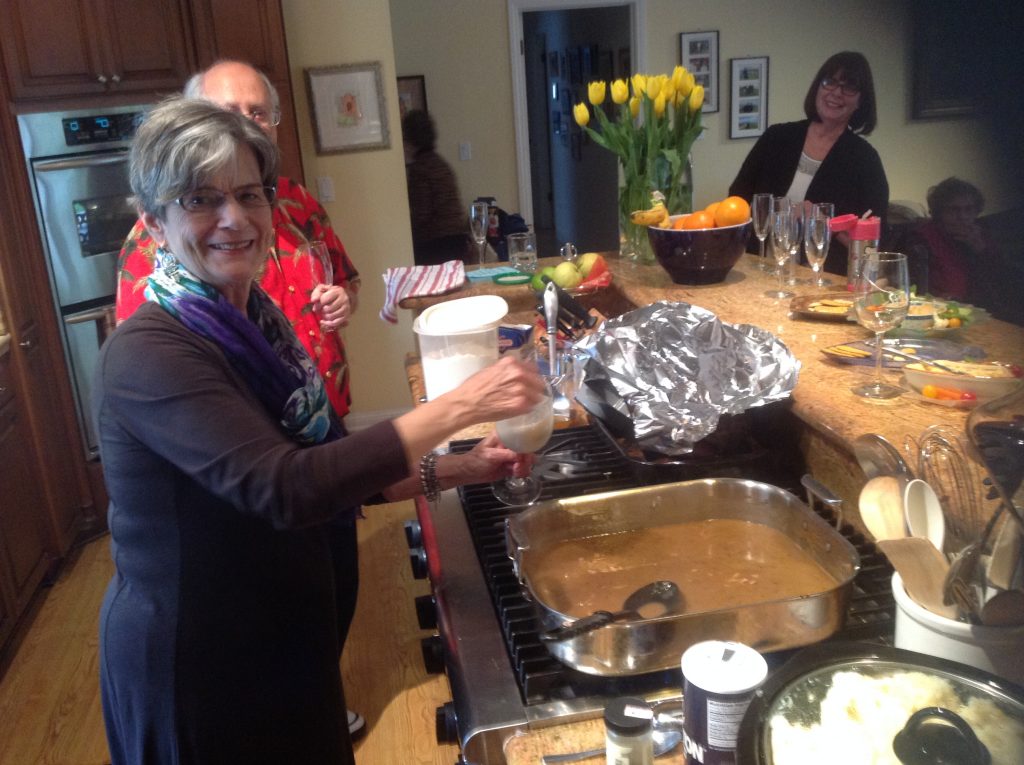
The gravy is ready!
Chicken Cacciatore

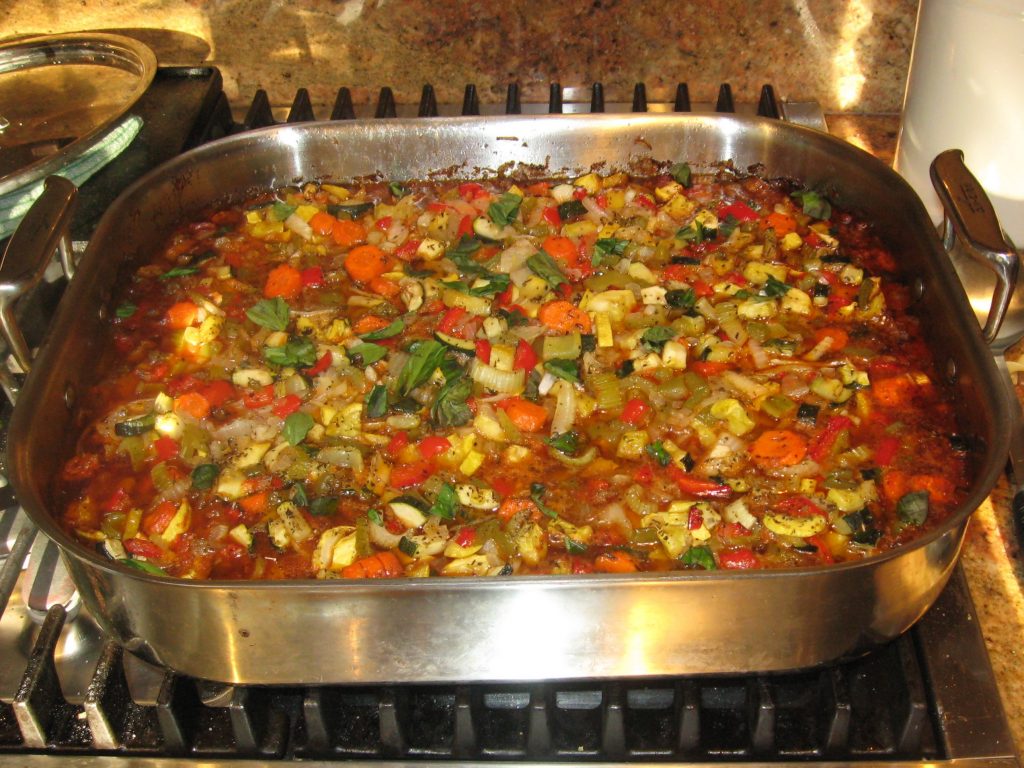
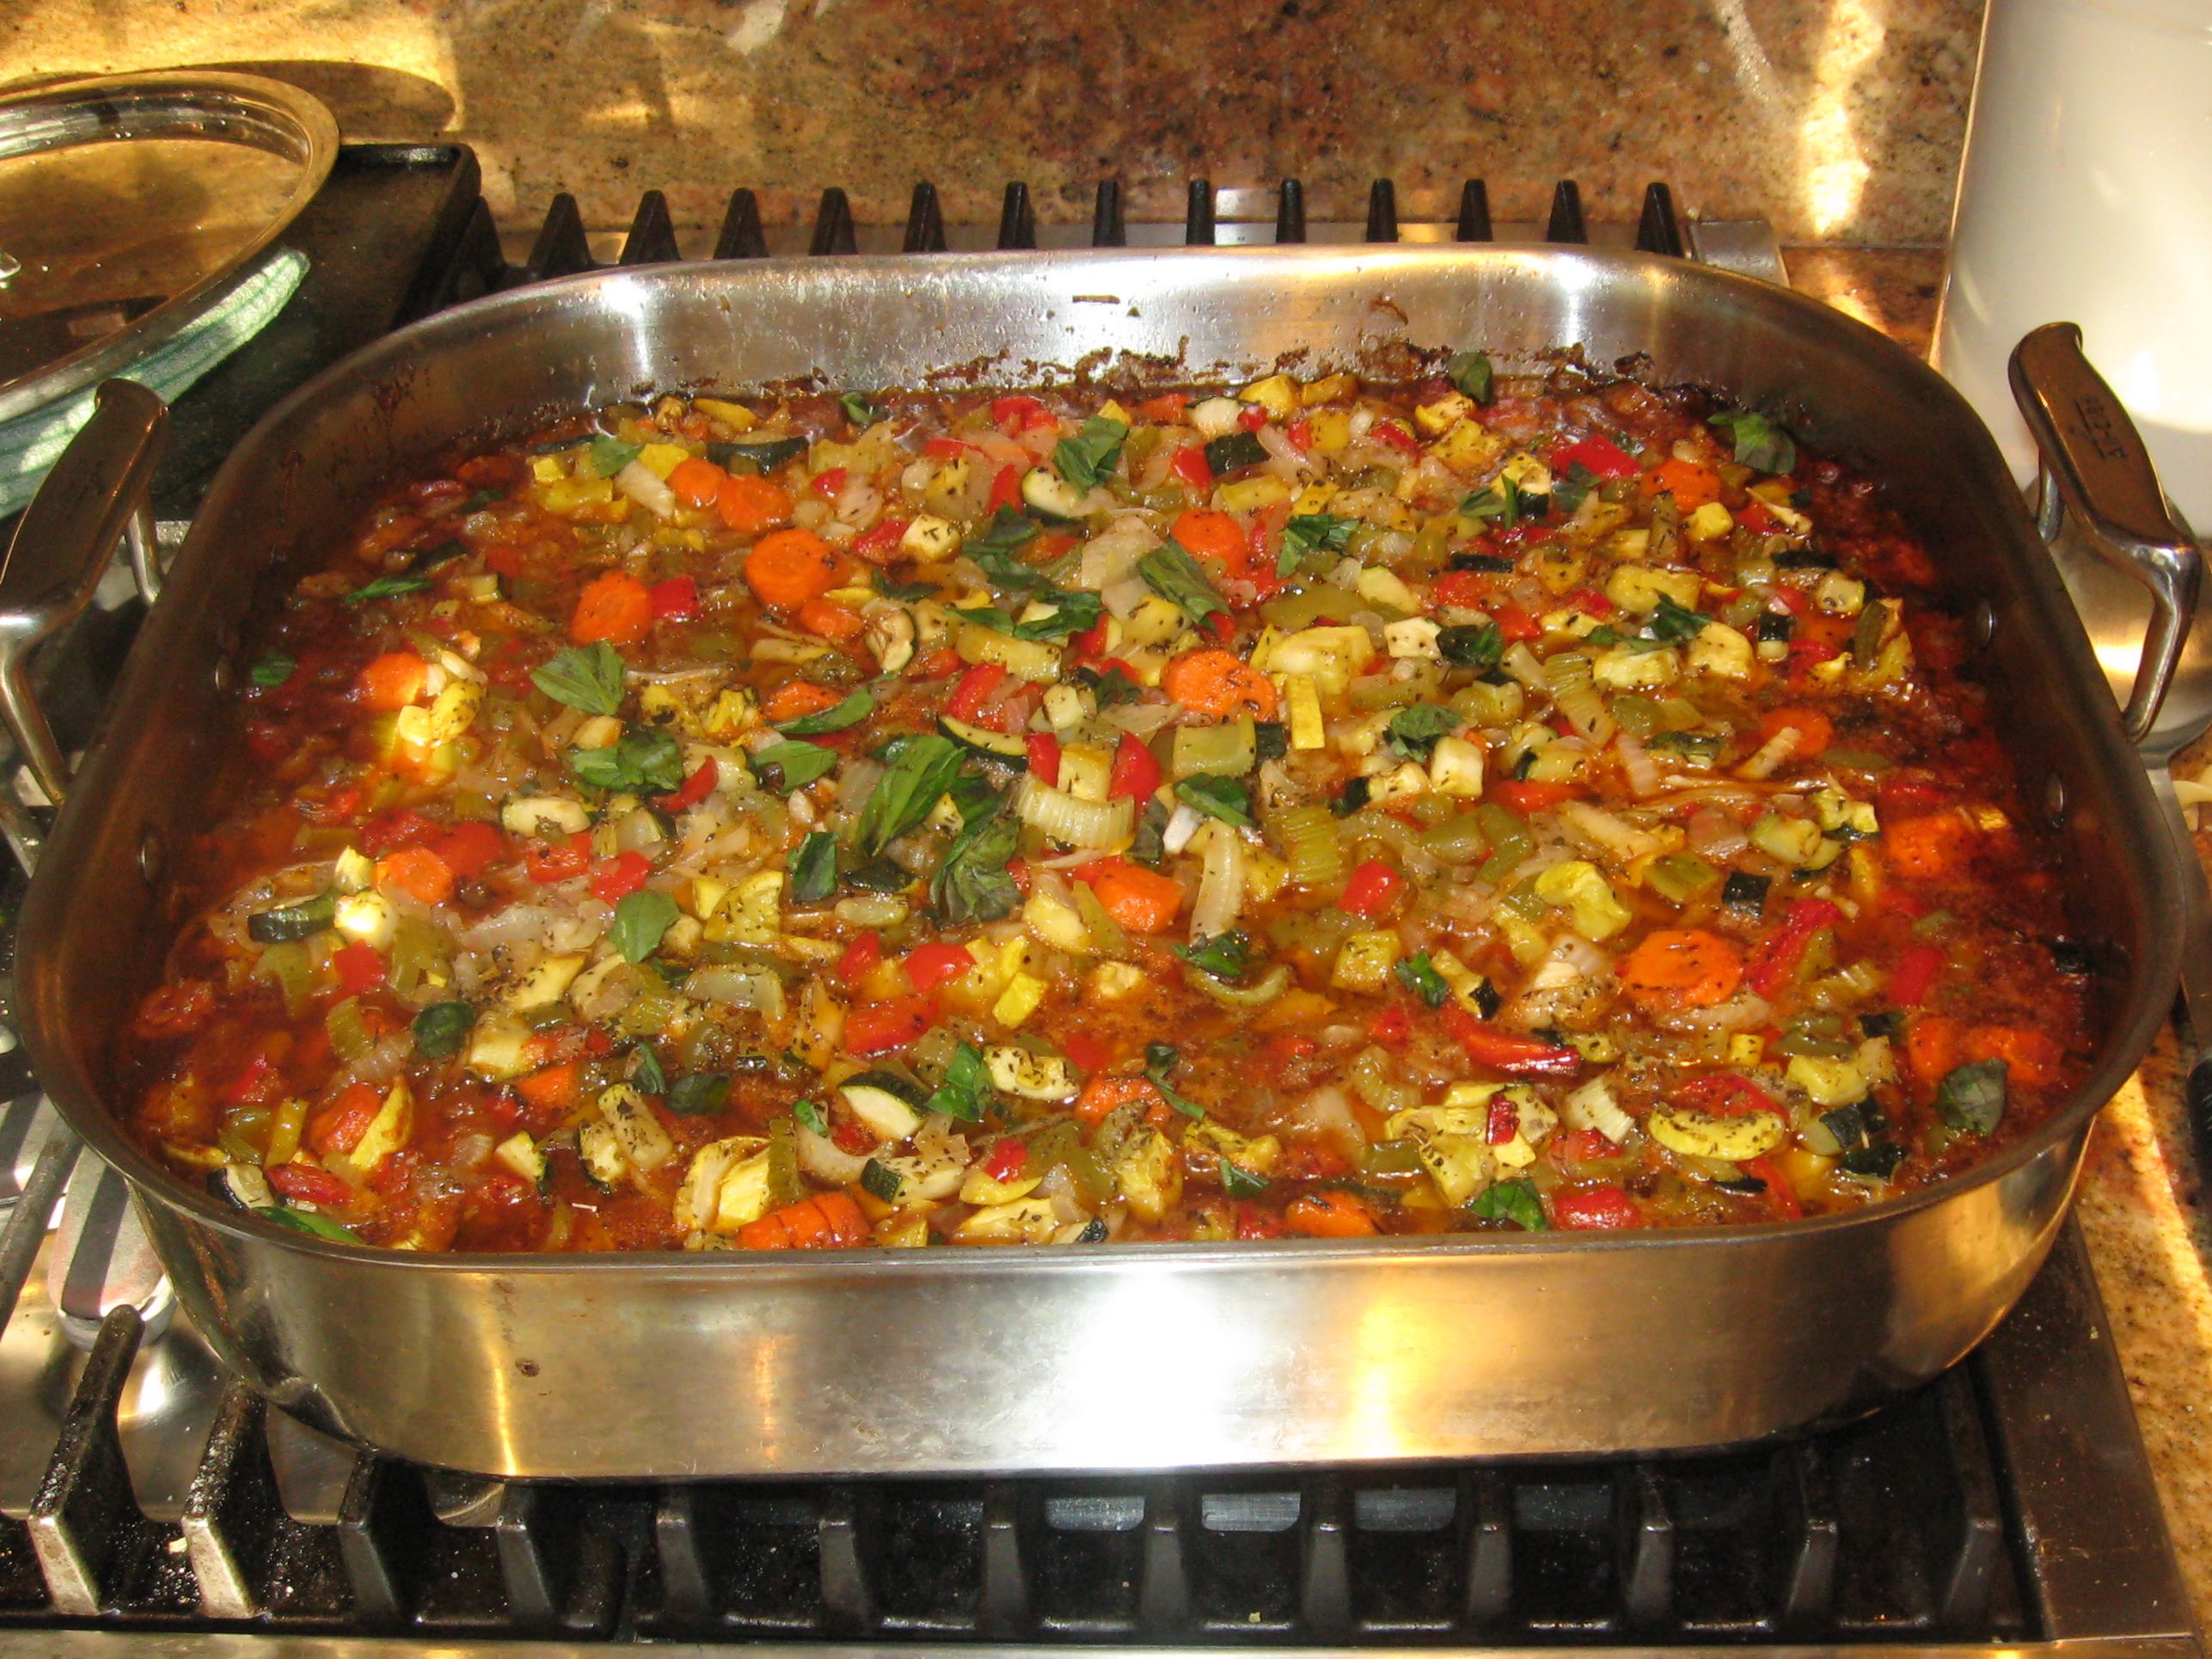
This is a beautiful dish for a crowd.  Tender chicken, great italian red sauce, and tons of vegetables.  It comes out looking like a million bucks!  This recipe will serve at least 12.  I use my turkey roasting pan as my cooking and serving dish for this recipe.


Ingredients

16 Chicken Thighs (Bone-In, Skin Removed)
28 oz Can Diced Tomatoes, Drained
14.50 oz Tomato Sauce
6 oz Tomato Paste
3 Onions, chopped
4 Green Peppers, seeded and chopped
2 Yellow Peppers, seeded and chopped
4 Carrots, chopped
1 Bunch of Celery, cleaned and chopped
3 Zucchini, chopped
3 Yellow (Summer) Squash, chopped
24 oz Flat Noodles
12 oz Red Wine
¼ cup Olive Oil
8 Cloves Garlic
cup Olive Oil
2 tsp Salt
2 tsp Black Pepper
1.50 tbsp Italian Seasoning
1 tsp Crushed Red Pepper

Directions

Chop all vegetables into small pieces.

Heat 1/2 of the Olive Oil in Large Saute Pan. Add all vegetables and saute for 10 minutes. Add Garlic for one minute. Set aside in separate bowl or plate. 10 Minutes
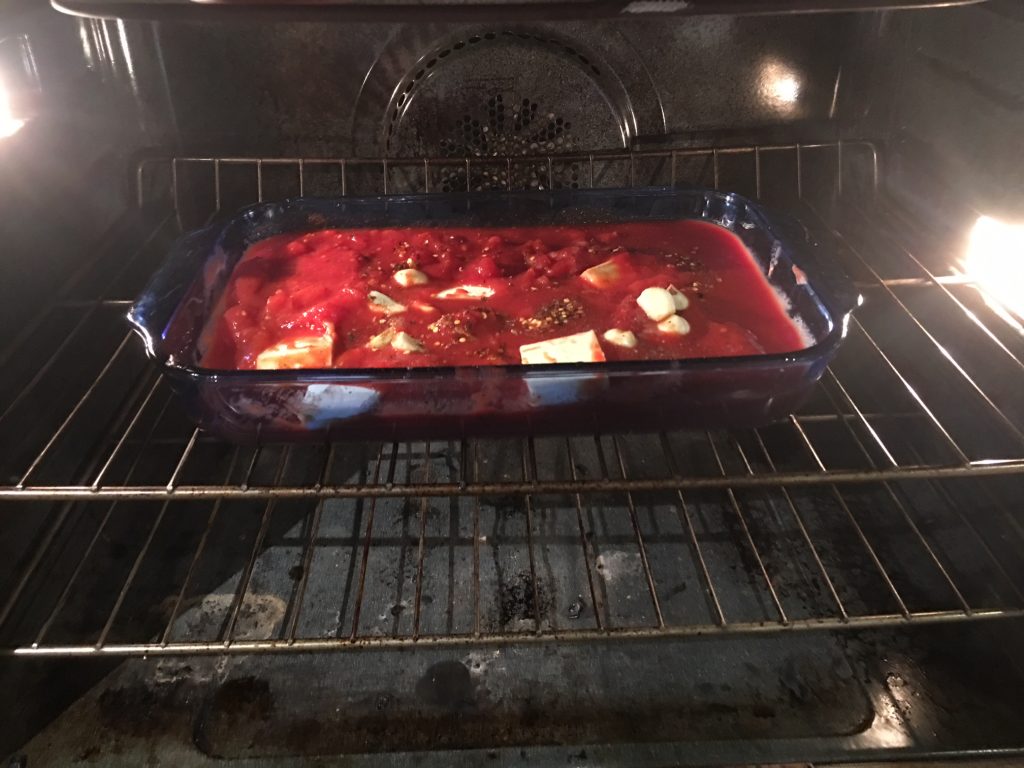
Add remainder of olive oil to saute pan and heat. Add chicken thighs, top side down, and brown for 3 minutes. Remove and set aside.
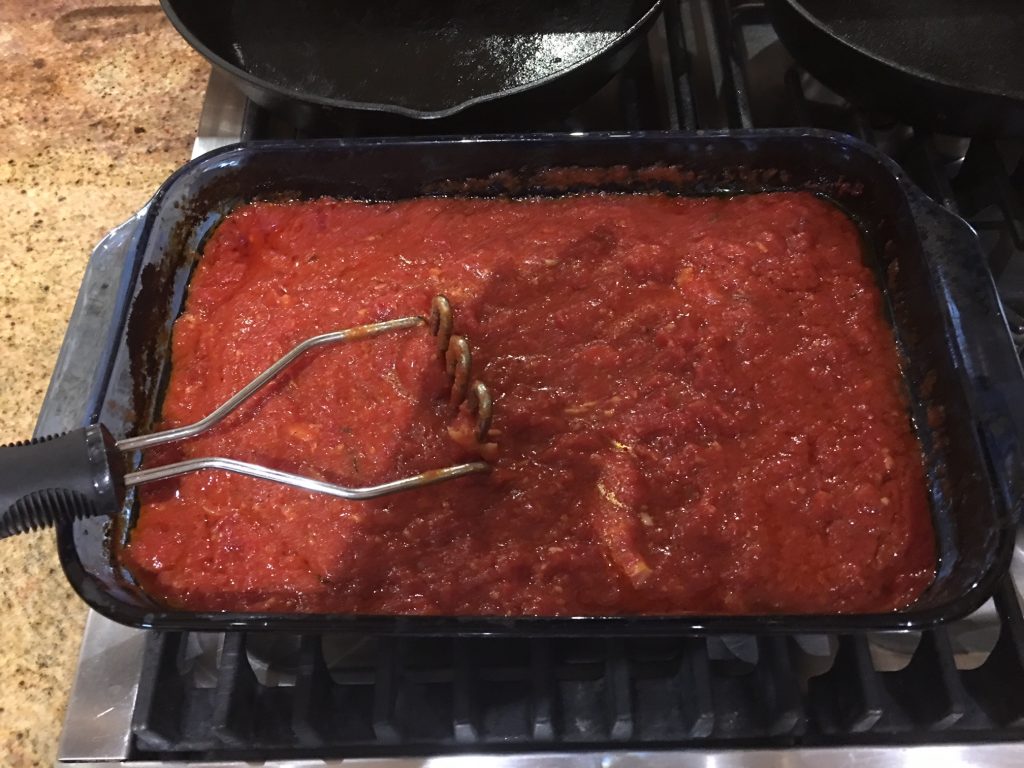
Deglaze pan with red wine, scraping up all of the goodness. Add tomatoes, tomato sauce, tomato paste, and spices. If you’re not already cooking in the pan you’ll be baking in, transfer sauce to that pan.

Layer the chicken thighs, browned side up, in the pan, in the sauce. Layer all vegetables on top of that. Cover tightly with foil. At this point, you can set aside and refrigerate, or cook.

Cook, still covered with foil, at 325 (convection preferred) for 1 hour and 45 minutes. Add 15 minutes if you are taking it out of the fridge. 105 Minutes