Heather’s Crab Cakes

My friend Heather is well known as the person who does just about everything in our school district. She’s amazing at work, and to top it off, she’s a spectacular cook! This is one of her favorite recipes, and now that she’s shared it, it’s one of mine too.

Ingredients

Crab Cakes
2 tbsp Chopped Chives
1 tbsp Chopped Flat Parsley or Cilantro
1.50 tbsp Mayonnaise
1 tsp Grated lemon rind
1 tbsp Fresh Lemon Juice
1 Egg
cup Panko Bread Crumbs
1 lb Crab Meat, Lump is bestI try to always have at least one pound of the Costco Lump Crab Meat in my fridge. It lasts a long time, and I'm crab cake or fried rice ready at any time.
1 tbsp Blended Olive and Canola Oil
Spicy Mayo
¼ cup Mayonnaise
1 tbsp Chopped Chives or Shallots (but if you bought the chives, you might as well use them!)
2 tsp Creole Mustard (or Dijon Mustard with 1/2 tsp hot sauce)
1 tsp Fresh Lemon Juice
¼ tsp Cayenne Pepper (careful here, you may want to do it to taste)
tsp Salt
1.50 tbsp Capers (If you like them)

Directions

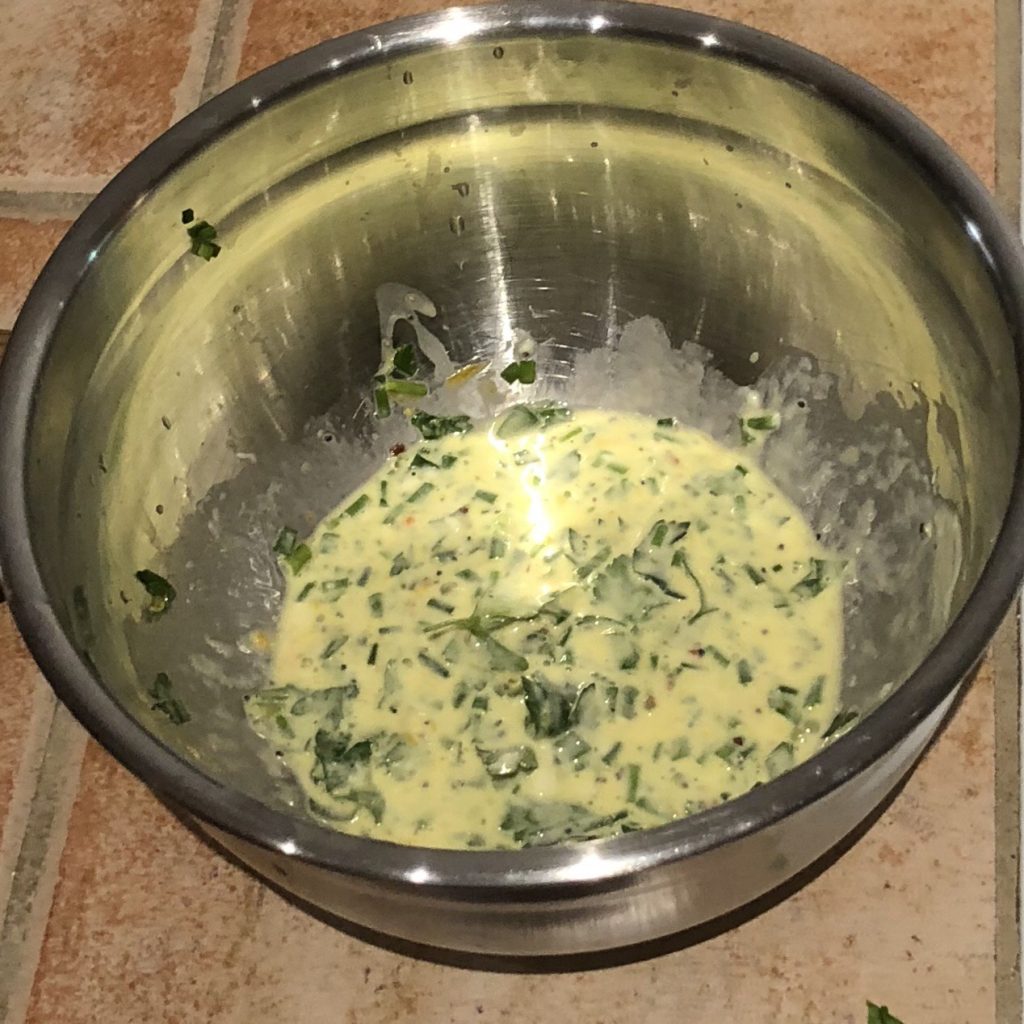
Mix together everything except the crab and the bread crumbs.

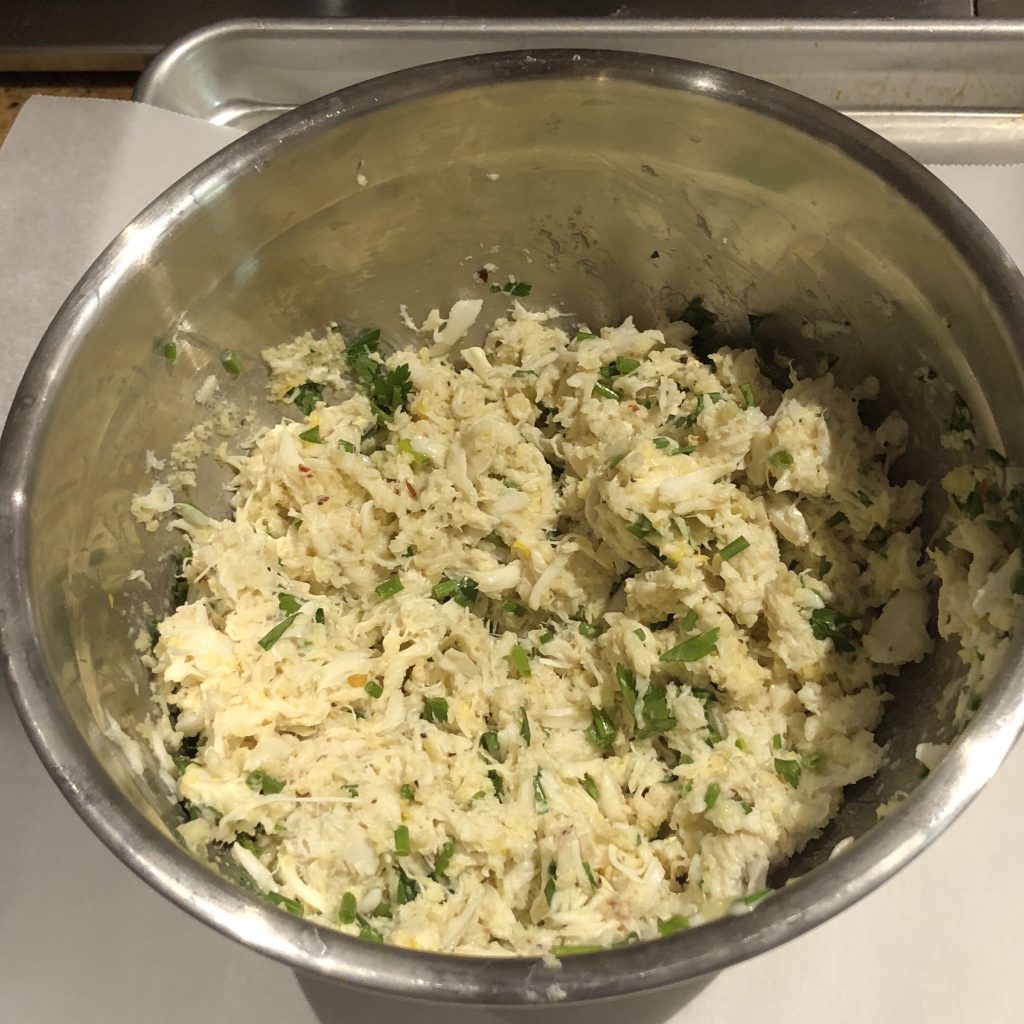
Add the crab and bread crumbs, mix together and set in the fridge for one hour.

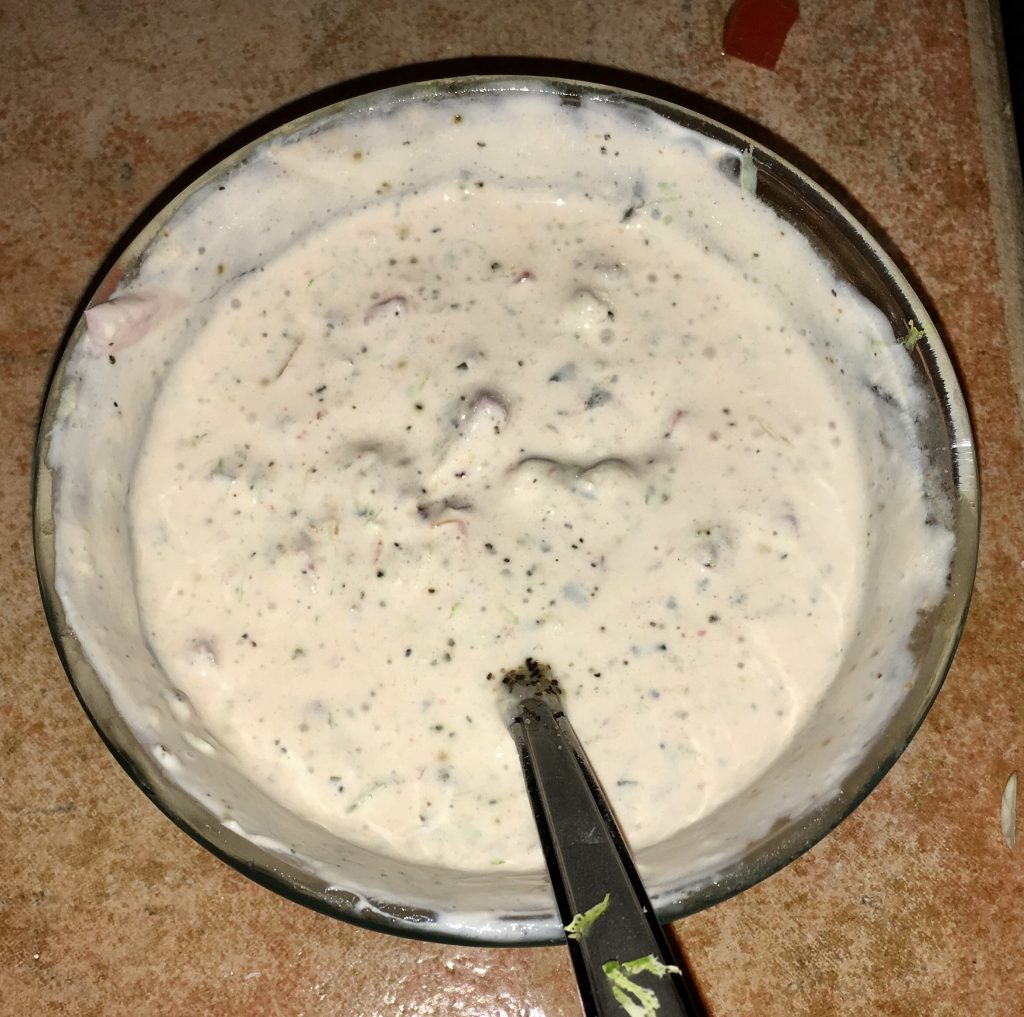
While you are waiting . . . Mix all Spicy Mayo ingredients together.

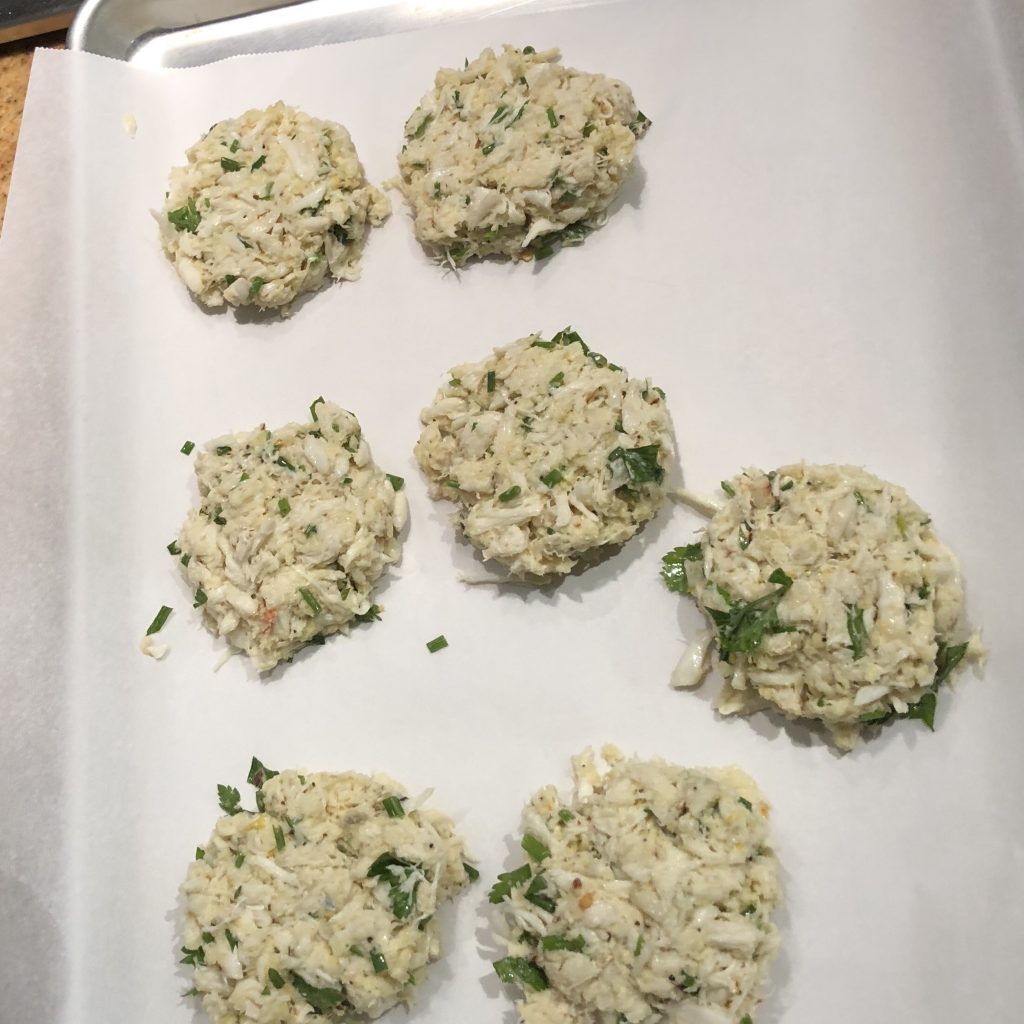
Use a 1/3 cup measure, scoop out crab cakes onto plate or parchment paper.

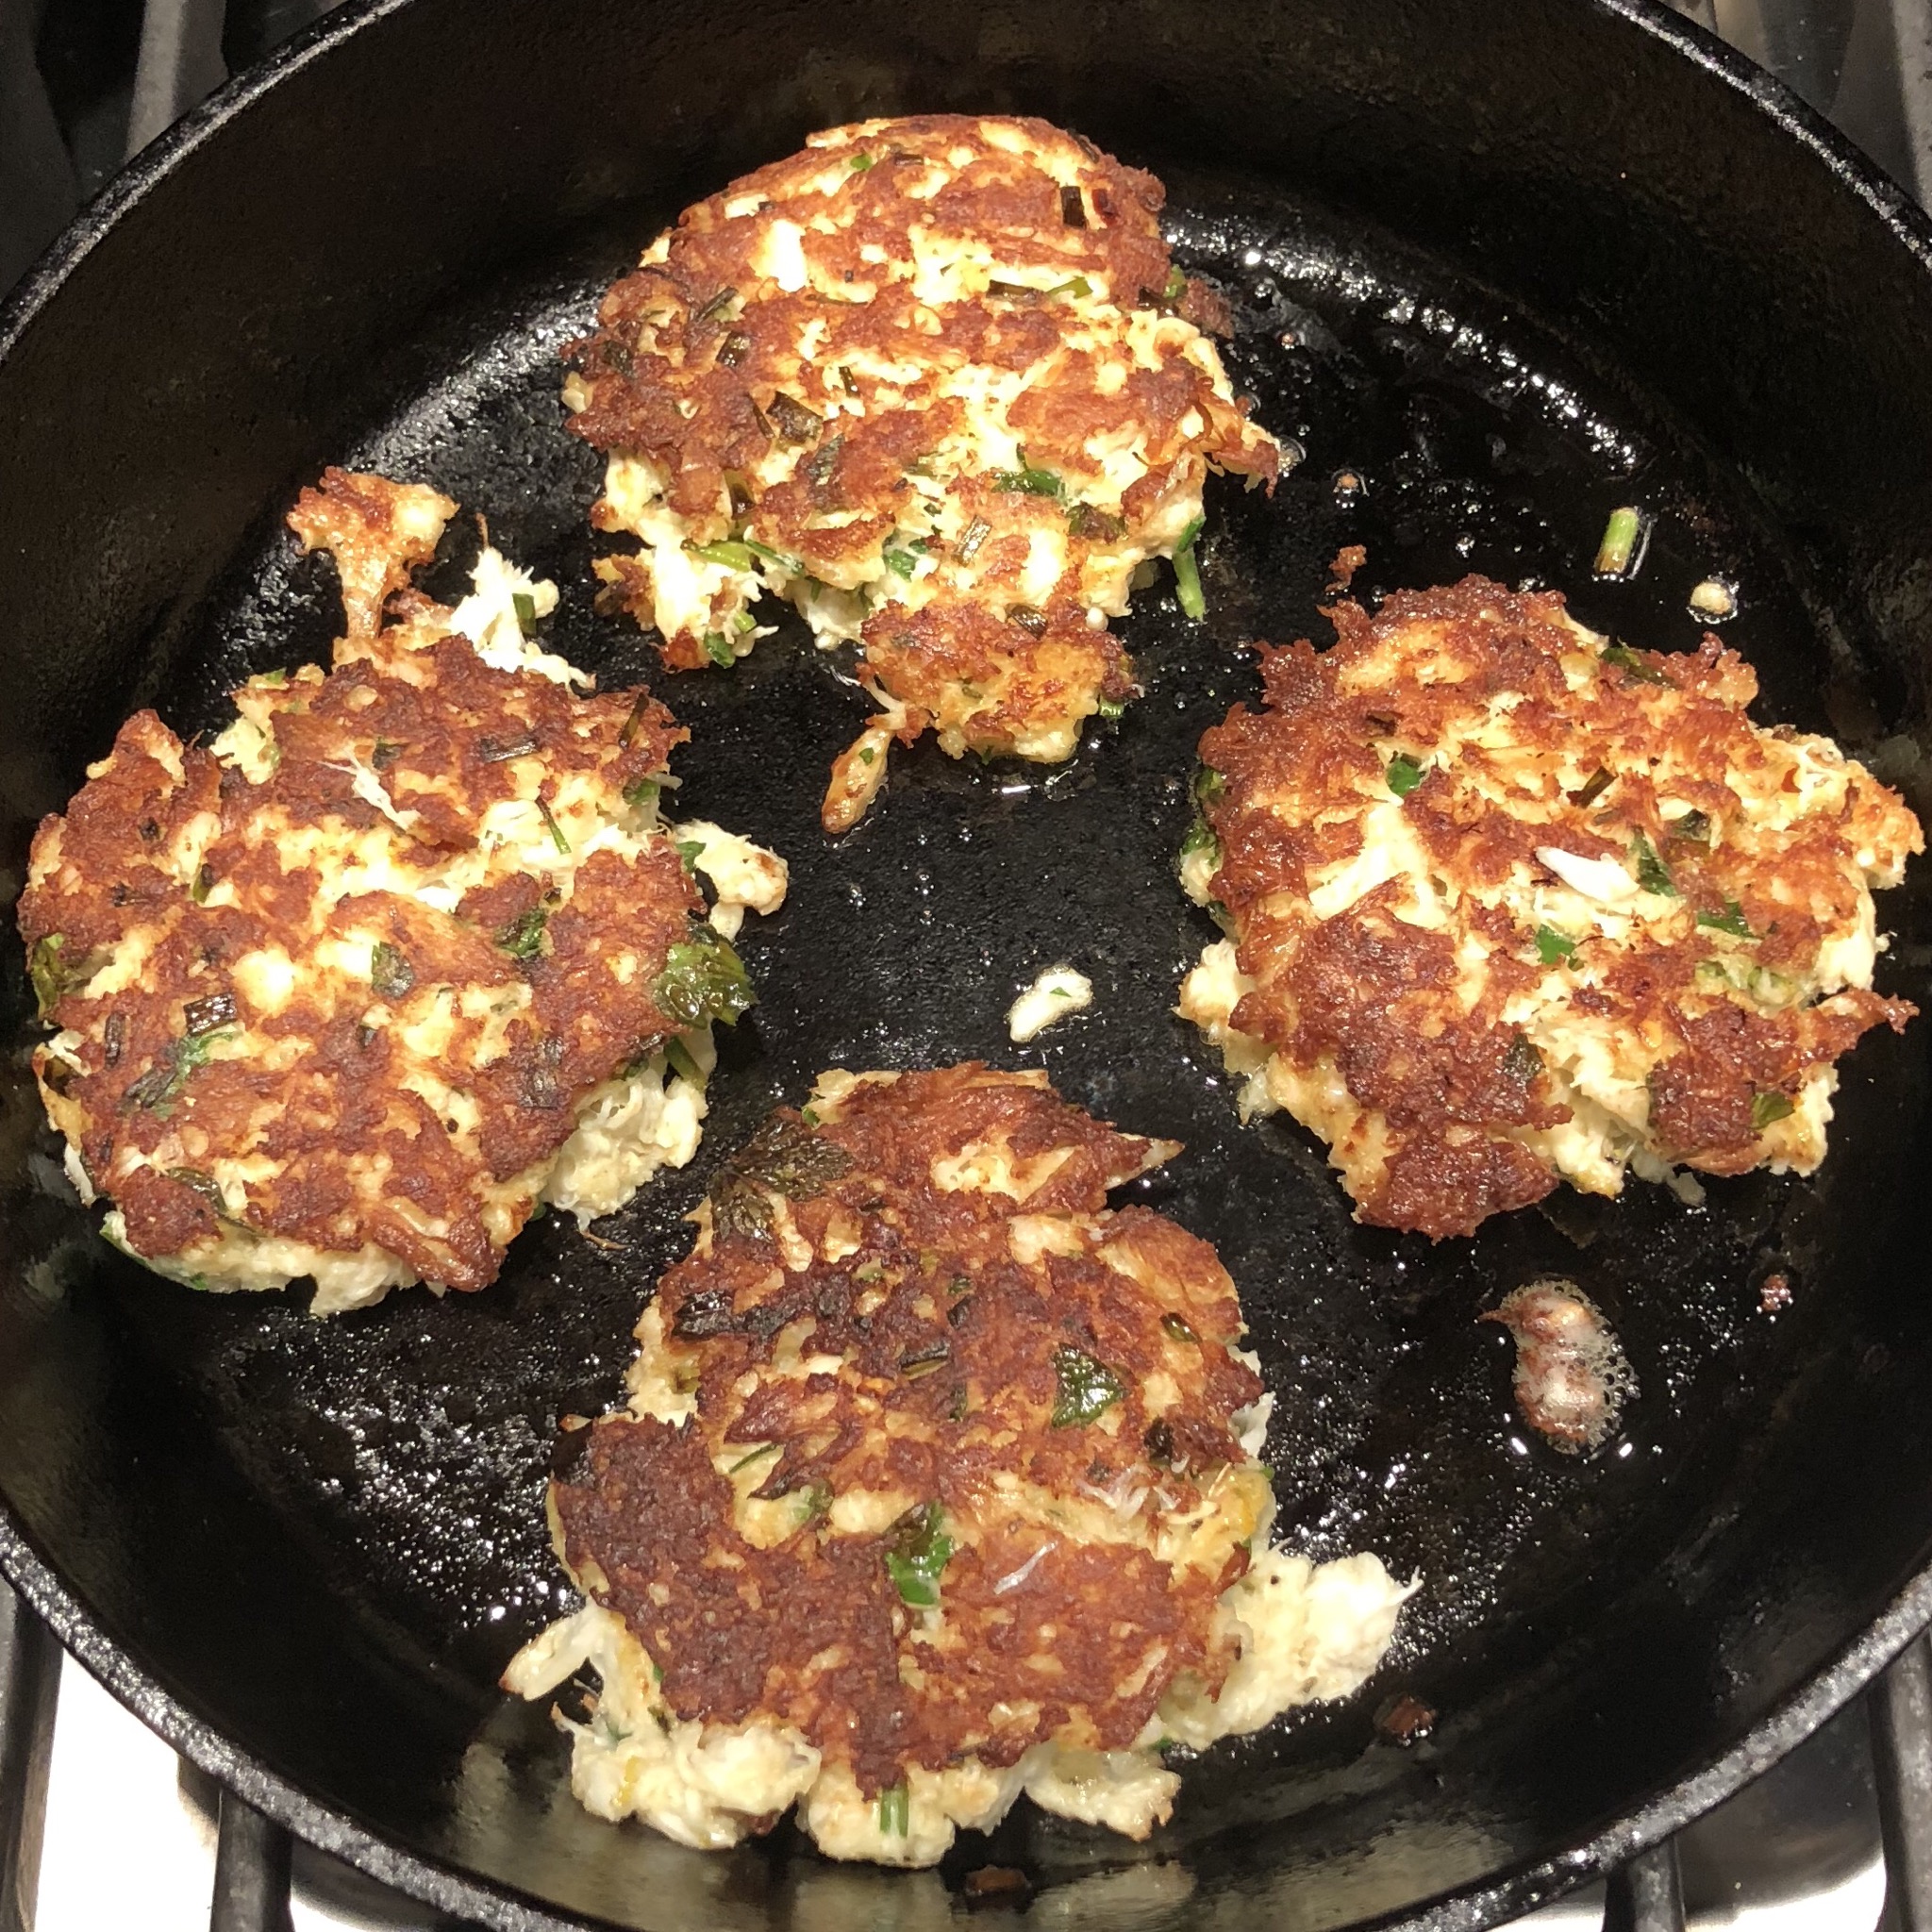
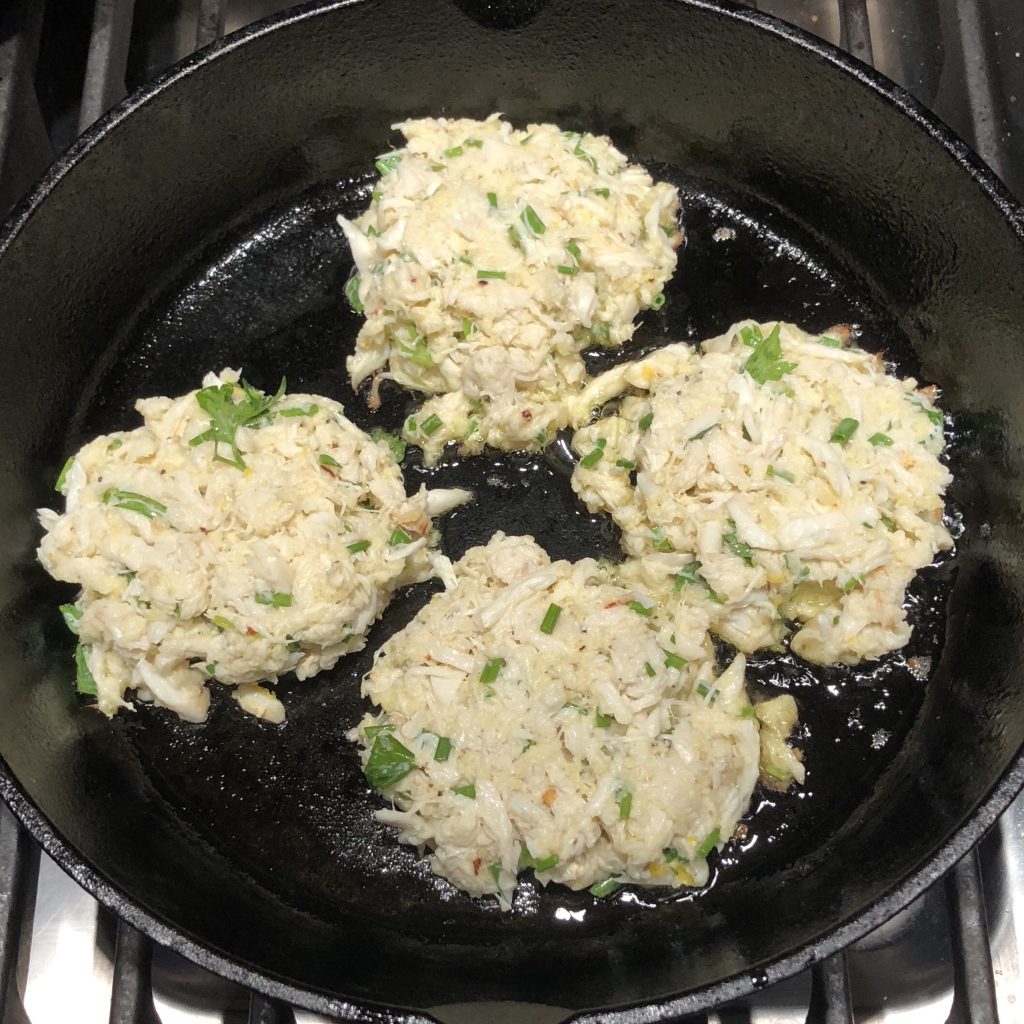
Press out flat, then place in frying pan with just a little bit of olive/canola oil mix – 1/2 Tbsp. Sauté for 4 minutes.

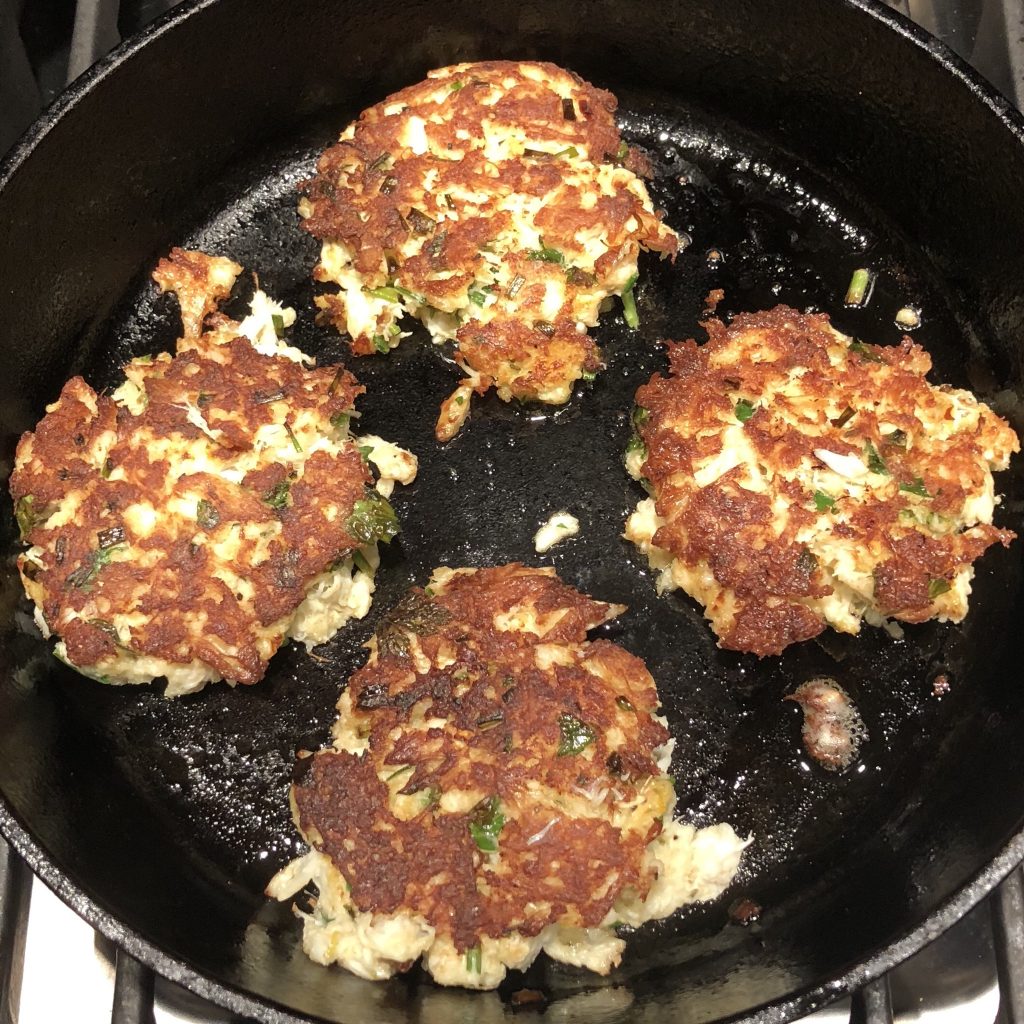
Flip over and sauté another four minutes until golden brown.

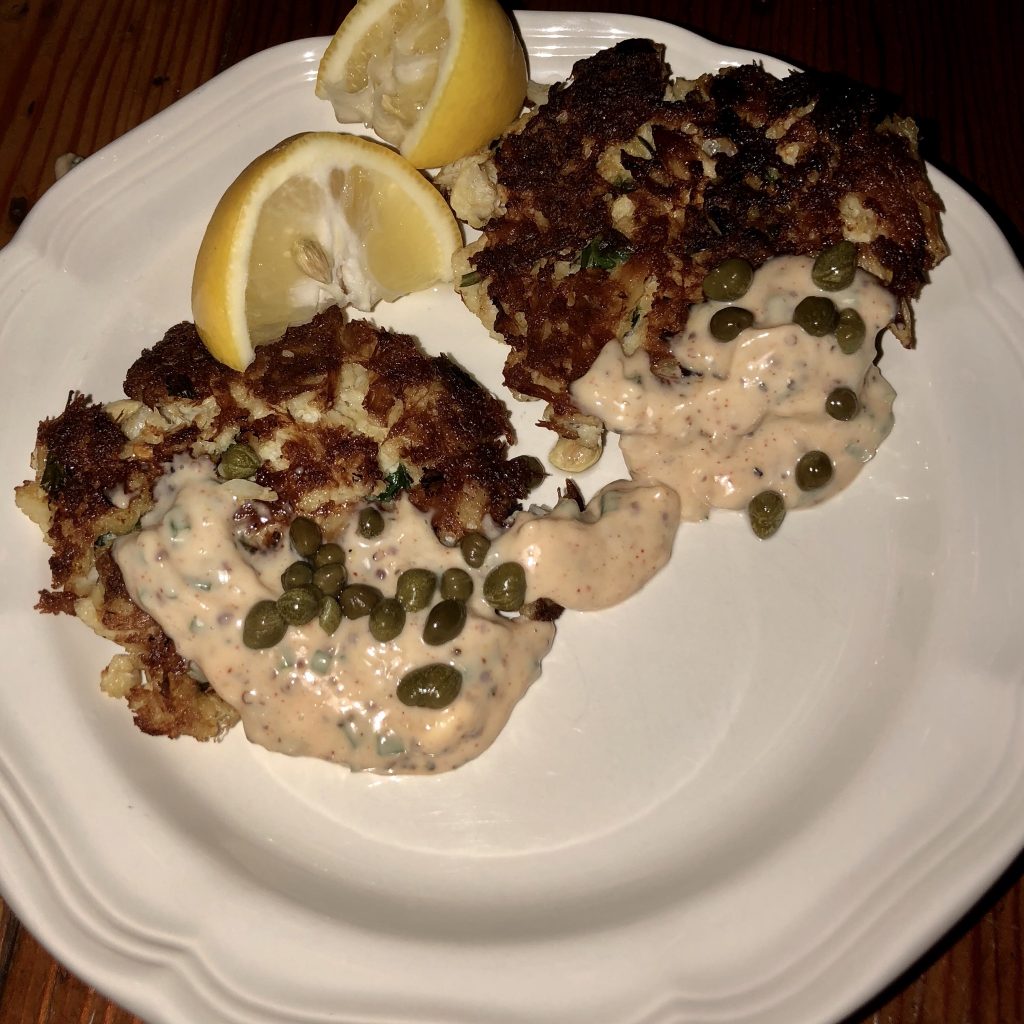
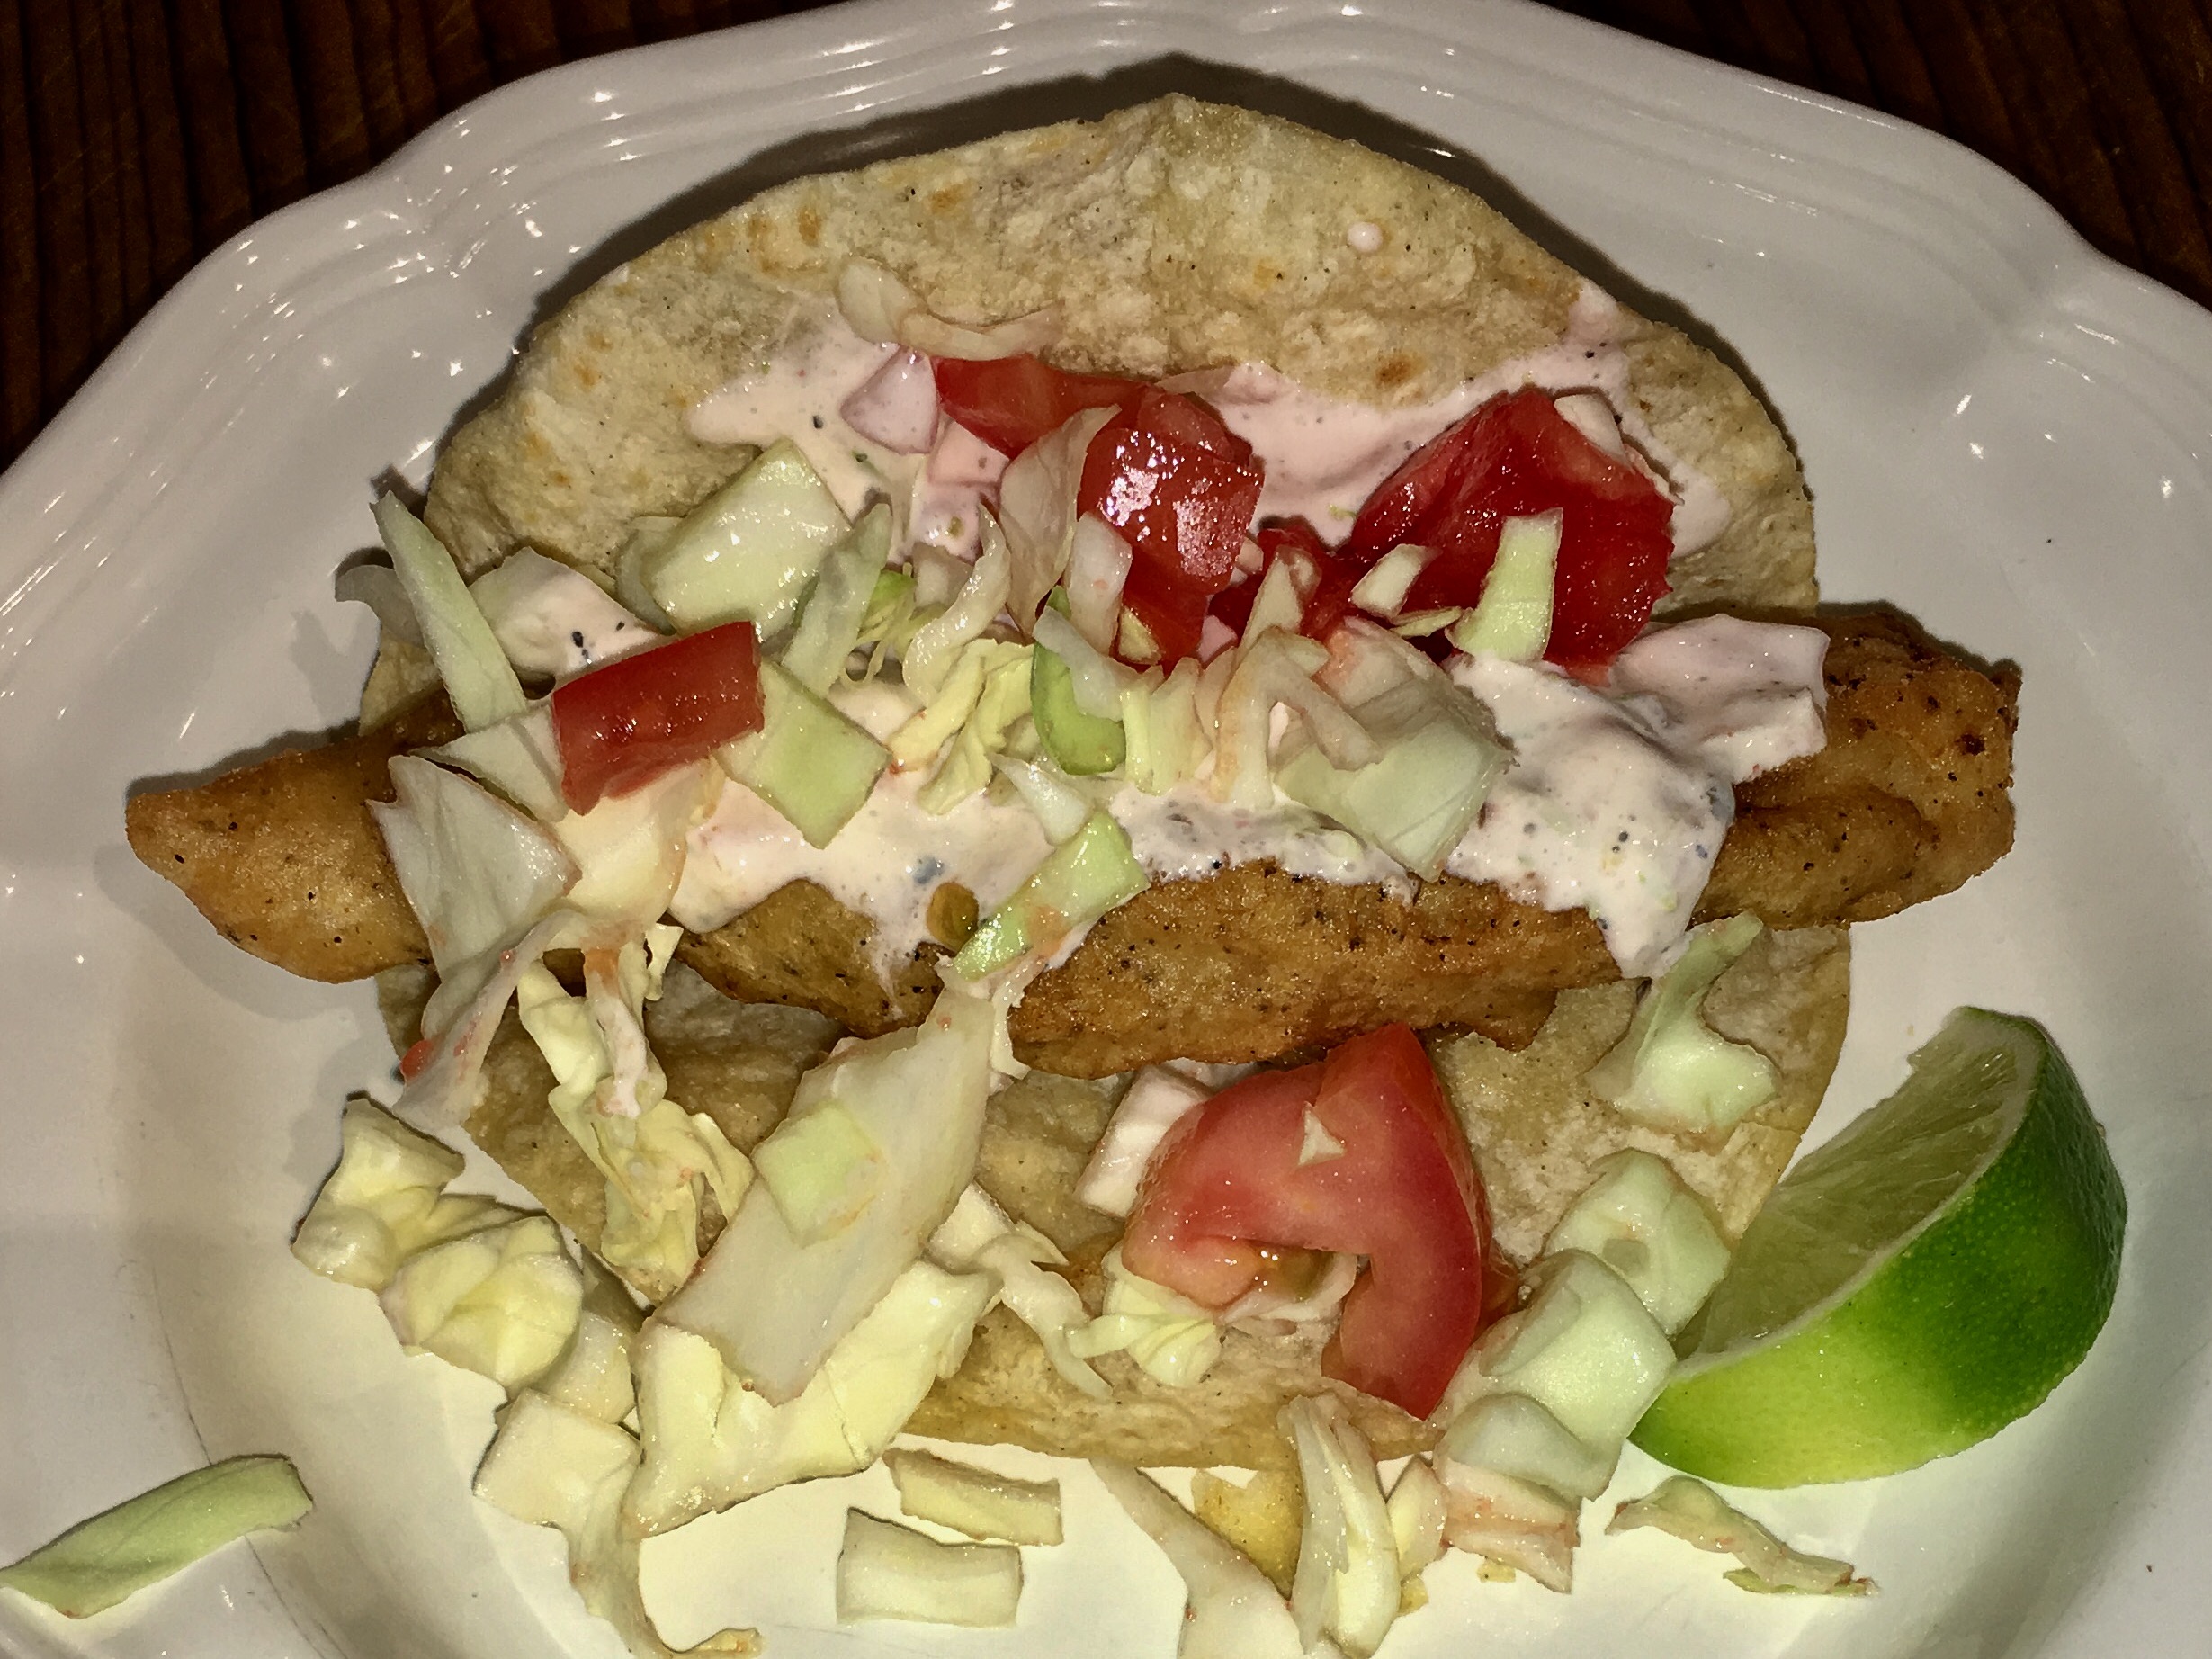
Serve with lemon wedges and spicy mayo and enjoy!

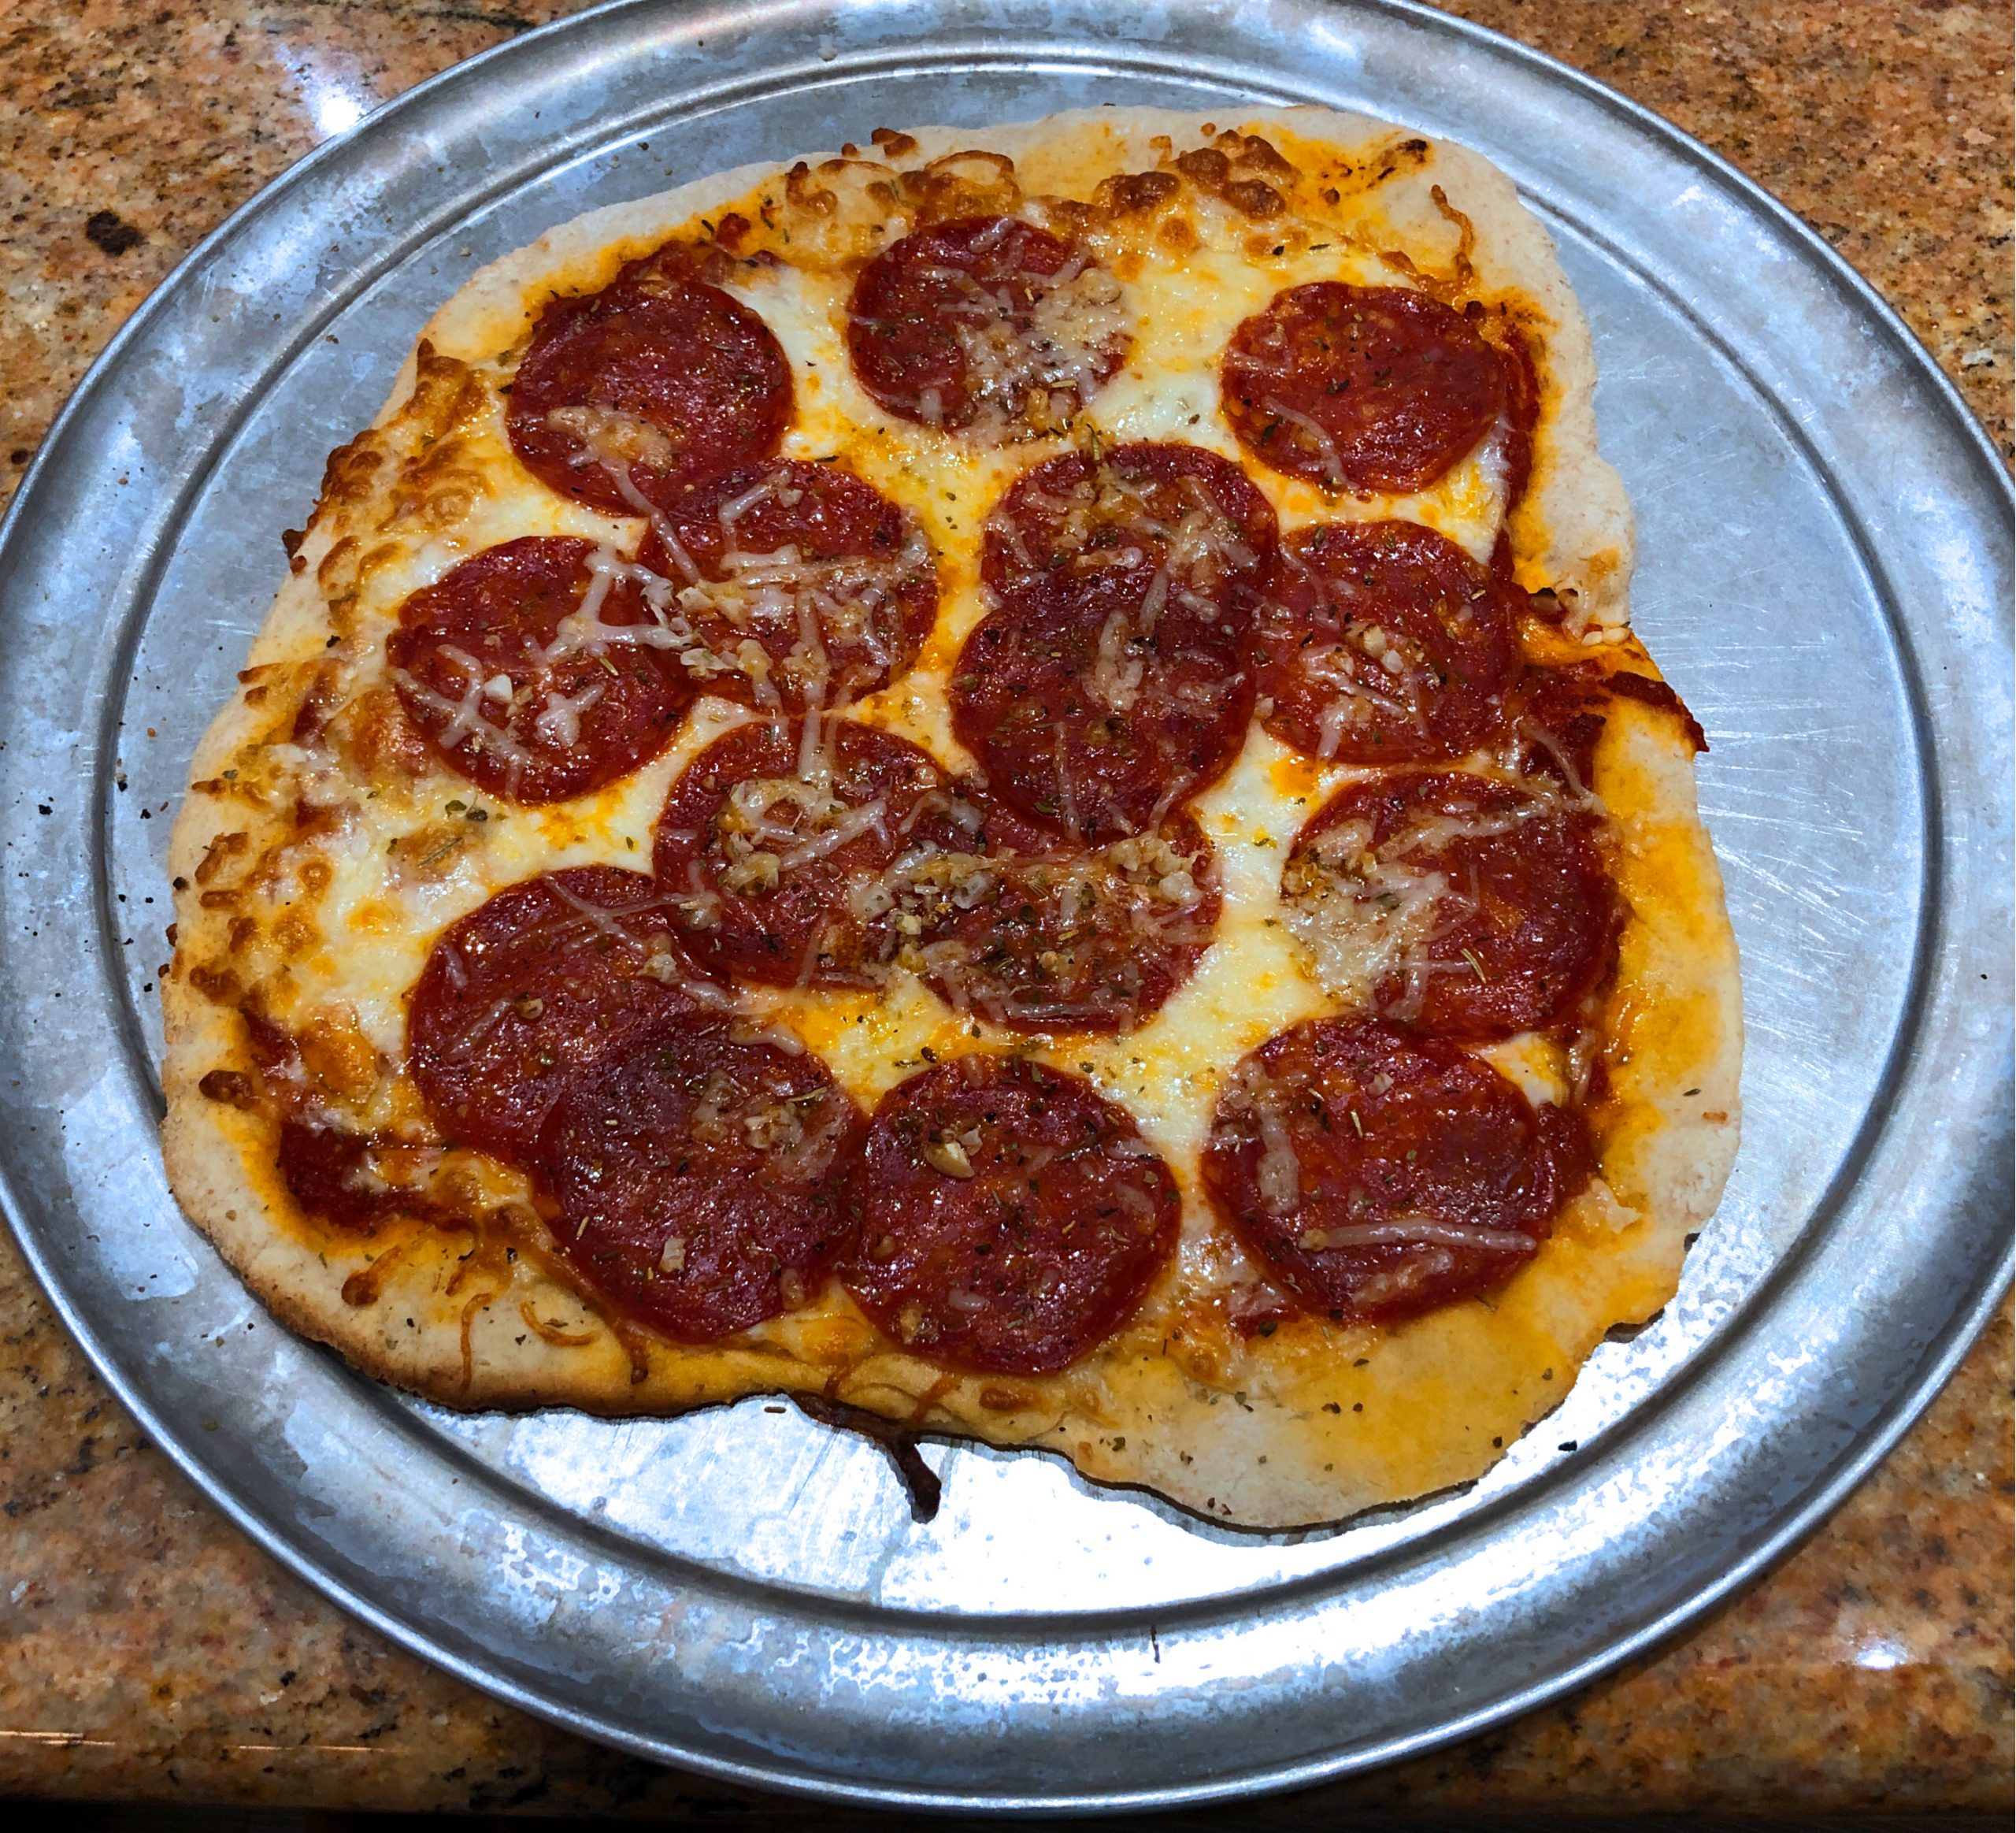
Pizza with Homemade Pizza Dough

Pizza Night is a big deal in our house. And you can buy dough at Trader Joe’s or your supermarket, and it’s just fine. But why settle for just fine, when making great pizza dough is so easy to do! And when people ask if you made the dough yourself, you calmly answer, ‘Why yes I did.” It feels good.

You need at least 90 minutes of time, and preferably two hours, but 90% of that time is waiting for it to rise. Try it out!

Ingredients

4 cups White FlourIf you want to get fancy, you can use the Italian 00 flour, which is much softer and will impress your friends who know pizza. I like to substitute 1/2 cup whole wheat flour, as I think it gives the dough some nice rustic appeal.
2 tsp Kosher Salt
1.50 tbsp Active Dry Yeast(Equivalent to two packages)
1.25 cups Warm Water
1 tbsp Olive Oil
Tomato/Pesto/BBQ SauceYou choose!
Mozzarella and Parmesan Cheese
Awesome Pizza Ingredients

Directions

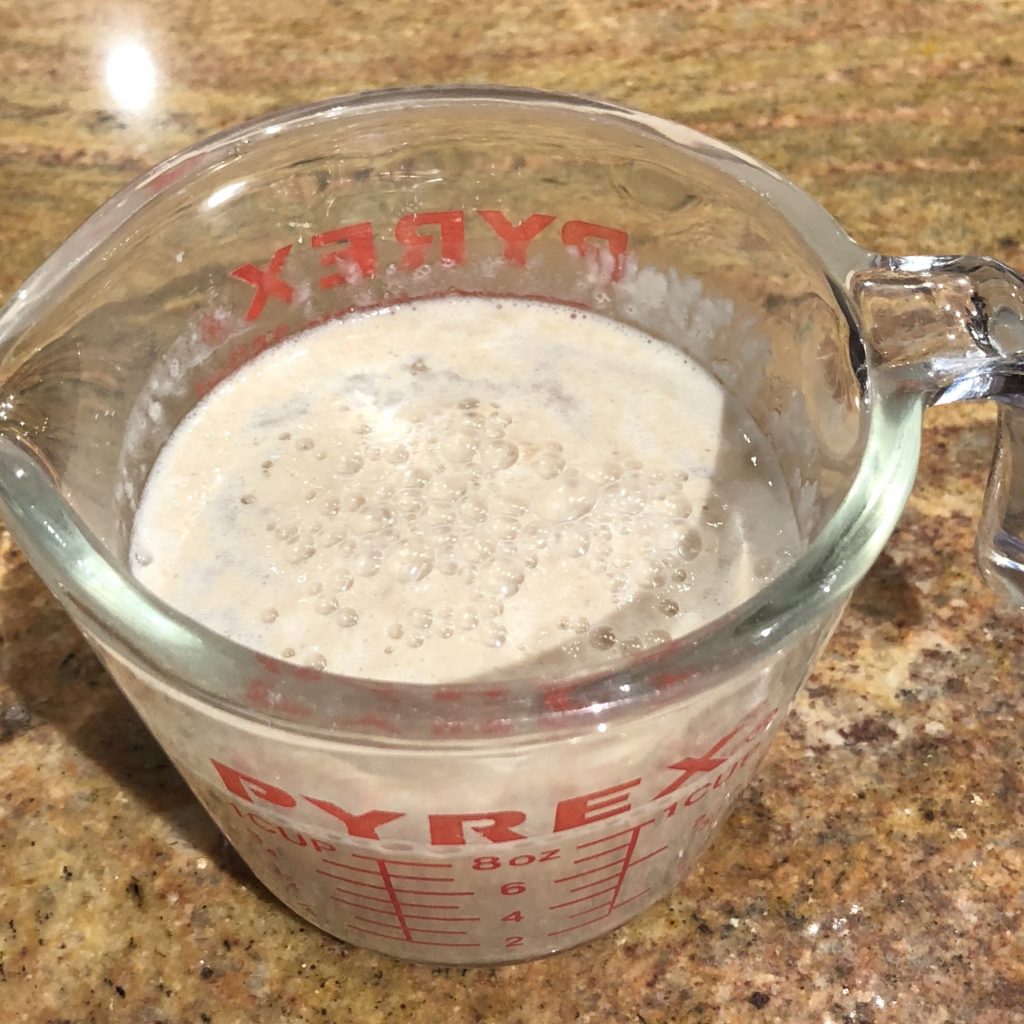
Mix Warm Water with yeast. Let sit for 5-10 minutes until bubbly.
Mix Flour and Salt.
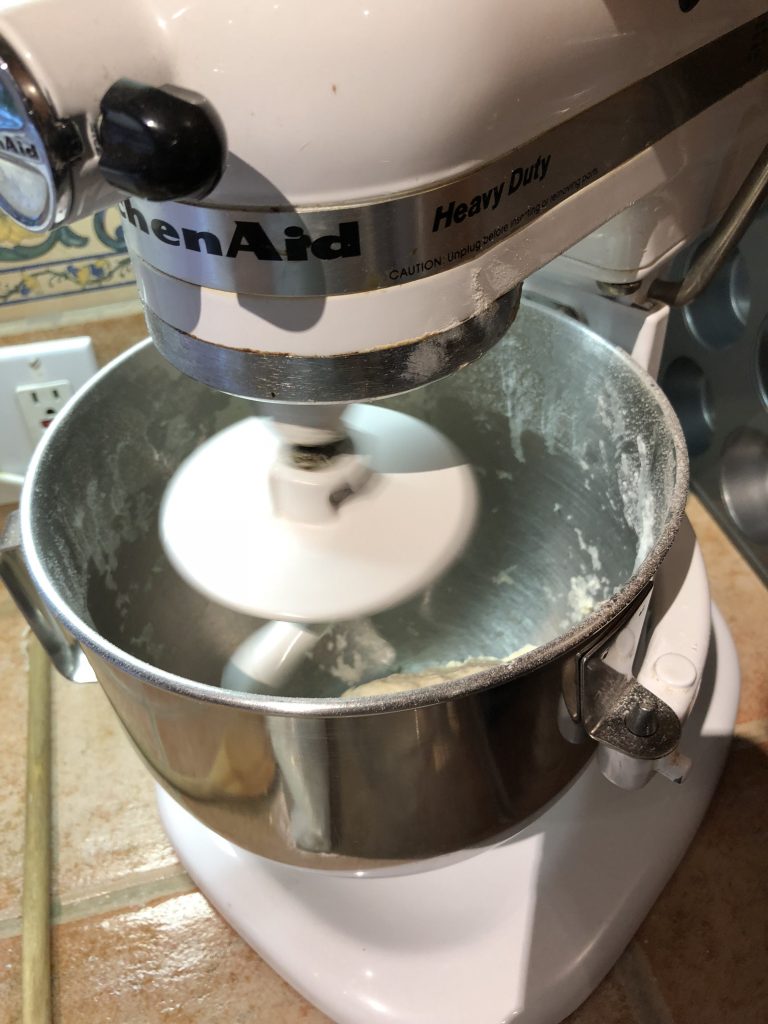
In a Kitchen Aid Mixer, or with a spoon or with your clean hands, mix, then knead the flour with the yeasted water. Do this for 5 minutes in the mixer or at least 7 minutes by hand. I prefer kneading it, as my hands can feel the dough when it starts to soften up and become more pliable. Knead it for another minute after you feel that change, and you’re good.
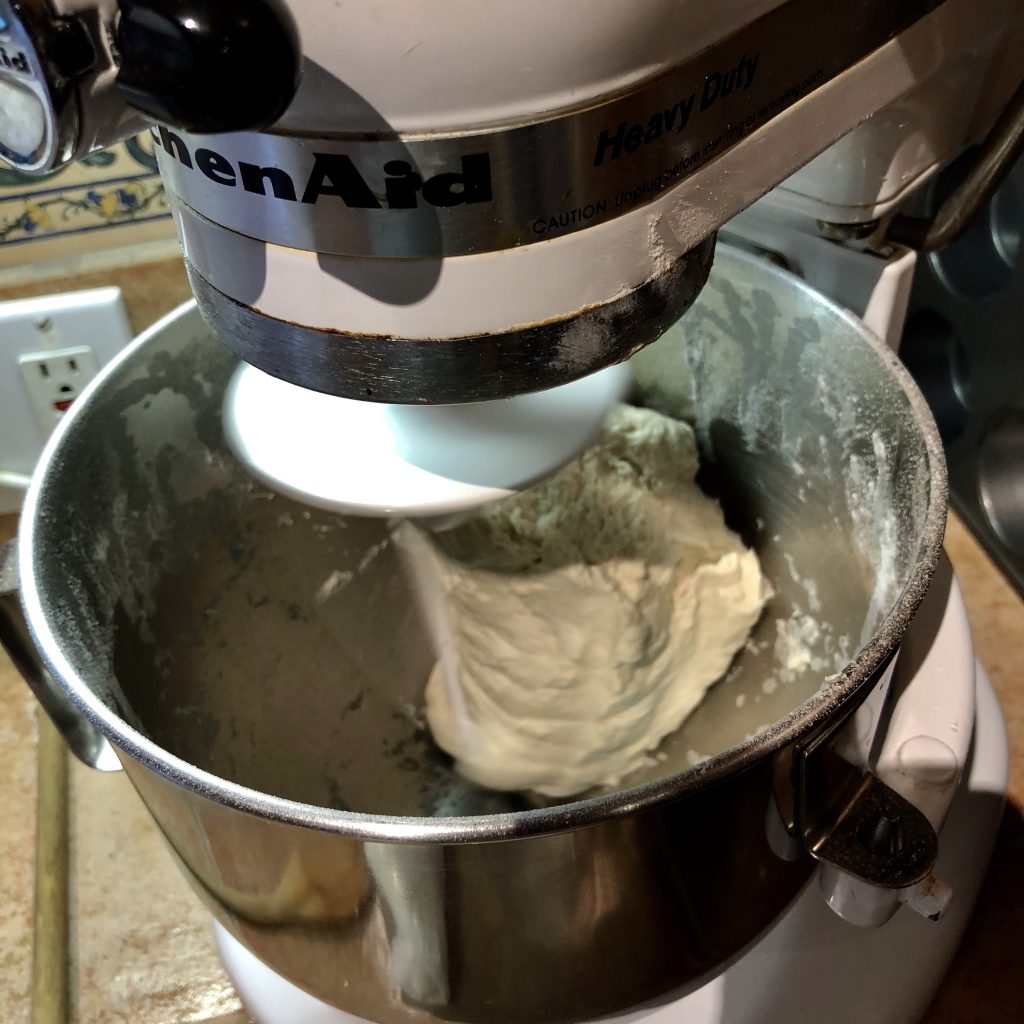
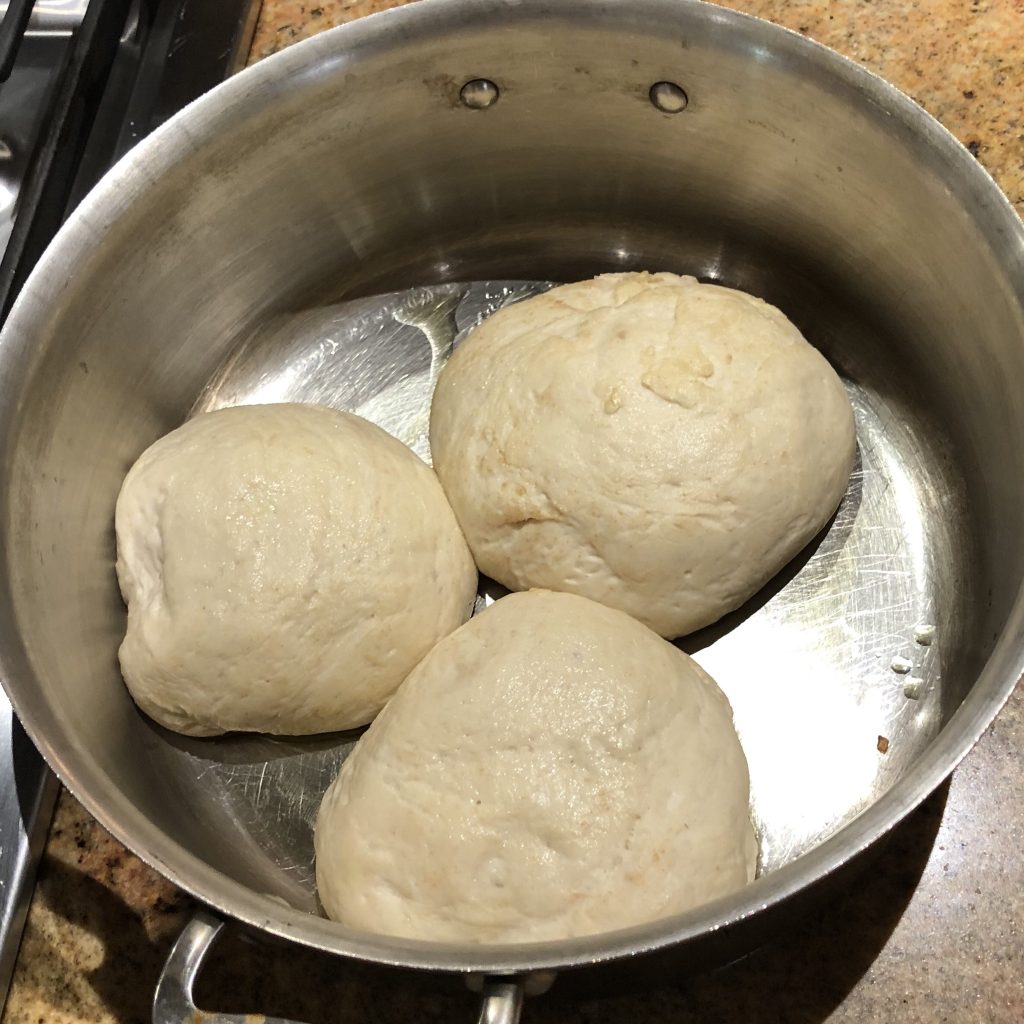
Separate into two or three dough balls. Two makes two 12-inch pizzas. Three makes three 8-10 inch pizzas.

Let rise for at least one or two hours. Some ovens have a “proofing” mode, where you can set the temperature to 90 degrees or so. Otherwise, just cover with a cloth in the warmest place in your kitchen and let rise. It should double in size.

About an hour before you are ready to start putting those pies in the oven or Big Green Egg, start the oven at 550 (or as hot as yours will go) and put the pizza stones in there. If you have multiple pizza stones, they work great on the different levels of the oven. Also, if you have a convection oven, that works best.

I’m working on using my gas grill too, and I hope to update you on that soon.
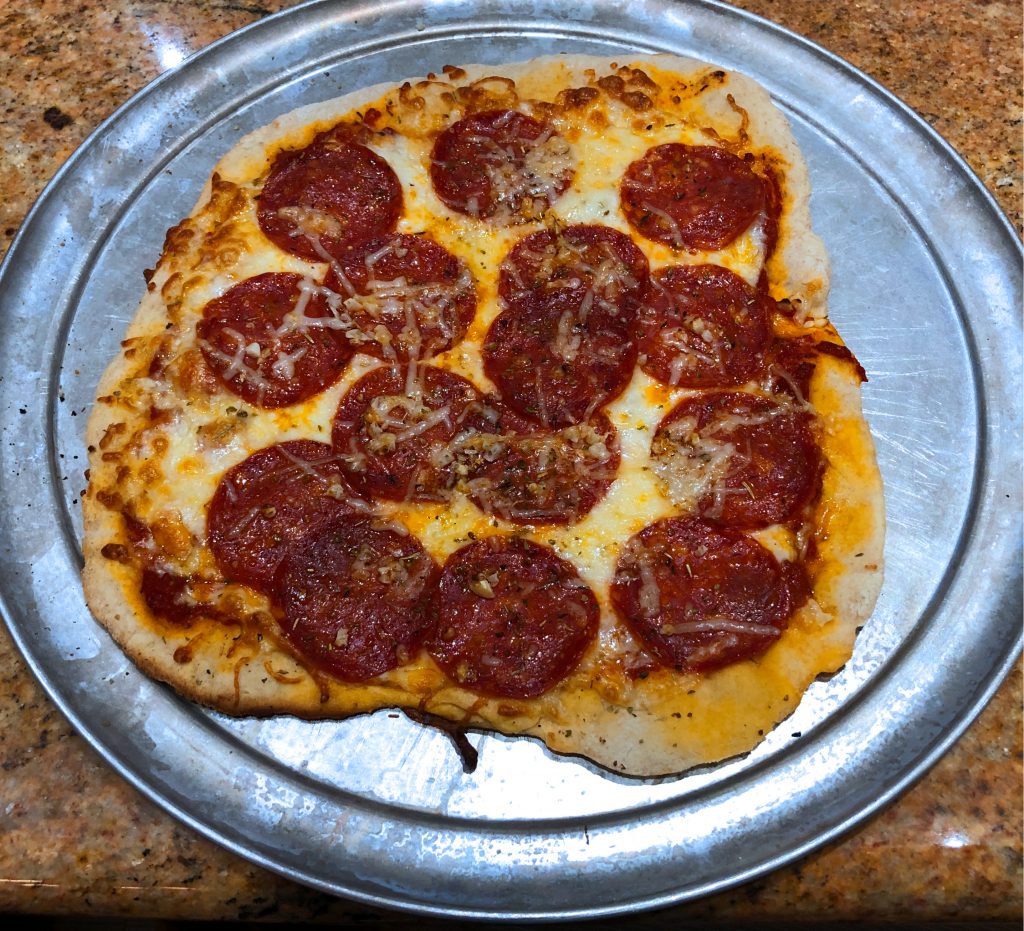
Start in the middle and press out until you have a nice circle, or something that approximates a circle, or some kind of amoeba-like crust that will taste wonderful. 1/4 of an inch is a good thickness target – as that allows some rise an those nice bubbles in the oven. If you want it super thin, roll out with rolling pin to about 1/8″. Or, if you’re really good (I’m not) toss it and make it the artistic way!

Cover with your favorite sauce, cheese, and toppings (keep it light – pizza is not meant to be overloaded) ingredients, bake at 550 degrees ((or the highest your oven will go) on a pizza stone for 6-8 minutes, and you are ready!

One more note – there is always a debate about how to keep pizza dough from sticking to the stone. Cornmeal is a favorite answer, but it’s not my answer. Parchment paper. After you roll out the dough, put it on parchment paper and then add the ingredients. When you are ready to bake, slide the pizza WITH THE PARCHMENT PAPER STILL ON THE BOTTOM, into the oven. I take out the parchment paper after 2-3 minutes, it will be brown on the edges, and then the pie loses its stickiness and can be easily moved around on and eventually removed from the stone.
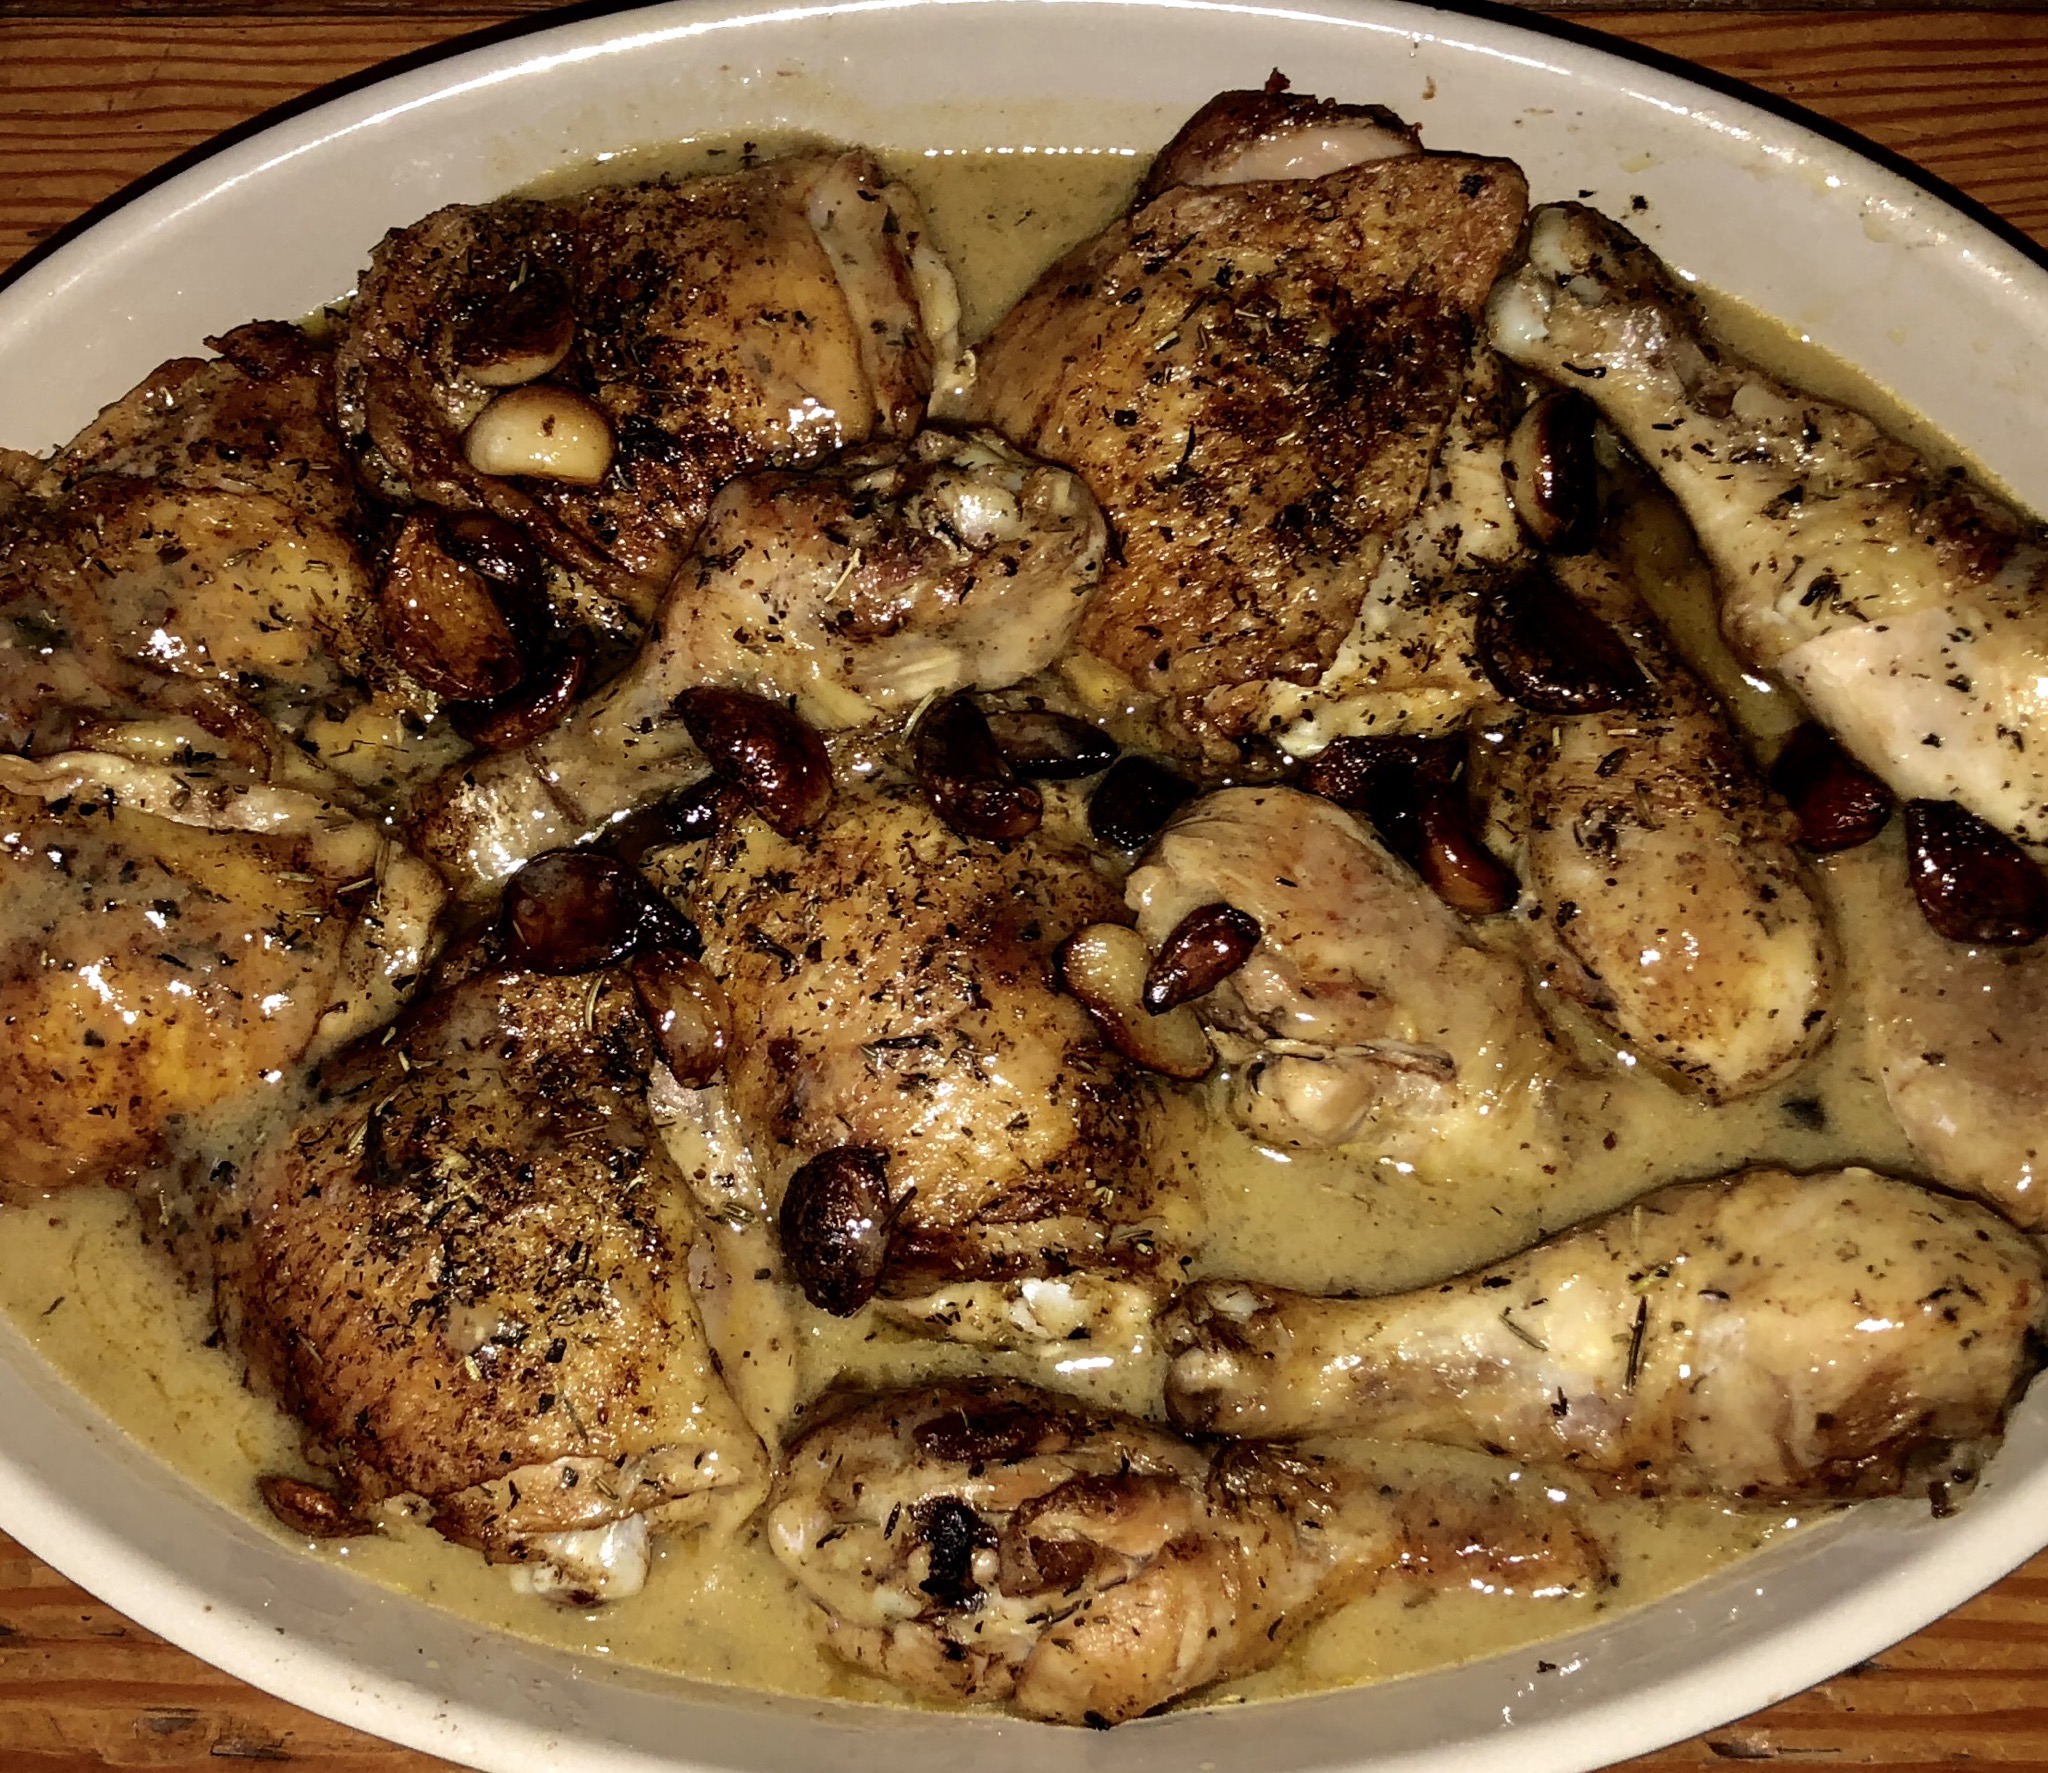
Garlic Chicken

Having a variety of high quality chicken recipes is essential After I wrote that, I decided to add Yardbird to my categories list, just so I can see how many chicken recipes I have. This one is outstanding! So easy, so inexpensive, and pretty darn awesome! How can you not like it if if has garlic chicken gravy?!?

Ingredients

8 Chicken Thighs and/or DrumsticksAs many as you can fit in your large skillet!
Seasoned Salt
20 Peeled Garlic Cloves (I buy them pre-peeled)
3 tbsp Olive Oil
1 tbsp Butter
2 tsp Herbes de Provence
1 tbsp Flour
½ cup Chicken Stock (maybe more)
½ Lemon

Directions

Season Chicken liberally with Seasoned Salt – at least 30 minutes before cooking if you can. Salt does great things for poultry!

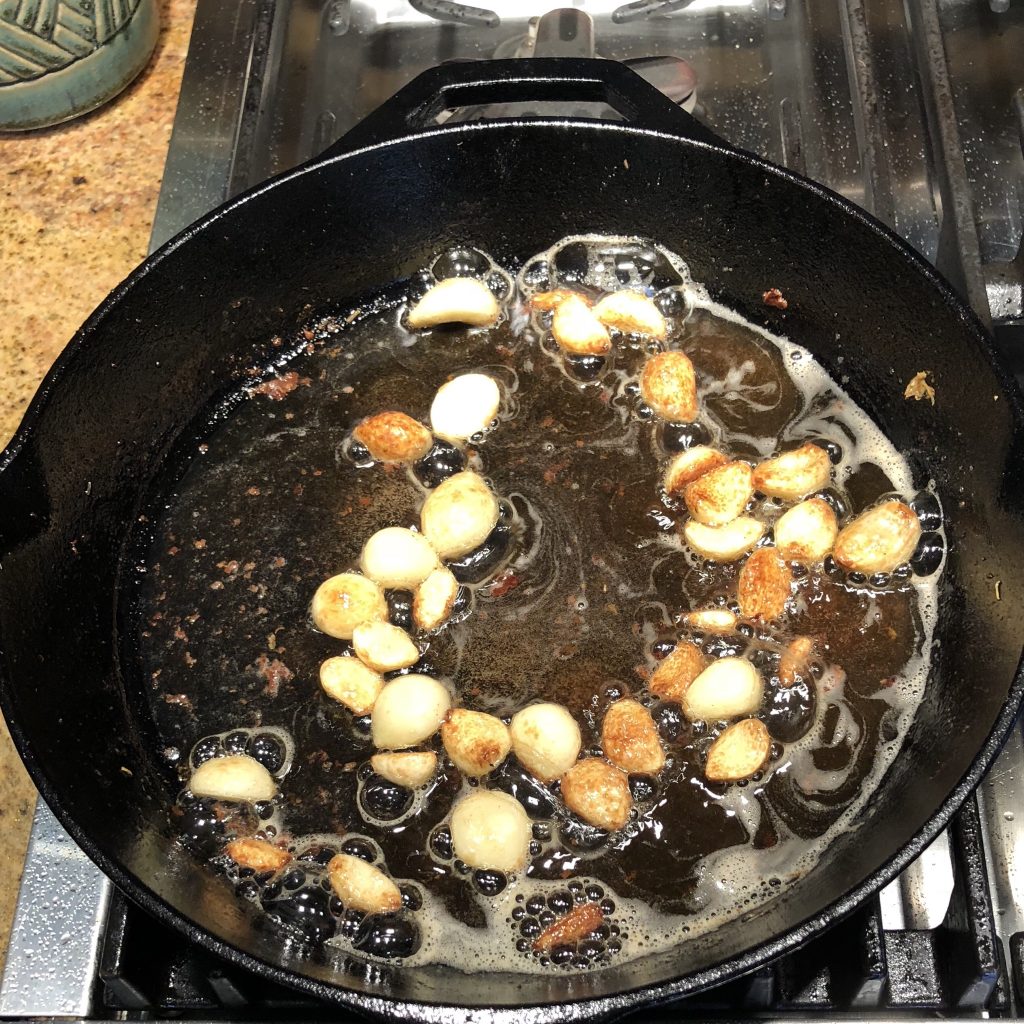
Heat Olive Oil and Butter in a cast iron pan (something that can go in the oven). Sauté whole garlic cloves for 5-10 minutes, until they turn light brown. Remove and set aside.

Place chicken, skin side down, for 5 minutes until golden brown on skin side.

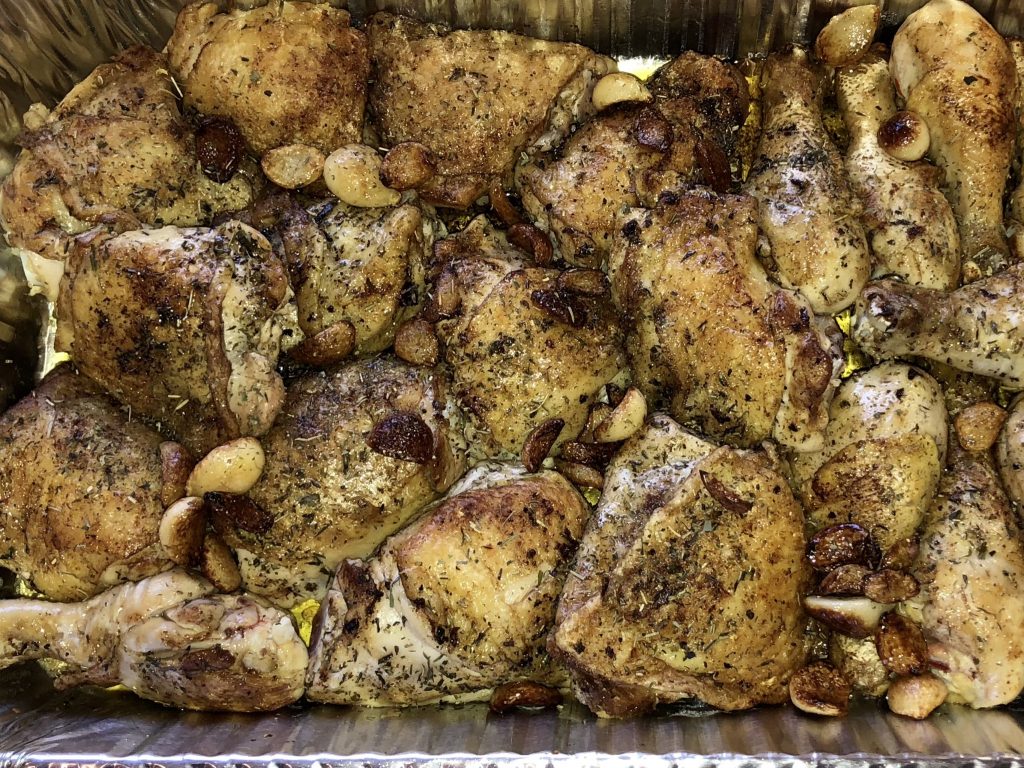
Turn over and season with Herbes de Provence. Sprinkle garlic cloves over the chicken, then place whole pan in the Oven. (Note: If you are making a large amount, you can take it out and place in larger serving dish, and put that in the oven)

Baker for 30 minutes (at 350 degrees), or until meat temperature reaches 175. Remove from oven, and remove chicken and garlic from oil/butter/drippings. Place on serving dish.

Heat oil/butter/drippings. Whisk in flour. Add stock and lemon juice. Add more stock if you want it. Now you have awesome garlic chicken gravy.

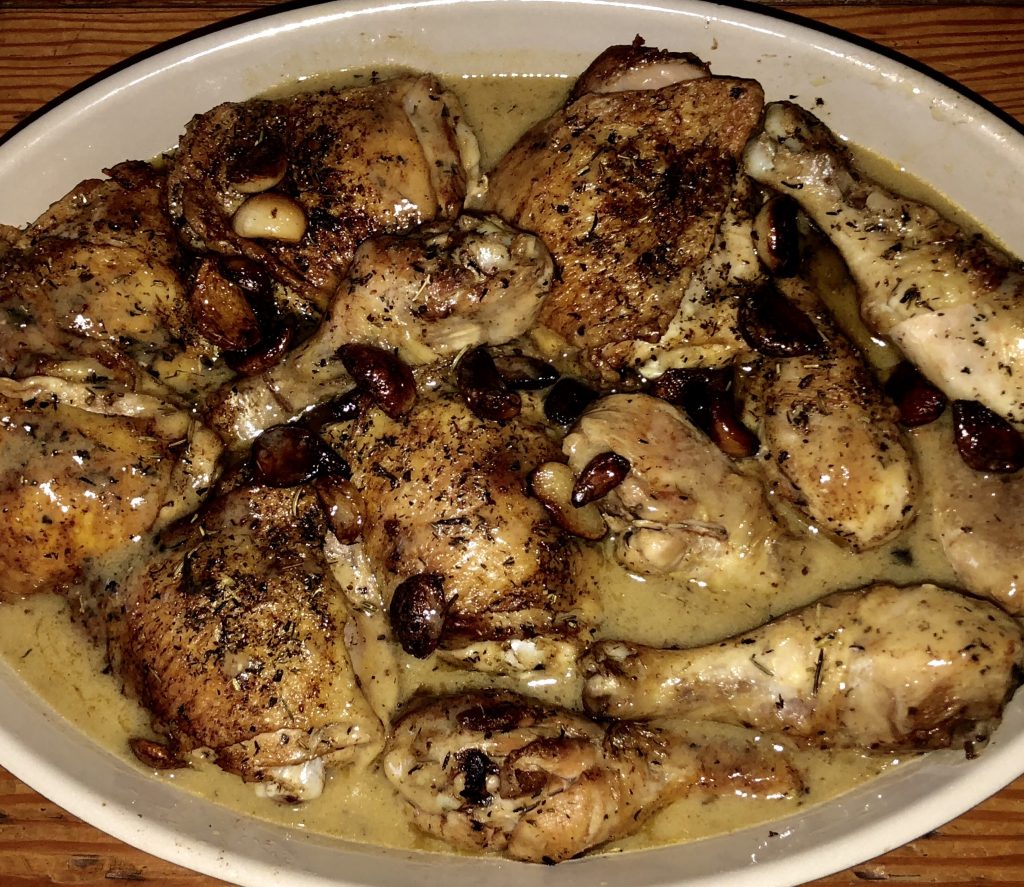
Pour gravy over chicken and serve!

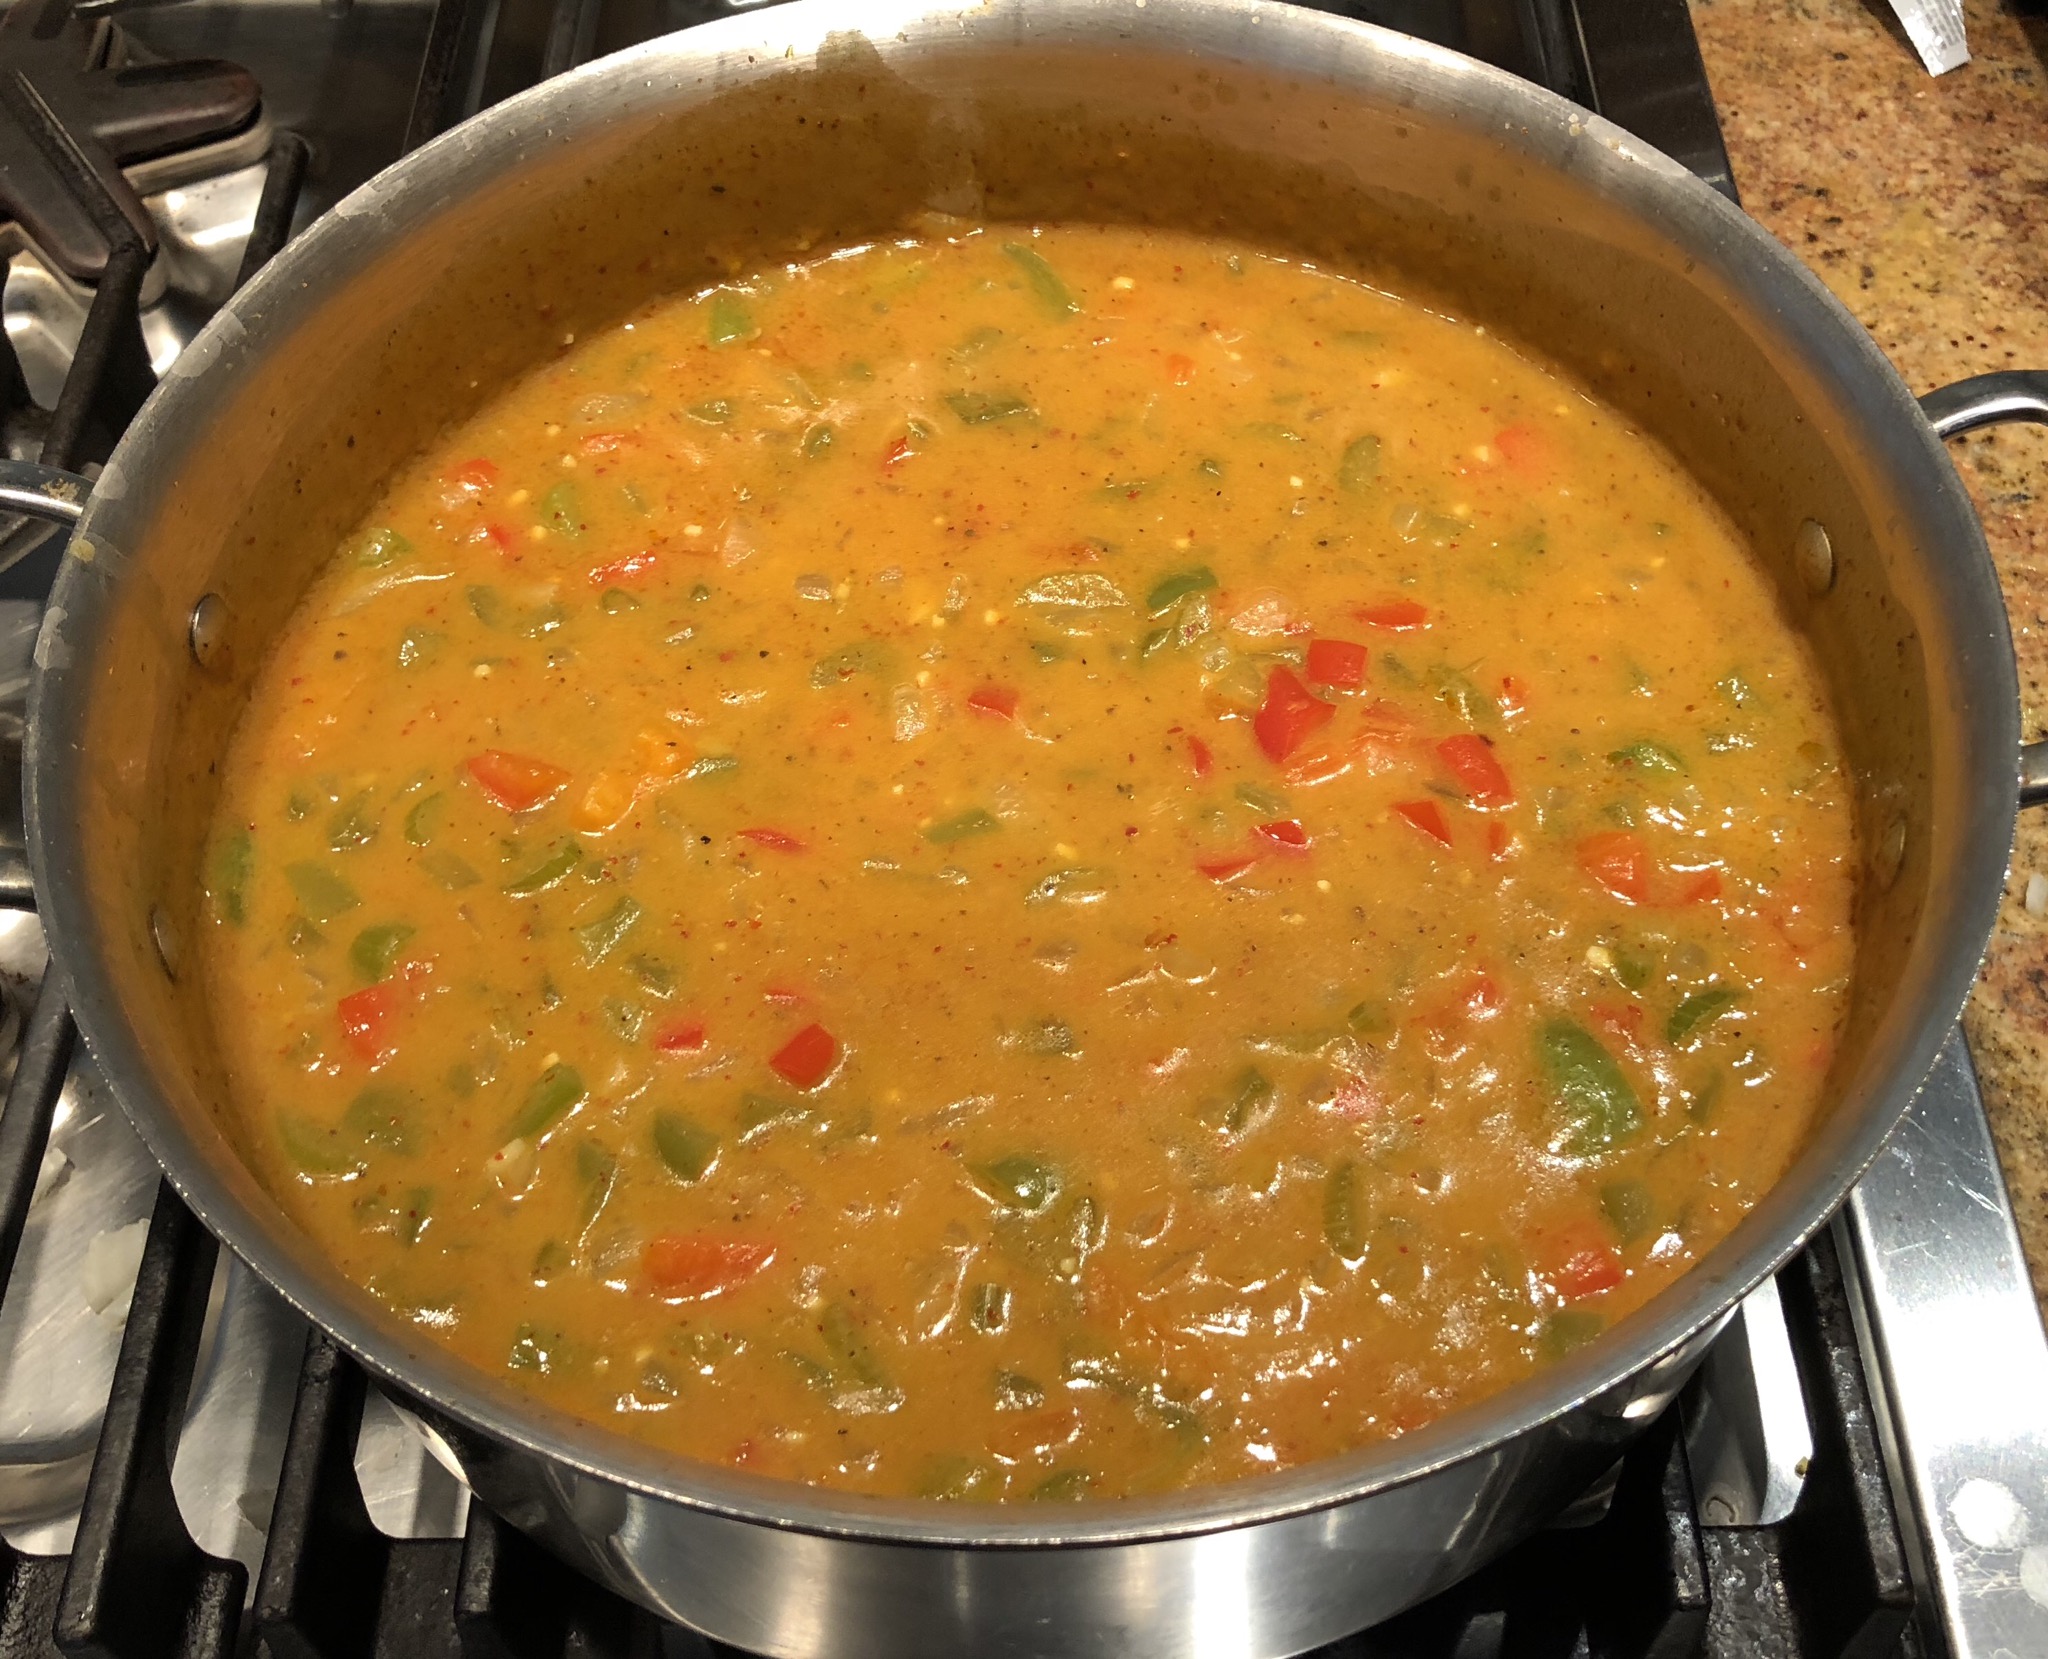
Cambodia Yellow Curry Sauce

In December of 2018, Jill, Dawson, and I took a big trip to Cambodia. Jill’s sister was living there at the time, and we took the opportunity visit their family, and travel with them around Cambodia. It was amazing! The sites, the brutal and beautiful history, and the food all made an impact.

My favorite foods there were Crab Fried Rice, Fish Amok, and Kep Fish. This mild Cambodian curry dish is a my combination of Fish Amok and Kep Fish, except that there is no fish. You choose what to serve it with – fish, shrimp, tofu, and chicken all work well. Serve over jasmine rice and you have a full one-dish meal!

Ingredients

3 tbsp Yellow Curry Paste
2 Cans, Coconut Milk
1 Sweet Onion, Diced
2 Red Bell Peppers, Diced
2 Green Bell Peppers, Diced
1 Bunch of Celery, Diced
1 tbsp Tamari or Fish Sauce*(Add more to bring out more umami taste)
Salt and Pepper
1 tbsp Corn Starch
4 Cloves, Garlic, Minced
2 cups Vegetable Broth

Directions

Sauté onions, garlic, and celery in a little vegetable or olive oil.
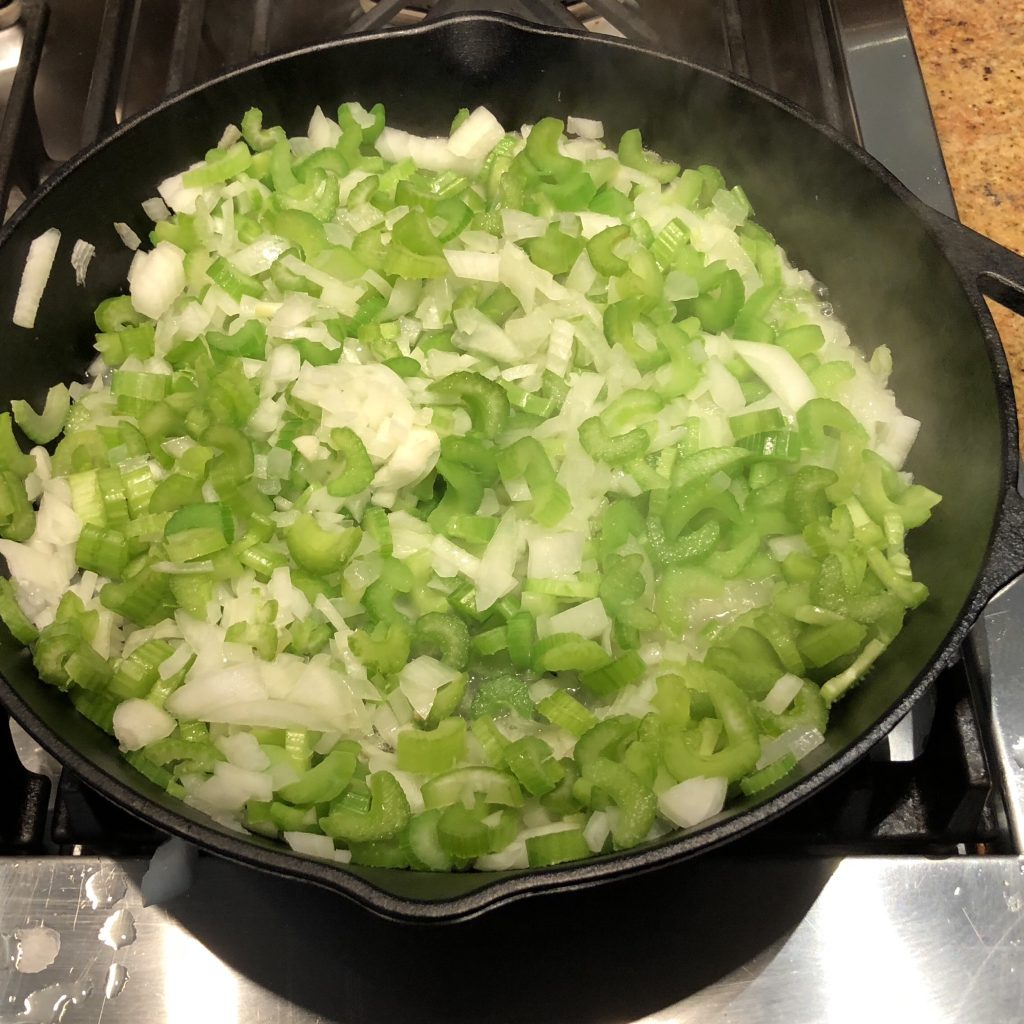
Add bell peppers, and sauté until a little softened.

In a separate pot, heat 1 Tbsp Olive Oil, mix in curry paste.
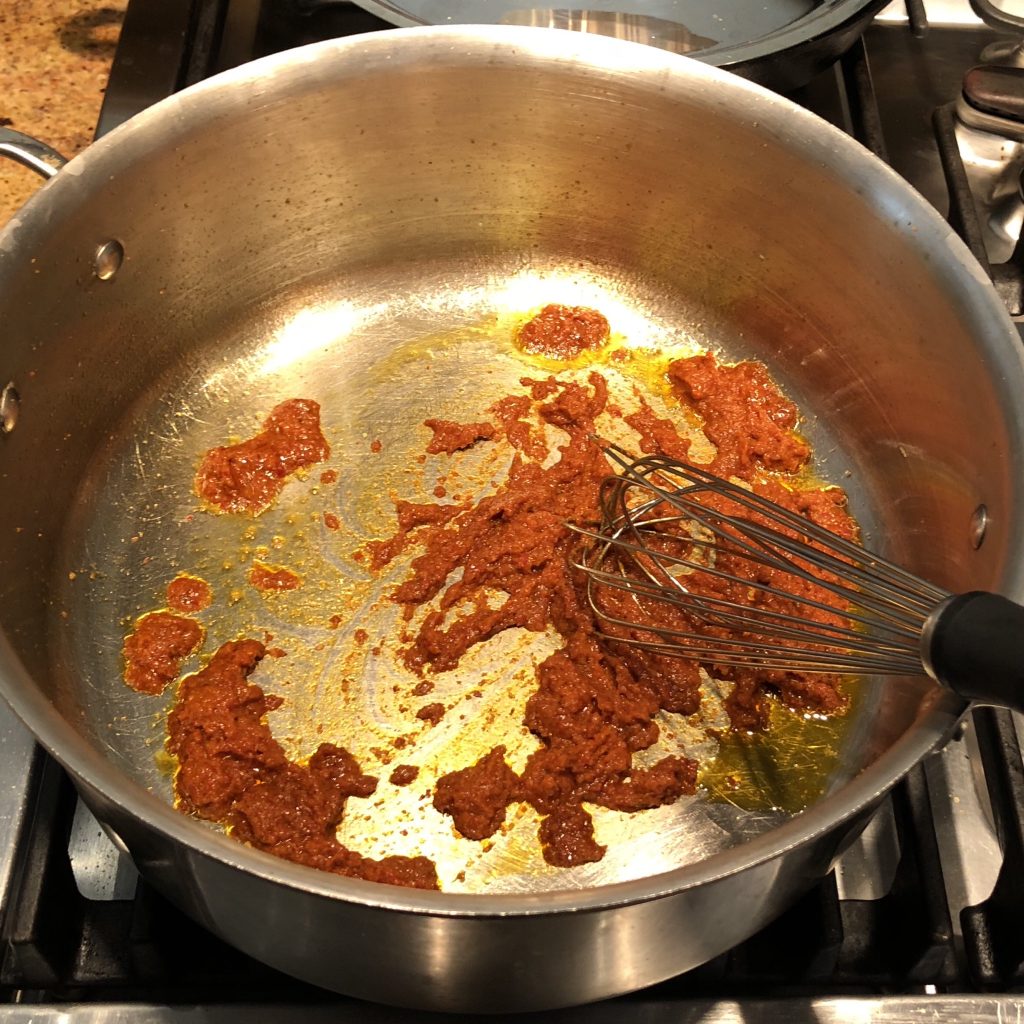
Mix in coconut milk with a whisk.
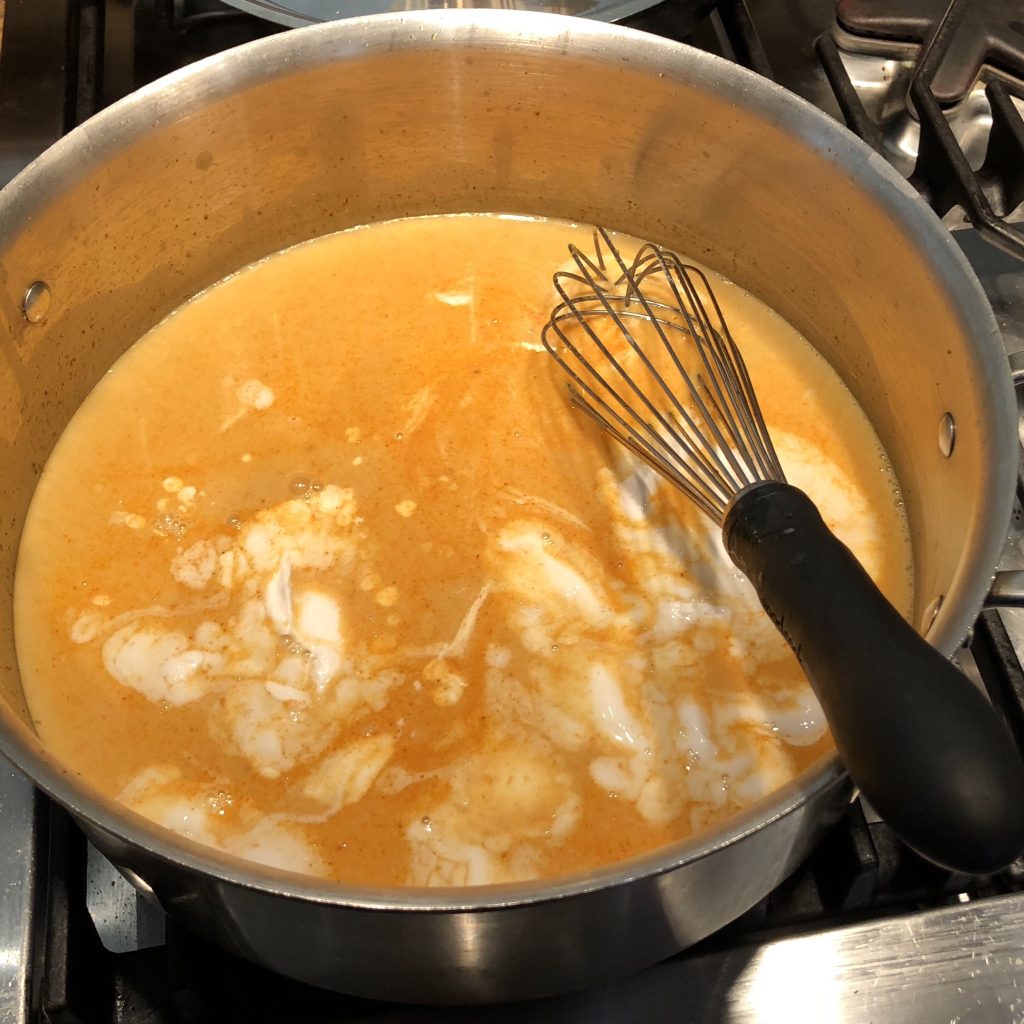
Taste for spice. You can add curry paste, red chili pepper flakes, or chili garlic sauce if you want more heat. Add vegetable broth and re-taste for heat.

In a separate bowl, mix a small amount of the curry with the cornstarch. Mix back into the curry to thicken.

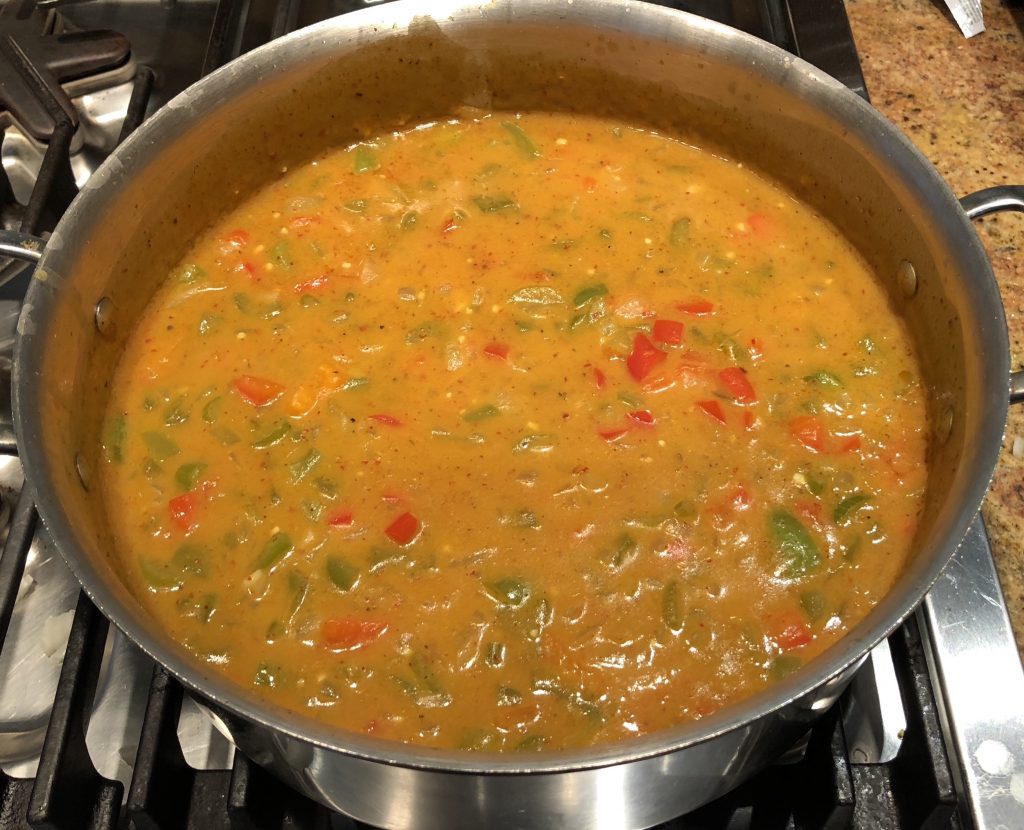
Add vegetable mixture to curry sauce.
Stir Fry with Spicy Tangerine Sauce

We love this recipe and the roasted garlic sauce one too.  Sometimes for a larger crowd we will make both sauces and it feels like we’re at a restaurant, where our guests can choose one or the other.

The recipe is from the Hot Wok cookbook by Hugh Carpenter and Teri Sanderson. The crispy tofu comes from Honga Im Hopwood’s cookbook.

Ingredients

Sauce Ingedients
1 tsp Tangerine Zest (Orange works too!)
cup Tangerine or Orange Juice (Use the fruit you zested)
¼ cup Rice Wine (or dry sherry)
2 tbsp Oyster Sauce
1 tbsp Hoison Sauce
1 tbsp Sesame Oil
2 tsp Chile Garlic Sauce
2 tsp Cornstarch
1 tsp Ground Black Pepper
RIce
1 cup Rice
Protein and Veggies
0.50 lb Tofu, Chicken Breast, Meat (Leftovers are great here!)
2 Veggies of your choice (Carrots, Spinach, Broccoli, Cauliflower, Green Beans, Snap Peas, etc.)

Directions

Preparing the Sauce

Mix all of the sauce ingredients together. Set aside or refrigerate for 2-3 days

Cooking the Rice

Make the rice the way you make rice – Rice cooker, stove top, microwave – I don’t judge. I make rice on the stove top using the recipe for Sheri’s Spanish Rice. For Asian foods, I take out the taco sauce and keep the rest of the recipe the same.

Preparing the Veggies and Protein

If you’re making tofu – make it crisp. Take 3/4 cup cornstarch and mix in 2 Tbsp of Black Pepper. Cut the tofu into cubes, Dry with paper towels. Roll it in the cornstarch and sauté in vegetable/canola oil until crisp on all sides. It’s super tasty!

Otherwise, cook a chicken breast or sirloin steak and slice.

Rotisserie chicken is spectacular here.

Leftovers are awesome too!

Choose your veggies and sauté until you like them. I add 1/2 tsp salt and 1/2 tsp pepper (maybe more salt to taste).

Final Preparation

Prepare all of your ingredients – your sauce, your prepared protein, and your prepared veggies.

Add the sauce to a sauce pan, heat until serving temperature. Add the protein and veggies, stir to heat and coat.

Prepare a bowl/plate with the rice in it. Ladle your creation on top and serve!

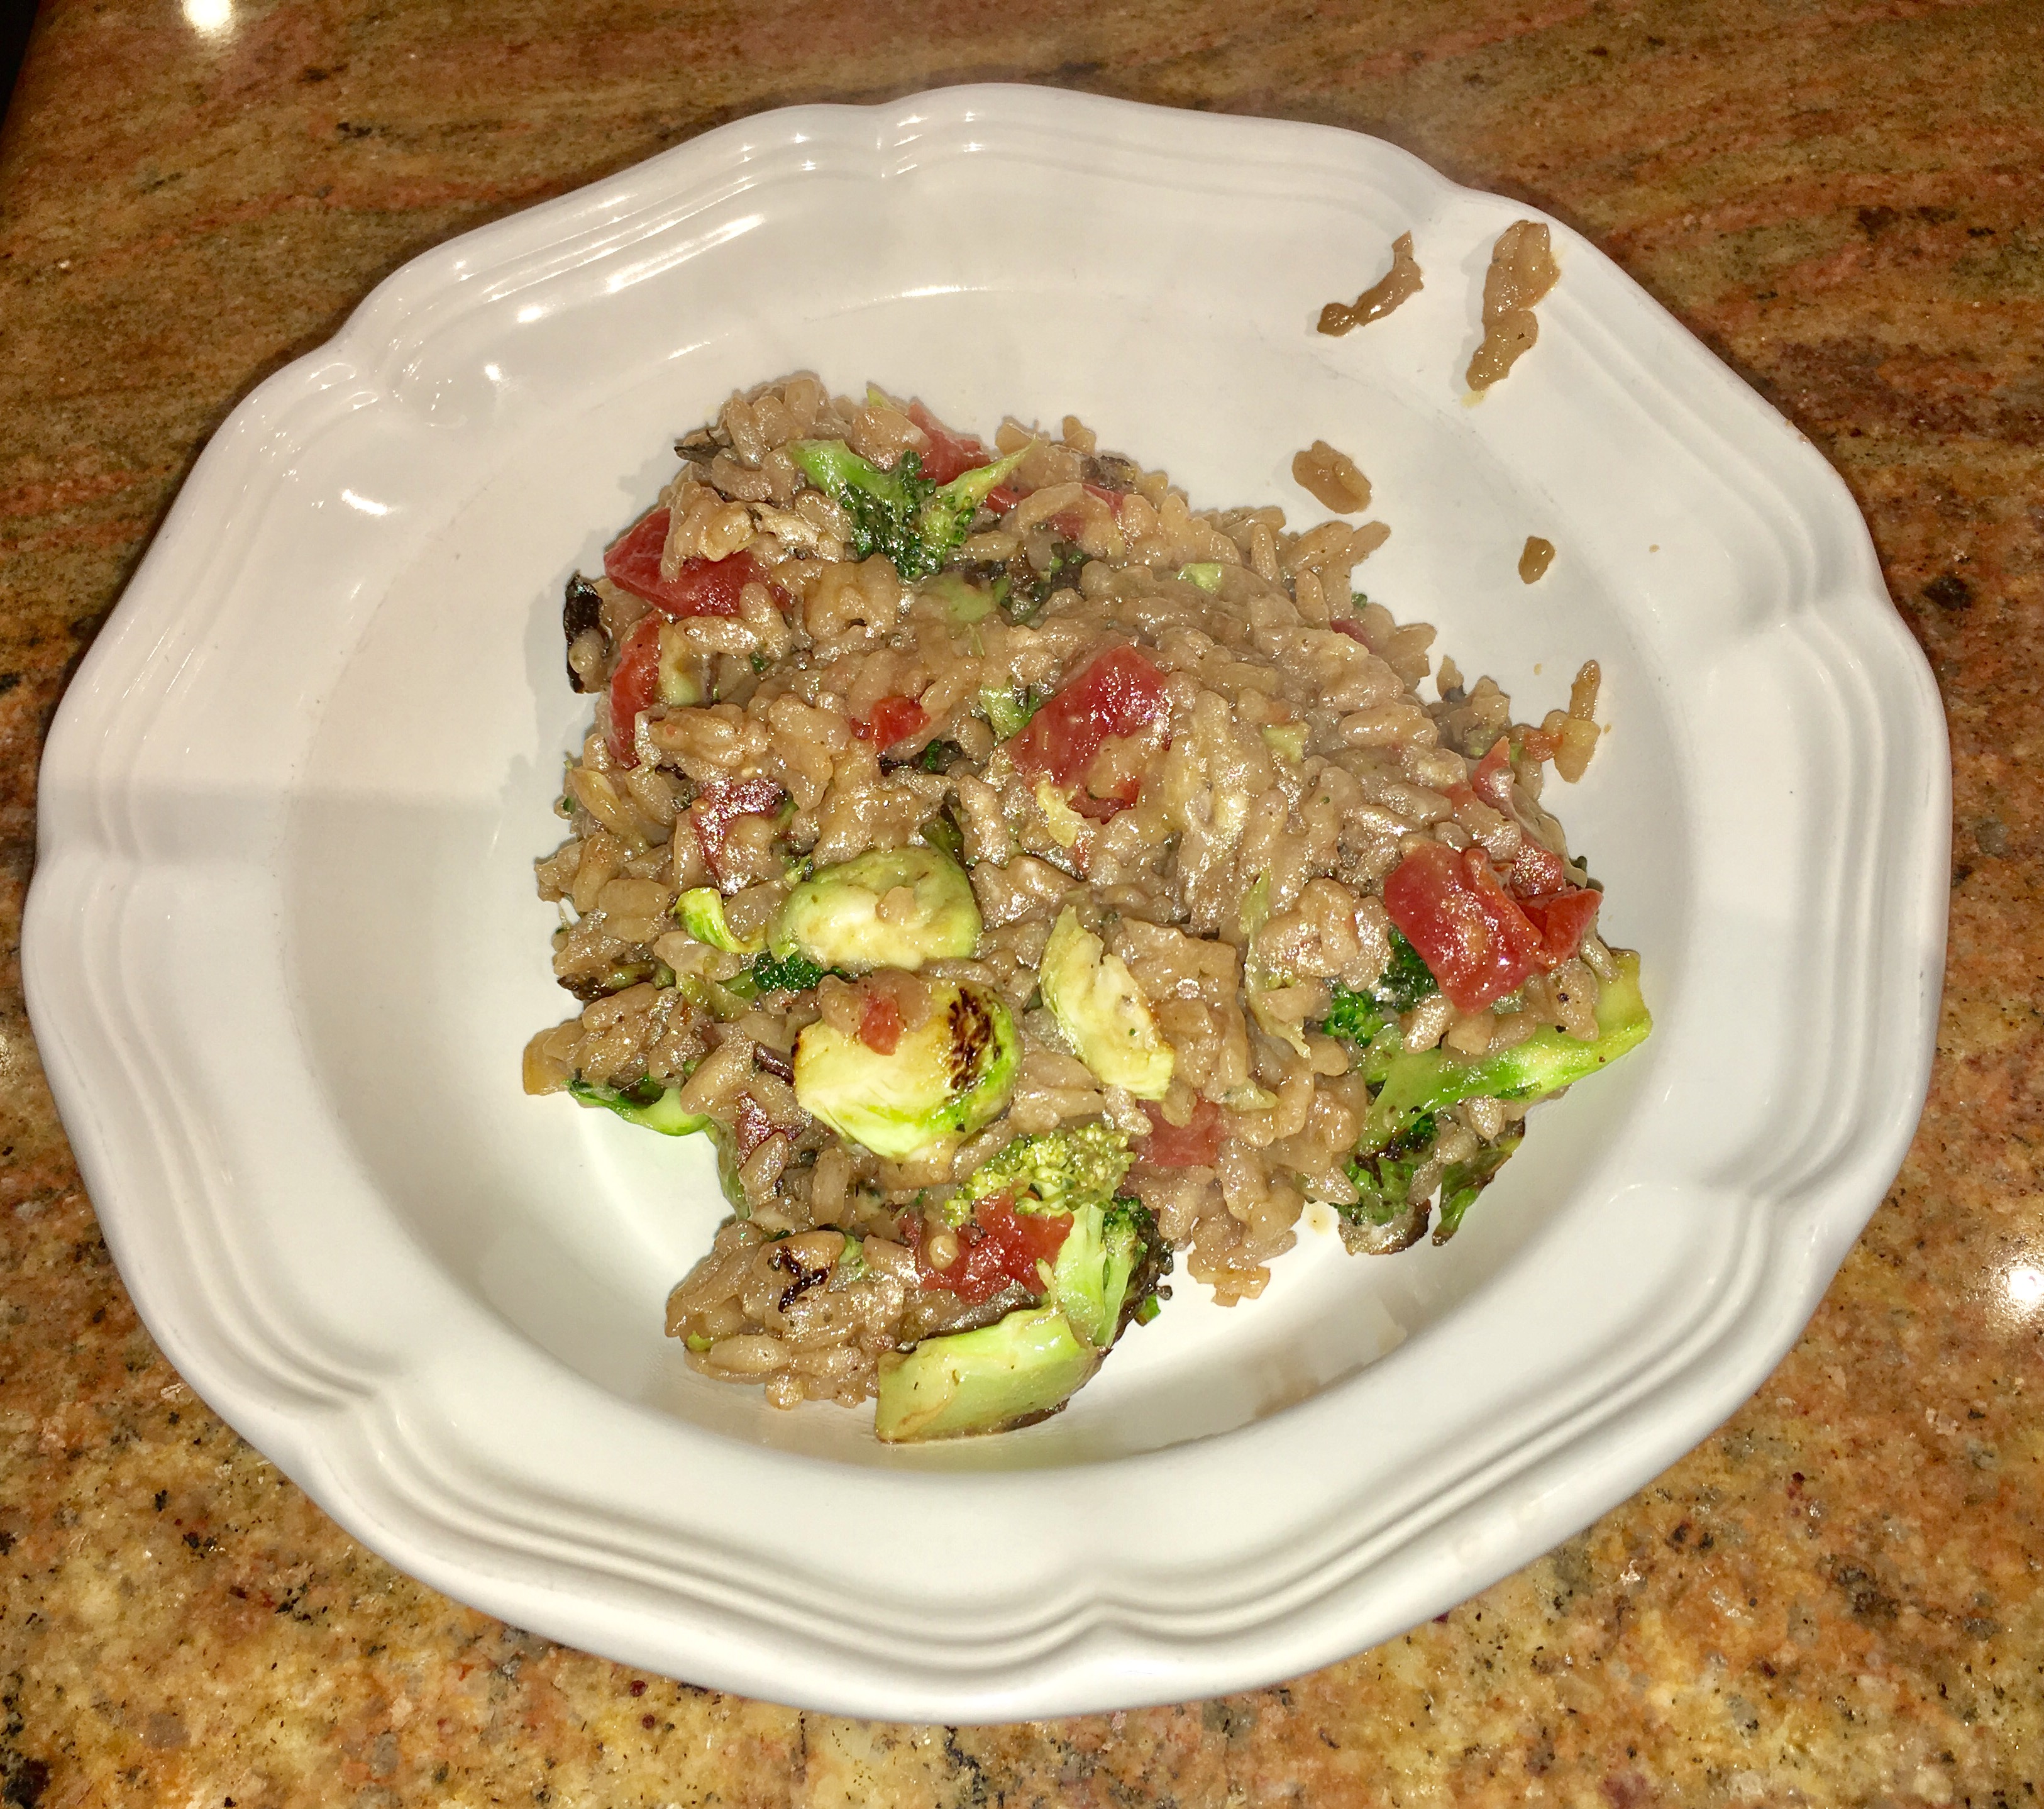
Risotto

Risotto is one of those dishes that you don’t make ahead of time. You make it while you are talking to your guests and it’s part of the entertainment.  You have all of your ingredients ready, and there you are, cool, collected, creative and all you’re doing is making a delicious dish right in front of your guests eyes. It’s dinner and a show!

Ingredients

4 cups Vegetable Broth
1 cup Arborio Rice
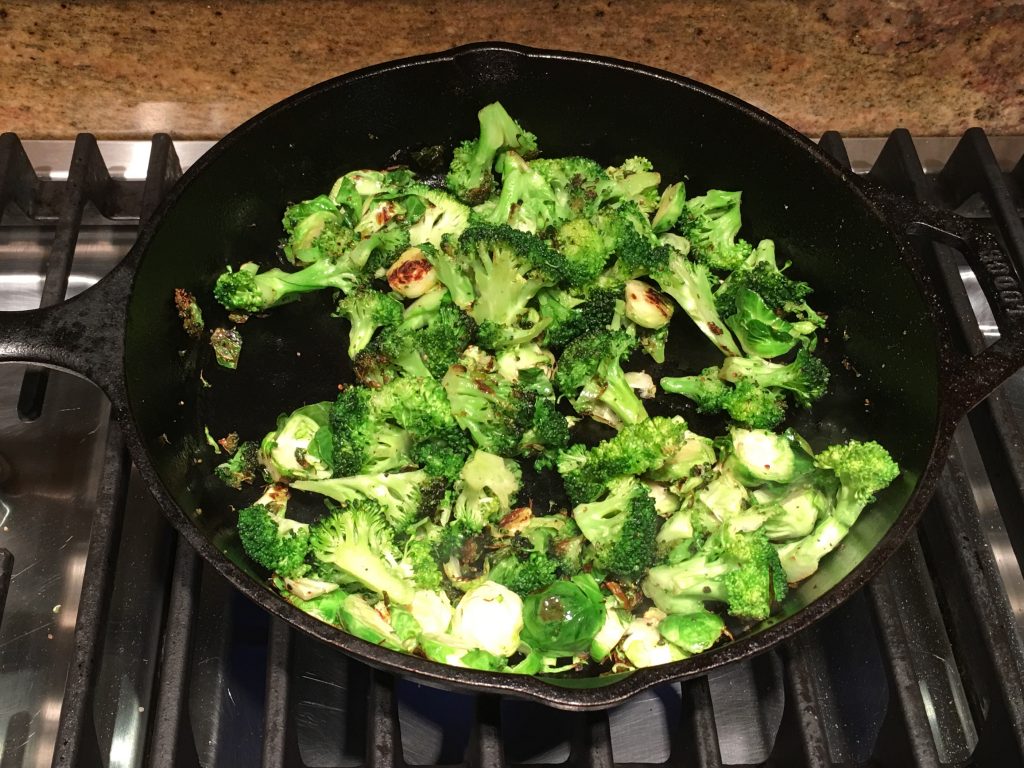
2 cups Broccoli or other vegetables, chopped into smallish piecesYou can add more veggies if you like, up to 3 cups
½ cup Wine – white is better but either will red or white work.
1 tsp Kosher Salt
1 tsp Black Pepper
1 tsp Italian Seasoning
2 tbsp Olive Oil
½ Onion, finely chopped

Directions

Prepare veggies. Chop them into small pieces. You want a piece or two to fit on a fork with the rice. My friend Nancy Pallathena, who sadly passed away a few years back, is the one who taught me how to make this dish. She would cut the broccoli into the tiniest of pieces, so her son Alex would unknowingly eat vegetables. I remember her every time I do that.

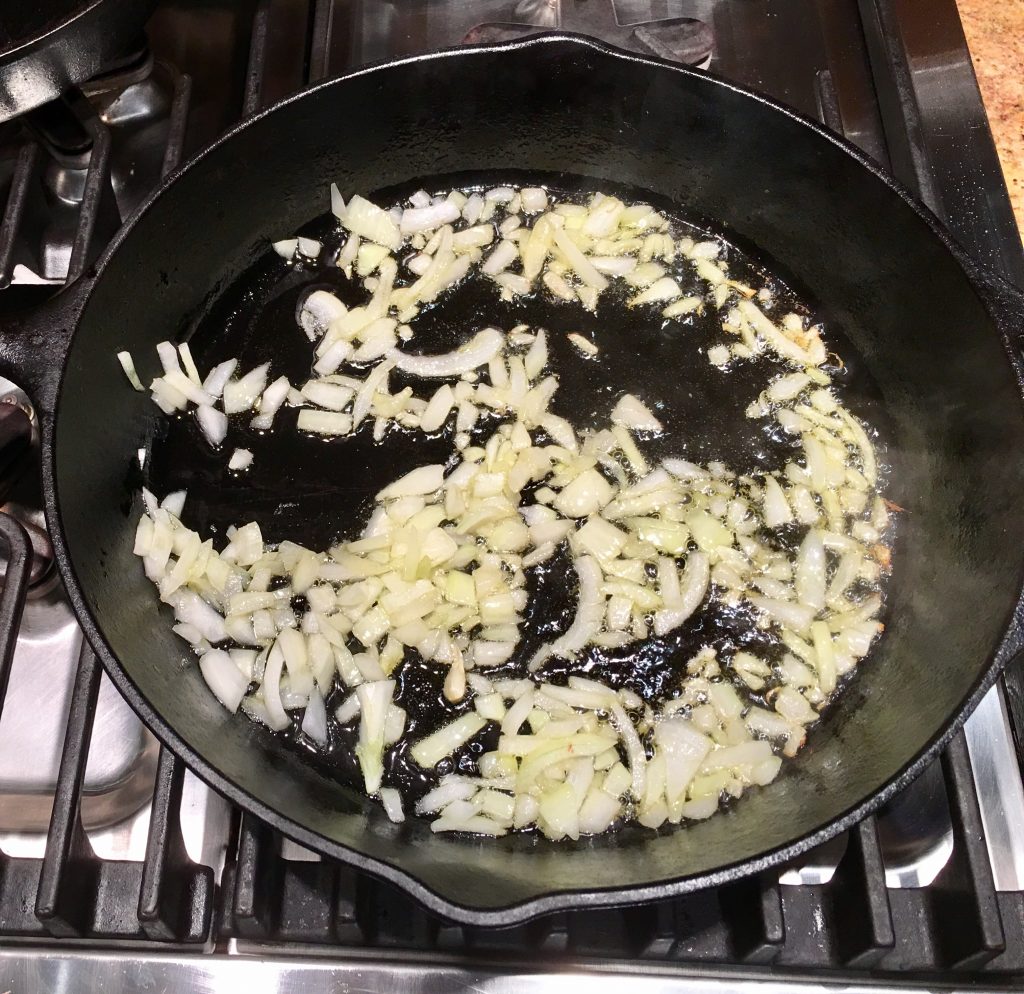
Sauté onion in olive oil for 5 minutes. Add garlic for 1 minute.

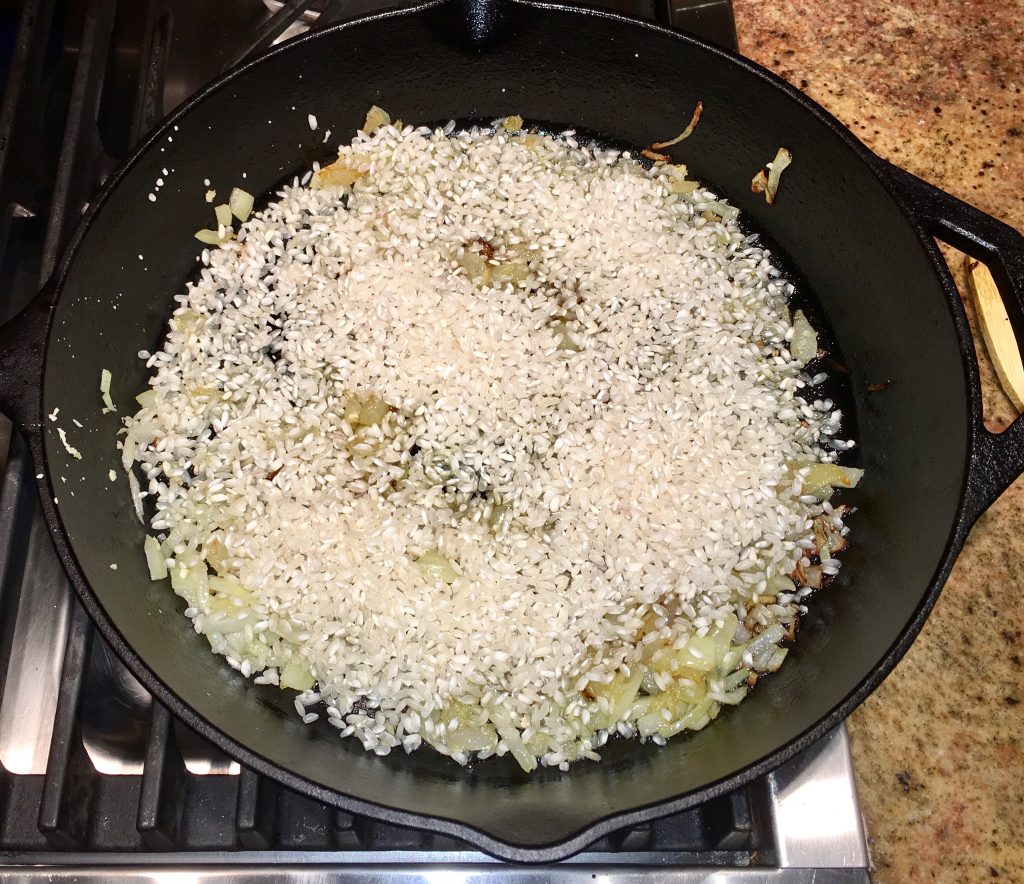
Add rice.

Heat broth and set aside.

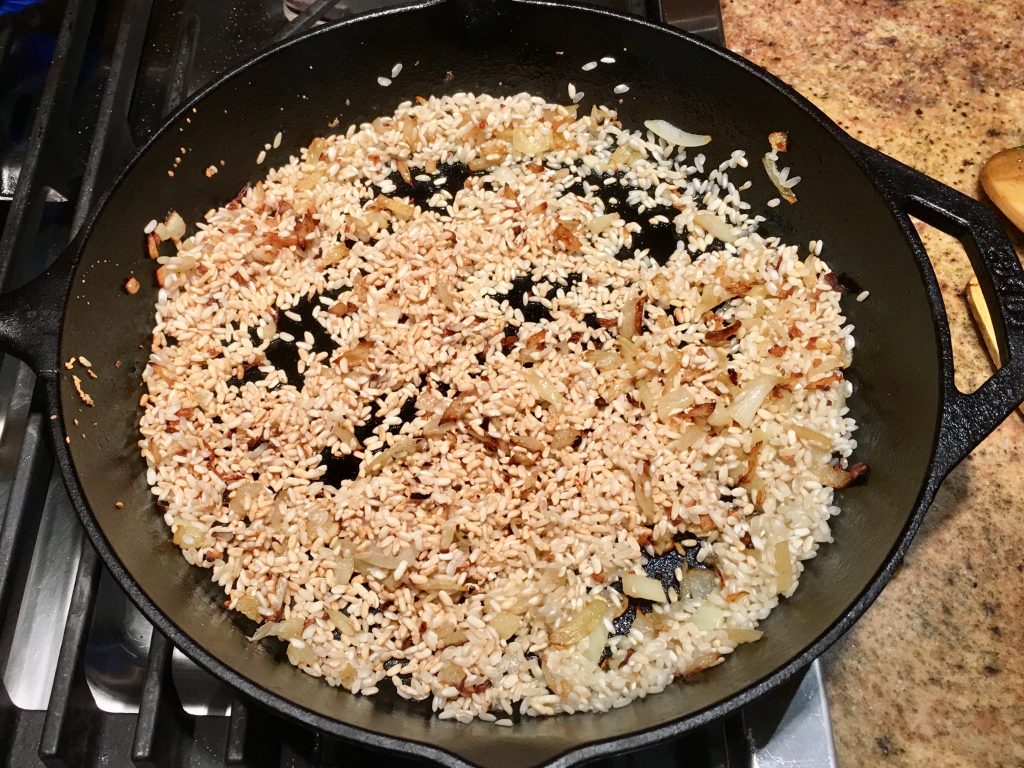
Sauté rice for 5-7 minutes, until browned.

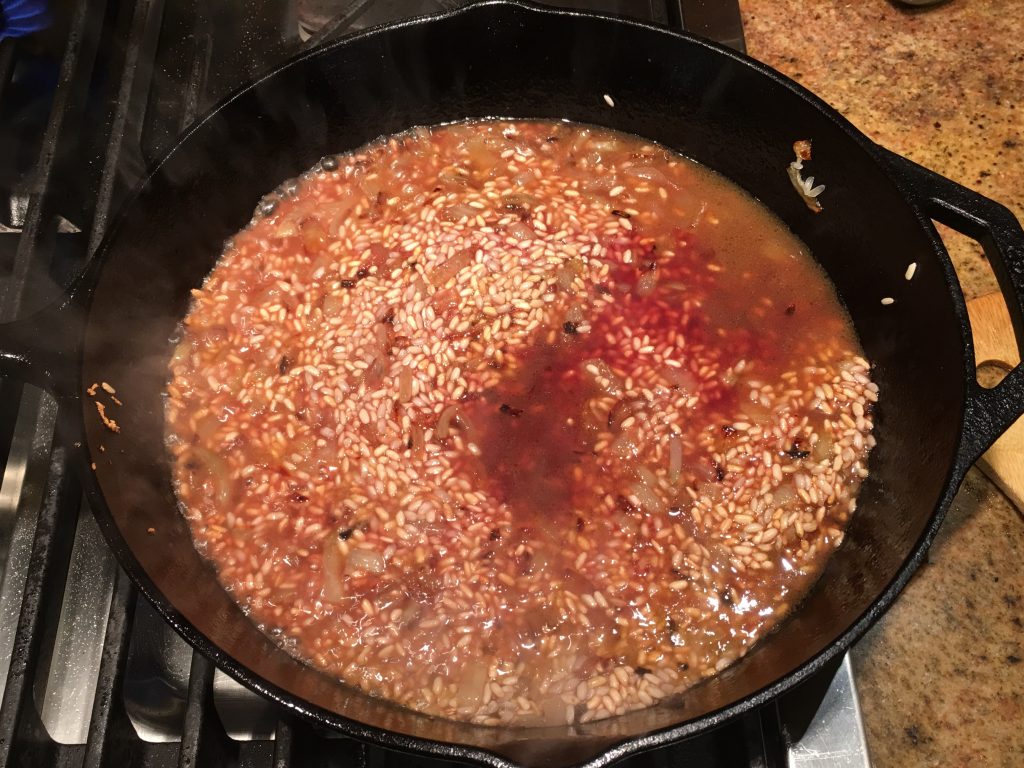
Add 1 cup warm broth and wine. Stir occasionally until moisture is mostly absorbed. This is your routine. You are going to slowly add liquid, talking to your guests while you cook, until it is absorbed, then casually add more.

Add seasonings, then continue to gradually add broth, until rice is ready and there is some thick broth remaining. Have several clean forks/spoons handy to keep on tasting it. These are one-use utensils, since it is a group dish. Take a taste, feel if the rice is ready yet (a little al denté is perfect), see if if needs more salt/pepper/seasonings, and declare it ready when it is!

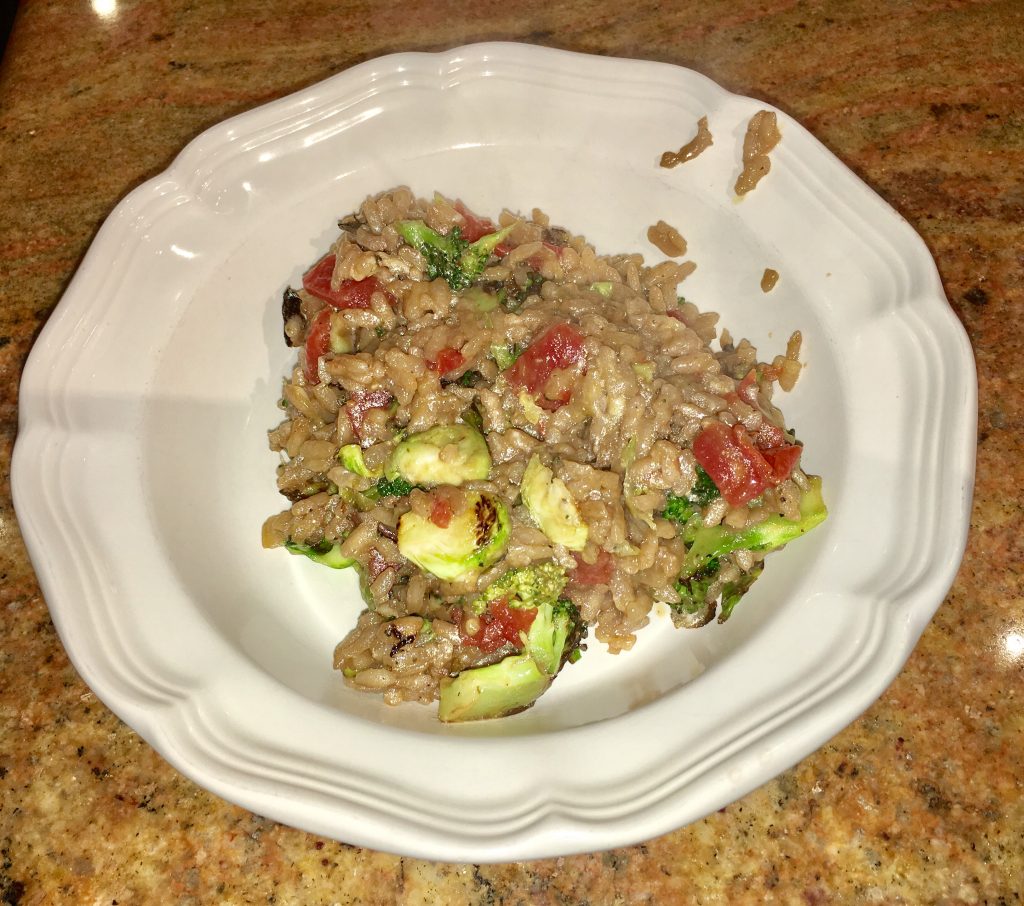
Add Parmesan cheese and sautéd veggies, mix in, and serve immediately, topped with fresh ground pepper and Parmesan cheese.

Stir Fry with Roasted Garlic Sauce

We love this recipe. On a Sunday morning bike ride, I told my friend Mary Ellen that my stir fry was always a little boring. She gave me ideas to change all that!

Ingredients

Sauce Ingredients
1 Head Roasted Garlic
0.50 cup Vegetable or Chicken Broth
0.25 cup Rice Wine or Dry Sherry
0.25 cup Oyster Sauce
0.25 cup Sesame Oil
1 tbsp Cornstarch
2 tsp Chili Garlic Sauce
1 tsp Ground Black Pepper
Make Some Rice
1 cup Rice
Protein and Veggies
0.50 lb Tofu, Chicken Breast, Meat (Leftovers are great here!)
2 cups Veggies of your choice (Carrots, Spinach, Broccoli, Cauliflower, Green Beans, Snap Peas, etc.)

Directions

Roasting the Garlic

Take a head of garlic (or 2 or 3 just to have extra so you can squeze it on some bread, taste a little heaven, then smell like garlic the next day!), chop off the very top of the head, so that all of the tops of the cloves are exposed.

Set garlic heads in a pyrex dish with 1/4 inch of water, drizzle olive oil over the top of the heads, cover with foil, and bake at 350 for one hour.

Wait at least 15 minutes before you squeeze out the garlic.

Preparing the Sauce

Mix all of the sauce ingredients together. Squeeze roasted garlic into the mixture. Set aside or refrigerate for 2-3 days

Make the rice

Make the rice the way you make rice – Rice cooker, stove top, microwave – I don’t judge.

Preparing the veggies and protein

If you’re making tofu – make it crisp. Take 3/4 cup cornstarch and mix in 2 Tbsp of Black Pepper. Cut the tofu into cubes, Dry with paper towels. Roll it in the cornstarch and sauté in vegetable/canola oil until crisp on all sides. It’s super tasty!

Otherwise, cook a chicken breast or sirloin steak and slice. Rotisserie chicken is spectacular here.

Leftovers are awesome here.

Choose your veggies and sauté until you like them. I add 1/2 tsp salt and 1/2 tsp pepper (maybe more salt to taste).

Final Preparation

Prepare all of your ingredients – your sauce, your prepared protein, and your prepared veggies.

Add the sauce to a sauce pan, heat until serving temperature. Add the protein and veggies, stir to heat and coat.

Prepare a bowl/plate with the rice in it. Ladle your creation on top and serve!

Quiche – So Hot Right Now – Quiche

Why don’t I make quiche more often? That’s what I always say after I make this quiche! There was a funny book published in 1982, Real Mean Don’t Eat Quiche, by Bruce Feirstein, that nearly destroyed the American Quiche industry. The whole point of his humor was that such thinking is male lunacy! Dudes! It’s OK! A slice of quiche and a side salad is a spectacular lunch or dinner. The problem is, two slices make it even better.

Ingredients

1 Pie Crusts, Refrigerated, or use Martha Stewart’s awesome recipe .
5 Eggs, beaten
¼ cup Milk (Whatever you’ve got – we are whole milk people) – The creamier the better.
½ tsp Salt
1 tsp Pepper
1 tbsp Italian Seasonings (or your favorite – herbes de Provence, parsley, sage, rosemary, thyme)
2 tbsp White Flour
Egg Mixture
Pick Your Cheese!
¾ cup Cheese mixture. Cheddar with a little parmesan is nice. Swiss or Gruyere works. Shredded Mexican blend is excellent. Whatever is in your fridge!)
One Cup of Any of the Following Fillings . . .
1 cup Sausage and Grilled Onions
1 cup Sautéed Broccoli
1 cup Sautéed Spinach and Mushroom
1 cup Sautéed Asparagus
1 cup Bacon and Anything

Directions

Prepare the Crust

Preheat the oven to 350.

Roll out the crust into a pie dish – not too deep of a pie dish, this is not a deep dish apple pie! (Although, that would be really good too!) Try to have the crust go over the edge of the dish. This helps.

Bake the crusts for 10 minutes at 350 degrees.

Prepare the Egg Mixture

Mix all the ingredients together with a whisk. Set aside.

Prepare the fillings

You get to decide! Either go with what you want, or what’s in your fridge.

I like to sauté veggies until they are almost done. They can finish in the oven.

Putting it all together – It’s so easy

Take the crusts out of the oven.

Add your chosen filling, sprinkle the cheese over that, then pour the egg mixture over everything.

Smooth it all out so that no filling is sticking out of the mixture.

Bake at 350 for 40 minutes. Take it out when a knife comes out clean. Enjoy!

Ham on the Green Egg

Ham on the Green Egg is a perfect brunch food. It’s hard to screw up! The ham is already cooked. You’re just giving it some extra flavor and showing off your smoking passion and skill. This recipe is a perfect Easter Recipe. And if you don’t have a big enough crowd to finish the ham, you can freeze the leftovers in small bags, and use them in omelettes, quiche, and a wide variety of recipes. A little ham (or bacon) never hurts any recipe.

Ingredients

1 9-12 Pound Spiral-Cut Ham
½ cup Maple Syrup
Rub Ingredients
2 tbsp Maple Syrup
2 tbsp Black Pepper
2 tbsp Mustard (Whatever Style You Eat with Ham)
1 tbsp Bourbon
1 tbsp Vegetable/Canola Oil
1 tbsp Paprika
1 tbsp Kosher Salt
Glaze
¼ cup Maple Syrup
¼ cup Honey
½ cup Brown Sugar
2 tbsp Apple Cider Vinegar
2 tbsp Worcestershire Sauce
2 tbsp Instant Coffee
1 tbsp Dry Mustard
¼ cup Orange Juice
2 tbsp Bourbon

Directions

The Night Before . . .

Insert 1/2 cup maple syrup between spiral ham slices. Using a turkey baster works here, but you have to get your clean fingers in there to separate the slices.

Mix all ingredients for the rub together. Spread over entire ham. Tie up the ham with kitchen twine to keep the slices together.

Wrap in plastic wrap and refrigerate overnight.

Putting the Ham on the Green Egg

Heat the Egg or your smoker to 250 degrees.

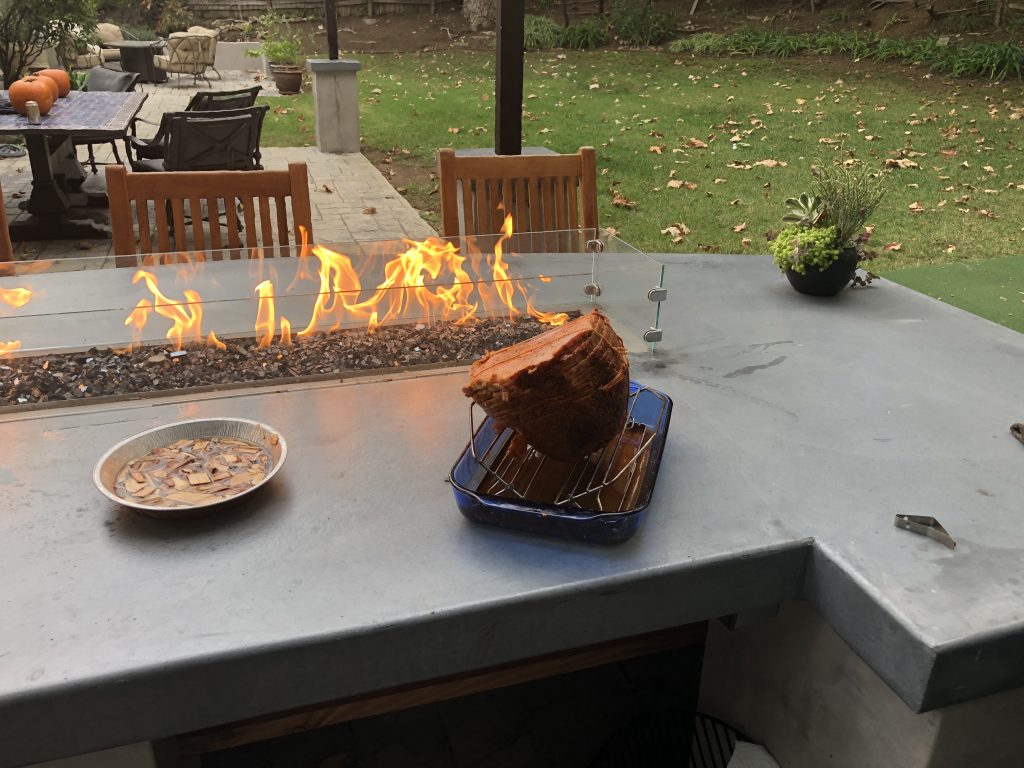
Bring out the ham 30 minutes prior to adding to Egg. Add some soaked apple wood chips just before you add the ham.

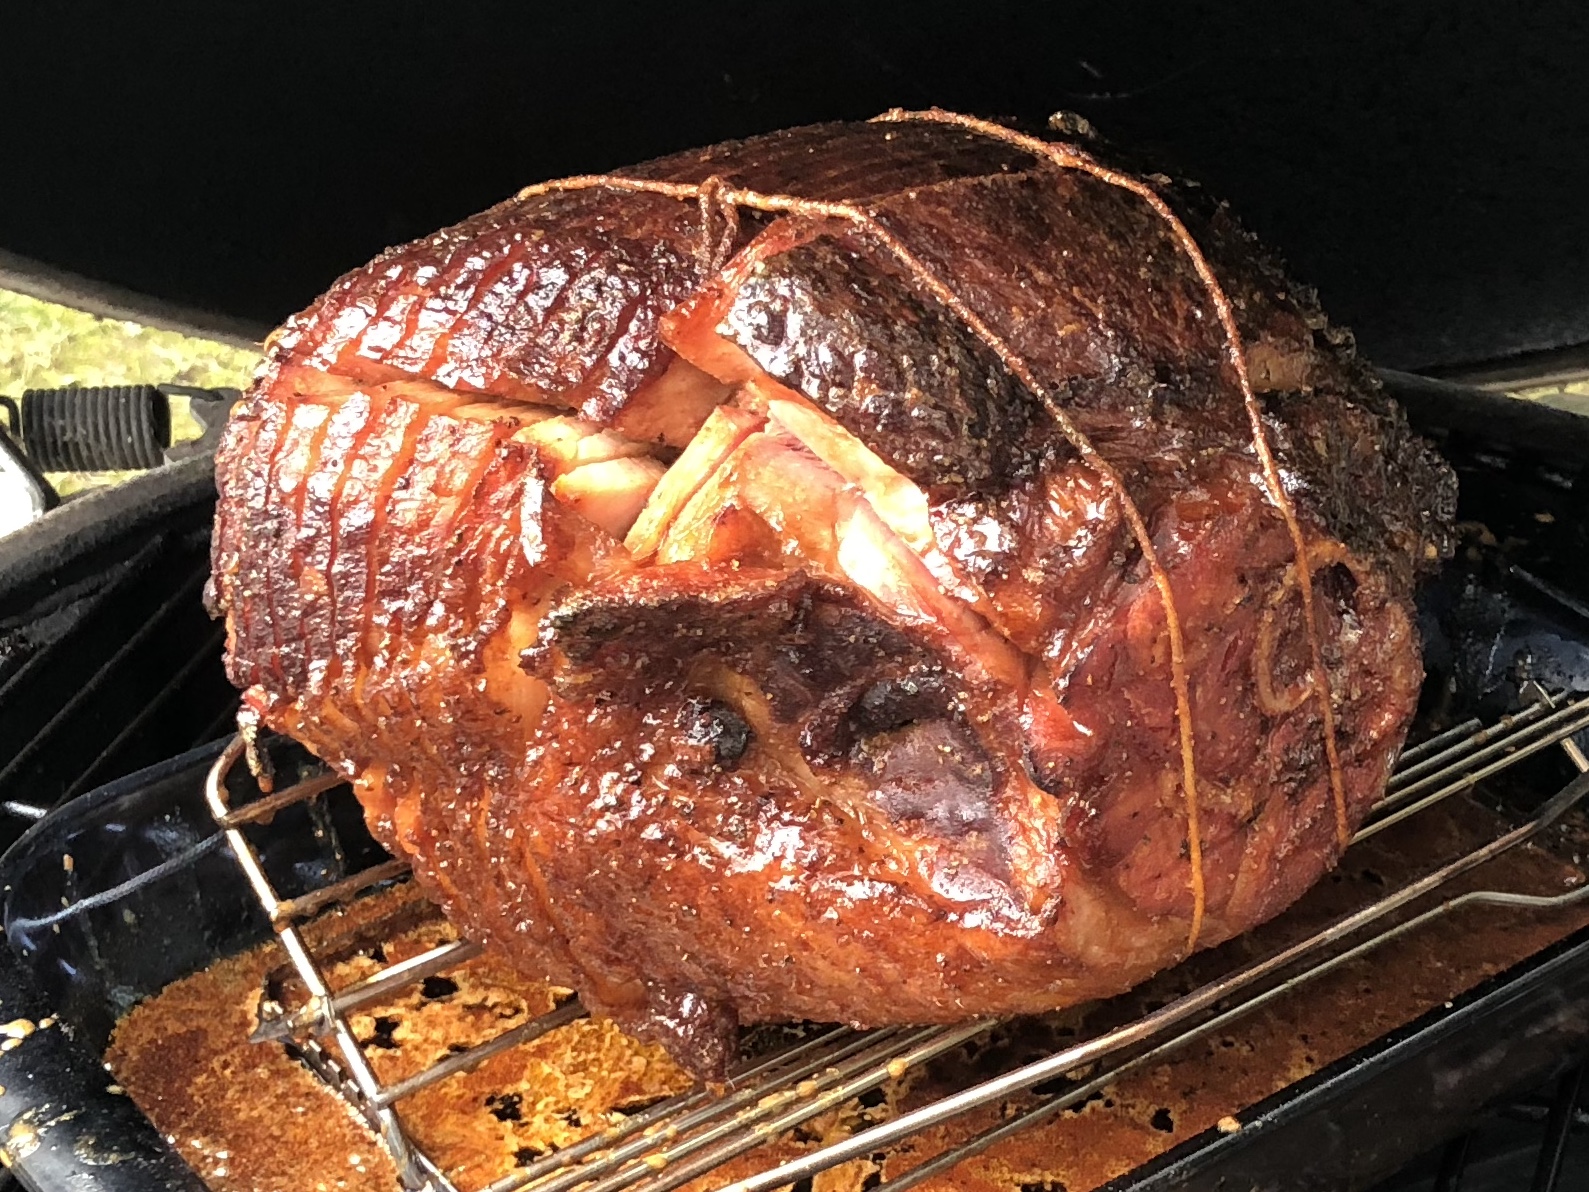
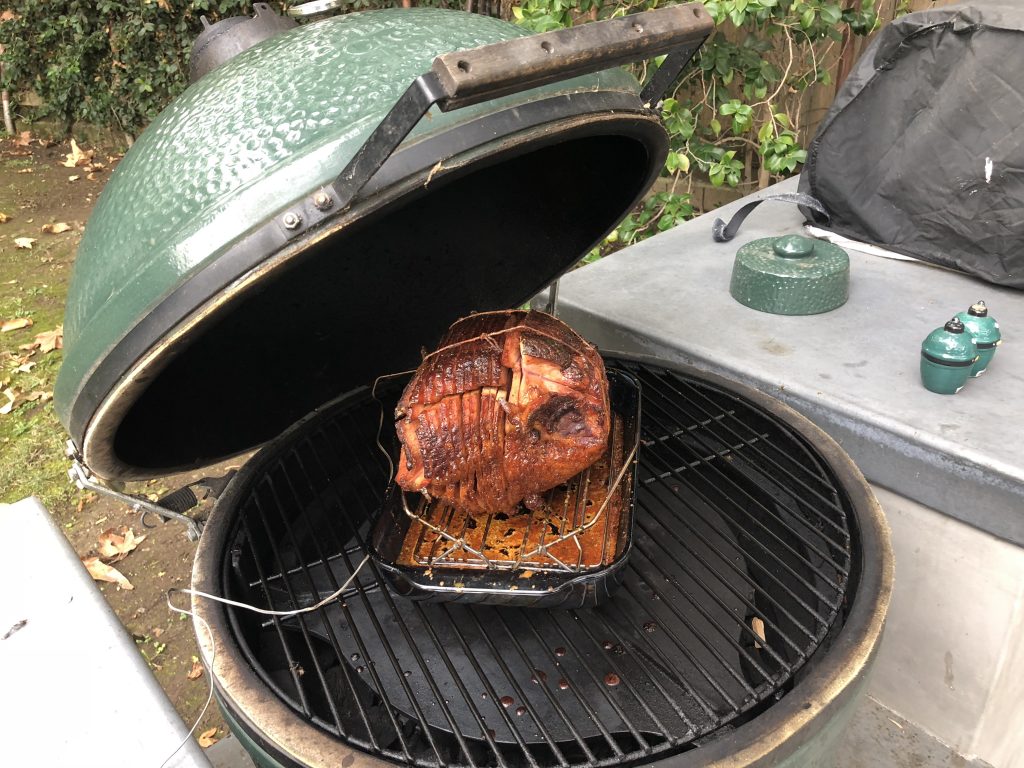
Put the ham on the Green Egg! (I love saying that!)

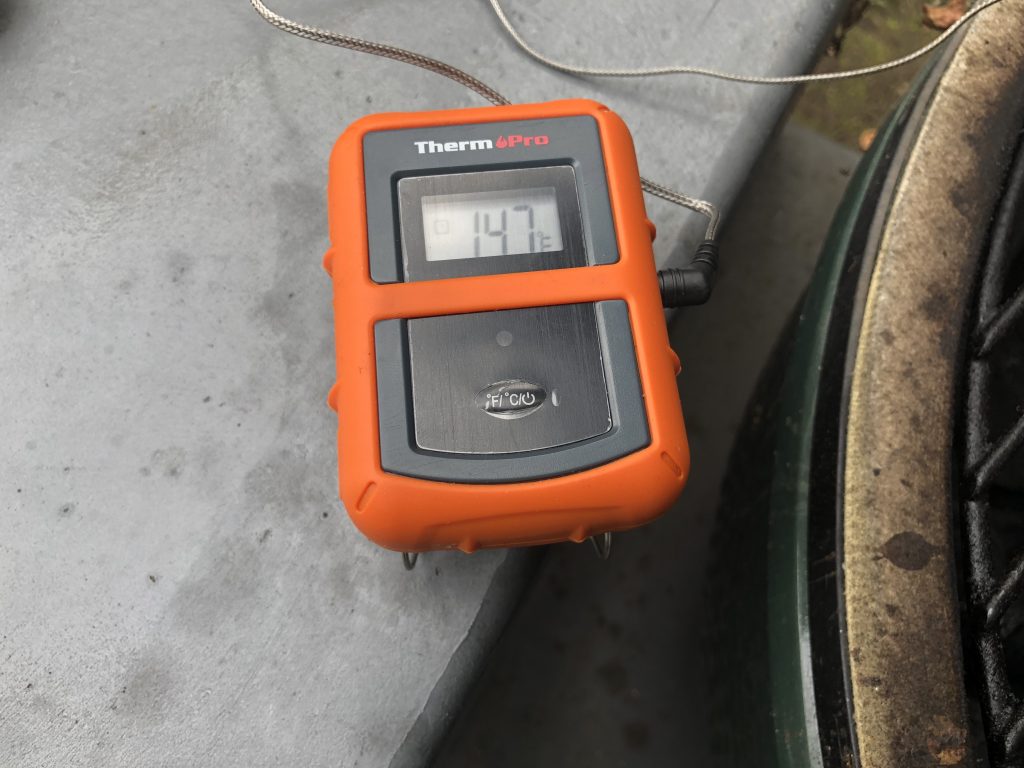
Keep heating until you reach an internal temperature around 120 degrees. This should take a little less than an hour.

Finishing it Up!

Mix all glaze ingredients together. Heat in a sauce pan or microwave to mix.

After the ham reaches 120 degrees. Start basting every 15 minutes with the glaze.

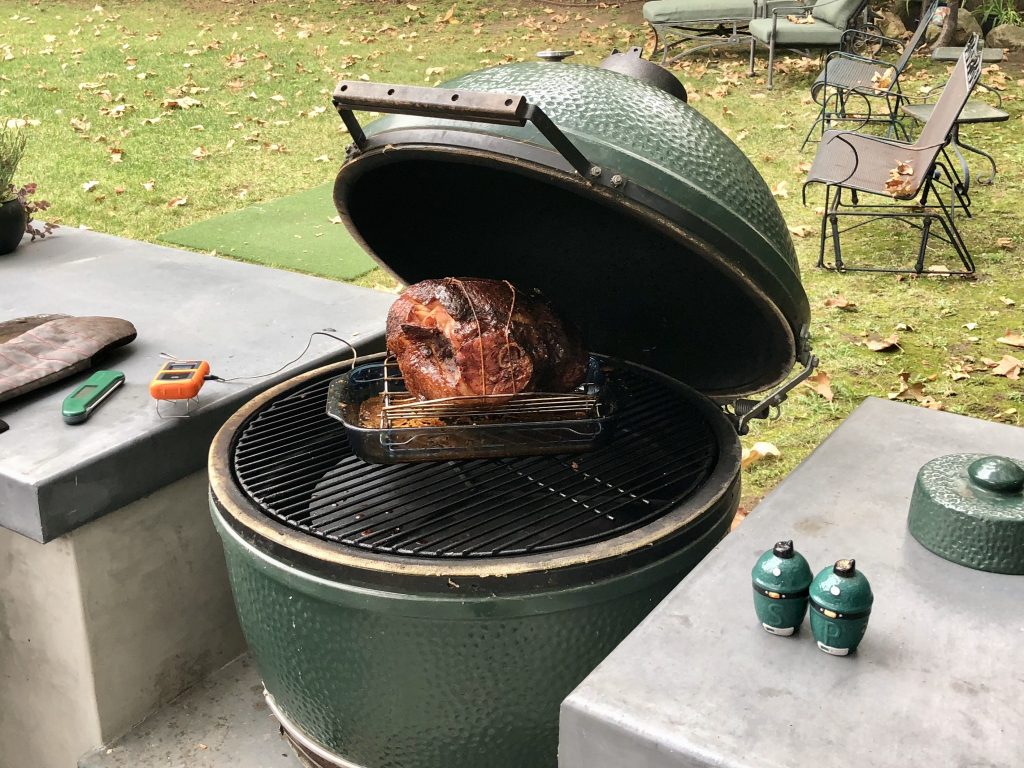
Take it off the egg at 145 degrees. Cover tightly with foil until ready to serve.

Ham on the Green Egg.

Tomahawk Steaks

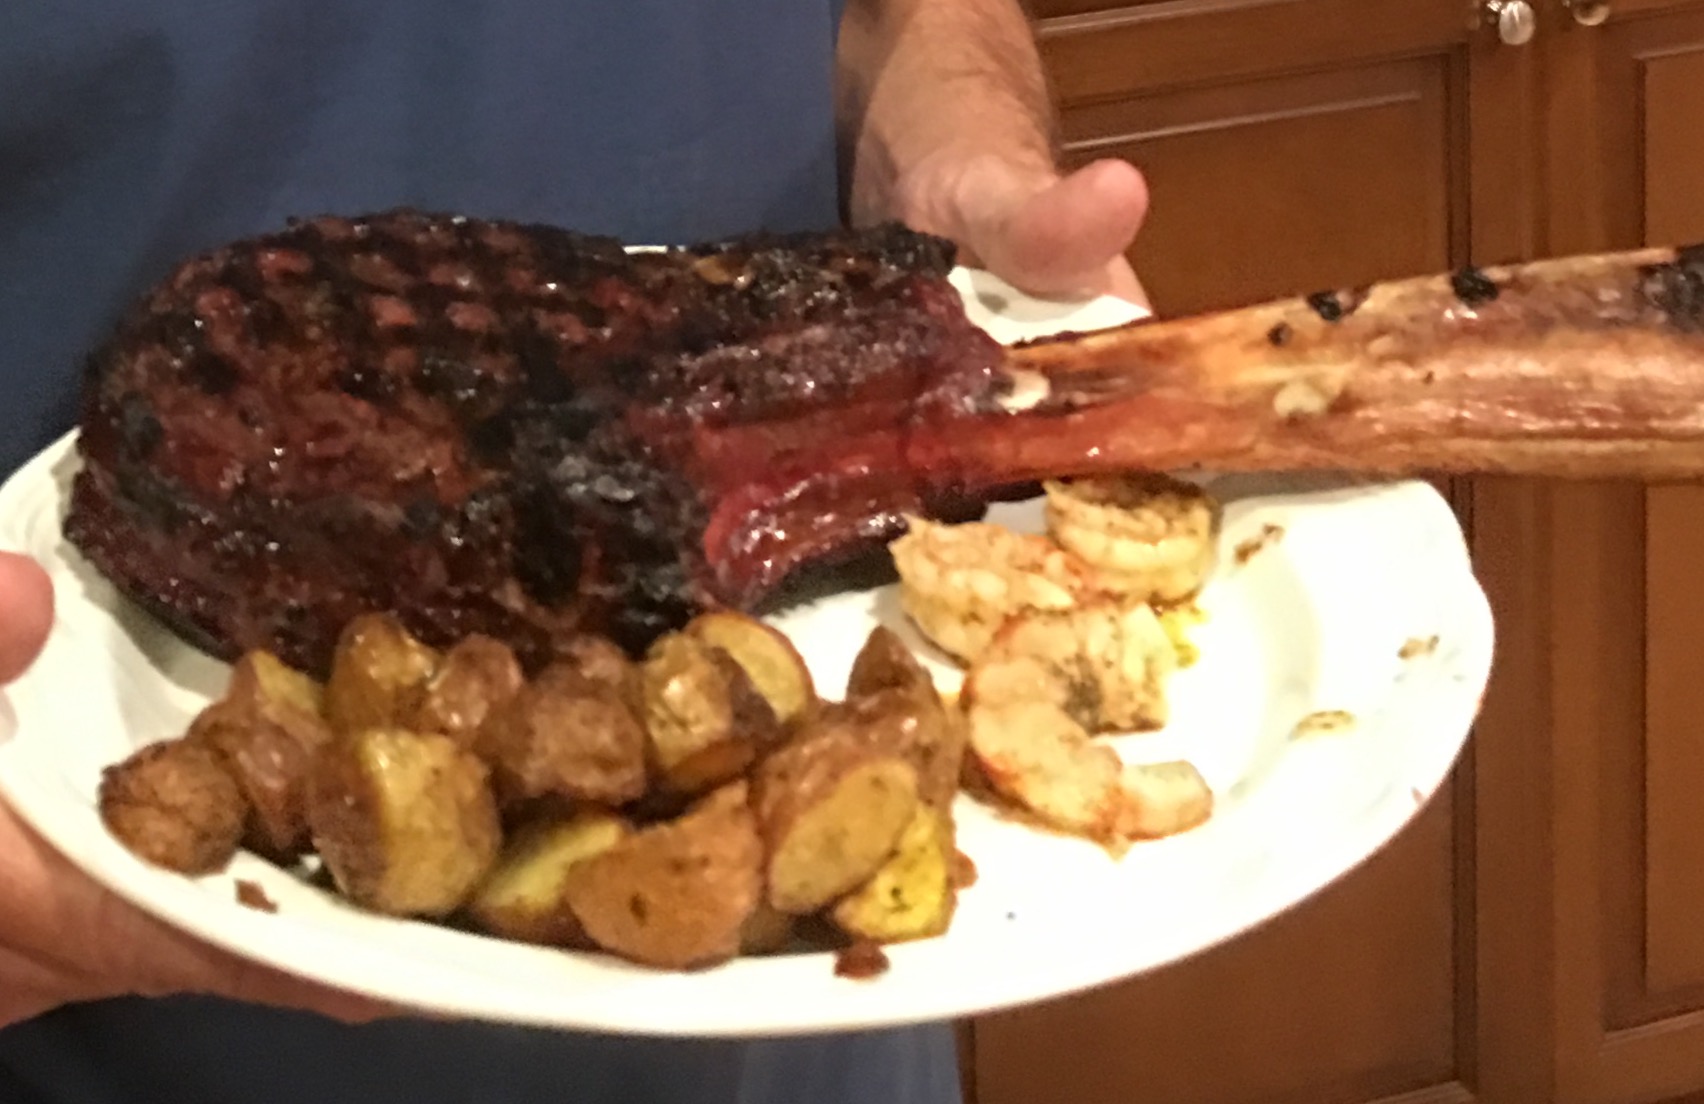
I had been eyeing the Tomahawk Steaks at our local grocery store for sometime. They were the showcase feature of the butcher’s display case. A few years ago (when Dawson was just 14), I decided it was time and invited our friends Steve and Karen – great cooks themselves – over to enjoy. Steve, who burns about 17,000 calories a day biking all over the Santa Monica Mountains, thinks that one of these is just about a perfect serving size!

These super big and super thick steaks are quite a show and really fun to cook, serve, and eat! Cooked low and slow, then seared at the end, they are super tender and just amazing.

Ingredients

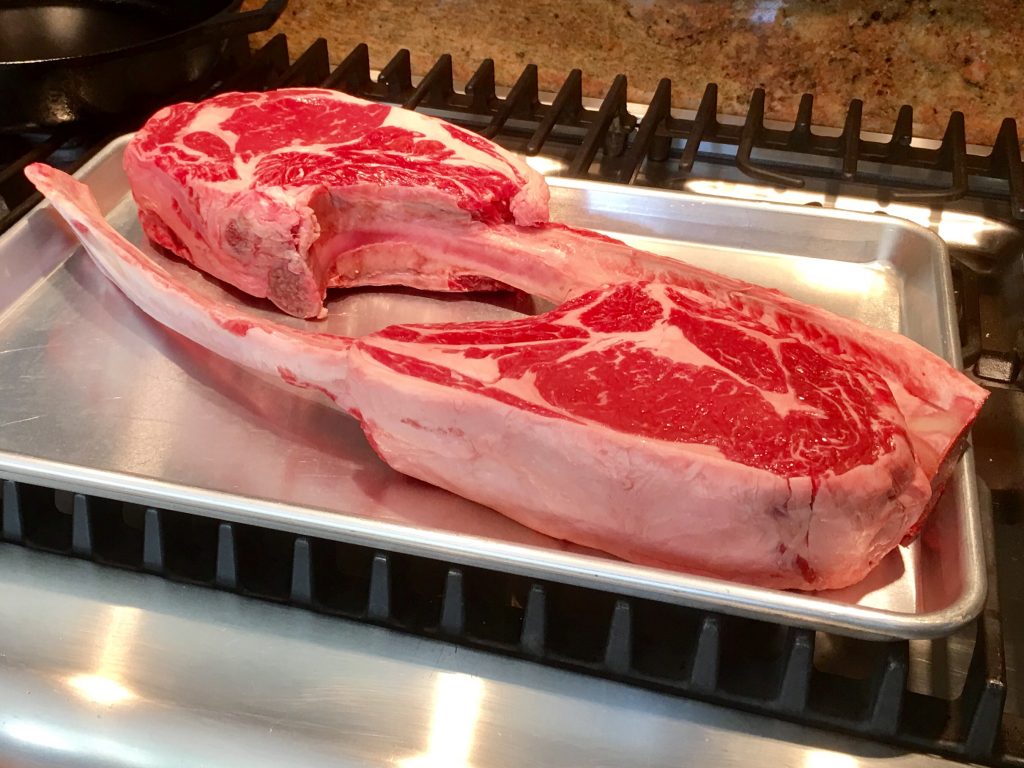
1 Tomahawk Ribeye Steaks – With the bone, they weigh about 3 pounds. Serves 2 to 3.
Soy Sauce
Montreal Steak Seasoning

Directions

You may need to ask your butcher for these. These were choice grade (fantastic), and I got them from Pavilions. I have heard they can be found sometimes at Costco.
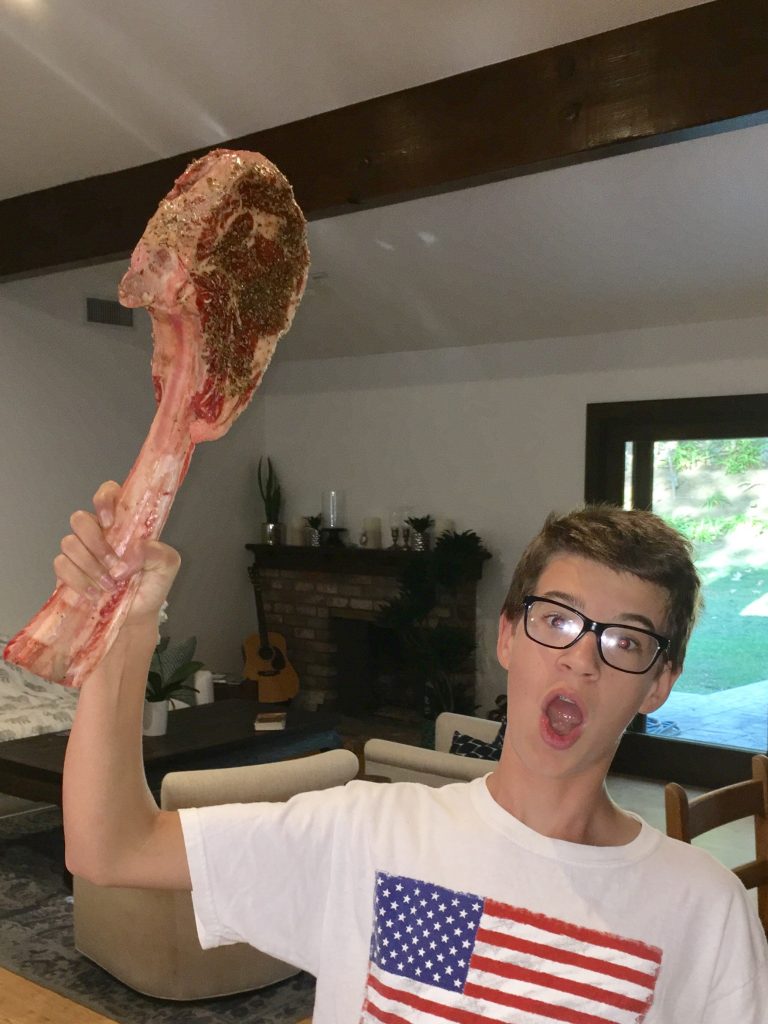
Try to stop your son from playing with the food. Another parenting failure on my part.
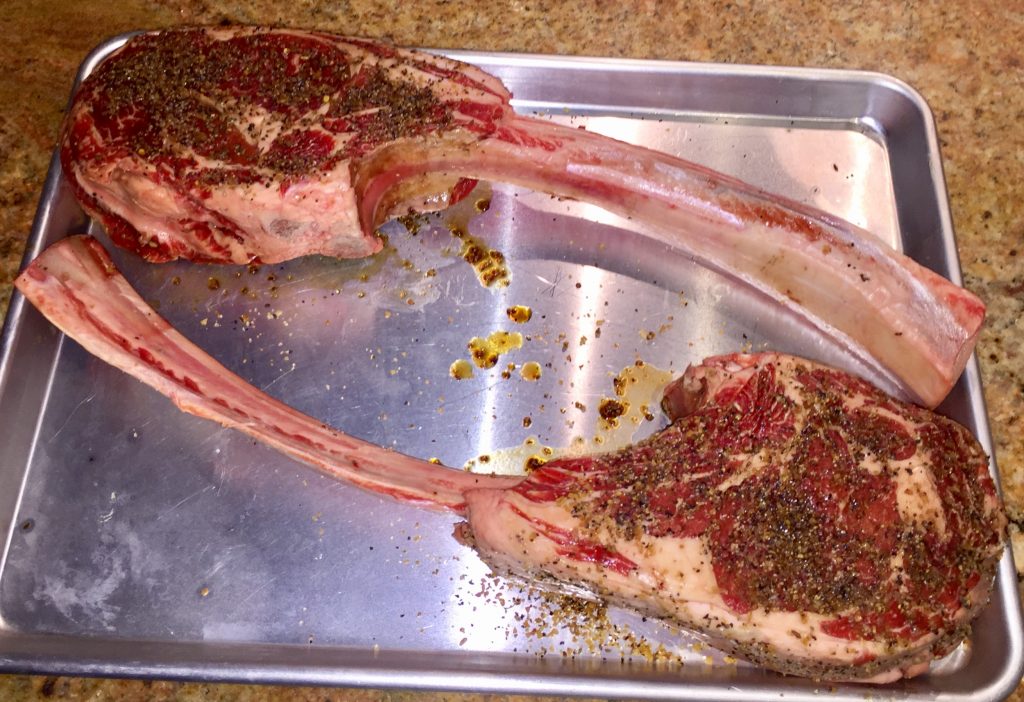
I only use two seasonings on steak: soy sauce and Montreal Steak Seasoning. I went heavy on the Montreal. Please let this sit with the spices for at least 30 minutes. You can go up to 12 hours. Letting the salt do its magic is worth the time.
The key with these steaks is that they are almost roasts. They are almost 3″ thick. I think the best way to cook them is to use low, indirect heat (250 degrees) for an hour or so until they reach the desired temp. Then sear them to get a crust and make them look beautiful. My indirect heat source is our course my Big Green Egg, but Traegers are wonderful too. If you are using the cool side of the grill, make sure to rotate the steak every 20 minutes or so.

I am using my new Thermopro probes in there to monitor the temp. I’ll take them off when they hit 128.

I used a small amount of pecan wood for a hint of smoke flavor. Don’t over do it!

Turn them over once during the cook.
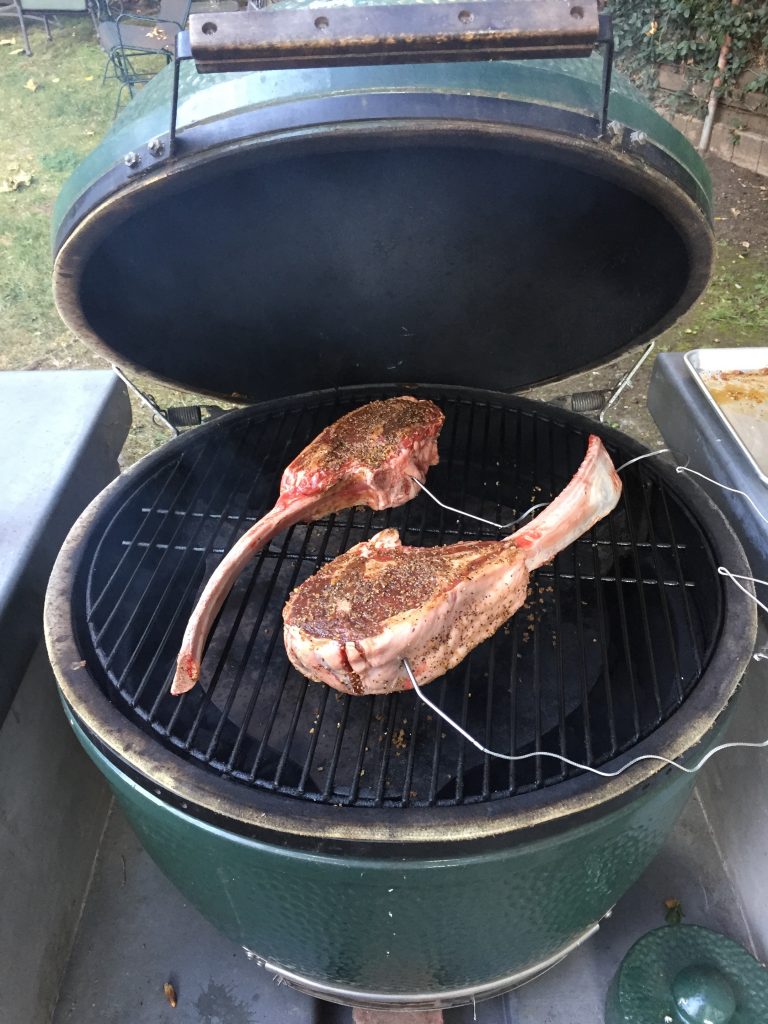
Take them out of the Big Green Egg/Oven when they hit your desired temp, and let sit for 10 minutes.

Prepare a high heat grill, and sear each side for 1 to 2 minutes. You’re just looking for a beautiful seared finish here. Turn the steaks 90 degrees halfway through to cross hatch it.
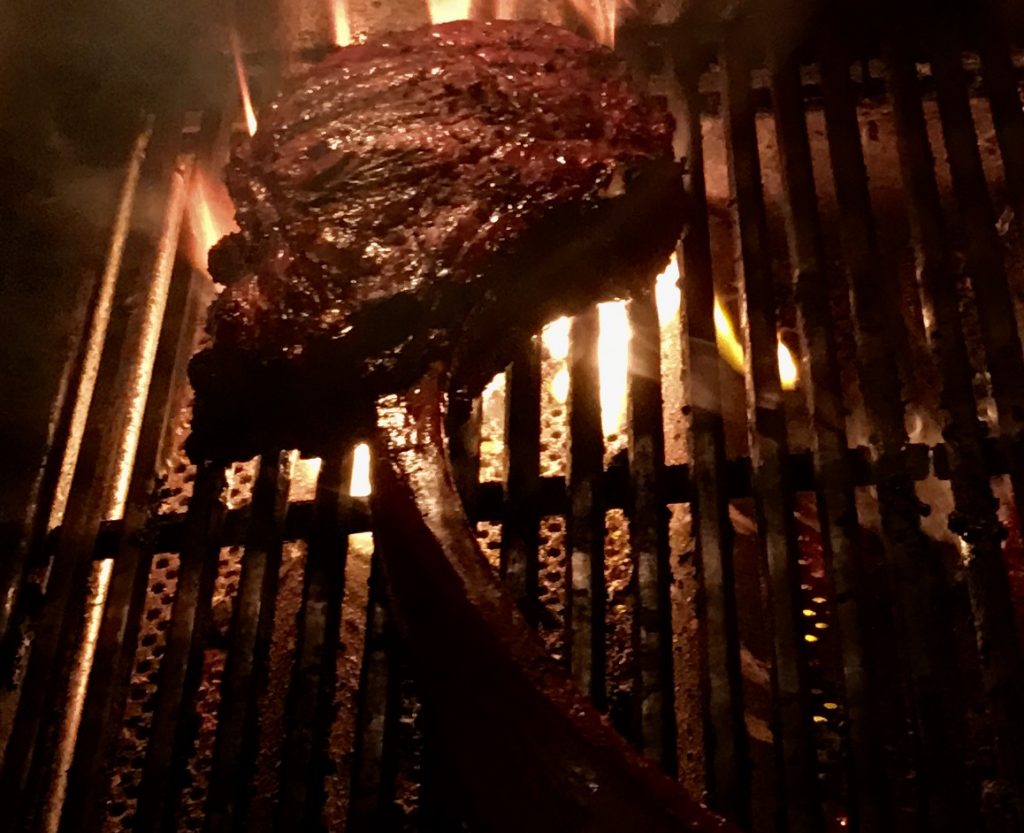
Plate it up!
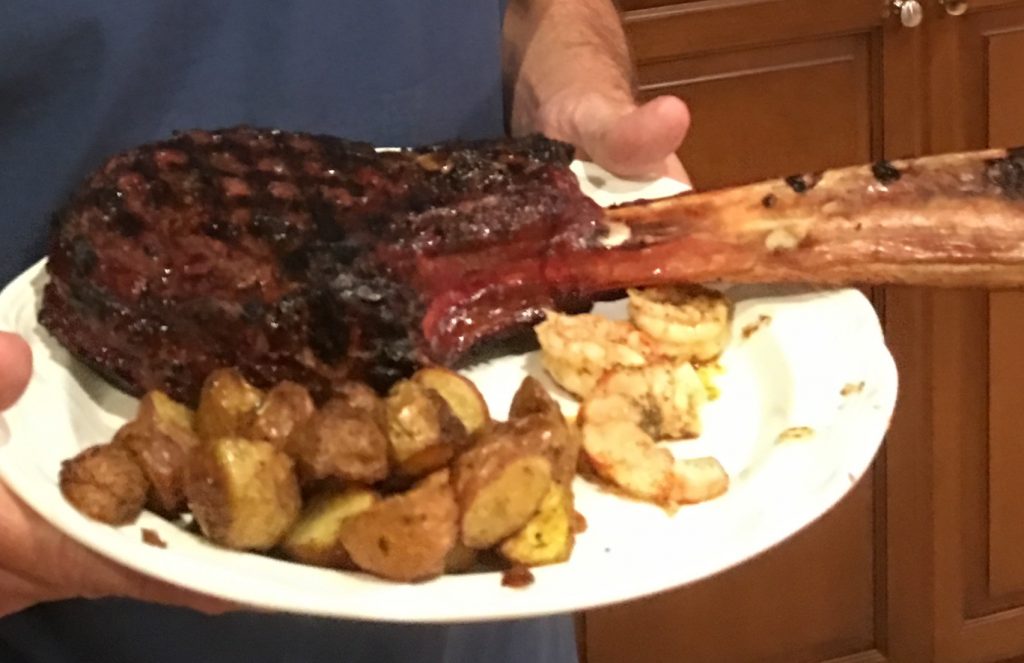
Serve it up!

Veggie Lasagna

What I love about this lasagna is you can really taste all of the different flavors. I can’t explain it – normally, lasagna is a great conglomeration of flavors, but when I eat this one, it feels like I am tasting a lot of individual flavors. I love it.   Jill got the ideas for this recipe from her friend Jacqui and from Cooks Illustrated. Her Aunt Joanne suggested the artichoke hearts. I hope you enjoy it.


Ingredients

3 Heads of Garlic
28 Crushed Tomatoes
1 Eggplant, Chopped or Sliced
14.50 Canned Artichoke Hearts, Drained and Chopped
1 lb Spinach, Washed
2 Ricotta Cheese, Whole Milk
1 cup Cottage Cheese
1 lb Mozzarella, Shredded. Feel free to mix with other cheeses such as Gruyere, Parmesan, Fontina, or Asagio.
0.50 cup Parmesan Cheese, Grated
1 lb No-Boil Lasagna Noodles
0.25 cup Fresh Chopped Basil
0.25 tsp Red Pepper Flakes

Directions

Roast the Garlic!
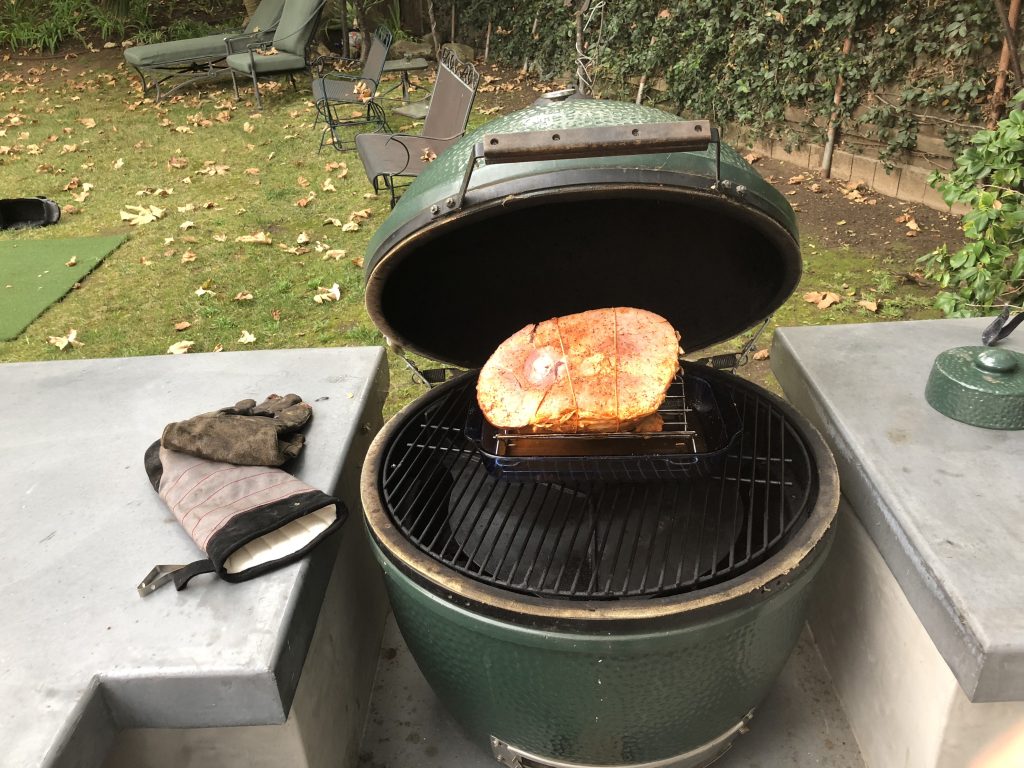
Prepare the garlic for roasting. Trim any roots from the bottom of the bulb so that the garlic will sit flat. Trim a thin slice from the top of the bulbs to expose a little of each of the cloves. Drizzle olive oil over the tops of the exposed garlic and salt & pepper to taste.

Place in a small pan. Pour enough water to cover the bottom 1/3 of the garlic.

Cover tightly with foil and bake at 350 for 75 minutes.

Prepare the No-Cook Sauce

Mix crushed tomatoes, chopped fresh basil, 2 tbsp. extra virgin olive oil, 3 garlic cloves – minced, 1 tsp. kosher salt, red pepper flakes in a bowl and set aside.

You’re done. We have used this sauce for many recipes. It’s so easy and it’s excellent.

Prepare the Veggies

Skin, then slice or cube (1/2″) the eggplant. Sprinkle with salt.

In a microwave safe bowl or plate, heat the eggplant in the microwave for 5-10 minutes, until it is dry to the touch. We usually go for 5 minutes.

In a large skillet, heat 2 Tbsp olive oil, 3 cloves of minced/crushed garlic, 1/4 tsp salt, 1/2 tsp black pepper, and 1 Tbsp Italian Herbs.

Add Eggplant to heated oil, stir and cook for 4 minutes.

Add artichoke hearts, stir and cook for 4 more minutes. Set aside on plate or bowl.

Heat 2 Tbsp more Olive Oil, add 3 cloves of minced/crushed garlic, and saute spinach until wilted. Remove and drain.

Prepare the Cheeses

Mix Ricotta and Cottage Cheeses – 3 cups total. All Ricotta is just fine.

Grate/Shred 16 ounces of cheese. At least 1/2 of it should be mozzarella.

Prepare 1/2 cup of Parmesan cheese for sprinkling on top.

Assembling the Lasagna

Spread 1 cup tomato sauce in bottom of baking dish
·
· · Sprinkle shredded cheese.
· Repeat layers, starting with tomato sauce.
· For the third layer of noodles, use roasted garlic in lieu of vegetable mixture or in addition to vegetable mixture.
· End with plain noodles (no ricotta) with shredded cheese. Pour any remaining sauce along the sides of lasagna.

Next comes the noodle layer. An easy way to spread the 1/3 of the ricotta mixture on the noodles is to pick up a no-boil lasagna noodle, use a spatula to spread the ricotta mixture on the noodle, and place the cheesed noodle onto the tomato sauce. Do this with a total of 3 noodles.

Spread 1/2 of vegetable mixture on top of ricotta.

Sprinkle 1/4 of shredded cheese.

Repeat layer of sauce, cheesed noodles, vegetables, and shredded cheese

Repeat layer of sauce, cheesed noodles, roasted garlic (instead of vegetables), and shredded cheese

Finish with noodles (no cheese mixture this time) and the remaining shredded cheese.

Sprinkle 1/2 cup parmesan cheese on top.

Bake it!

Lightly spray large sheet of aluminum foil with vegetable oil spray and cover lasagna. You can refrigerate the dish at this point.

Bake at 375 for 35 minutes.

Remove foil and bake an additional 10 minutes. Take out when slightly browned and bubbling!

Cool for at least ten minutes, then cut and serve.

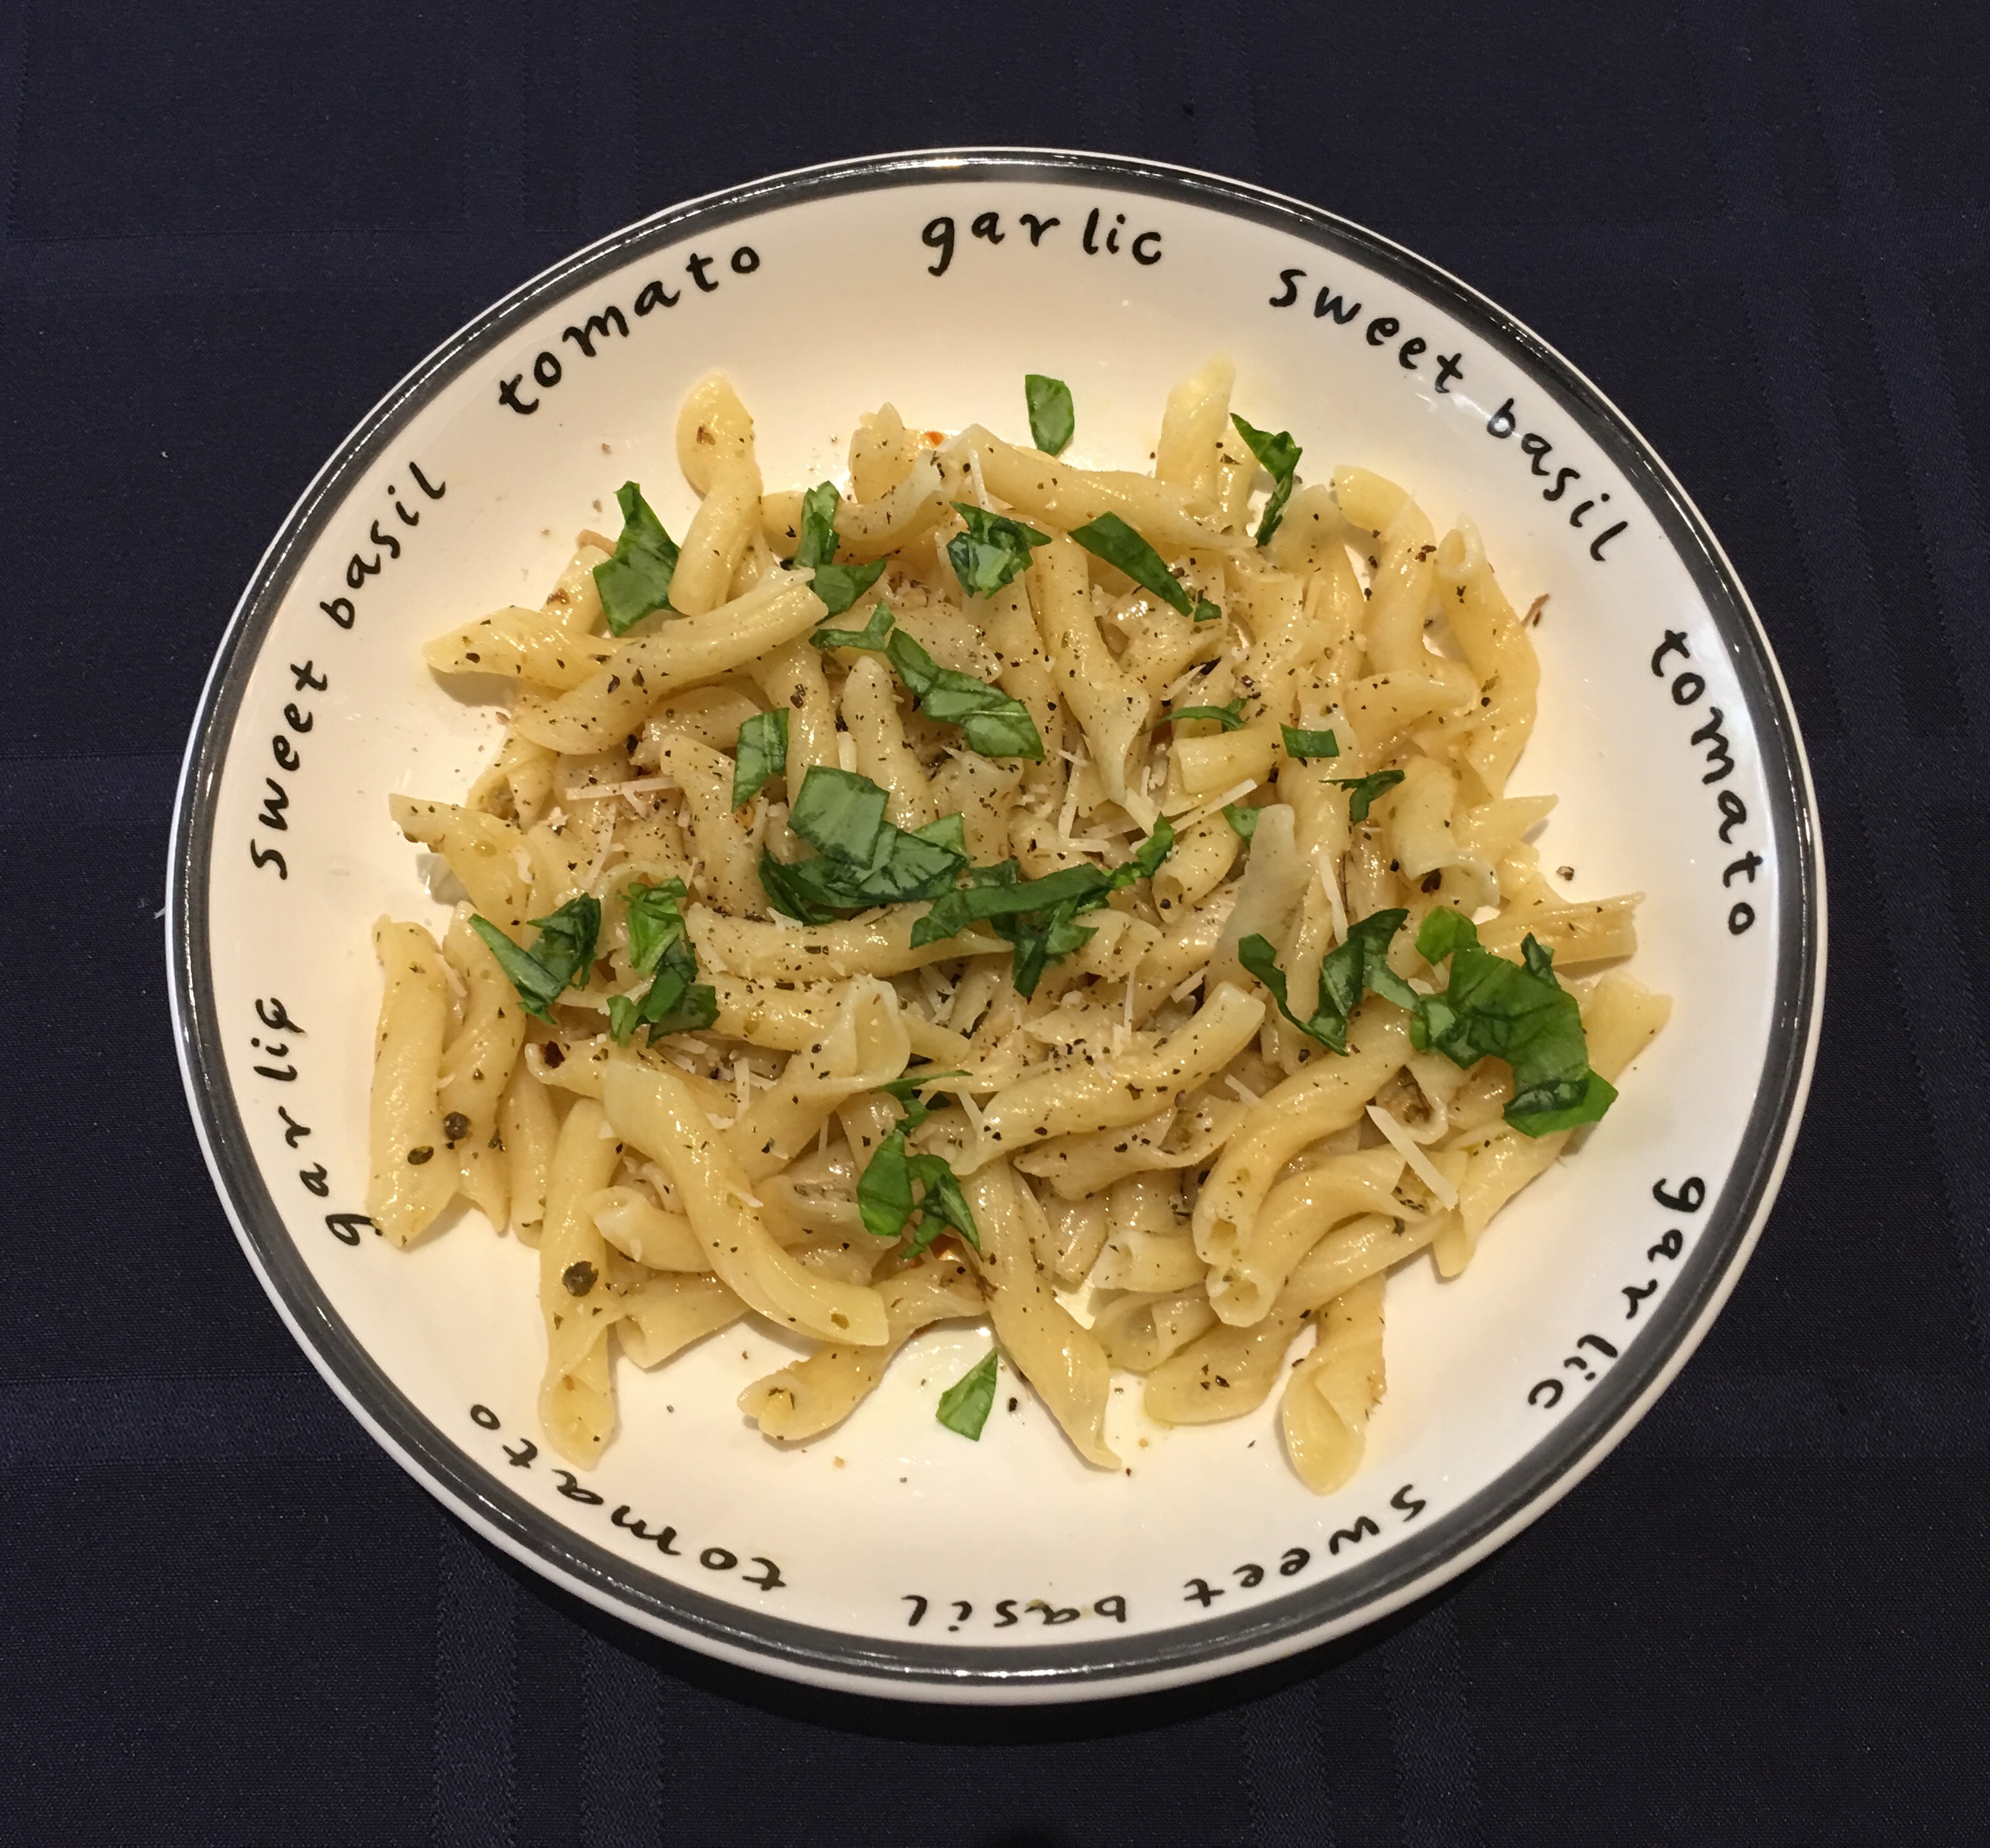
Pasta with Garlic and Oil (Aglio e Olio)

This is such a great classic dish, and you almost always have the ingredients for it right in your pantry. We always have peeled garlic in our fridge, and we have a few fresh or frozen veggies. That’s all you need. And the secret ingredient is the pasta water. Adding that at the end has a crazy amazing impact on the consistency of the dish. Don’t forget to save some!

Ingredients

1 lb Dried pasta of your choice
½ cup Olive Oil
1 Head of Garlic – Minced. At least 12 cloves. (It’s a lot, but look at the title of this dish and stop complaining!)It's a lot, but look at the title of this dish and stop complaining!
½ tsp Salt
3 tbsp Fresh Basil (Or 3 tsp dried Italian Seasoning)
2 tsp Lemon Juice
½ tsp Red Pepper FlakesMore to taste
1 tsp Black Pepper
½ cup Parmesan Cheese (For the Table)
1 Fresh tomato, or some cherry TomatoesThese are optional, but them in a bowl on the table and they make a great topper

Directions

Preparing the Oil/Garlic/Herb Mixture

In a small skillet or saucepan, heat 3 Tbsp olive oil (not too hot!). Add salt and 2/3 of garlic, then gently saute for 7-8 minutes. Turn off the heat when it gets nice and gold, but not yet brown.

WITH THE HEAT OFF, add the remaining olive oil, the remaining garlic, pepper, red pepper flakes, lemon juice, and herbs. Set aside.

Preparing the Pasta.

Boil enough salted water (2 tsp salt) for 1 pound of pasta.

Cook pasta according to directions.

Just before your drain the pasta, take out 1 to 2 cups of the water and set aside.

Drain pasta, then return to pot.

Making It All Happen!

Add every last drop of the Garlic/Oil/Herb mixture to the pasta and stir to coat.

Add 1/2 cup of the reserved pasta water. It will create a looser dish with a nice saucy consistency. Add a little more if you like.

Serve onto plates or bowls. Parmesan cheese, fresh ground black pepper, red pepper flakes, fresh chopped tomatoes, and/or freshly chopped basil all make nice toppings here.