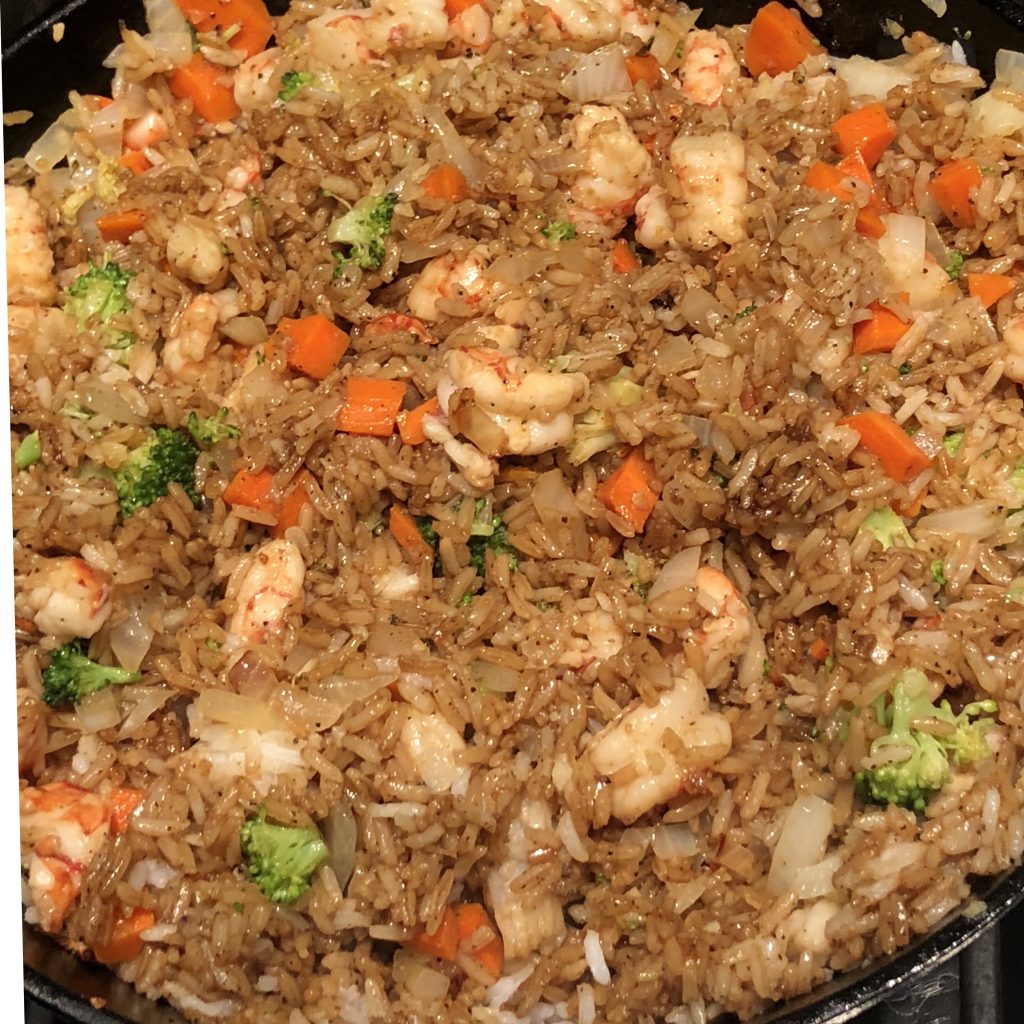
This is always one of my favorite dishes to order in Thai restaurants. Spicy red curry and green beans, mixed with some kind of protein. I got the recipe from the New York Times cooking site – it’s fantastic. You have to get red curry paste. While you can buy the Thai Kitchens brand in most grocery stores, I order the Maesri brand from Amazon. This can be a side dish or a main course.
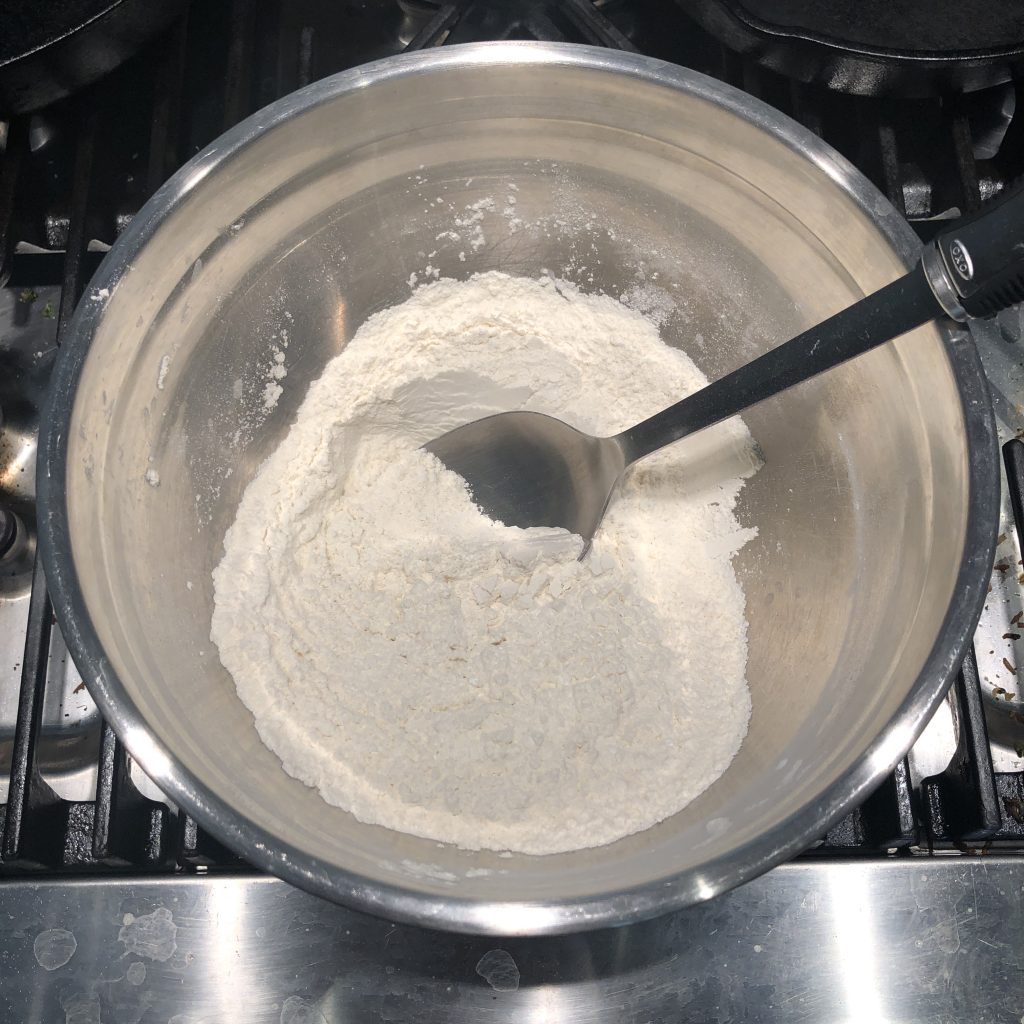
Ingredients
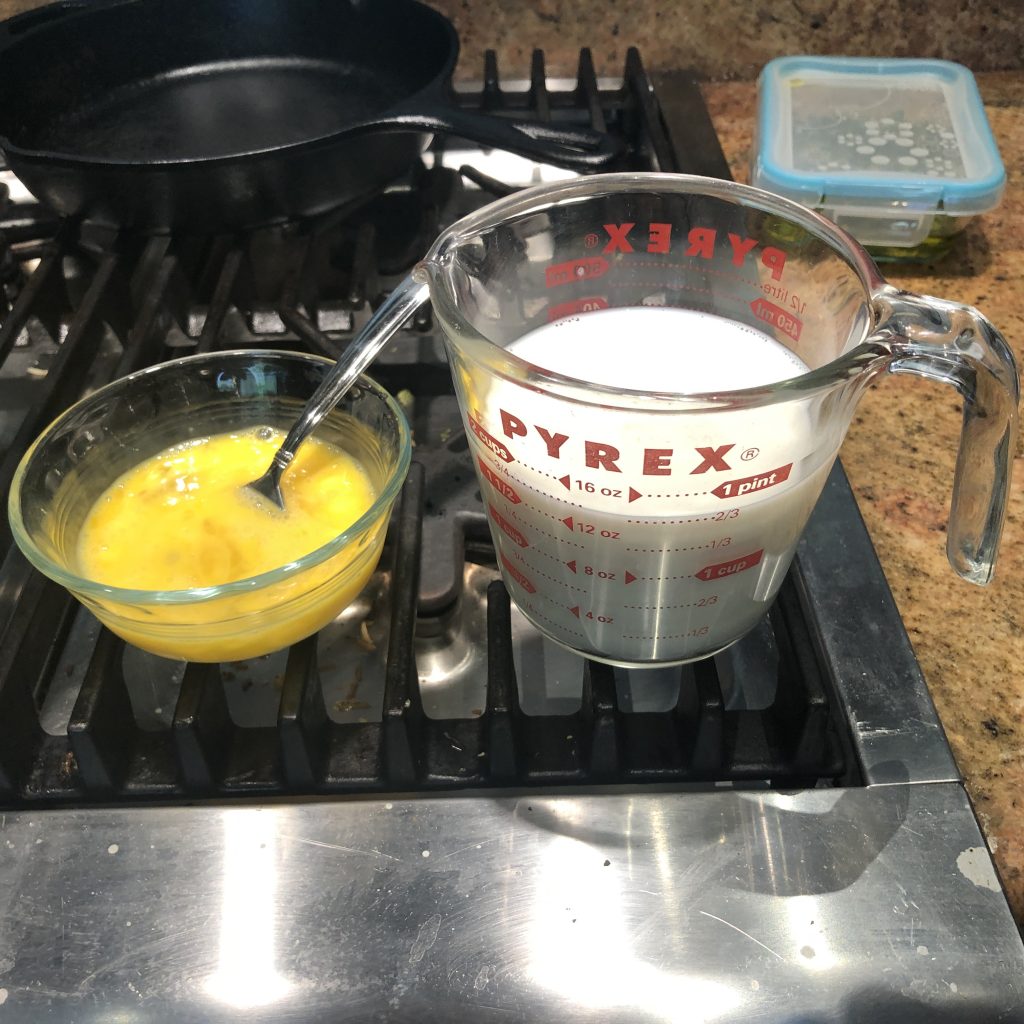
Sauce Ingredients
3 tbsp Red Curry Paste(I prefer Maesri from Amazon, but there are many good ones)
2 tbsp Oyster Sauce
10 cloves Minced Garlic(Cut it in half if you're not a garlic fiend like I am)
2 tsp Corn Starch mixed well into 3/4 cup water
2 tsp Brown Sugar
½ tsp Salt
2 tsp Neutral Oil (Avocado, Canola)
Vegetables and Protein
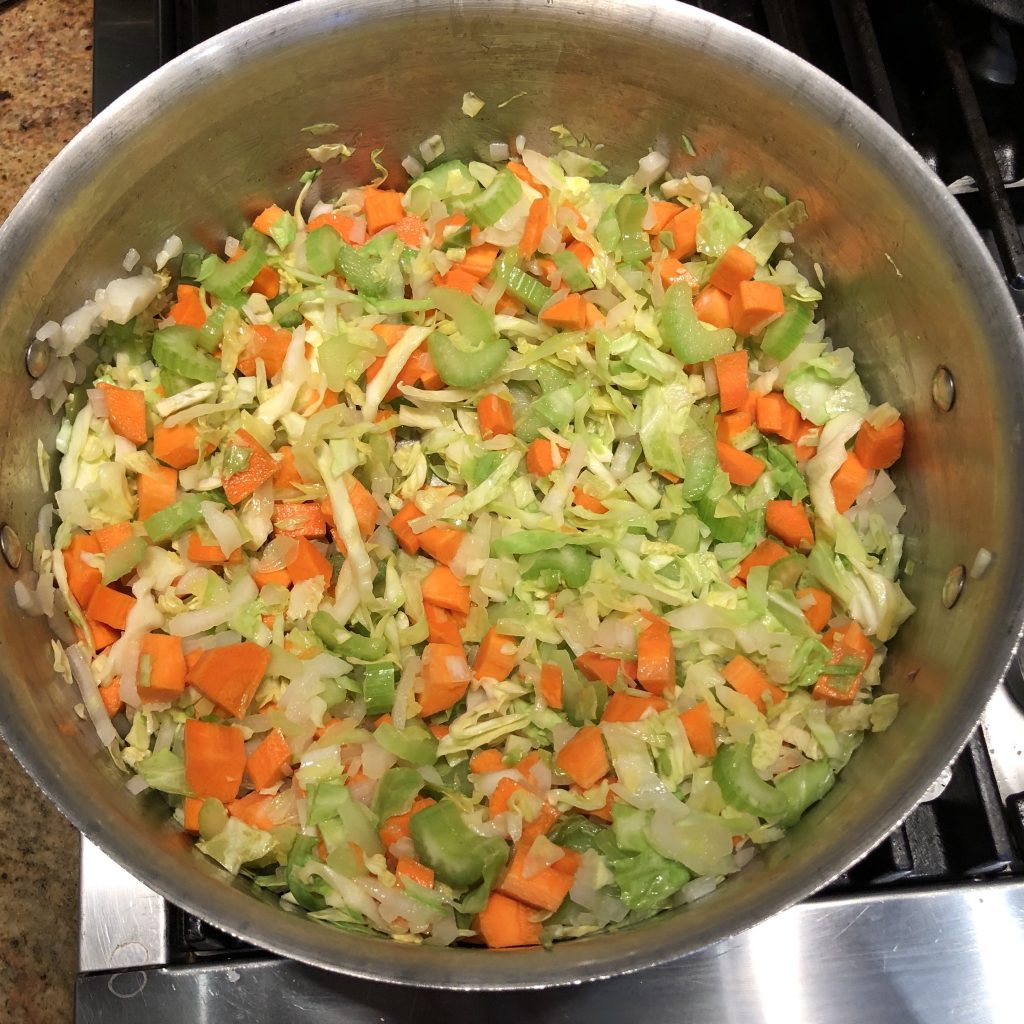
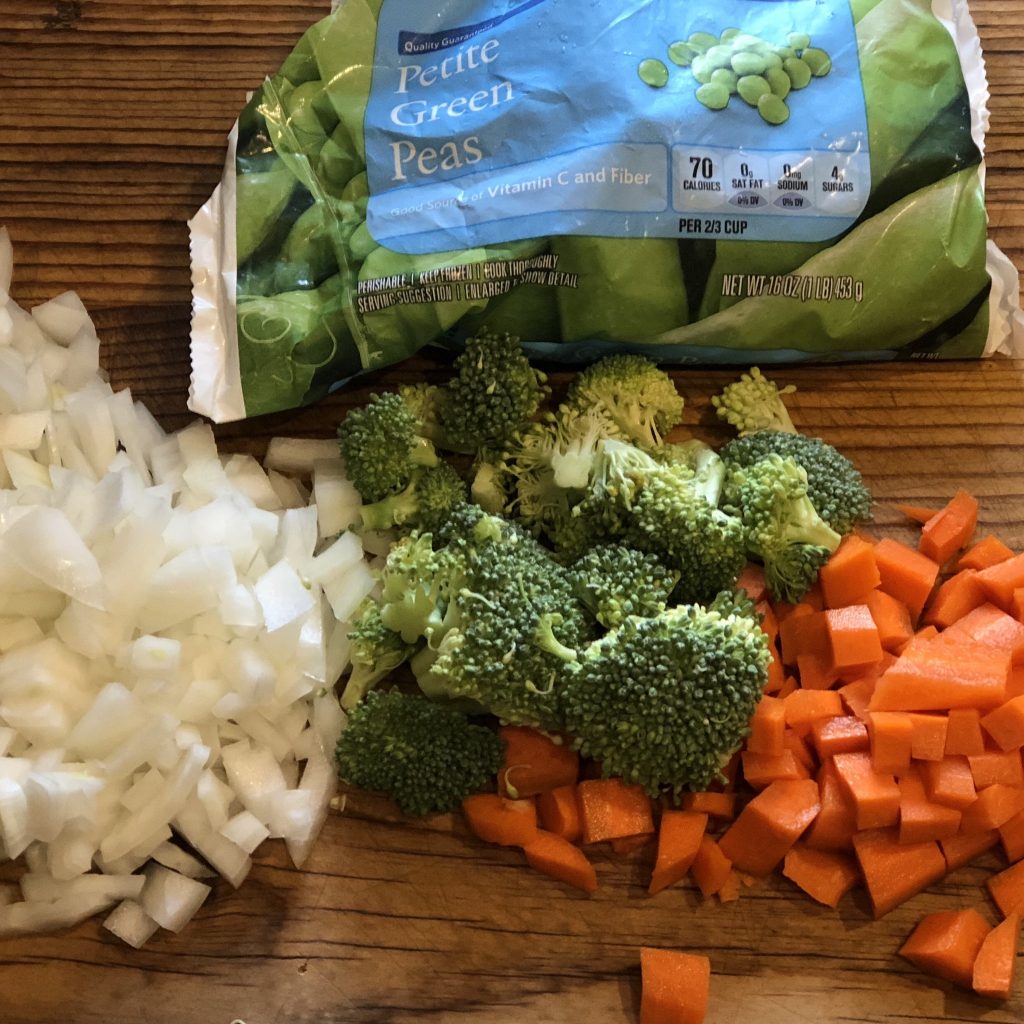
12 oz Green Beans, cut into 1-inch pieces
1 lb Protein (Tofu, Chicken, and Shrimp all work well)Cut into bite size pieces. If using tofu, wrap in clean dish towel with a pan on top for 30 minutes to drain)
Last Minute
1 Zest of one Lime
3 Green onions, finely sliced
Directions
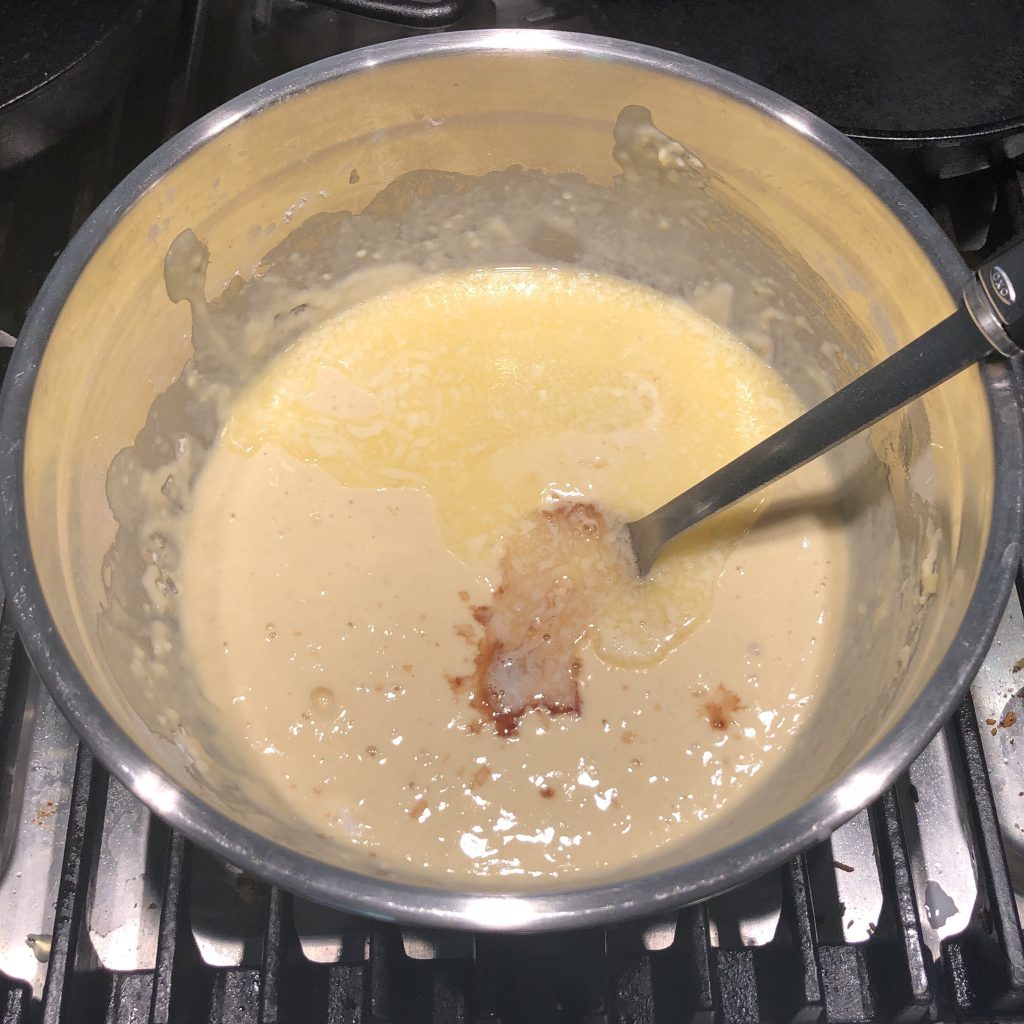
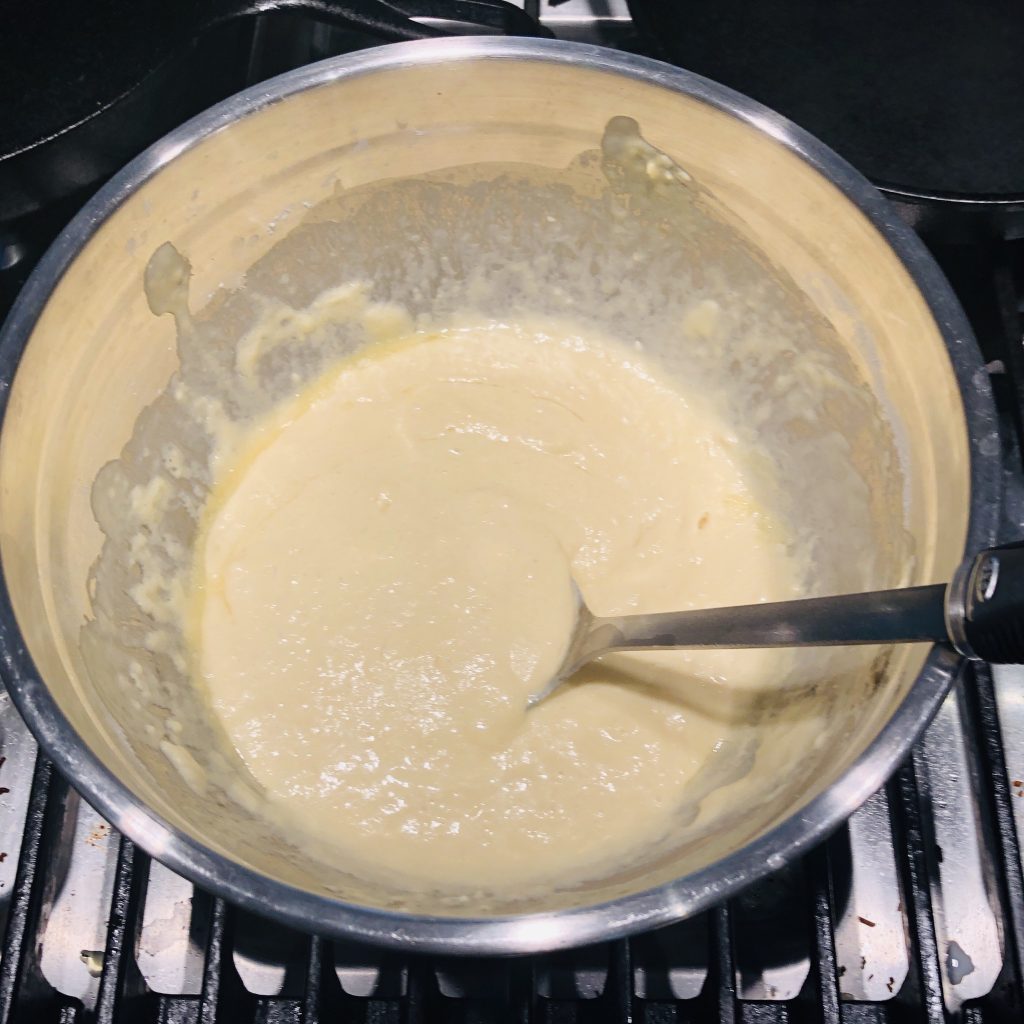
Making the Sauce
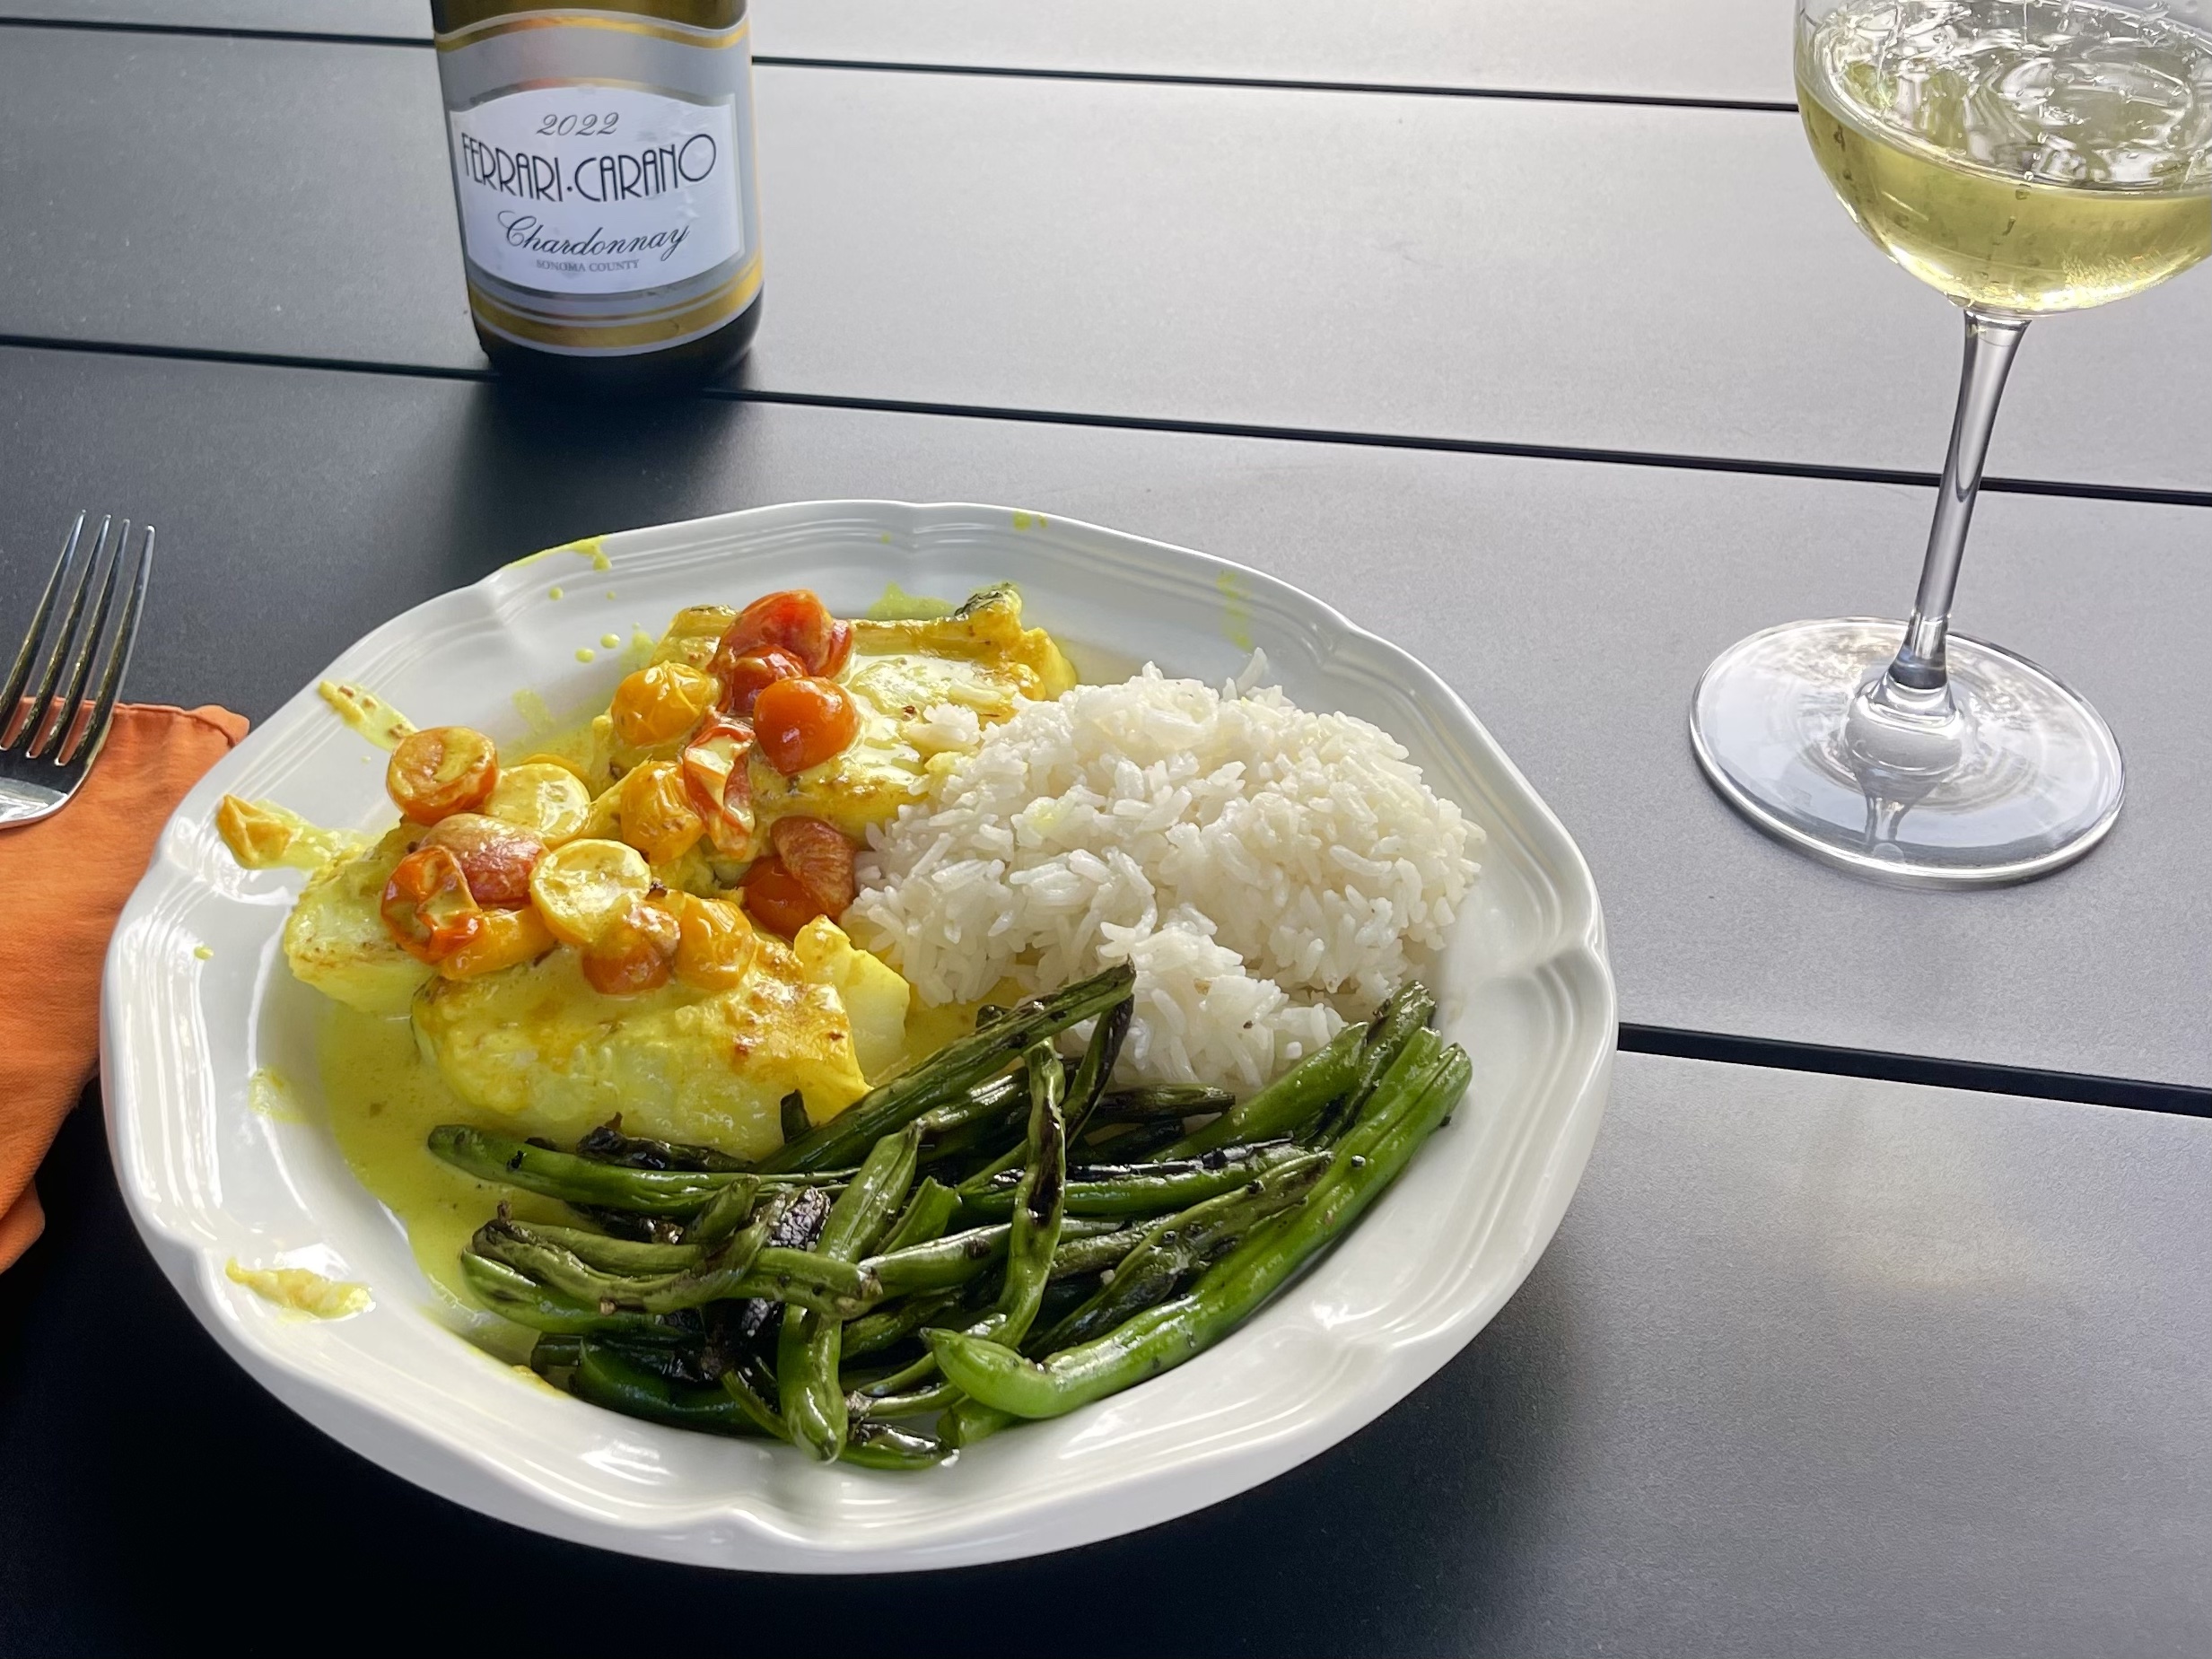
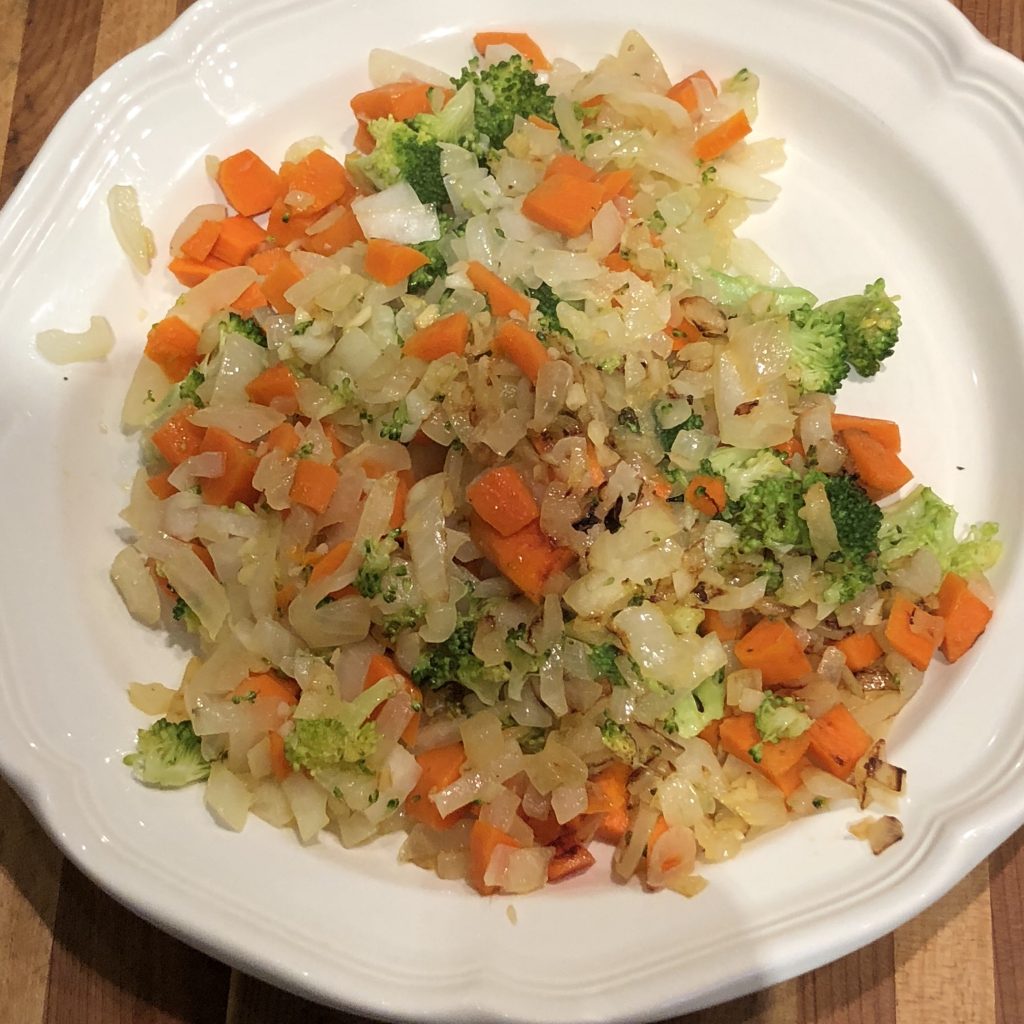
Saute the green beans in a little bit of neutral oil until they are the way you like them. I recommend at least five minutes, but basically you want to pull them off when you think they’re perfect. Remove from pan and set aside.

In a little bit of neutral oil, cook protein until browned and cooked through. You can add a little spice to it, but the sauce will more than spice these babies up. Remove from pan and set aside.

Saute garlic for 30 seconds in oil, then add curry paste, press and crush for 2 minutes, letting it toast a little. This may make the air a little spicy, so I recommend turning the fan on.
Add the remaining sauce ingredients into pan, stir frequently, and cook until you have a nice thick sauce.
Add vegetables and protein. All you need to do is mix the sauce so that all ingredients are coated with red curry sauce goodness, and so that all veggies and proteins are reheated properly.

Add lime zest and stir in for 30 seconds and turn heat off.
Serving
Serve with our without rice, sprinkle with green onions and you have a beautiful dish!

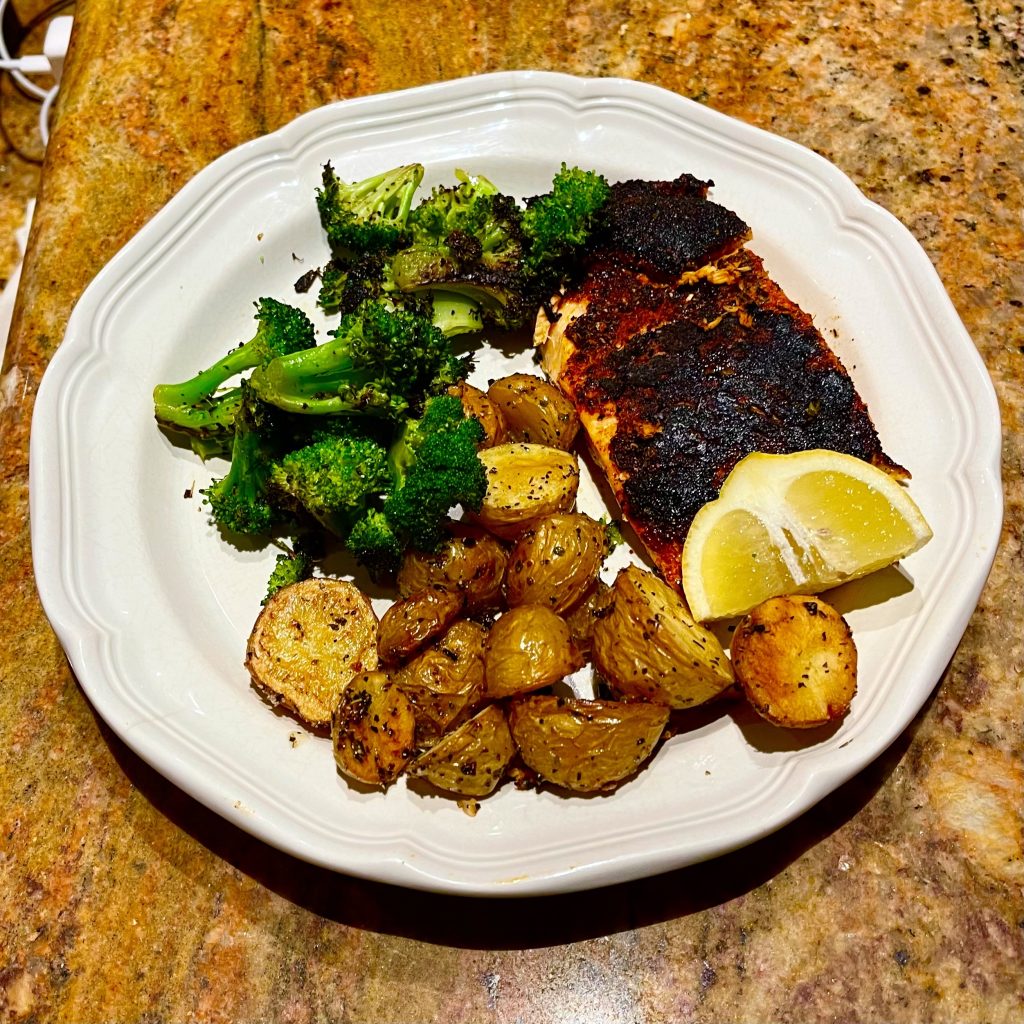
We love Salmon in our house, and we have a variety of ways to prepare it. Blackened salmon is one of our favorites, and I would say we eat it twice a month! It’s spicy, and such an easy preparation. If you make extra spice mixture, then there’s hardly any work at all in the preparation when you make them the next time.
You can buy salmon fillets from your market. This may sound crazy, but we love the Costco frozen salmon farm-raised salmon fillets. They are so easy, and with just 1 hour of soaking them in water, we are ready to make this any time. I know fresh is better, and we do that sometimes too, but this is a great recipe, whether you use fresh or frozen fillets. I think one of the keys to finishing the salmon is a liberal lemon squeeze on it when you plate it. It makes it sparkle and you can taste the difference.
Enjoy! – Mike
Ingredients
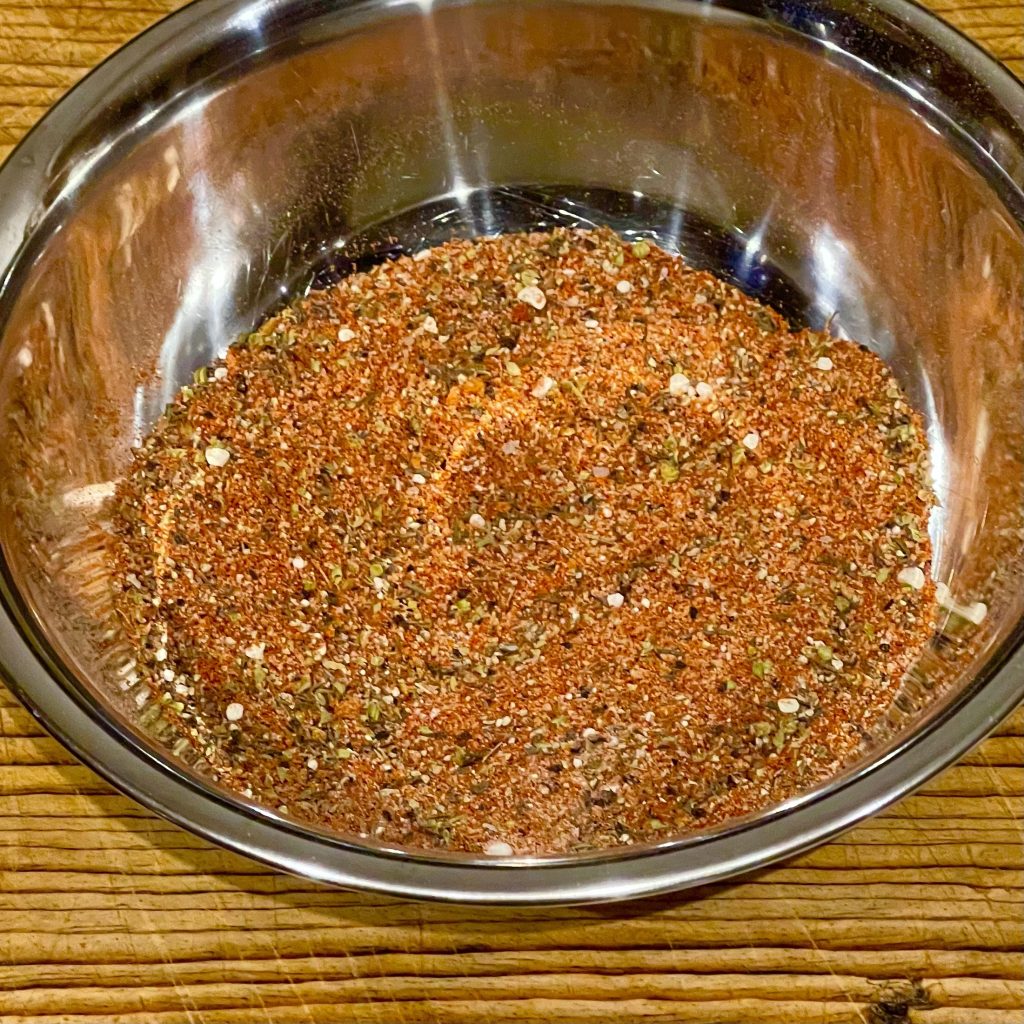
2 tbsp Paprika (I used Smoked Paprika)
1 tbsp Black Pepper (Course is better than Shaker Grind)
2 tsp Brown Sugar
1 tsp Kosher Salt
2 tsp Garlic Powder
2 tsp Onion Powder
1 tsp Cayenne Pepper
1 tsp Oregano
1 tsp Thyme
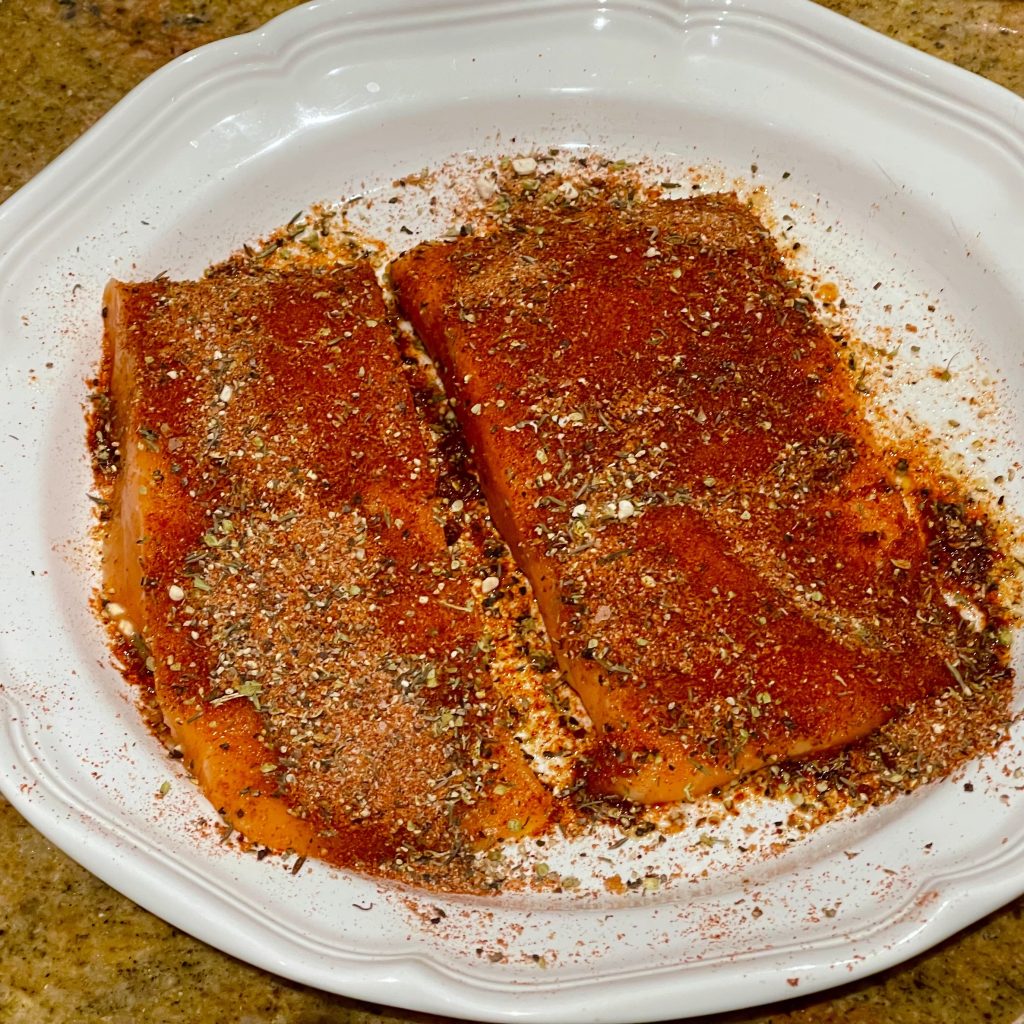
4 Salmon Filets
Butter or Olive Oil
1 Lemon, Cut into wedges for squeezing
Directions
Mix all spices together. This should be enough for two dinners at least. I keep a spice jar of it in my spice drawer so I am ready to go at a moment’s notice.
Coat salmon fillets with a little olive oil or butter, then spoon or shake spice mixture onto salmon. Press into the salmon to make sure it is affixed. Let sit for 10 minutes or so. Do not add additional oil or butter. You don’t need it!
On your stove or on your outdoor grill, heat a cast iron skillet until it begins to smoke. Without adding any oil to the pan, place salmon, spice side down, into the skillet. You don’t need to press down. You don’t need to move it around at all. Let it sizzle for 4 minutes.
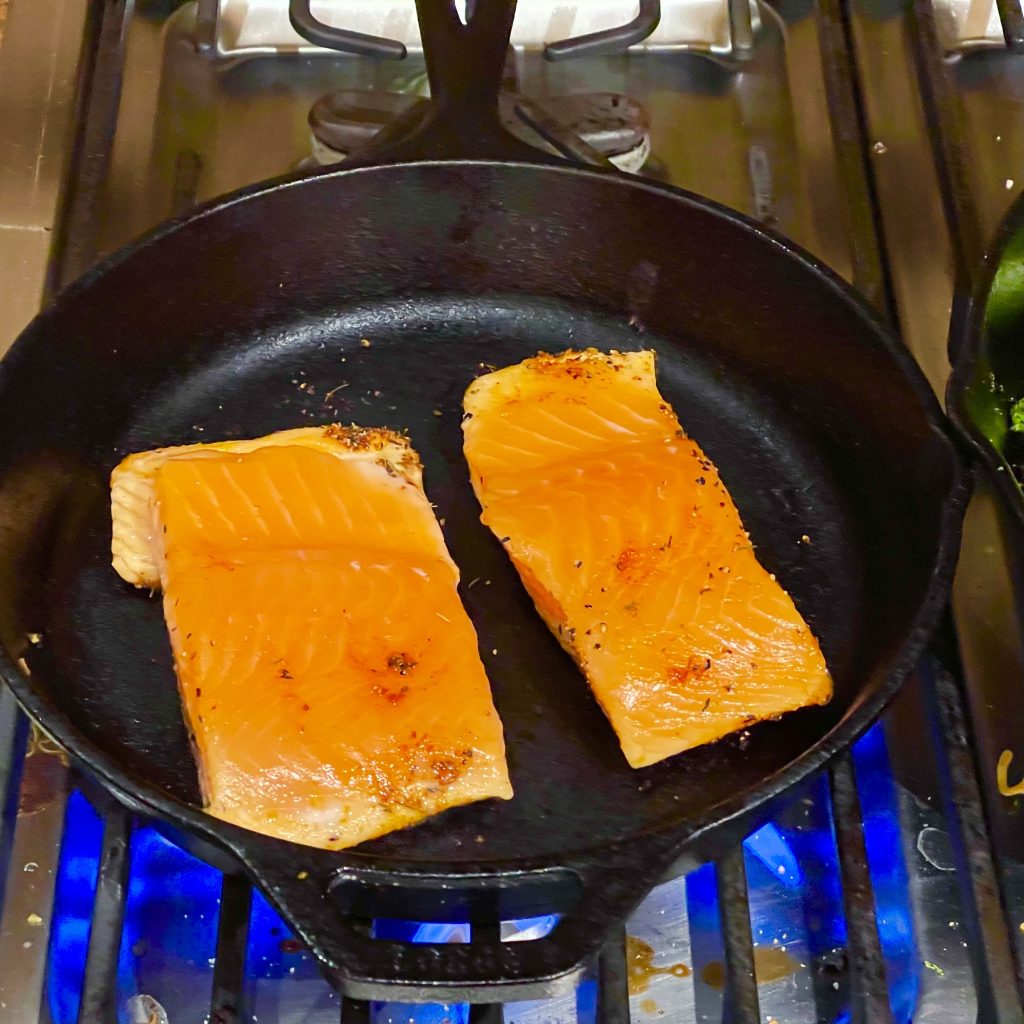
With a metal spatula, slide under the salmon, keeping the edge as close to the pan as possible, and flip each piece over. You are going to want to cook it until it is 130 to 135 degrees internal temperature. It’s probably another four minutes, depending on the thickness of the filets.
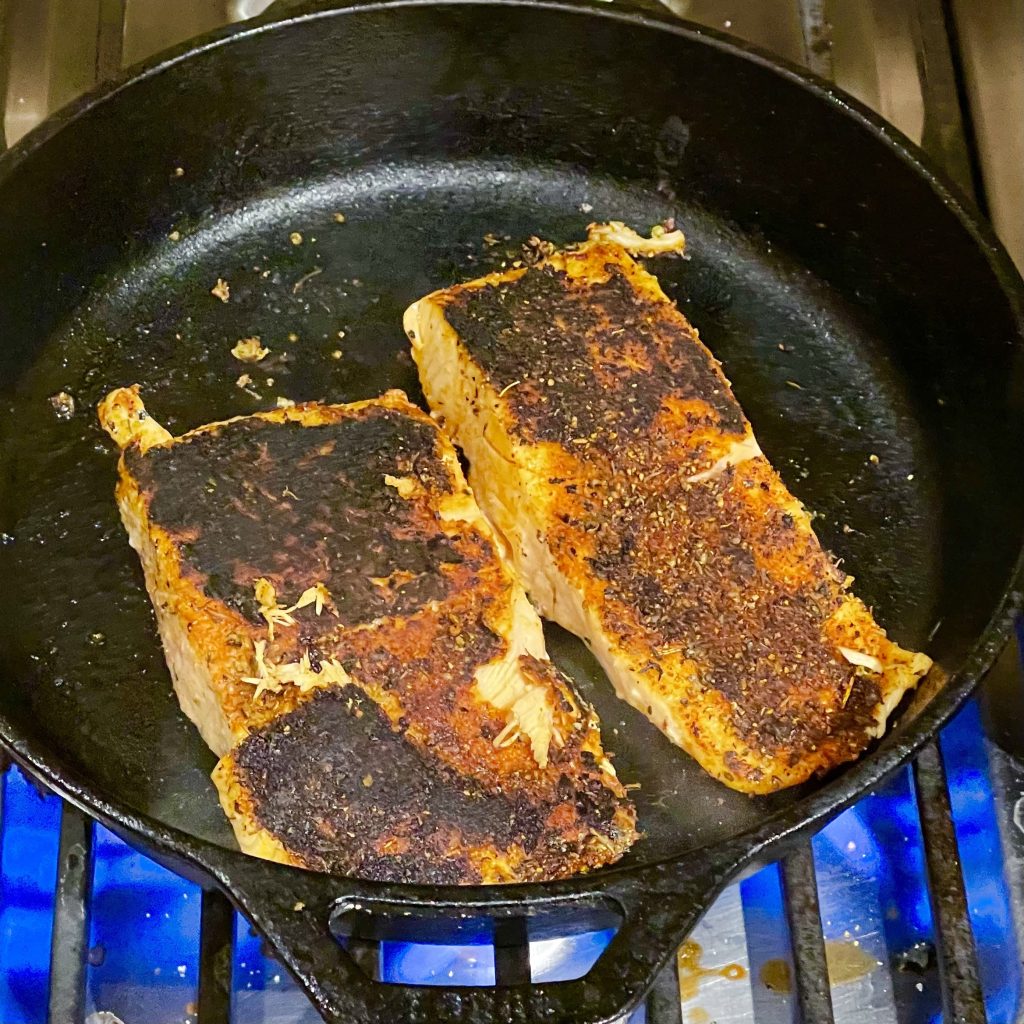
Plate the salmon, spice side up, and squeeze a lemon wedge over it, and serve. You will love it!