Belgian Waffles

Waffles for breakfast! Chicken and waffles for dinner! Invest a few bucks in a waffle iron and you are ready!

Ingredients

2 cups All Purpose Flour
2 tbsp Sugar, Granulated
2 tbsp Baking Powder
1.50 tsp Kosher Salt (1 tsp regular salt)
2 Eggs, Beaten
1.50 cups Milk, Warmed
6 tbsp Butter, Melted
1 tsp Vanilla

Directions

Mix dry ingredients together.

Add milk and eggs and stir in.

Add Melted Butter and Vanilla

Stir together and let it sit for 5 minutes. The consistency should be like of a thick batter, but still thin enough to pour without clumping. It should slowly ooze to fill in the bottom of the waffle iron. If you need a spoon to spread it, it’s too thick. If it quickly fills, it’s too thin. Add milk as needed.

Follow your waffle iron’s directions. Use as little batter as you can while still filling the bottom. When it comes out, if the batter is right, it will be crispy on the outside and a little airy in the inside.

There’s so much butter, I don’t add more, but I get if if you want it. Add syrup, pecans, fruit or whatever floats your waffle!

Dawson’s Favorite Banana Chocolate Chip Muffins

It’s a great day for all of us when Jill makes these amazing muffins for Dawson. There are two uses for old bananas in our house. Most of them get peeled and put in the freezer to use in a smoothie. But some of them, the lucky ones, live to a ripe old age, and get privilege, nay, the honor, of being the start of Dawson’s favorite Banana Chocolate Chip Muffins. Old bananas, we salute you!

Ingredients

3 Ripe Bananas
cup Butter, Melted
1 tsp Baking Soda
¼ tsp Salt
½ cup White Granulated Sugar
1 Egg, Beaten
1.50 cups All Purpose Flour
½ cup Chocolate Chips (More does’t hurt – make it a rounded 1/2 cup!)

Directions

Preheat oven to 350 (I prefer 325 convection), and spray muffin pan with oil.

Melt butter in Microwave. Let it cool for a minute or two.

Add bananas to the buttery goodness.

Mash until smooth.

Mix in baking powder, vanilla, beaten egg, and salt.

Stir in sugar and flour.

Stir in chocolate chips.

Using a spoon, get enough batter to make them 2/3 to 3/4 full (12 muffin cups sort of evenly), and scrape into muffin pan with small spatula.

They are ready to go into the oven!

Bake for 20 minutes at 350 (or 325 Convection), take out when it looks perfect and a butter knife comes out clean!

Biscuits with Black Pepper and Cheddar Cheese (or without!)

The Arkansas kid in me still loves biscuits. I have tried a variety of recipes, but now I have the one I’m sticking with.  Yes, it has an obscene amount of butter in it. But maybe you just shouldn’t worry about it for this one thing? I adapted it from Joanna Gaines Magnolia Table cookbook, and I just love it. The black pepper and cheddar cheese make them savory additions to breakfast, brunch, or dinner. You can make the dough ahead and cut the biscuits up to 3 days ahead, then pop them in the oven when you absolutely need to have them. I think you’ll love them!

Ingredients

4 cups All Purpose Flour
4 tbsp Baking Powder
1 tsp Baking Soda
1.50 tsp Kosher Salt (or 1 tsp regular salt)
2.50 Sticks Cold Salted Butter, each stick sliced into 8 pieces then quartered
2 Eggs, beaten
1.50 cups Buttermilk
1.50 cups Cheddar Cheese (or mix of Cheddar and Parmesan)
2 tbsp Black Pepper, Course Ground

Directions

Mix together all dry ingredients.

Add cold butter pieces.

Using a pastry blender (or a couple of forks if you don’t have that), blend the butter into the dry ingredients until the butter is in pea-sized pieces.

Add in shredded cheese and black pepper and stir in.

Add beaten eggs and stir in.

Add buttermilk and stir in, then mix with hands. It should be sticky, but not wet. Add flour or buttermilk to dry out or moisten. Refrigerate from 1 to 24 hours.

Spread some flour on a clean surface. Take dough out of the fridge and flatten with hands until you have a circle/square/rectangle/odd shape that is a little more than 1/2 inch thick.

Cut with biscuit cutter/glass/measuring cup/knife.

Cook at 400 degrees for 15-20 minutes, until tops are golden brown.

Take out and serve immediately! We you see how much butter goes into these, you know you don’t need to addd butter. But just a little bit won’t hurt, will it?

Pizza with Homemade Pizza Dough

Pizza Night is a big deal in our house. And you can buy dough at Trader Joe’s or your supermarket, and it’s just fine. But why settle for just fine, when making great pizza dough is so easy to do! And when people ask if you made the dough yourself, you calmly answer, ‘Why yes I did.” It feels good.

You need at least 90 minutes of time, and preferably two hours, but 90% of that time is waiting for it to rise. Try it out!

Ingredients

4 cups White FlourIf you want to get fancy, you can use the Italian 00 flour, which is much softer and will impress your friends who know pizza. I like to substitute 1/2 cup whole wheat flour, as I think it gives the dough some nice rustic appeal.
2 tsp Kosher Salt
1.50 tbsp Active Dry Yeast(Equivalent to two packages)
1.25 cups Warm Water
1 tbsp Olive Oil
Tomato/Pesto/BBQ SauceYou choose!
Mozzarella and Parmesan Cheese
Awesome Pizza Ingredients

Directions

Mix Warm Water with yeast. Let sit for 5-10 minutes until bubbly.

Mix Flour and Salt.

In a Kitchen Aid Mixer, or with a spoon or with your clean hands, mix, then knead the flour with the yeasted water. Do this for 5 minutes in the mixer or at least 7 minutes by hand. I prefer kneading it, as my hands can feel the dough when it starts to soften up and become more pliable. Knead it for another minute after you feel that change, and you’re good.

Separate into two or three dough balls. Two makes two 12-inch pizzas. Three makes three 8-10 inch pizzas.

Let rise for at least one or two hours. Some ovens have a “proofing” mode, where you can set the temperature to 90 degrees or so. Otherwise, just cover with a cloth in the warmest place in your kitchen and let rise. It should double in size.

About an hour before you are ready to start putting those pies in the oven or Big Green Egg, start the oven at 550 (or as hot as yours will go) and put the pizza stones in there. If you have multiple pizza stones, they work great on the different levels of the oven. Also, if you have a convection oven, that works best.

I’m working on using my gas grill too, and I hope to update you on that soon.

Start in the middle and press out until you have a nice circle, or something that approximates a circle, or some kind of amoeba-like crust that will taste wonderful. 1/4 of an inch is a good thickness target – as that allows some rise an those nice bubbles in the oven. If you want it super thin, roll out with rolling pin to about 1/8″. Or, if you’re really good (I’m not) toss it and make it the artistic way!

Cover with your favorite sauce, cheese, and toppings (keep it light – pizza is not meant to be overloaded) ingredients, bake at 550 degrees ((or the highest your oven will go) on a pizza stone for 6-8 minutes, and you are ready!

One more note – there is always a debate about how to keep pizza dough from sticking to the stone. Cornmeal is a favorite answer, but it’s not my answer. Parchment paper. After you roll out the dough, put it on parchment paper and then add the ingredients. When you are ready to bake, slide the pizza WITH THE PARCHMENT PAPER STILL ON THE BOTTOM, into the oven. I take out the parchment paper after 2-3 minutes, it will be brown on the edges, and then the pie loses its stickiness and can be easily moved around on and eventually removed from the stone.

Pastrami Cheeseburgers

Guy Fieri from Diners, Drive-Ins, and Dives loves a good burger, and so do we! His favorite burger is the Pastrami Burger from a place called Hodad’s in San Diego. Mike Hardin , who ran the place until he recently passed away, had a tatoo of Guy on his thigh. I’m not going to do that. But I’m still a fan, and we will go there one day, have this burger and meet his son who’s now running the place. In the meantime, it’s a good day when pastrami cheeseburgers are happening in my house.

One of the keys to recipes is the amount of mustard you put on the bottom bun of each burger. It’s a lot! But when I was serving these up to my son Ryan and his friends, his friend Dusty said, “Mike. I now know what you’re superpower is. It’s mustard. Nobody else knows the right amount of mustard like you do.” So I got that going for me. Which is nice.

Ingredients

¼ lb hamburger per person. 85/15 is the leanest you should go.I usually make 1/3 pound burgers, but there's so much pastrami, a thin patty works out great.
¼ lb Beef Pastrami, per person. Thinly sliced from your favorite deli. Get more than this, and make some great sandwiches this week.
1 Slice cheese per person, swiss is nice here, but choose your own.
½ Onion, sliced, per person
1 Soft Hamburger Bun, per person. Brioche buns are hot right now, but find a good one.
Mustard, Yellow, Dijon, Spice – the one you like the most with pastrami or a burger.
Ketchup
Soy Sauce
Montreal Steak Seasoning

Directions

Season burgers like you season steaks. Soy sauce and Montreal Steak Seasoning.

Slice onion thinly and saute in olive oil until nice and browned. Take them out and set aside.

Grill the burger to your satisfaction. I’m a medium well to well done burger guy. Please don’t judge. I like the outdoor bbq grill more, but you can use a griddle or cast iron skillet indoors. That’s how Hodad’s does it.

Just before the burger is done, heat the thinly sliced pastrami. I do this in the cast iron skillet with a tiny bit of oil.

Add cheese to the burger, close the lid, and let it melt for no more than 1 minute.

Assembling the burger

Start with the bottom half of the bun. Put twice as much mustard as you usually put on a burger. Twice. May be 2 and a half times. Go big.

Put the burger with cheese on the mustard-laden bottom bun. Add enough pastrami to make a decent-sized pastrami sandwich. Not a NY Deli sized pastrami sandwich, but enough to be good by itself.

Add the grilled onions. This is a big burger!

Put a normal sized amount of ketchup on top, place the bun, slice in half if you want, and you are ready to go!

Lemon Chicken

This is another recipe I grew up with. I remember watching Mom make it all in the pan, and it was soft and buttery chicken that was filling and wonderful.   She would serve it with her brown rice recipe, making quite a meal. I was a pretty lucky kid. This is now my son Dawson’s favorite chicken recipe.  He asks for it when he has friends over for dinner!  I could not ask for higher praise!

Ingredients

1 cup White Flour
2 tsp Salt
2 tsp Black Pepper
2 tbsp Italian Seasoning
2 lbs Boneless chicken breasts or cutlets
2 cups Chicken Broth
3 Lemons, quartered
Olive Oil and Butter
2 tbsp Parsley

Directions

Sprinkle salt and pepper, or seasoned salt, on the chicken as you prepare everything else. This dry brining time makes a difference every time you cook chicken. It’s better with 5 minutes of it, and way better with an hour or more.

Mix Flour, Salt, Pepper and Italian Seasoning.

Take chicken pieces and roll in flour mixture.

Heat large skillet, add 2 Tbsp Butter and 2 Tbsp Olive Oil. Add chicken to hot oil/butter. Saute until brown on each side – about 5 minutes on each side. Remove and set aside.

Deglaze pan by adding all broth and stirring, scraping all chicken pieces off the bottom. Heat the mixture.

Return chicken to the hot broth. Squeeze 6 quarters of lemon juice into it. Leave some of the rinds in there – they add to the flavor and make the dish look way better. Sprinkle with parsley. Simmer. Turn every 5 minutes.

The chicken is ready when the chicken reaches 165 degrees. Use a Thermapen or other meat thermometer.

Take the chicken out. If you want to thicken the broth, take out a cup and mix in 1 Tbsp of Corn Starch, mix well and return to broth.

Serve the chicken on a plate, spoon some broth over it, and squeeze a little more lemon on it. Dawson likes to have it with a “sidecar” of the thickened broth.

Gramma Sue’s Spaghetti Sauce

I used to host Pasta Feeds before doing triathlons. (By “doing” I mean surviving. I didn’t care what place I finished but I did like that I could finish!) It was one of the only good reasons I had for doing triathlons! I usually finished in the top 10% in the swim, top half in the bike, and bottom 0.1% in the run. Oh well – At least I got to make Mom’s spaghetti sauce for my friends the night before.

I remember coming home from swim practice in high school and eating 4 helpings of this. Those were the days! This old fashioned hearty tomato sauce is simple to make. It can simmer all day and make the house smell wonderful. And it’s great with leftovers. Thanks Mom!

Ingredients

1 lb Ground BeefYou can also use Italian Sausage, or some combination of both.
1 Onion, chopped
1 Large Can Crushed Tomatoes (28 oz)
12 oz Tomato Paste
12 oz Water or Red Wine
6 Garlic Cloves, chopped
1 tsp Oregano
1 tsp Italian Seasoning
1 tsp Salt
1 tsp Black Pepper
2 tbsp Dried Parsley
0.50 tsp Fennel Seed (or pinch of ground fennel)*(You don't have to have this, but for me it's a really nice addition. Fennel is a key ingredient in most Italian sausages, and it blends in nicely to this sauce.)

Directions

Brown Ground Beef and onions together, adding garlic in the last two minutes. Drain, or for a little more flavor, just spoon out the excess fat.

Add everything together (Godfather style) and simmer for at least one hour.

Oatmeal Chocolate Chip Cookies

It’s not often that a dad gets to be a hero. But every time I get two sticks of salted butter out of the refrigerator and ceremoniously lay (or for more effect, slap) them out to soften, there is an audible cheer in the house. They’re that good. And it’s just the old (not the updated!) version of the Quaker Oats recipe, with a few ever so slight changes.

So here’s the thing. If you buy a cardboard cannister of Quaker Oats, you still find the recipe for their “Vanishing Oatmeal Cookies” on the underside of the lid. But don’t be fooled. It’s the updated version, with way less butter. As the drive-in movie review columnist Joe Bob Briggs says, “Communist Alert!” As any chef, more butter is better. So let’s stick with the old recipe, get rid of those pesky raisins, and add some chocolate chips. Here’s my recipe.

Ingredients

3 cups Quaker Oats (Old Fashioned are the best)
1.50 cups White Flour
¾ tsp Kosher Salt
1 tsp Baking Soda
1 tsp Cinnamon
1 cup Butter (Two Sticks), Softened
1 cup Brown Sugar
½ cup White Granulated Sugar
2 Eggs
1 tsp Vanilla
1 cup Chocolate Chips, Semisweet

Directions

Mix Dry Ingredients (First Five) in a bowl.

In a mixer, mix butter and sugar. Beat until smooth. Mix in eggs and vanilla.

Mix wet and dry ingredients in one bowl.

Add chocolate chips and mix in.

Bake for 10 minutes in 325 degree convection oven, or 350 degrees regular oven. Removed when browned.

Cool on rack, then serve while they are still warm.

If you want to save dough, wrap in wax paper, then place in plastic bag. Thaw for at least 30 minutes before cooking.

Jilly’s Mini Pumpkin Pies

Once the Halloween Tree goes up, it’s time for Jilly’s Mini Pumpkin Pies! My wife Jill is an inventor. She has invented so many things over her life, the smartphone for example. She was way ahead of Steve Jobs. In 2003, long before the first iPhone in 2007, when she was holding her Treo 300 Palm Pilot in one hand, and her cell phone in the other, she knew they should be merged as one. We don’t make a lot of money off of her inventions, but we enjoy it when someone else finally figures it out.

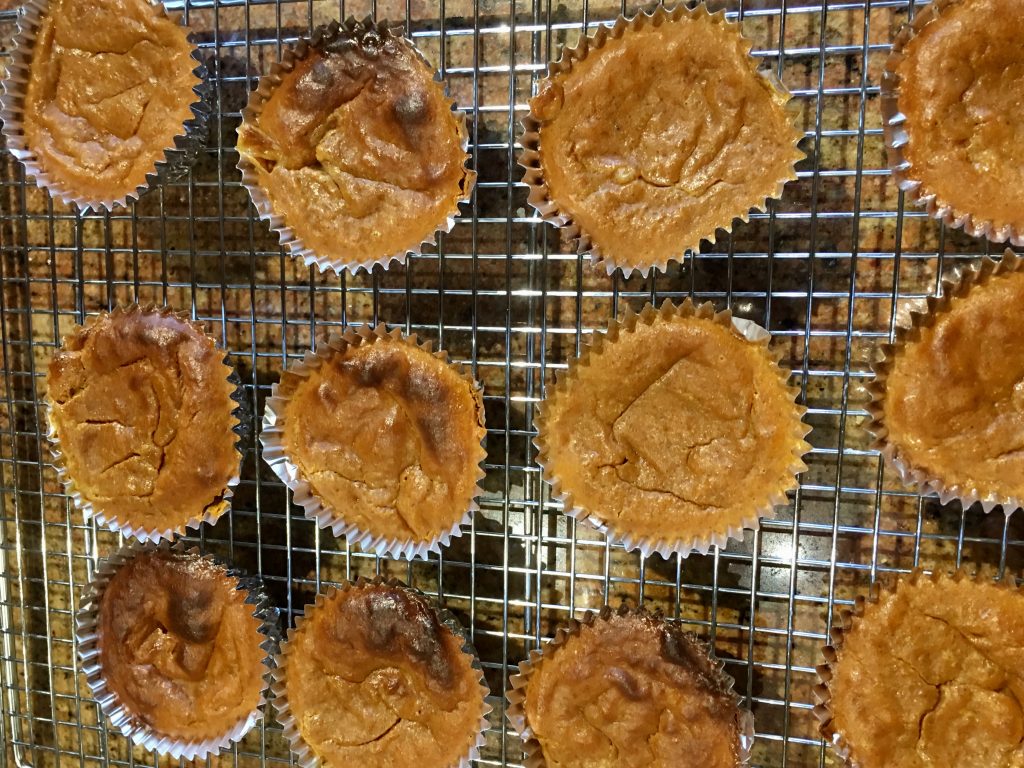
These mini-pumpkin pies may be one of her greatest inventions. A friend of ours published the recipe in a cookbook, but did not give Jill credit. She’s OK with that, but come on! I bet we make five or six batches of this every fall. They’re a great dessert, breakfast, snack, or whatever you want them to be.

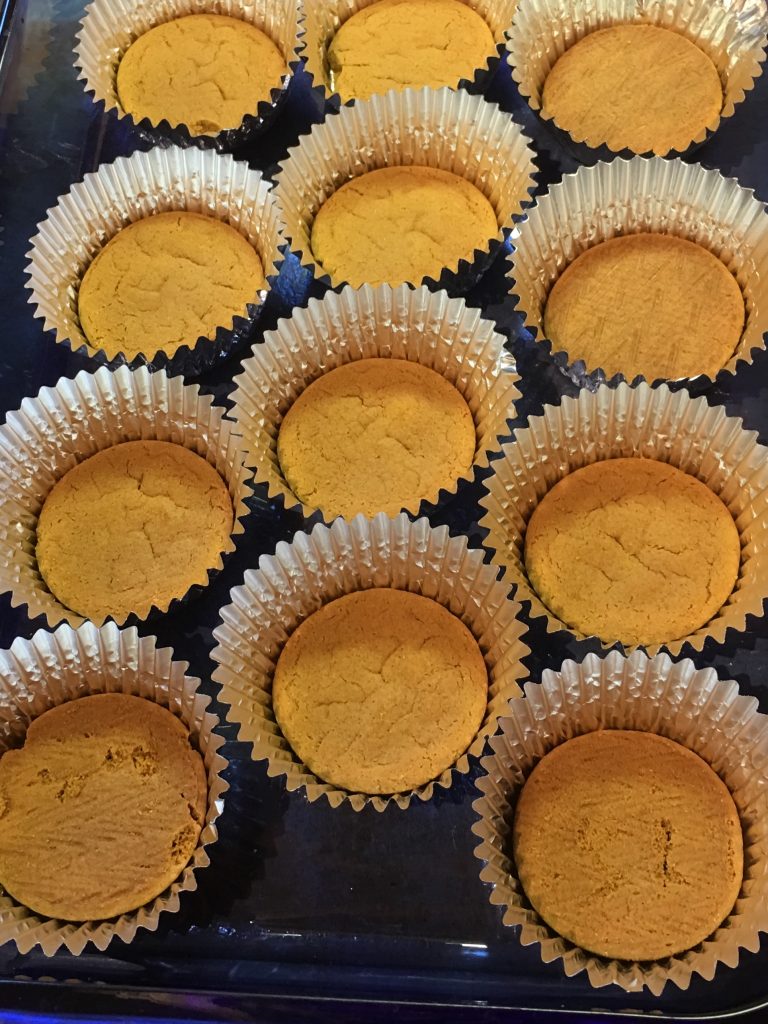
And here’s how I eat them. I peel away the muffin liner, hold the mini-pie in my hand, put whipped cream on top of that, and eat it in three bites. Let us know what style works best for you!

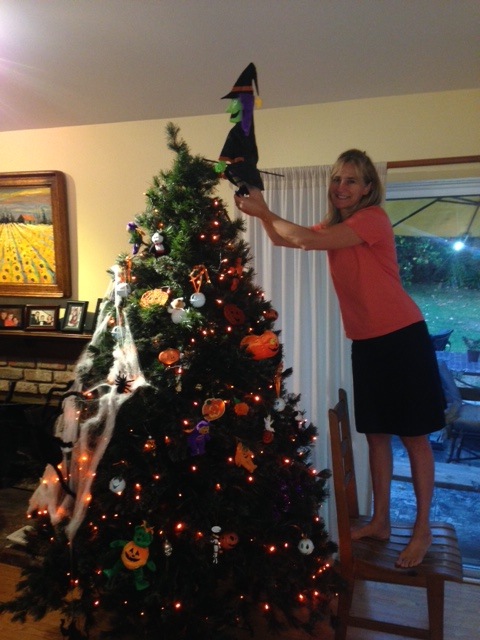
Oh! And that picture below? That’s Jill getting the honor of putting the witch on top of the old Halloween Tree! Wait. You don’t all do that? Our holiday tree comes out in October and becomes a Halloween Tree, then a Thanksgiving Tree, then a Christmas Tree. And if I had it my way, it would stay up the whole year long, arborally celebrating the different holidays. Alas, like many things in my home, I don’t get it my way, and I live with nine, sad, holiday treeless months. But I can’t wait for October!

Ingredients

1 14.5 oz Can Pumpkin – We Like Libby’s
1 Can, Sweetened Condensed Milk
2 tsp Pumpkin Pie SpiceWe think McCormick's is the best brand for this
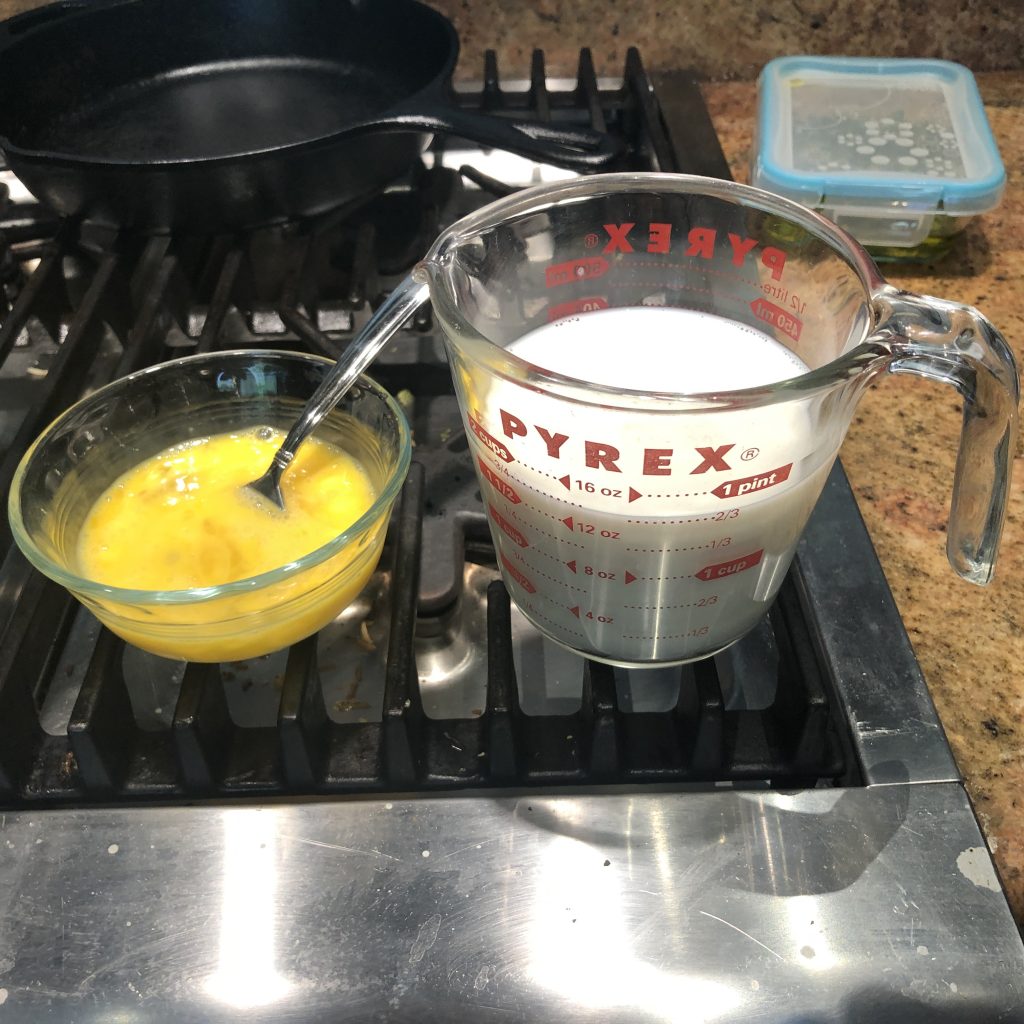
2 Eggs
28 Ginger SnapsThe Nabisco Ginger Snaps are perfect.
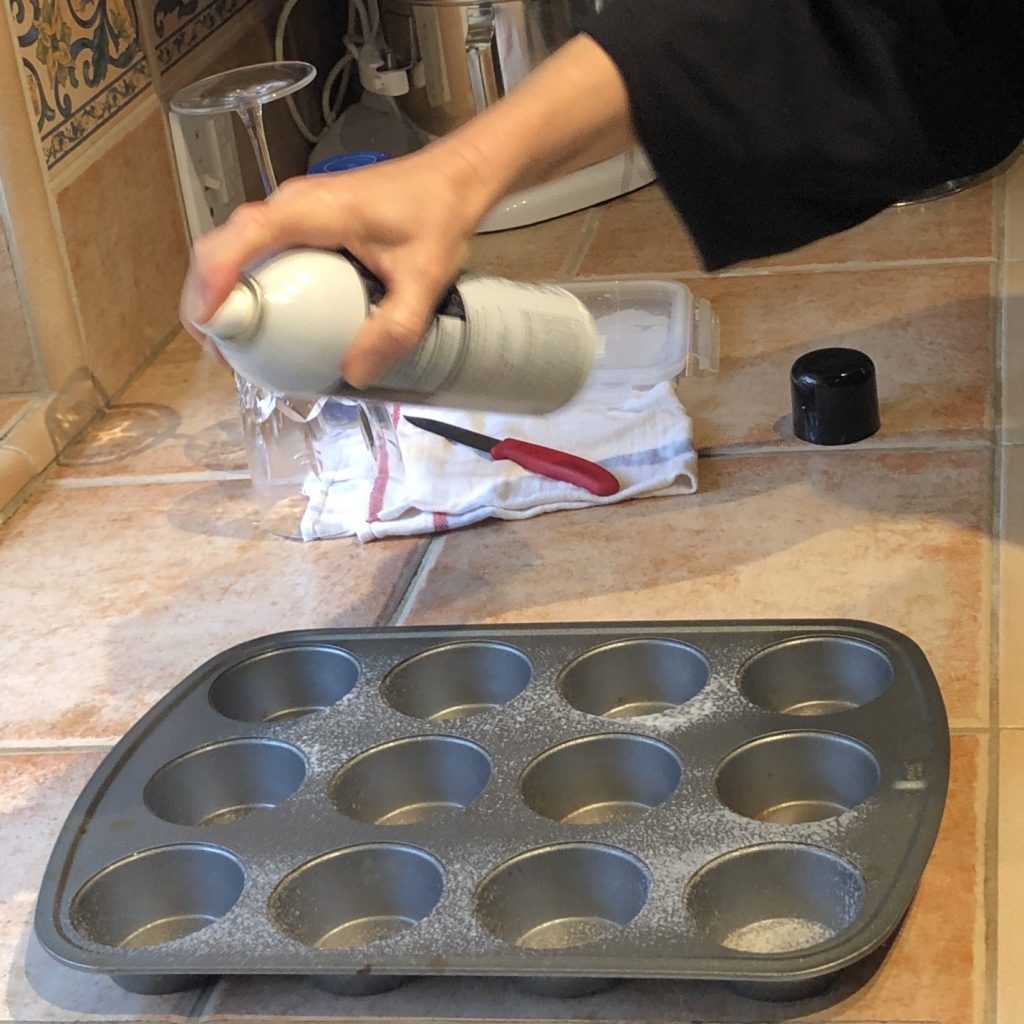
Whipped CreamI usually like homemade, but the spray can works so well here.

Directions

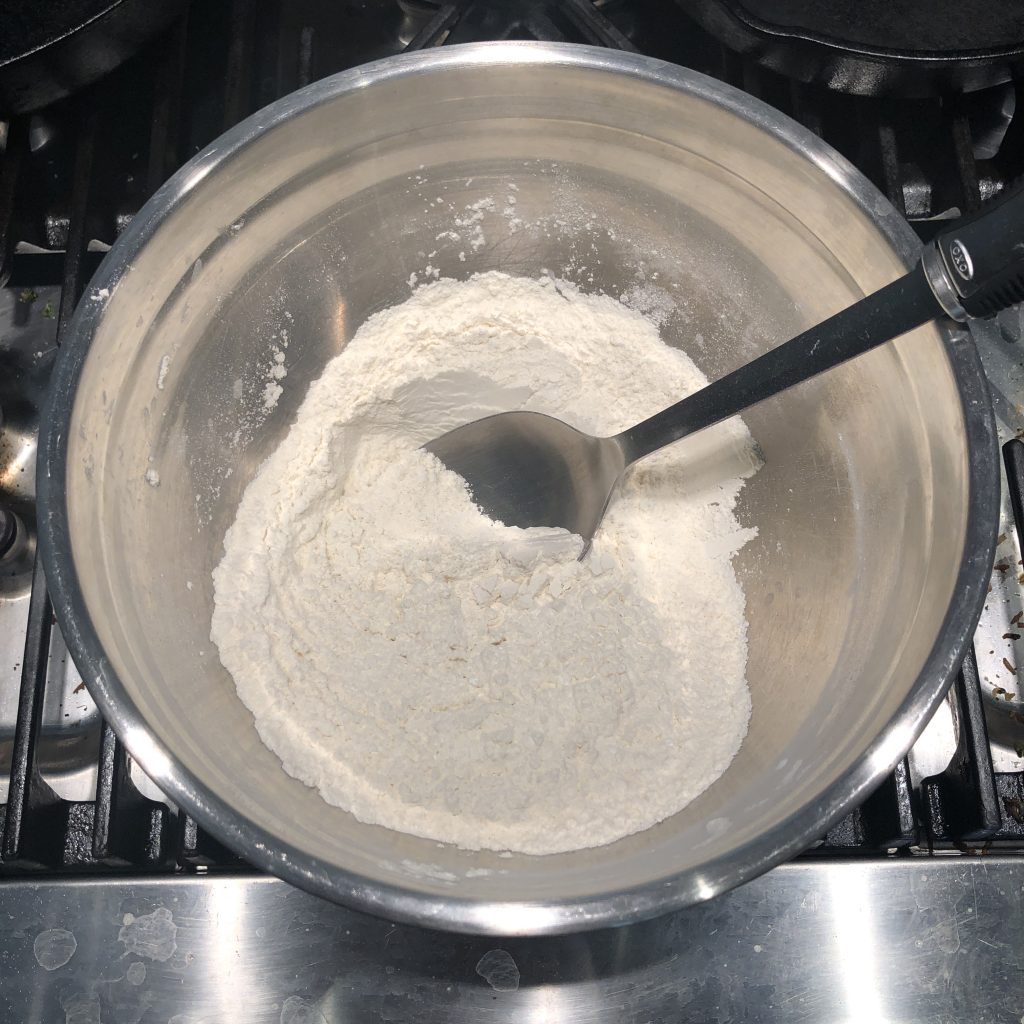
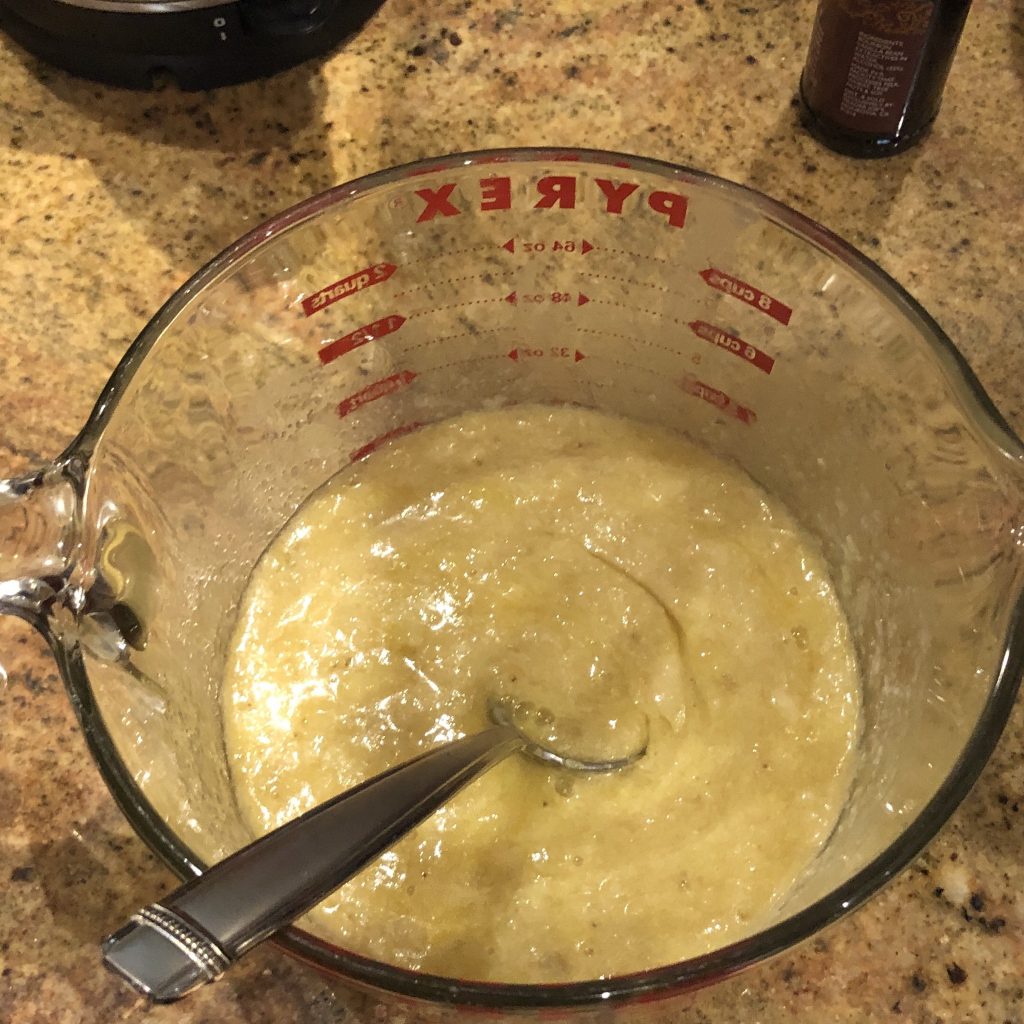
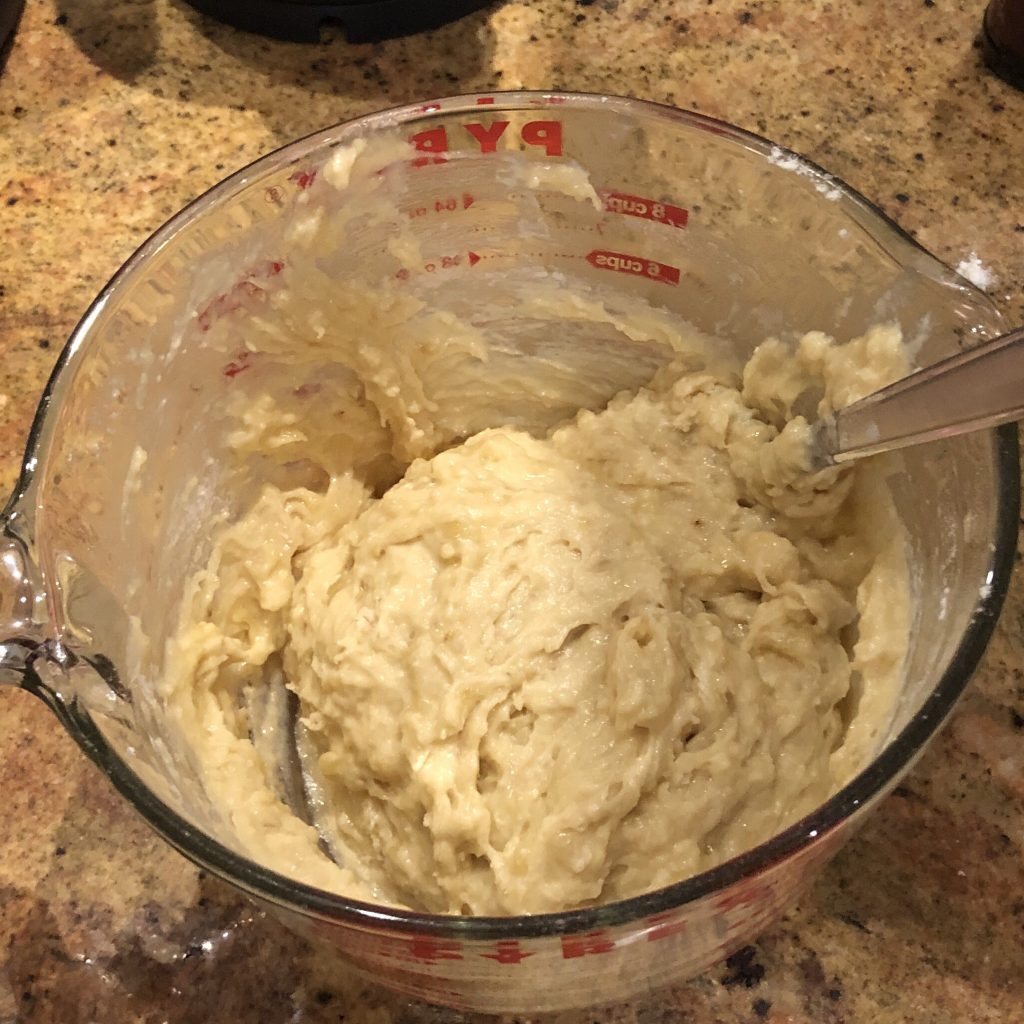
Mix pumpkin, sweetened condensed milk, pumpkin pie spice, and eggs in a mixer or with a spoon.

(Note: If you want to make a big pie, just pour this into a pie crust and bake at 425 degrees for 15 minutes, then 350 degrees for 30-40 minutes, until a knife/toothpick comes out cleanly.)

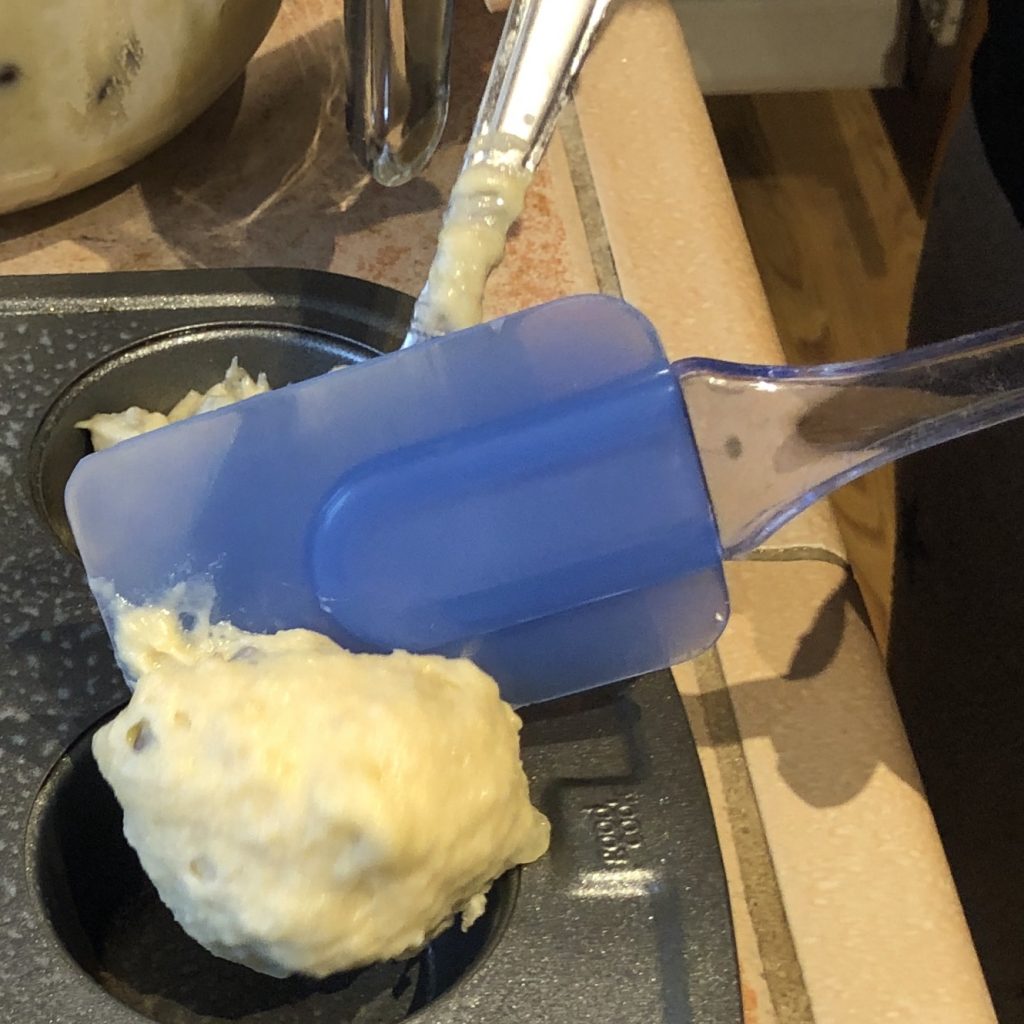
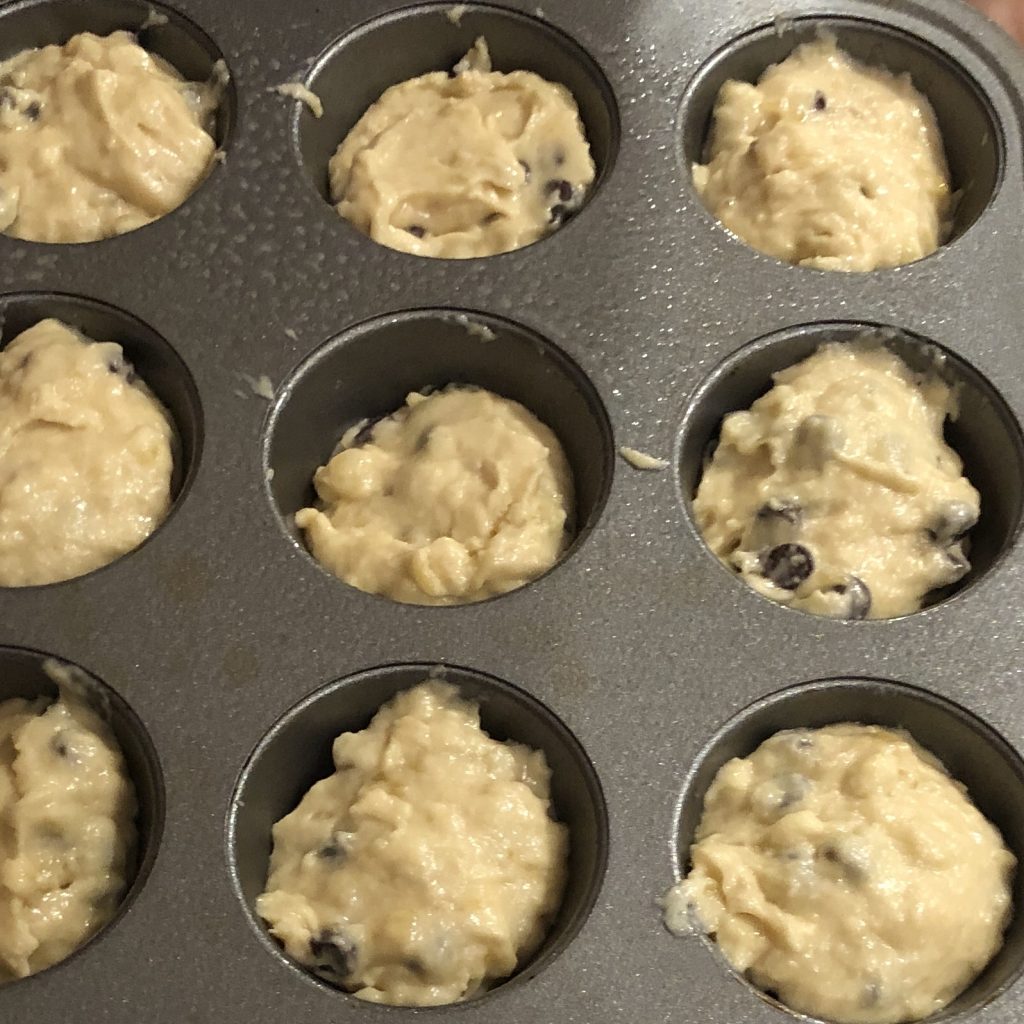
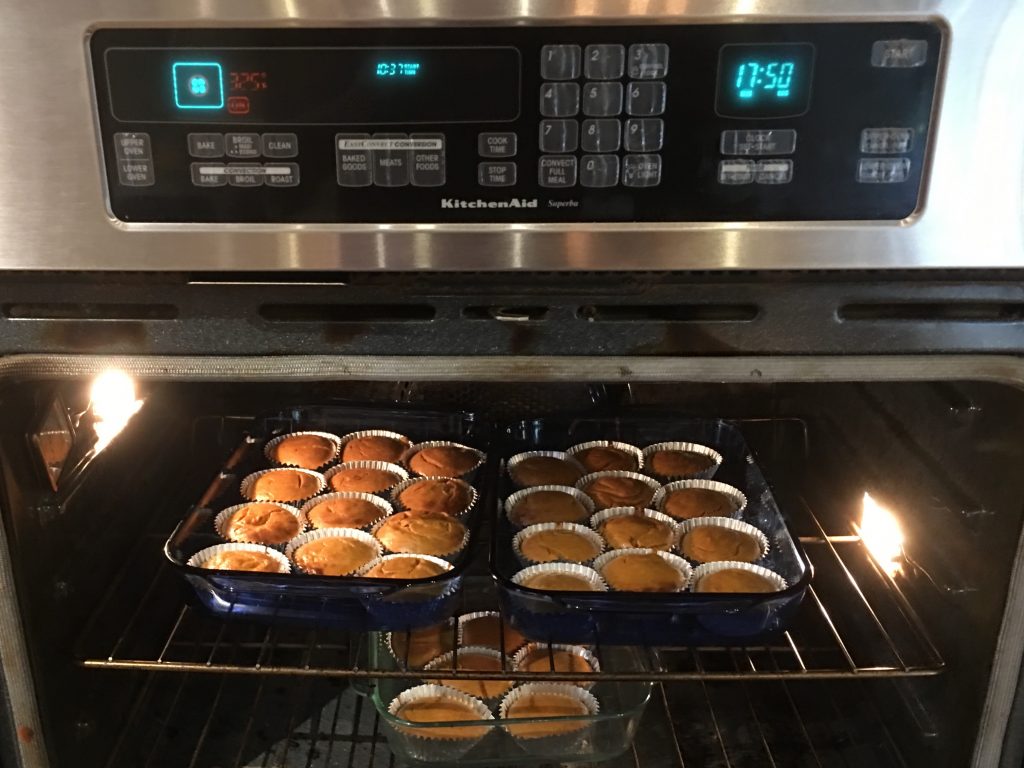
Put a Gingersnap in the bottom of 28 foil cupcake cups arranged on 8.5 x 13 casserole dishes. Put 1/4 cup mix in each cupcake cup.

Bake at 425 for 15 minutes, then at 350 for 20 minutes.

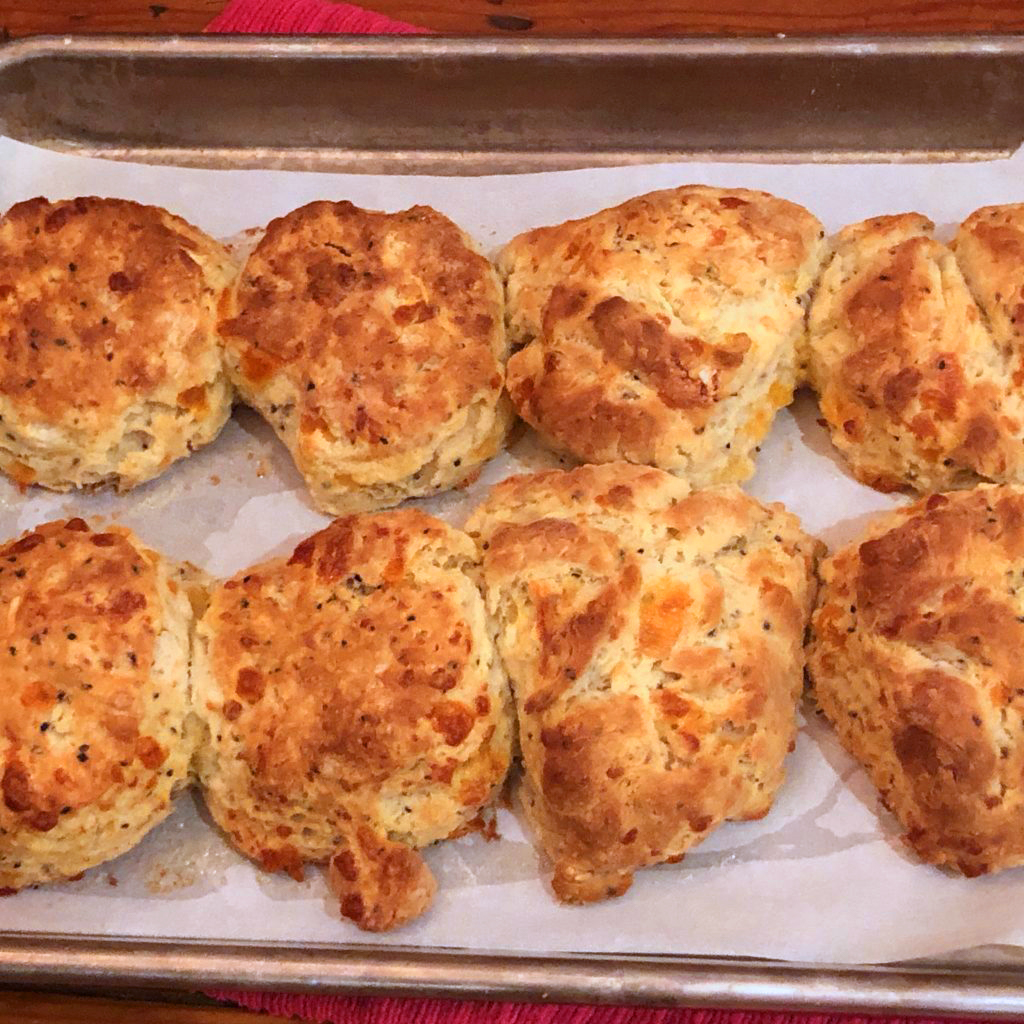
Let cool. Then serve with whipped cream!

Gramma Sue’s Rice Pudding

Every time my son Ryan (born in 1990!) goes to Gramma Sue’s house, or whenever she visits us, the first order of business for her is to make Rice Pudding for Ryan. Now Dawson is in on it too. It’s a great tradition, and a fantastic dessert. Also, it’s a superb breakfast reheated. Serve it whipped cream and you’ll be pretty darn happy.

Ingredients

1.75 cups Water
2 cups Whole Milk
½ cup Converted RiceI am going to try this recipe with some jasmine rice, as I don't have converted rice around the house.
2 Eggs, beaten
½ tsp Salt
cup Sugar
¼ cup Raisins (more or less, to taste)
1 tsp Vanilla
Cinnamon

Directions

Preheat oven to 350 degrees.

On the stove, bring water to boil; stir in rice and salt. Cover and simmer 30 minutes until water is absorbed.

Add milk and boil gently, stirring occasionally, until mixture thickens slightly, about 5 minutes.

Combine eggs, sugar and vanilla in bowl. Gradually stir into rice mixture; mix well.

Pour into a greased 1-1/2 qt. (3 qt., if doubled) casserole. Stir in raisins and sprinkle with cinnamon.

Bake uncovered, for 45 to 50 minutes. Test for doneness by inserting a knife – if it comes out clean, you are done!

Grilled Chicken with Mexican Marinade

If I can find a good Carniceria or Grocery with high quality marinated chicken using a recipe like this – I’m buying!  But it’s not hard at all to make your own, and you will like the results.

Ingredients

4 Chicken Breasts, Boned and Skinned or 8 boneless chicken thights
¾ cup Olive Oil
¾ cup Orange Juice (Juice from 2 oranges is even better!)
3 Limes, Juiced
3 Lemons, Juiced
2 tbsp Paprika
8 Cloves Garlic, Crushed (or 2 tsp minced dried garlic)
2 tsp Cumin
2 tsp Oregano
1 tsp Salt
1 Onion, chopped1 large or 2 small

Directions

Mix all marinade ingredients together. Set aside 1/3 of the mixture to use after the chicken is done.

Marinate chicken in remaining marinade (with the fruit rinds!) for at least 1 hour. Overnight is excellent. A good ziplock bag works here.

Remove chicken from marinade. Drain. (You can get flame-ups if you don’t drain before placing on the grill. I learned that the hard way.)

Cook chicken on a hot grill. Turn at least four times to get good grill marks on both sides. Take off the grill as soon as the internal temperature reaches 165 degrees (breasts) or 175 for thighs.

Plate the chicken or place it in some kind of dish, spoon the reserved marinade over it, and cover with foil until you are ready to serve. It will hold for 20-30 minutes. As always, for safety, don’t let the temperature drop below 140 degrees.

Dawson’s Roasted Potatoes

These are the best roasted potatoes I’ve had.  It’s adapted from a recipe in my favorite cooking magazine, Cooks Illustrated, and its fantastic.  My son Dawson loves these and will go for seconds and thirds.

This recipe is not quick.  You are making a commitment when you cook them, but it’s worth it so you can achieve hero status.

Ingredients

5 lbs Potatoes (new, Yukon Gold, Red, and Finger Potatoes are all excellent)Or however many pounds you want to cook. I think it's 2/3 pounds per person. Disclaimer: I always make too much food.
Olive Oil
Salt
Pepper
Herbes de Provence or Italian Seasoning

Directions

Start boiling a large pot of water – enough to cover the amount of potatoes your are cooking. Preheat oven to 425.

Cut potatoes into bite size pieces.

When the water is boiling, place potatoes in the water. Let it come to a boil again, then allow to boil for one minute. Drain.

Place potatoes back in the same pot on medium heat on the stove. Stir occasionally for 3-5 minutes. (You are getting moisture out of the potatoes so they will crisp up better).

Add 1/4 cup olive oil, or other fat of your choice. Butter could be excellent here. Cooks Illustrated recommends duck fat. Stir, then pour onto cookie sheet (or two), spreading into a single layer.

Add salt, pepper, and herbes de provence. I’d recommend 2 teaspoons of salt and pepper, and 1 Tbsp of herbs. Here’s the thing, and I’ve said this before, salt is underrated. You will add more later in the recipe.

Place in oven for 30 minutes. Take out and turn the potatoes, return for another 20 minutes. They should be brown on all sides now.

Take out, and put the potatoes back in the original pot. Add about 2 Tbsp olive oil, stir, put back on cookie sheet. You can hold them now until 10 minutes before you serve them. Taste for seasoning and adjust. (I always add more salt!)

Another easier way to do this is to take them out, spray them with olive oil, move them around on the cookie sheet, and cover the sheet with foil until you’re ready to put them back in and finish them.

When you are ready, place potatoes back in oven (still at 425 or for more speed, broil), and cook for 5 – 10 minutes. Serve immediately.