Eggplant Parmesan

B852E23A

This is Jill’s favorite dish that I make. Therefore, I make it a lot! A little marital advice from principalchef: when your spouse is nice enough to be clear about what he/she likes, try to do THAT as much as you can. Of course, if that something is a bit too much, then Meatloaf was right. Where was I? Oh yes – this is Jill’s favorite dish – she loves the non-fried eggplant slices, and the bread crumbs are incredible. The bread crumbs are like a dish by themselves! My thanks to Ina Garten for another great recipe!

Ingredients

3 Eggplants, Average size, not too thick or thin
4 cups Marina Sauce, Your Favorite Jar
0.75 cup Fresh Basil
1 lb Fresh Mozerella, Sliced and Quartered
1.50 cups Shredded Parmesan
1 French Bread Loaf (1-2 Days Old is Best)
8 Cloves Garlic, Peeled(We use at least 12, but we have garlic addiction issue in our house)
Olive OIl
Salt, Pepper, Italian Seasoning

Directions

Preheat oven to 400 degrees.

Take 3 eggplants and slice into 1 cm wide pieces (Ina’s tip: Cut the eggplant in half, lay on flat side, and cut safely and easily.)

Lay eggplant slices on cookie sheets covered with foil (you’ll need 3 1/2 sheets). Brush with olive oil and season lightly with salt, pepper, and Italian seasoning. Repeat on other side.

Roast eggplant at 400 degrees for 20 minutes. Turn over and roast for 15 minutes until there is some brown on top. Take out of oven and cool.

While eggplant is roasting, tear french bread and place in food processor. Add garlic cloves and give it a whir until it looks like bread crumbs.

Add 1/4 cup of basil leaves to crumbs.

Process again until you have beautiful basil-ly and garlicky fresh bread crumbs. Mix with 1/4 cup olive oil, and set aside.

In a deep casserole dish, start the lasagna-style layering. Start with 1/3 of the sauce and lay 1/3 of the eggplant on it.

Add 1/3 of the fresh mozzarella and parmesan. Note: If you to make it super cheesy – adding some shredded mozzarella works. It still feels very cheesy without it. Of course, if some cheese is good, then more cheese . . .

Repeat on for the second layer, but add the rest of the basil (chopped) to the top of that layer.

Add the third layer, then add enough bread crumbs to cover completely.

Cook at 400 degrees for 40-45 minutes (until the bread crumbs are brown and the sauce is bubbling) and you are set! Let it cool for at least 10 minutes (20 is better) and you are ready to serve!

Split Pea Soup

PeaSoup.PS

I’ve had this recipe for over 30 years, written on a note card. I can’t even remember where I got it. But I love it and it’s a staple in our house in the fall and winter. I serve it with my Irish Soda Bread recipe and it always feels like a wholesome, healthy, and very tasty meal.

Ingredients

2 tbsp Olive Oil
2 tbsp Butter
1 Onion, white, yellow, or sweet, chopped.
4 Carrots, choppedI love carrots and always add more – they add color and contrast.
4 stalks celery, chopped(More if they are smaller stalks)
3 cups Cabbage, shredded
1 lb Dried Split Peas
8 cups Vegetable Broth
2 cups Water(It's 10 cups of liquid – any combination of broth and water will do)
1 tsp Basil
1 tsp thyme
1 tsp Marjoram
½ tsp oregano
¼ tsp sage
¼ tsp tarragon
¼ tsp celery seed
1 tsp Salt (more if broth is unsalted)
2 tsp Pepper
Fresh Parsley or other fresh herbs for garnish, if desired

Directions

Heat butter and oil in large dutch oven.

Tip – drop a few pieces of onion in there when you add the oil and butter. Forget about it until you hear them start sizzling, then you can add the remainder. Great tip for multi-taskers!

Add vegetables (onion, celery, carrots, and cabbage) and sauté seven to ten minutes until soft.

Add broth, water, and split peas.

Add spices and stir in.

IMPORTANT NOTE: This is a a wide variety of spices, and I don’t keep all of them in my drawer. Don’t go out and buy the ones you don’t have. This recipe would be great with just salt and pepper. Use what you have. My last round I used salt, pepper, basil, oregano, sage, and tarragon. And it will be different next time!

After it gets to a boil, cover and simmer for 90 minutes, until the consistency is what you like.

BBQ Chicken with Balsamic Glaze

BBQ Chicken. It’s a pretty perfect food. The only food more perfect than BBQ chicken may be fried chicken. And I don’t have that perfected yet. But it will be mine. Oh yes. It will be mine.

Where was I? Oh yes, the virtues of BBQ chicken! You can serve it at a dinner, a lunch, a picnic, or anything, and if you do it right, it makes great leftovers. Don’t be that chef who cooks the chicken over a hot grill, ending with the outside burned and the inside raw. You’re better than that! Here’s my version.

Ingredients

Chicken
4 Chicken Thighs with Skin (my favorite, but use the pieces you like)(I put 4 here, but choose your number folks. Leftovers are always good!)
Seasoned Salt
¼ cup Balsamic Vinegar
Balsamic Glaze
½ cup Balsamic Vinegar
cup Brown Sugar
2 tbsp Dijon Mustard
½ tsp Salt

Directions

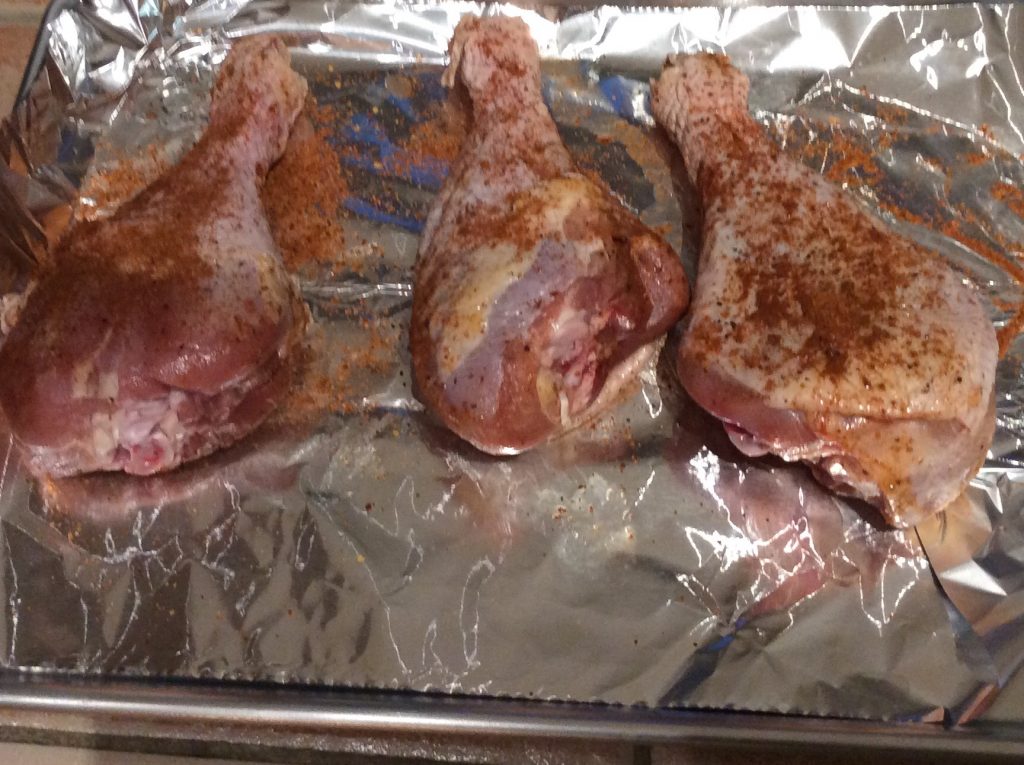
Season chicken liberally on both sides with Seasoned Salt. Sprinkle balsamic vinegar on them and place in plastic bags for 1 to 8 hours.

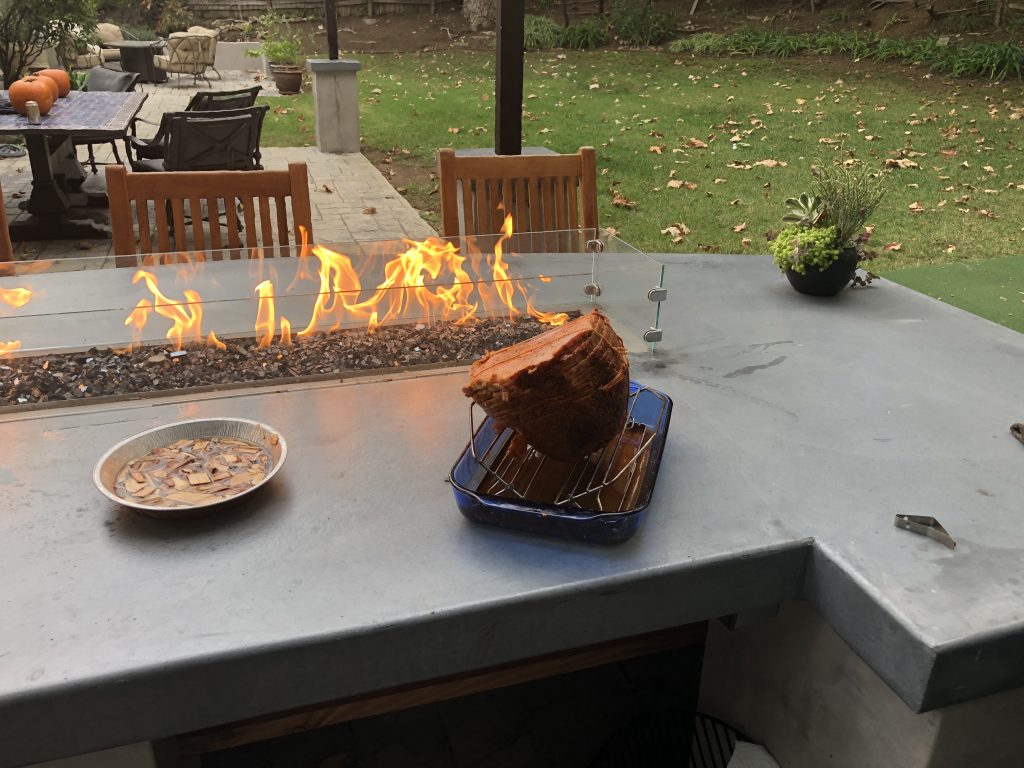
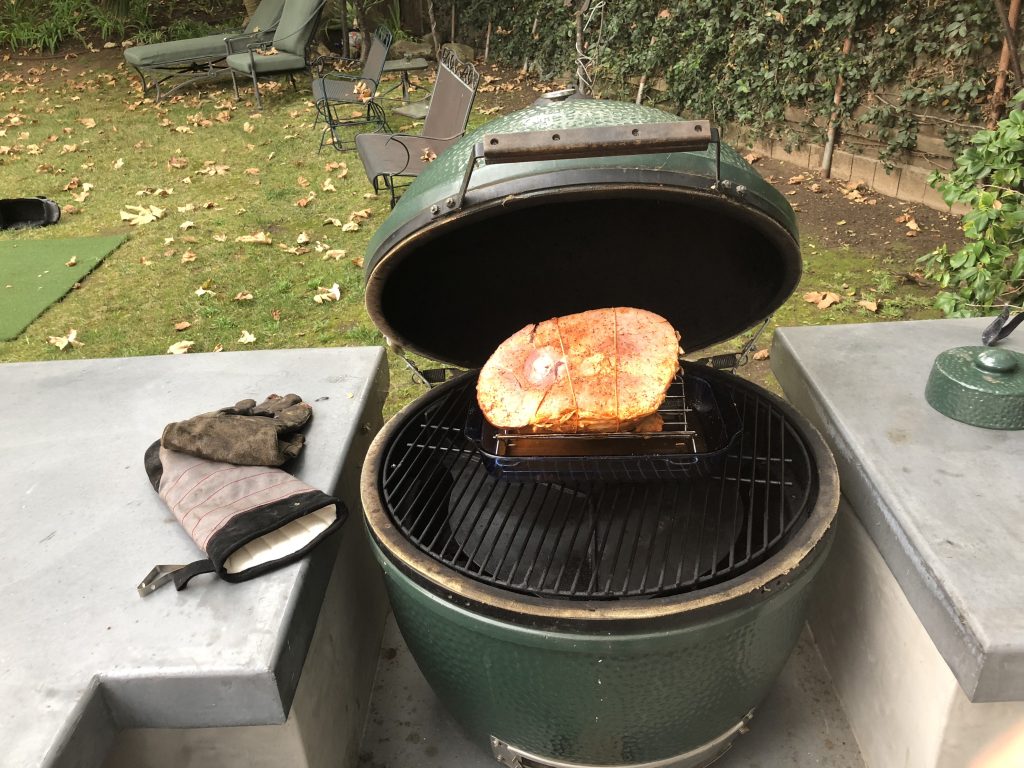
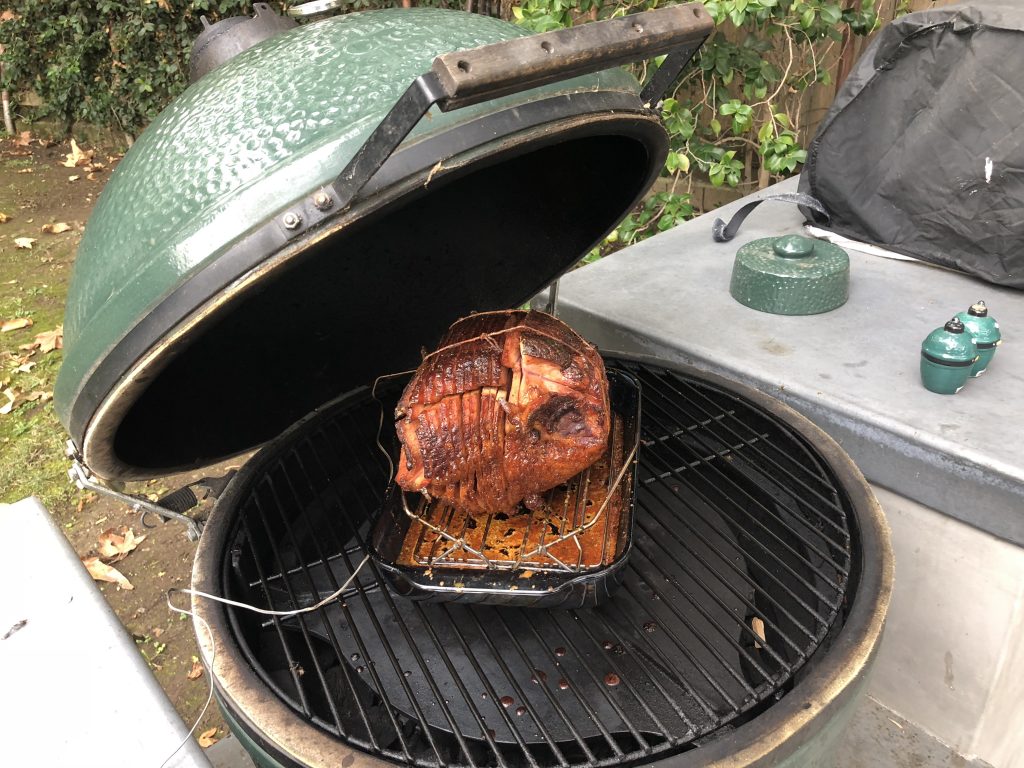
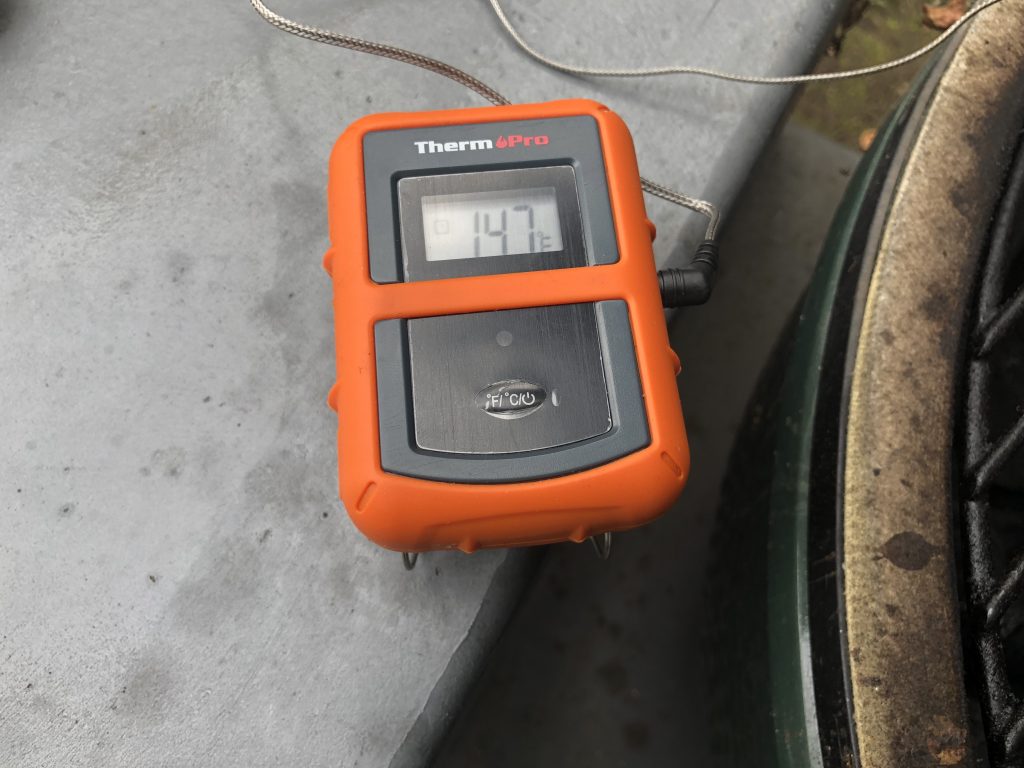
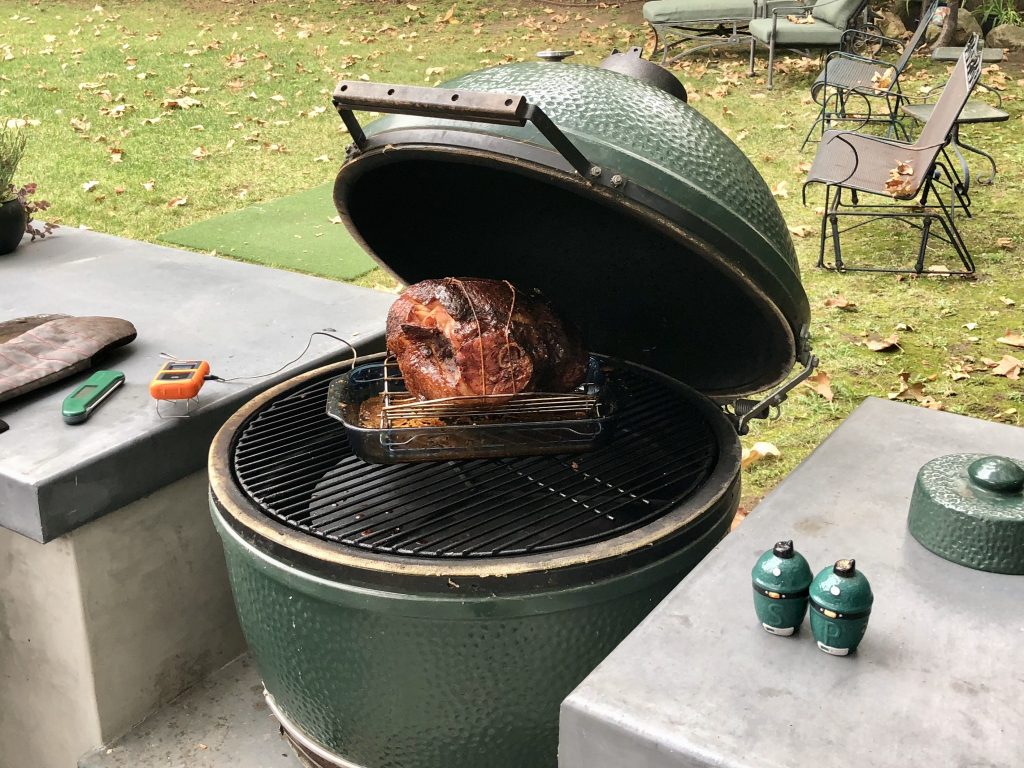
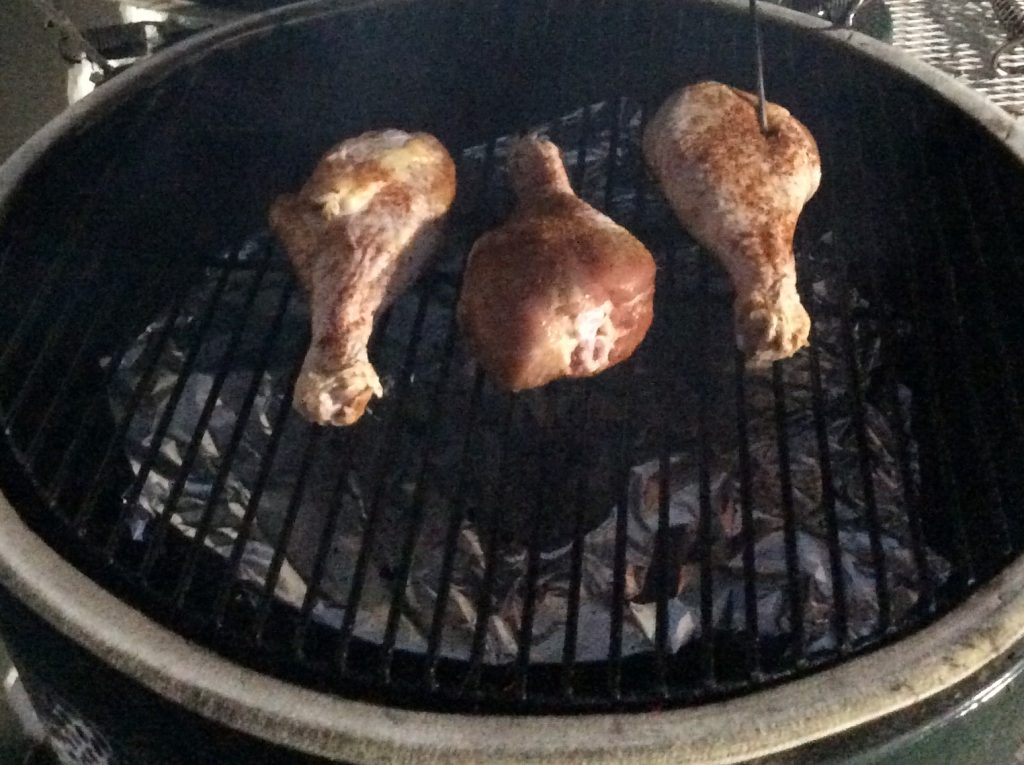
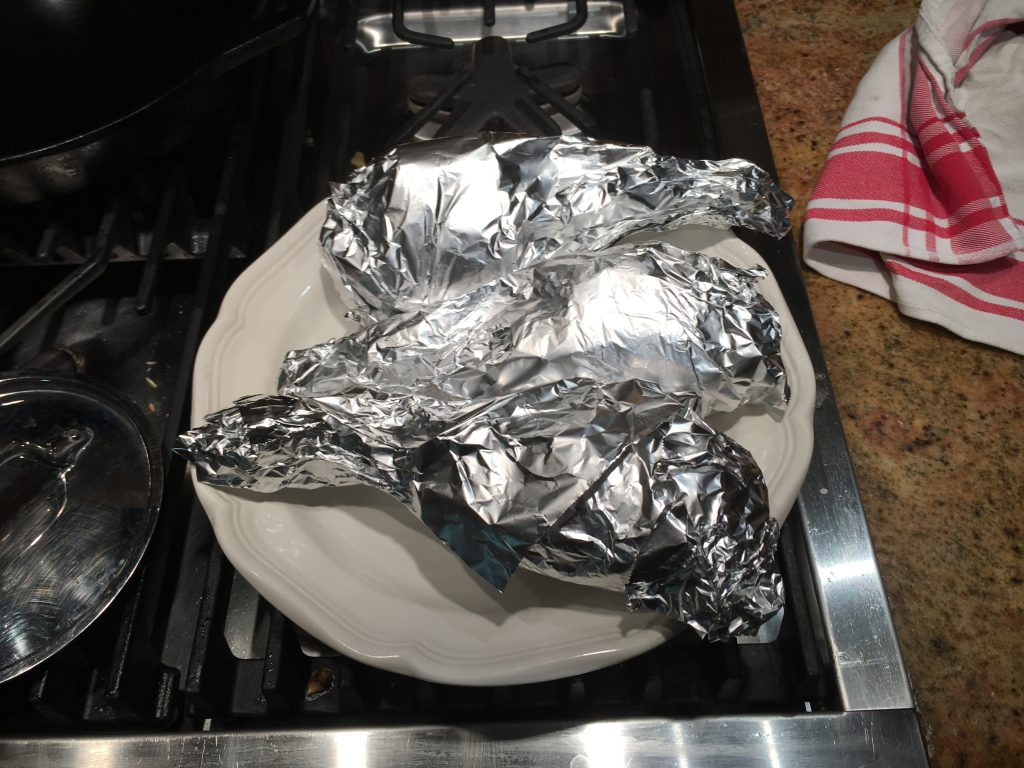
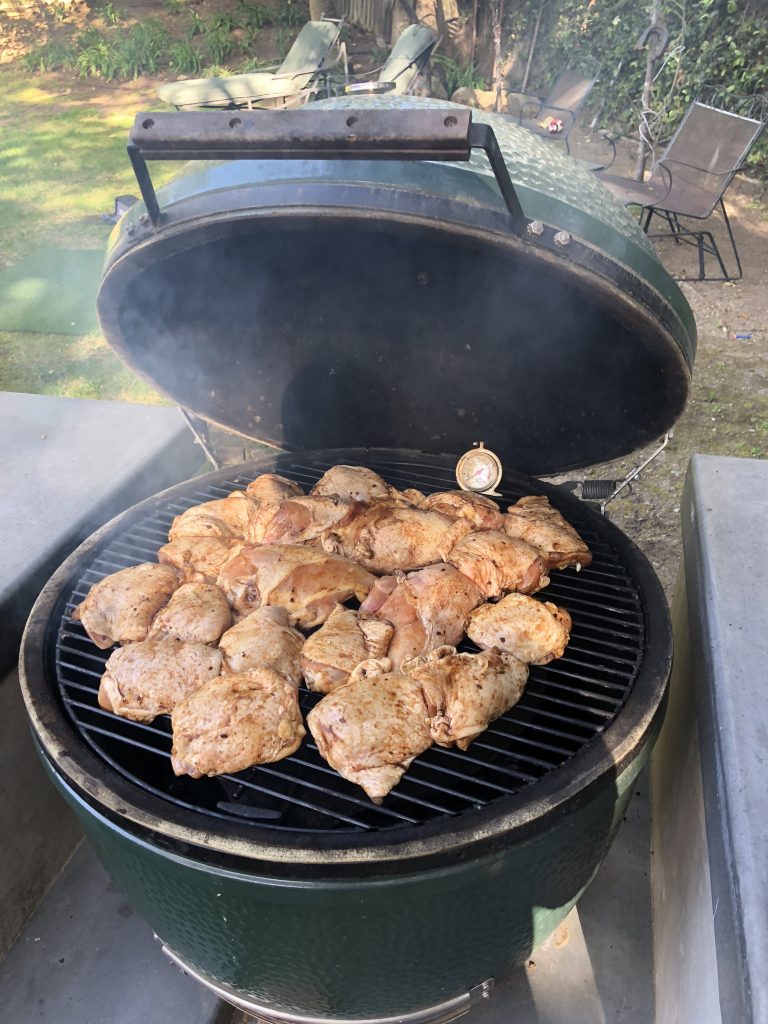
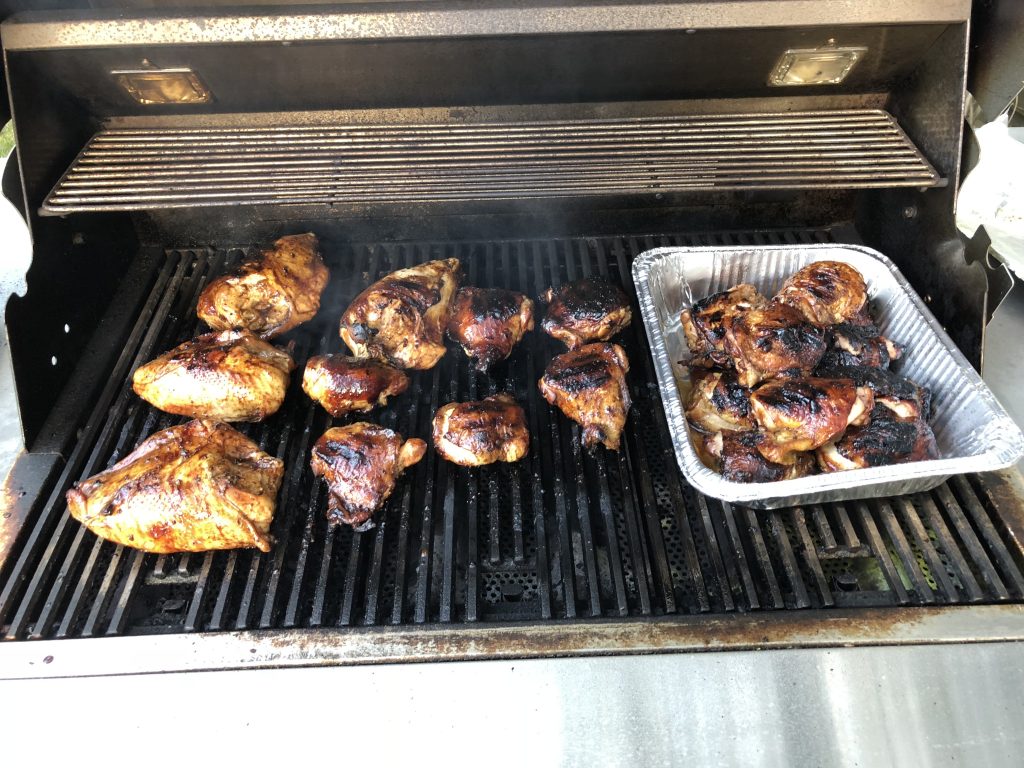
I use a reverse sear process here. I put them on the Big Green Egg at 300 degrees or so first. I use some apple wood with that. You could use indirect heat on a grill, or you could do this part in the oven. (See note below). Flip over every 10 minutes or so. Cook until they are done – 175 degrees for thighs; 165 for breasts. Cooking the dark meat a little more is fine, but you have to be pretty exact with white meat. Remove the chicken when it hits the right temp and cover tightly with foil until ready to sear. You can hold it here for at least an hour – for safety reasons, don’t let the chicken temperature dip below 140.

Note: Indirect Heat is the key to good BBQ. Big Green Egg people put a “platesetter” over the coals to turn the BGE into an oven. Traeger people flip a switch. If you have a gas grill, you can turn on the burners on one side of the grill, close the lid and let the oven heat up, then use the side of the grill where the burners are off. Real outdoor chefs use indirect heat!

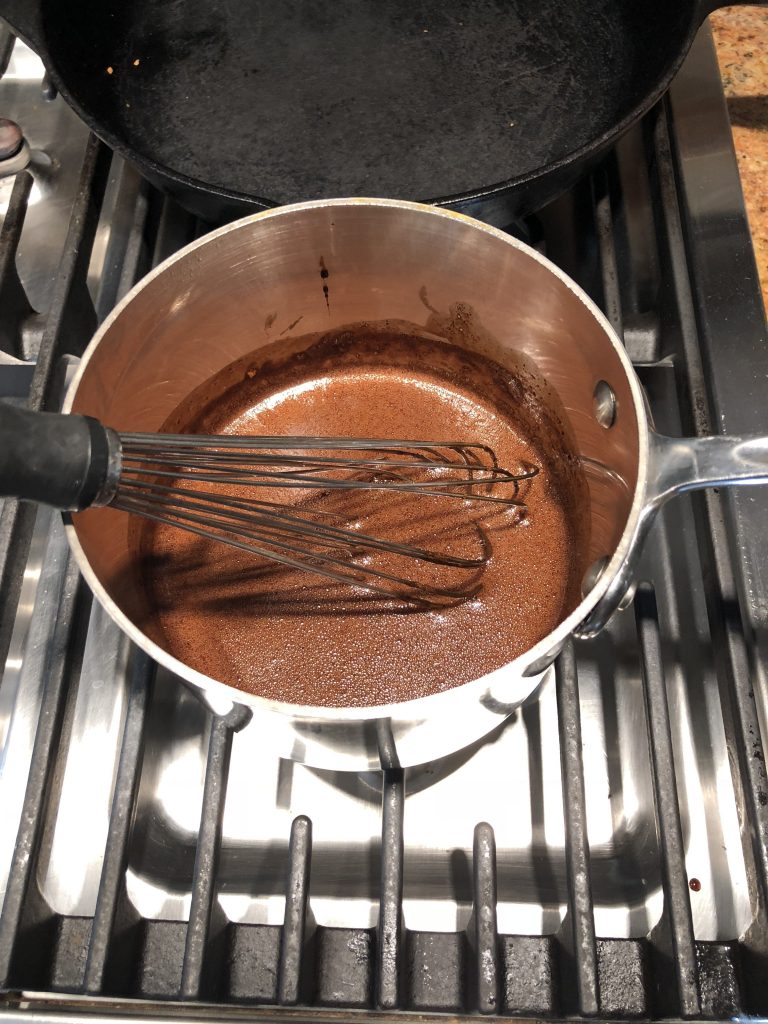
While the chicken is indirect cooking, prepare the glaze. Add all ingredients in a sauce pan, whisk together and simmer for 10 minutes. It will thicken. Do this while the chicken is cooking.

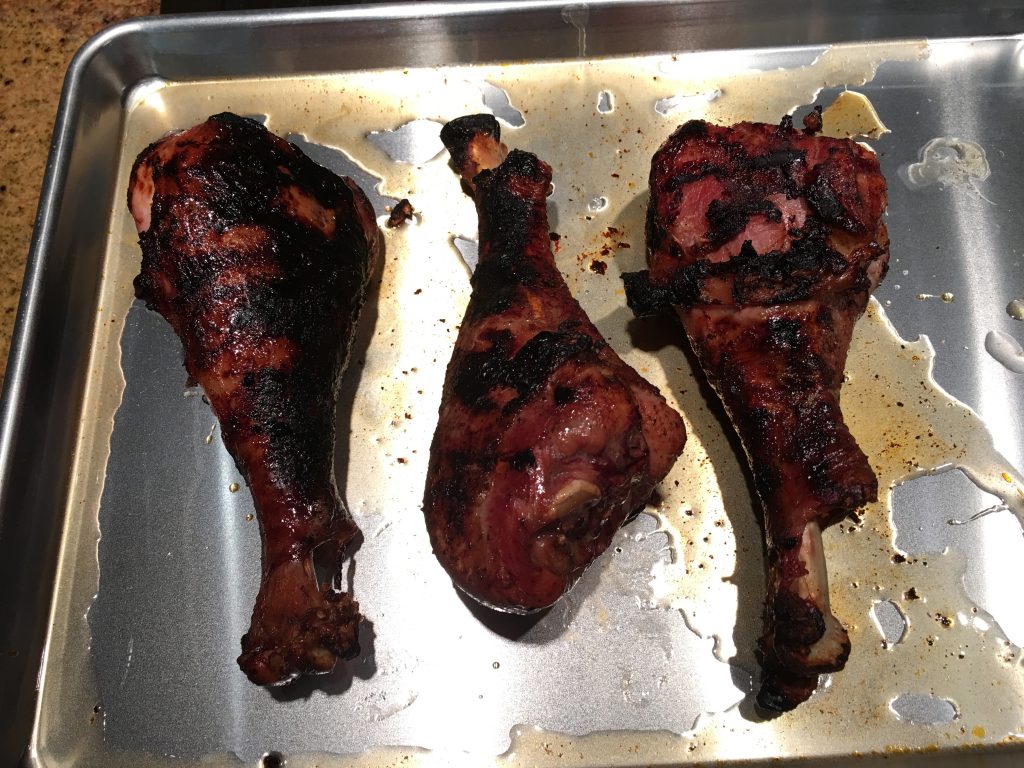
Using direct heat, heat up your grill to a high temperature. Apply oil to the grill grates. You can spray it or wipe it with a paper towel dipped in canola oil and held by tongs. Move the chicken to the hot grill, basting with the glaze and flipping every two minutes until it looks perfect. A little flame is not going to hurt you! You’ll have a nice beautiful charred glaze on there and be ready to serve!

Silver Palate Wild Rice Salad

My friend Kim brought this over for Friendsgiving Dinner and it was a huge hit! She told me that she got the recipe from The Silver Palate cookbook and I felt a wave of nostalgia. I used that cookbook so much in the 80s and 90s and I loved it! Somehow, I lost that book an my moves around, so I’m grateful to Kim for reminding me. The recipe feels fresh and filling, and is a great dish to serve at home or at a pot luck.

Ingredients

1 cup Wild Rice
4 cups Vegetable or Chicken Stock
2 tsp Kosher Salt
2 tsp Black Pepper
1 Orange, Zest and Juice
cup Olive Oil
¼ cup Mint, choppedThis is essential. It brightens the whole dish!
1 bunch, green onions, chopped
1 cup Pecans, chopped or halves
1 cup Dried Fruit, Raisins, Cherries, Apricots, or CranberriesCherries and Apricots open eyes and palates more than raisins and cranberries.

Directions

Cook rice in the broth, 30-45 minutes, until done. Don’t overcook!

Add all ingredients. Serve within 2 hours if you can. If refrigerating, let come back to room temp before serving.

Quiche – So Hot Right Now – Quiche

Why don’t I make quiche more often? That’s what I always say after I make this quiche! There was a funny book published in 1982, Real Mean Don’t Eat Quiche, by Bruce Feirstein, that nearly destroyed the American Quiche industry. The whole point of his humor was that such thinking is male lunacy! Dudes! It’s OK! A slice of quiche and a side salad is a spectacular lunch or dinner. The problem is, two slices make it even better.

Ingredients

1 Pie Crusts, Refrigerated, or use Martha Stewart’s awesome recipe .
5 Eggs, beaten
¼ cup Milk (Whatever you’ve got – we are whole milk people) – The creamier the better.
½ tsp Salt
1 tsp Pepper
1 tbsp Italian Seasonings (or your favorite – herbes de Provence, parsley, sage, rosemary, thyme)
2 tbsp White Flour
Egg Mixture
Pick Your Cheese!
¾ cup Cheese mixture. Cheddar with a little parmesan is nice. Swiss or Gruyere works. Shredded Mexican blend is excellent. Whatever is in your fridge!)
One Cup of Any of the Following Fillings . . .
1 cup Sausage and Grilled Onions
1 cup Sautéed Broccoli
1 cup Sautéed Spinach and Mushroom
1 cup Sautéed Asparagus
1 cup Bacon and Anything

Directions

Prepare the Crust

Preheat the oven to 350.

Roll out the crust into a pie dish – not too deep of a pie dish, this is not a deep dish apple pie! (Although, that would be really good too!) Try to have the crust go over the edge of the dish. This helps.

Bake the crusts for 10 minutes at 350 degrees.

Prepare the Egg Mixture

Mix all the ingredients together with a whisk. Set aside.

Prepare the fillings

You get to decide! Either go with what you want, or what’s in your fridge.

I like to sauté veggies until they are almost done. They can finish in the oven.

Putting it all together – It’s so easy

Take the crusts out of the oven.

Add your chosen filling, sprinkle the cheese over that, then pour the egg mixture over everything.

Smooth it all out so that no filling is sticking out of the mixture.

Bake at 350 for 40 minutes. Take it out when a knife comes out clean. Enjoy!

Ham on the Green Egg

Ham on the Green Egg is a perfect brunch food. It’s hard to screw up! The ham is already cooked. You’re just giving it some extra flavor and showing off your smoking passion and skill. This recipe is a perfect Easter Recipe. And if you don’t have a big enough crowd to finish the ham, you can freeze the leftovers in small bags, and use them in omelettes, quiche, and a wide variety of recipes. A little ham (or bacon) never hurts any recipe.

Ingredients

1 9-12 Pound Spiral-Cut Ham
½ cup Maple Syrup
Rub Ingredients
2 tbsp Maple Syrup
2 tbsp Black Pepper
2 tbsp Mustard (Whatever Style You Eat with Ham)
1 tbsp Bourbon
1 tbsp Vegetable/Canola Oil
1 tbsp Paprika
1 tbsp Kosher Salt
Glaze
¼ cup Maple Syrup
¼ cup Honey
½ cup Brown Sugar
2 tbsp Apple Cider Vinegar
2 tbsp Worcestershire Sauce
2 tbsp Instant Coffee
1 tbsp Dry Mustard
¼ cup Orange Juice
2 tbsp Bourbon

Directions

The Night Before . . .

Insert 1/2 cup maple syrup between spiral ham slices. Using a turkey baster works here, but you have to get your clean fingers in there to separate the slices.

Mix all ingredients for the rub together. Spread over entire ham. Tie up the ham with kitchen twine to keep the slices together.

Wrap in plastic wrap and refrigerate overnight.

Putting the Ham on the Green Egg

Heat the Egg or your smoker to 250 degrees.

Bring out the ham 30 minutes prior to adding to Egg. Add some soaked apple wood chips just before you add the ham.

Put the ham on the Green Egg! (I love saying that!)

Keep heating until you reach an internal temperature around 120 degrees. This should take a little less than an hour.

Finishing it Up!

Mix all glaze ingredients together. Heat in a sauce pan or microwave to mix.

After the ham reaches 120 degrees. Start basting every 15 minutes with the glaze.

Take it off the egg at 145 degrees. Cover tightly with foil until ready to serve.

Ham on the Green Egg.

“Put Some Mustard On That!” Warm (or cold!) Potato Salad

My friend Michelle is an amazing cook. She’s also a fantastic teacher and principal, but cooking has remained a big part of her life, and she has been a wonderful source of information and inspiration for me over the years. This is based on one of her PUBLISHED RECIPES! The only reason my recipes are published is that I make this website! She’s the real deal and you can find the original recipe here . I love this recipe. It’s a fantastic go-to potato salad for dinner or a picnic/bbq lunch. My friend Maggie, who is both a great artist and fantastic cook, took the picture below when she made this for a lunch she was hosting. Thanks Maggie!

Ingredients

2 lbs Small Red Potatoes
cup Mayo
cup Mustard (I use a mix of grain and dijon)
¾ cup Chopped Red Onion
5 Garlic Cloves, Crushed or Chopped
1 tsp Salt
1 tsp Course ground black pepper)
½ Lime, freshly juiced
3 tbsp Freshly chopped dill or parsley or some fresh herbThe original recipe calls for dill, but I prefer the parsley.
3 Green Onions (chopped, for garnish)

Directions

Boil potatoes for 25 minutes – test as they get close. Drain and rinse. If you are a food temperature fanatic (Thermapen fans, unite!) – somewhere between 200 and 210 degrees.

While the potatoes are cooking, prepare the mixture.

Mix all ingredients together except for green onions. This is a mustard heavy version of the recipe. If you’re not a huge mustard fan (I won’t judge), you can replace some of the mustard with Mayo. The original recipe had a 1 cup of mayo and 1/4 cup of mustard.

Cut potatoes into the size you want them. Don’t go too small – the texture is great. I tend to quarter them.

Mix together, add green onions for garnish, and serve warm, or cool down and serve cold. It’s great either way!

Veggie Lasagna

What I love about this lasagna is you can really taste all of the different flavors. I can’t explain it – normally, lasagna is a great conglomeration of flavors, but when I eat this one, it feels like I am tasting a lot of individual flavors. I love it.   Jill got the ideas for this recipe from her friend Jacqui and from Cooks Illustrated. Her Aunt Joanne suggested the artichoke hearts. I hope you enjoy it.


Ingredients

3 Heads of Garlic
28 Crushed Tomatoes
1 Eggplant, Chopped or Sliced
14.50 Canned Artichoke Hearts, Drained and Chopped
1 lb Spinach, Washed
2 Ricotta Cheese, Whole Milk
1 cup Cottage Cheese
1 lb Mozzarella, Shredded. Feel free to mix with other cheeses such as Gruyere, Parmesan, Fontina, or Asagio.
0.50 cup Parmesan Cheese, Grated
1 lb No-Boil Lasagna Noodles
0.25 cup Fresh Chopped Basil
0.25 tsp Red Pepper Flakes

Directions

Roast the Garlic!

Prepare the garlic for roasting. Trim any roots from the bottom of the bulb so that the garlic will sit flat. Trim a thin slice from the top of the bulbs to expose a little of each of the cloves. Drizzle olive oil over the tops of the exposed garlic and salt & pepper to taste.

Place in a small pan. Pour enough water to cover the bottom 1/3 of the garlic.

Cover tightly with foil and bake at 350 for 75 minutes.

Prepare the No-Cook Sauce

Mix crushed tomatoes, chopped fresh basil, 2 tbsp. extra virgin olive oil, 3 garlic cloves – minced, 1 tsp. kosher salt, red pepper flakes in a bowl and set aside.

You’re done. We have used this sauce for many recipes. It’s so easy and it’s excellent.

Prepare the Veggies

Skin, then slice or cube (1/2″) the eggplant. Sprinkle with salt.

In a microwave safe bowl or plate, heat the eggplant in the microwave for 5-10 minutes, until it is dry to the touch. We usually go for 5 minutes.

In a large skillet, heat 2 Tbsp olive oil, 3 cloves of minced/crushed garlic, 1/4 tsp salt, 1/2 tsp black pepper, and 1 Tbsp Italian Herbs.

Add Eggplant to heated oil, stir and cook for 4 minutes.

Add artichoke hearts, stir and cook for 4 more minutes. Set aside on plate or bowl.

Heat 2 Tbsp more Olive Oil, add 3 cloves of minced/crushed garlic, and saute spinach until wilted. Remove and drain.

Prepare the Cheeses

Mix Ricotta and Cottage Cheeses – 3 cups total. All Ricotta is just fine.

Grate/Shred 16 ounces of cheese. At least 1/2 of it should be mozzarella.

Prepare 1/2 cup of Parmesan cheese for sprinkling on top.

Assembling the Lasagna

Spread 1 cup tomato sauce in bottom of baking dish
·
· · Sprinkle shredded cheese.
· Repeat layers, starting with tomato sauce.
· For the third layer of noodles, use roasted garlic in lieu of vegetable mixture or in addition to vegetable mixture.
· End with plain noodles (no ricotta) with shredded cheese. Pour any remaining sauce along the sides of lasagna.

Next comes the noodle layer. An easy way to spread the 1/3 of the ricotta mixture on the noodles is to pick up a no-boil lasagna noodle, use a spatula to spread the ricotta mixture on the noodle, and place the cheesed noodle onto the tomato sauce. Do this with a total of 3 noodles.

Spread 1/2 of vegetable mixture on top of ricotta.

Sprinkle 1/4 of shredded cheese.

Repeat layer of sauce, cheesed noodles, vegetables, and shredded cheese

Repeat layer of sauce, cheesed noodles, roasted garlic (instead of vegetables), and shredded cheese

Finish with noodles (no cheese mixture this time) and the remaining shredded cheese.

Sprinkle 1/2 cup parmesan cheese on top.

Bake it!

Lightly spray large sheet of aluminum foil with vegetable oil spray and cover lasagna. You can refrigerate the dish at this point.

Bake at 375 for 35 minutes.

Remove foil and bake an additional 10 minutes. Take out when slightly browned and bubbling!

Cool for at least ten minutes, then cut and serve.

Skillet Cornbread

I love cornbread. Always have. I’ve gone through phrases in how I made it. My recipe for years was the Marie Calender’s mix, which was a little sweet, but so easy, and really, really good. Then, my mom made this recipe for me a few years ago. It is a non-sweet cornbread with a super crispy kissed-by-butter exterior. And on top of being the best-tasting cornbread I’ve had, it’s yet one more opportunity to utilize your cast iron skillet. Bring this to a pot luck or your own table and once again, you are a hero for the day!

Ingredients

1 cup Yellow CornmealI used Bob's Red Mill Brand Medium Grind Corn Meal
½ cup All Purpose Flour
1 tsp Salt
1 cup ButtermilkIf you don't have buttermilk, you can use milk with 1 lemon squeezed and set aside for 10 minutes, or 1/2 cup sour cream & 1/2 cup milk
½ cup Whole MilkLowfat is OK too. We're a whole milk family.
1 Egg
1 tbsp Baking Powder
½ tsp Baking Soda
1 tbsp Canola Oil
3 tbsp Butter

Directions

Mix Cornmeal, Flour, and Salt in a large bowl.

Add (without stirring) all remaining ingredients except butter and canola oil.

Hand stir (no mixer) and mix well with a large spoon. A few lumps are good. It’s not as thick as you think it should be – thinner than pancake batter – but that’s OK.

Place 9″ or 10″ cast iron skillet and in 450 degree oven for 5 minutes. It will begin to smoke.

Note: If you are doubling the recipe, a 12″ cast iron skillet is perfect.

Take the skillet out, then add butter and canola oil. Let the butter melt, then pour in the cornbread mixture.

Bake for 15-20 minutes at 450 degrees, until the top is brown and the sides pull away from the edges of the skillet. If you are a Thermapen temperature geek like me, the center should be at least 185 degrees.

Disneyland Turkey Legs (aka Caveman Pops)

Caveman Heaven

My family loves Disneyland. They go several times a year, and if we lived closer, they’d go more. I go once a year and enjoy myself immensely. But . . . I don’t need or want more than that. What I do love about Disneyland, and if I lived closer might be worth the price of an annual passport, is their high quality turkey legs. Caveman Pops. I love a good meal on a stick, and this is the mountaintop of such meals. This is my attempt at reaching the Caveman Pop Summit. Enjoy!

Ingredients

4 Turkey Legs – Medium Sized to Large. These are easy to find at Thanksgiving, but you may have to ask your butcher ahead of time other times of the year.
¼ cup Arkibu Rub , or other BBQ Rub
½ cup Honey

Directions

The night before you want to cook these, rub them with Arkibu BBQ Rub.

Fire up the Big Green Egg, or your favorite indirect heat smoker. I put it to 300 degrees. Prepare some apple or pecan wood chips by soaking them in water.

Add chips, lay turkey legs on the grill, and smoke until they are done. Time will depend on the size. 40 minutes to a little over an hour. Use your Thermapen. Take it off when the bottom thinner meat starts to separate from the bone, and when the meat is 180 degrees.

Place in a casserole pan or something and cover with foil until you close to being ready serve. Remember – for food to be safe, don’t let it sit if it’s under 140 degrees.

When you are ready to serve, coat each leg with a lot of honey, brushing it all over the meat.

Fire up a direct heat grill (I use my Weber Genesis Grill), spray some cooking spray on it, and sear the honey-coated goodness in, about five minutes per side.

Caveman Heaven

Wrap each leg in foil, and serve when you are ready!

Pastrami Cheeseburgers

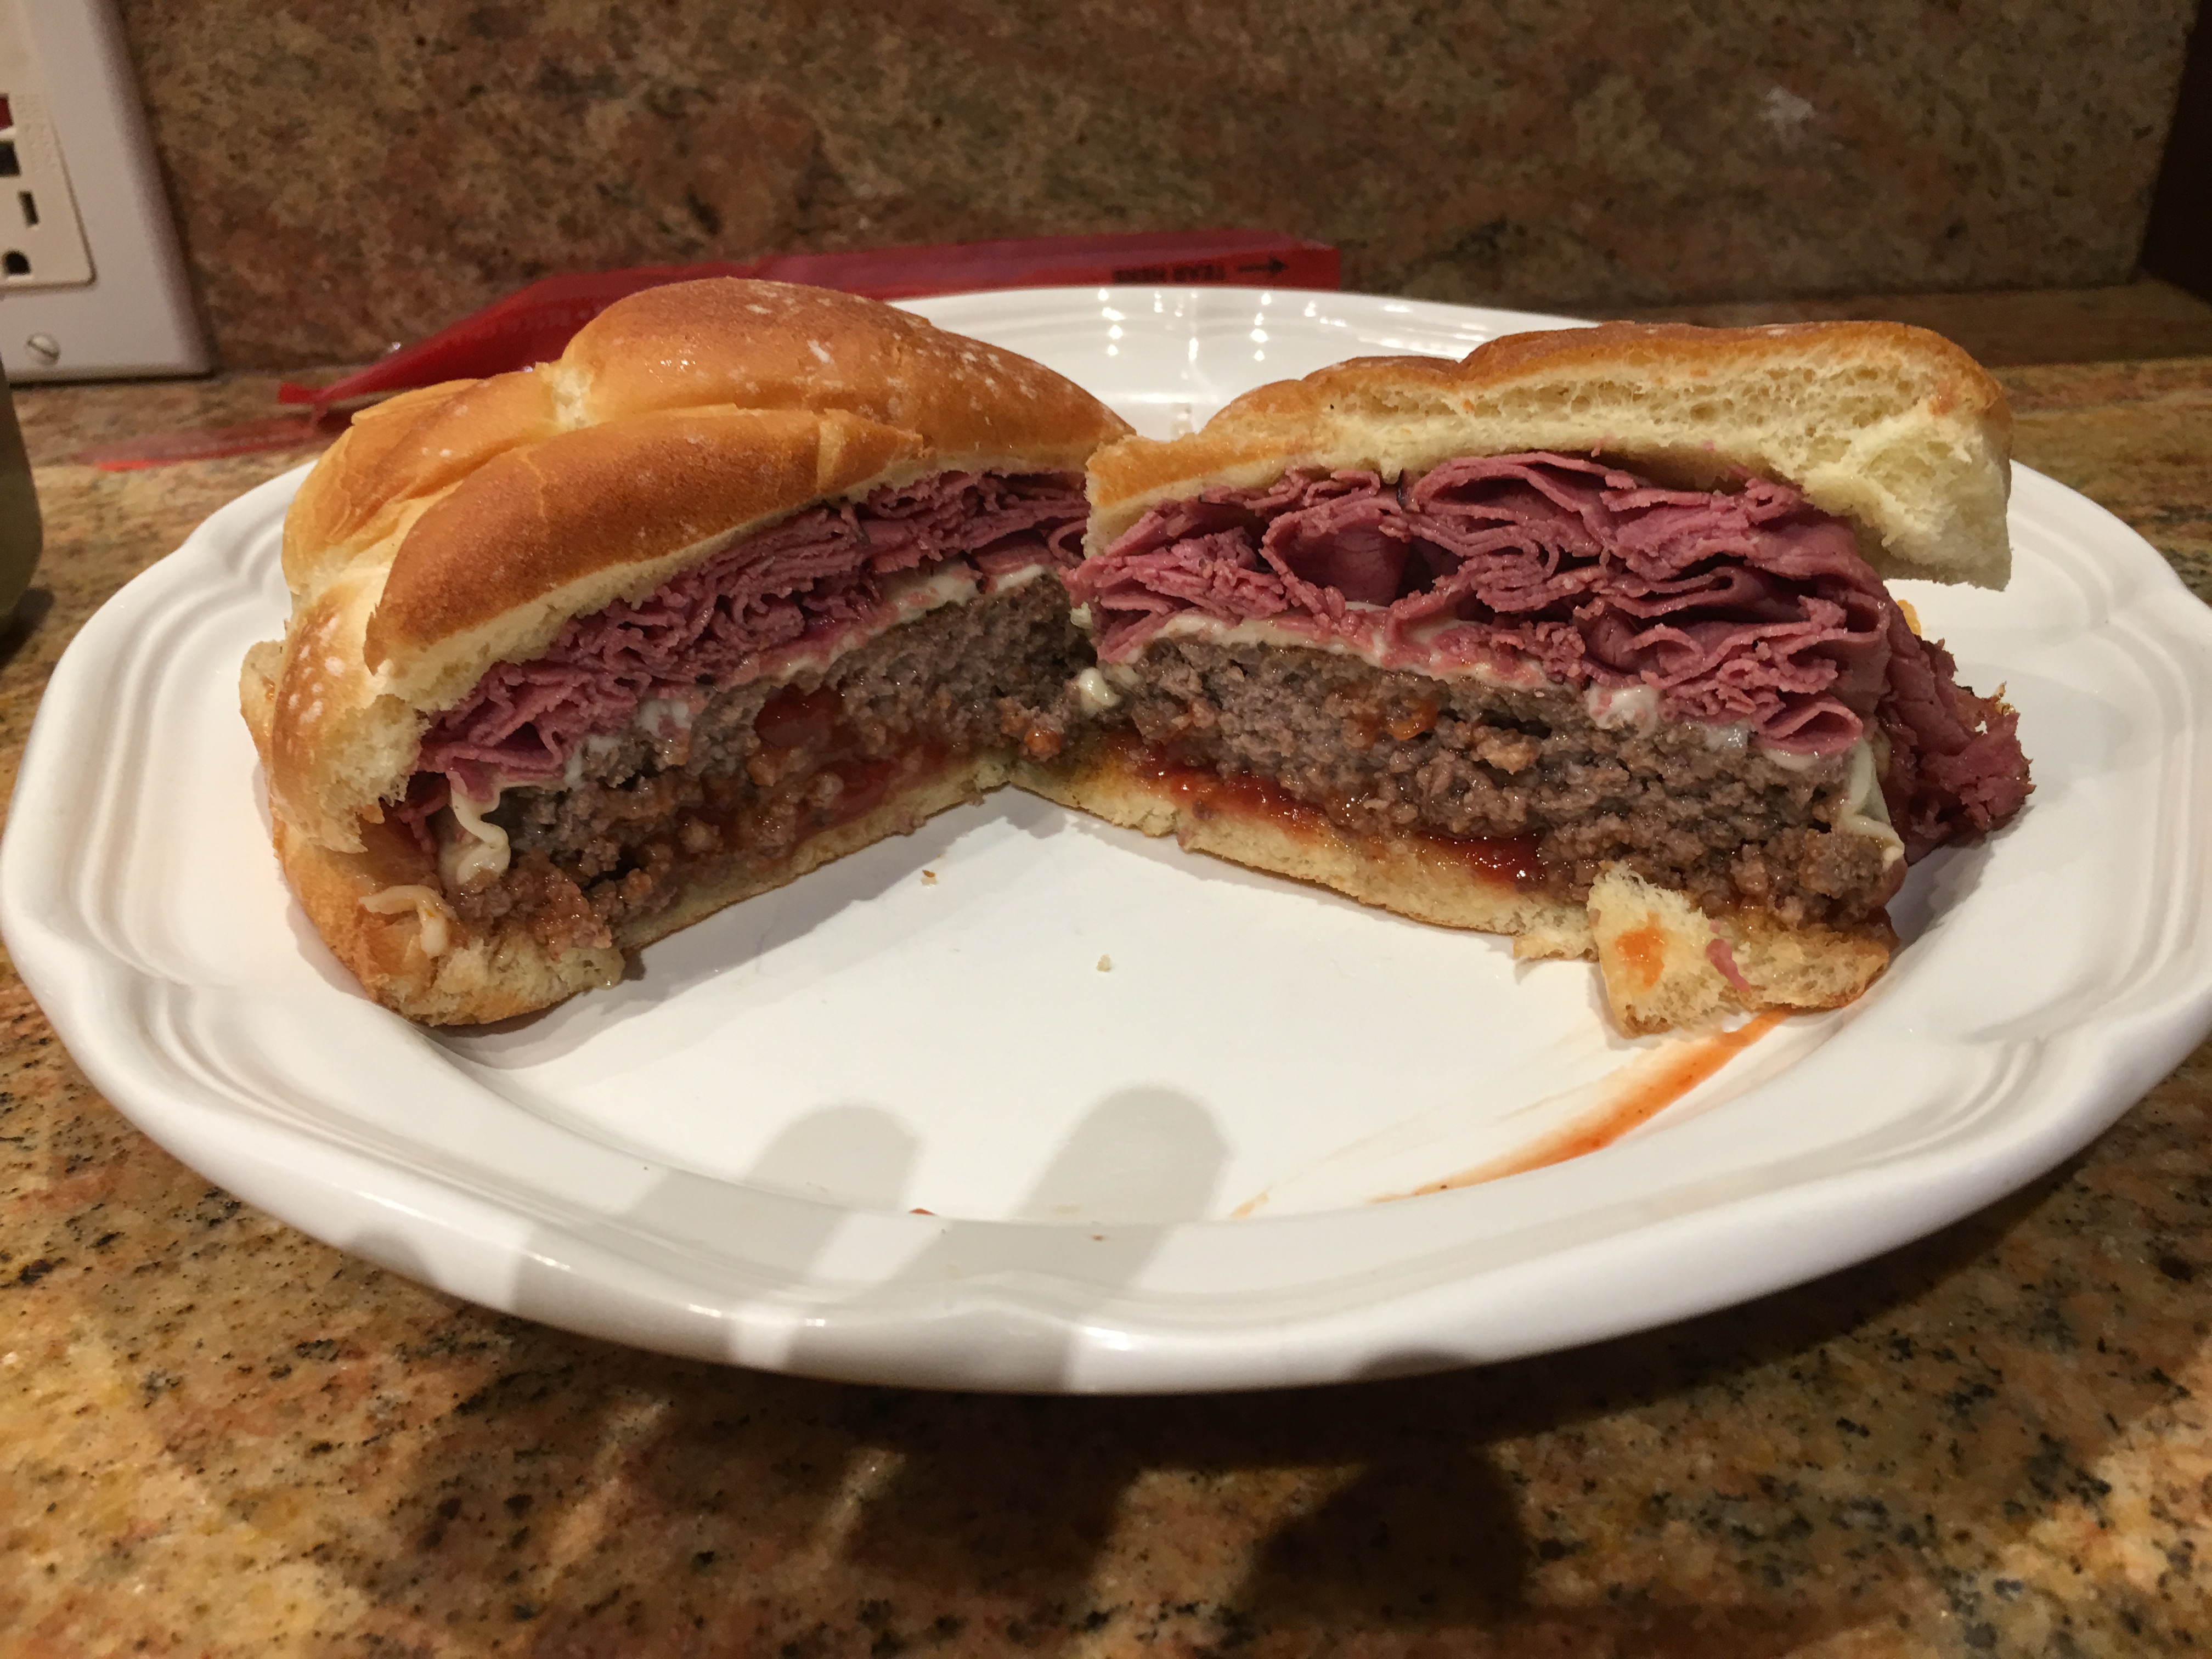
Guy Fieri from Diners, Drive-Ins, and Dives loves a good burger, and so do we! His favorite burger is the Pastrami Burger from a place called Hodad’s in San Diego. Mike Hardin , who ran the place until he recently passed away, had a tatoo of Guy on his thigh. I’m not going to do that. But I’m still a fan, and we will go there one day, have this burger and meet his son who’s now running the place. In the meantime, it’s a good day when pastrami cheeseburgers are happening in my house.

One of the keys to recipes is the amount of mustard you put on the bottom bun of each burger. It’s a lot! But when I was serving these up to my son Ryan and his friends, his friend Dusty said, “Mike. I now know what you’re superpower is. It’s mustard. Nobody else knows the right amount of mustard like you do.” So I got that going for me. Which is nice.

Ingredients

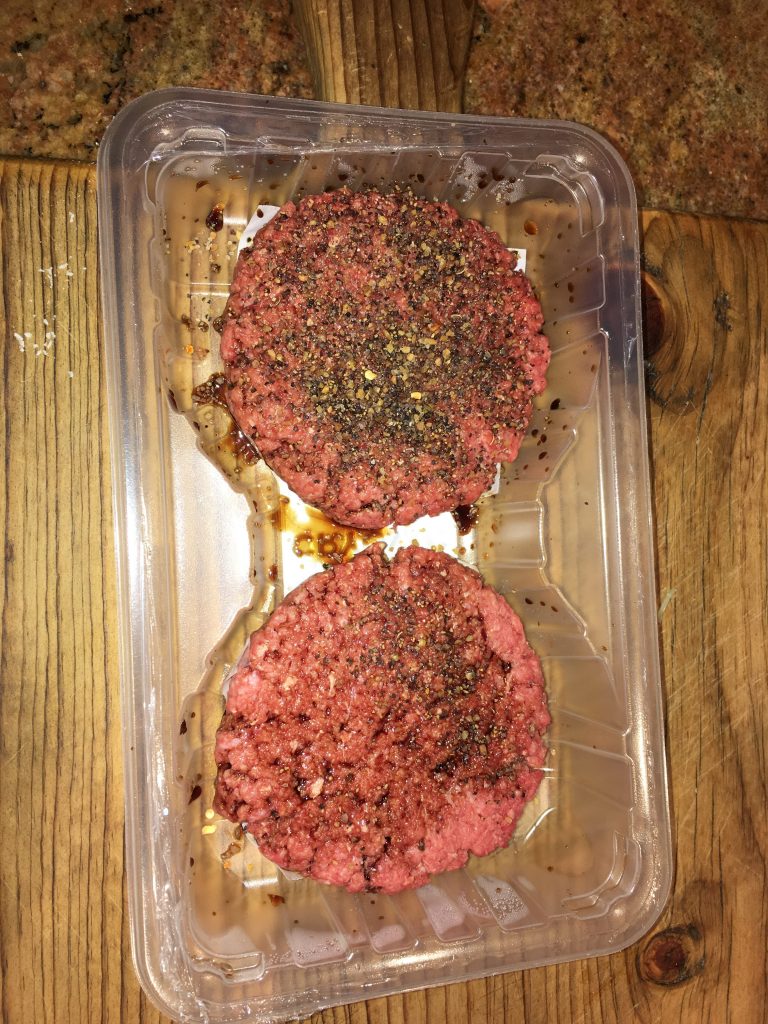
¼ lb hamburger per person. 85/15 is the leanest you should go.I usually make 1/3 pound burgers, but there's so much pastrami, a thin patty works out great.
¼ lb Beef Pastrami, per person. Thinly sliced from your favorite deli. Get more than this, and make some great sandwiches this week.
1 Slice cheese per person, swiss is nice here, but choose your own.
½ Onion, sliced, per person
1 Soft Hamburger Bun, per person. Brioche buns are hot right now, but find a good one.
Mustard, Yellow, Dijon, Spice – the one you like the most with pastrami or a burger.
Ketchup
Soy Sauce
Montreal Steak Seasoning

Directions

Season burgers like you season steaks. Soy sauce and Montreal Steak Seasoning.

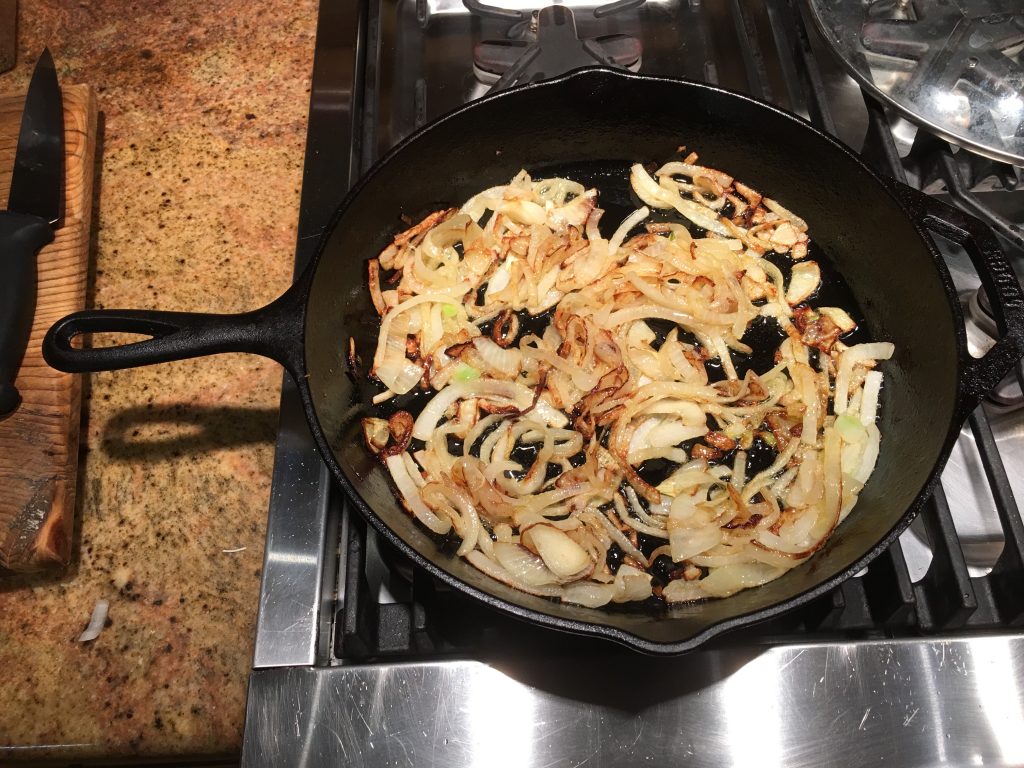
Slice onion thinly and saute in olive oil until nice and browned. Take them out and set aside.

Grill the burger to your satisfaction. I’m a medium well to well done burger guy. Please don’t judge. I like the outdoor bbq grill more, but you can use a griddle or cast iron skillet indoors. That’s how Hodad’s does it.

Just before the burger is done, heat the thinly sliced pastrami. I do this in the cast iron skillet with a tiny bit of oil.

Add cheese to the burger, close the lid, and let it melt for no more than 1 minute.

Assembling the burger

Start with the bottom half of the bun. Put twice as much mustard as you usually put on a burger. Twice. May be 2 and a half times. Go big.

Put the burger with cheese on the mustard-laden bottom bun. Add enough pastrami to make a decent-sized pastrami sandwich. Not a NY Deli sized pastrami sandwich, but enough to be good by itself.

Add the grilled onions. This is a big burger!

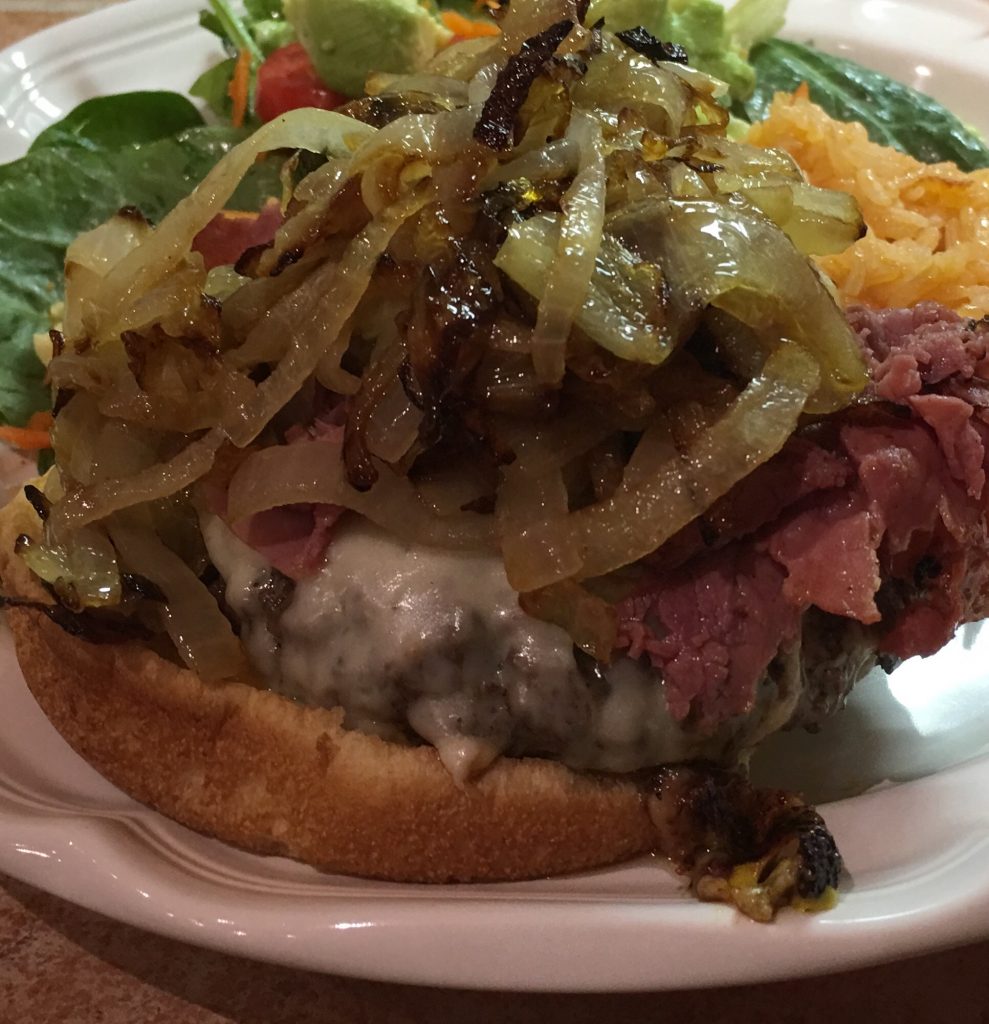
Put a normal sized amount of ketchup on top, place the bun, slice in half if you want, and you are ready to go!

Pulled Chicken in the Crockpot

I cobbled this recipe together because of a grocery store trip. I found some frozen boneless chicken thighs, and was trying to figure out what to do with them. So I decided to just throw them in the crockpot, still frozen, with some sliced onions and BBQ sauce. It’s such a simple recipe, but you’re left with some nice pulled chicken for some super good sandwiches.

Ingredients

4 lbs Skinless Chicken Thighs, Frozen
12 oz BBQ Sauce
1 Onion, sliced or diced

Directions

Get out the crockpot. Layer with BBQ sauce, onion, then chicken. Do 2 or 3 layers.

Cover. Heat for 4 hours on high or 8 hours on low. You know your crockpot. Adjust as necessary.

When the chicken is done. Turn off crockpot. Take out chicken and pull apart with two forks. It will fall apart easily!

Empty out all of the juice and sauce from the crockpot and wipe clean. Put the pulled chicken in the cleaned crockpot with about 1/2 cup of bbq sauce. Heat and serve!