Quiche – So Hot Right Now – Quiche

Why don’t I make quiche more often? That’s what I always say after I make this quiche! There was a funny book published in 1982, Real Mean Don’t Eat Quiche, by Bruce Feirstein, that nearly destroyed the American Quiche industry. The whole point of his humor was that such thinking is male lunacy! Dudes! It’s OK! A slice of quiche and a side salad is a spectacular lunch or dinner. The problem is, two slices make it even better.

Ingredients

1 Pie Crusts, Refrigerated, or use Martha Stewart’s awesome recipe .
5 Eggs, beaten
¼ cup Milk (Whatever you’ve got – we are whole milk people) – The creamier the better.
½ tsp Salt
1 tsp Pepper
1 tbsp Italian Seasonings (or your favorite – herbes de Provence, parsley, sage, rosemary, thyme)
2 tbsp White Flour
Egg Mixture
Pick Your Cheese!
¾ cup Cheese mixture. Cheddar with a little parmesan is nice. Swiss or Gruyere works. Shredded Mexican blend is excellent. Whatever is in your fridge!)
One Cup of Any of the Following Fillings . . .
1 cup Sausage and Grilled Onions
1 cup Sautéed Broccoli
1 cup Sautéed Spinach and Mushroom
1 cup Sautéed Asparagus
1 cup Bacon and Anything

Directions

Prepare the Crust

Preheat the oven to 350.

Roll out the crust into a pie dish – not too deep of a pie dish, this is not a deep dish apple pie! (Although, that would be really good too!) Try to have the crust go over the edge of the dish. This helps.

Bake the crusts for 10 minutes at 350 degrees.

Prepare the Egg Mixture

Mix all the ingredients together with a whisk. Set aside.

Prepare the fillings

You get to decide! Either go with what you want, or what’s in your fridge.

I like to sauté veggies until they are almost done. They can finish in the oven.

Putting it all together – It’s so easy

Take the crusts out of the oven.

Add your chosen filling, sprinkle the cheese over that, then pour the egg mixture over everything.

Smooth it all out so that no filling is sticking out of the mixture.

Bake at 350 for 40 minutes. Take it out when a knife comes out clean. Enjoy!

Chimichurri Sauce

Pesto sauce is to Italian cuisine what chimichurri sauce is to Argentinian and Uruguayan cuisine. But this sauce is meant to accompany the amazing meats served at South American asados. Want to make almost anything better? Add chimichurri sauce! It’s beautiful on the table, and spectacular on almost anything. It features parsley and garlic, and as much heat as you want to add. And it’s better after it’s been sitting and blending for a few days. Try it out at your next event where meat is a feature of the meal!

Ingredients

2 Bunches Italian Flat Leaf Parsley (1.5 – 2 Cups)
1 Bunch Cilantro (0.5 – 0.75 Cups)
1 tbsp Dried Oregano
10 Cloves Garlic (In a pinch, you can use 1 tsp dried minced garlic in place of each clove – just add it to the water)
1.50 tsp Salt
1 tsp Red Pepper Flakes
cup Red Wine Vinegar
¾ cup Olive Oil

Directions

Mix Dried Oregano and Salt with 1/3 Cup Hot Tap Water and let sit for 15 Minutes

Pick leaves off cilantro and parsley, eliminating any large stalks.

Place parley, cilantro, garlic, and red pepper flakes in a food processor or blender, give it about ten pulses, until coarsely chopped.

Pour water/oregano/salt mixture into food processor/blender. Pulse until mixed in.

Pour mixture into a bowl, and stir in olive oil. I’ve seen chimichurri sauce made where it is thick and green, or I’ve seen it where it has much more olive oil, and it looks like an infused olive oil. I prefer the thicker version, but I love both!

Sit at room temperature for one hour. Hold for up to 5 days, but it won’t last that long. Take out of refrigerator 1 to 2 hours prior to serving.

Tomahawk Steaks

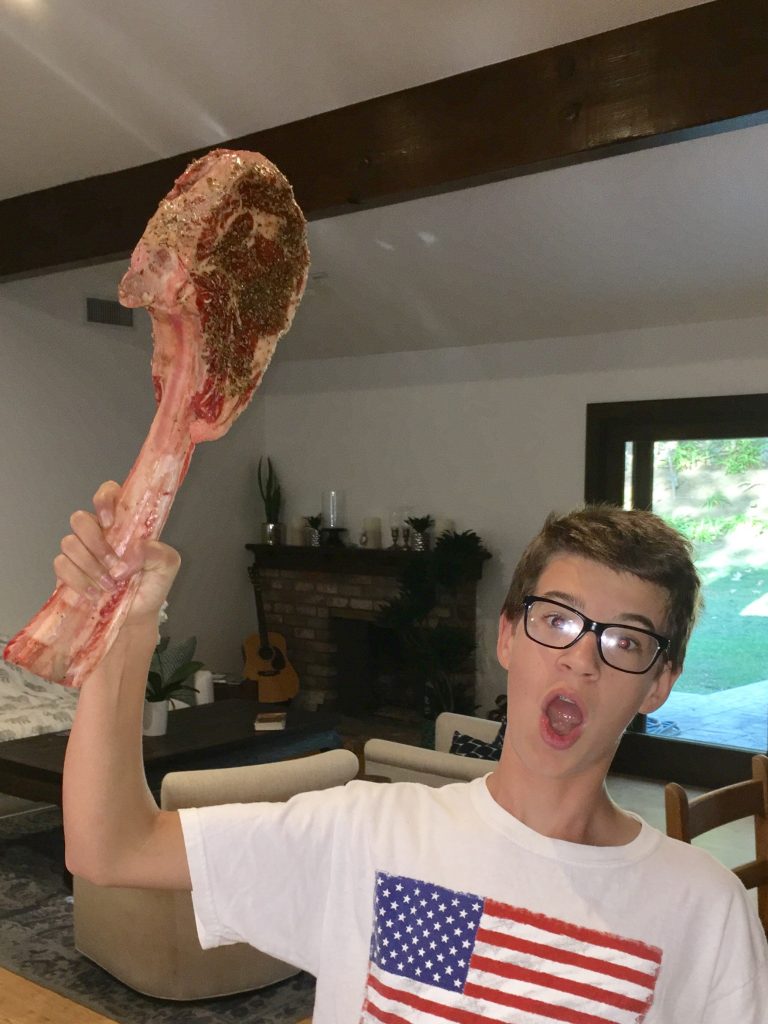
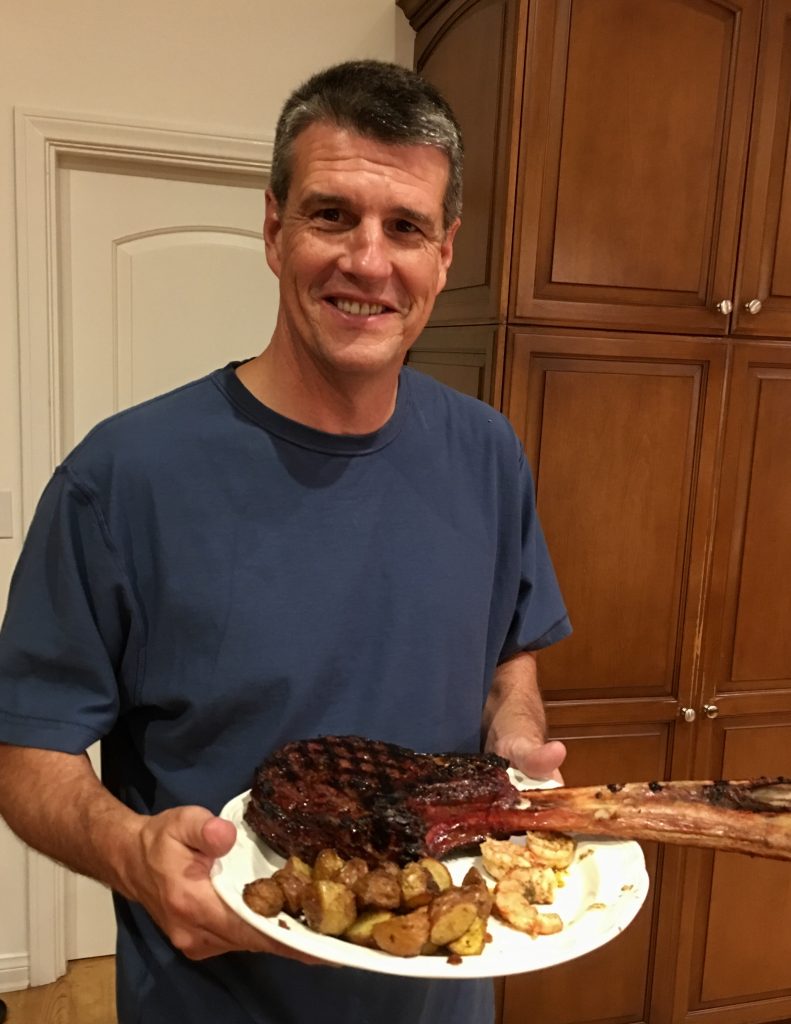
I had been eyeing the Tomahawk Steaks at our local grocery store for sometime. They were the showcase feature of the butcher’s display case. A few years ago (when Dawson was just 14), I decided it was time and invited our friends Steve and Karen – great cooks themselves – over to enjoy. Steve, who burns about 17,000 calories a day biking all over the Santa Monica Mountains, thinks that one of these is just about a perfect serving size!

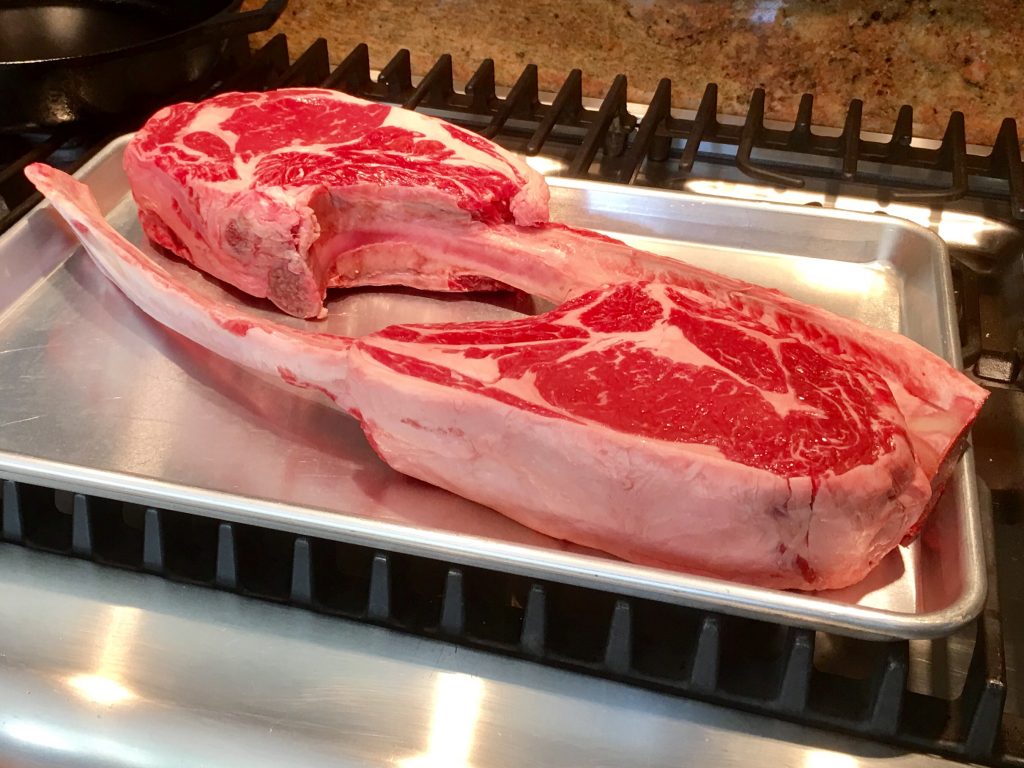
These super big and super thick steaks are quite a show and really fun to cook, serve, and eat! Cooked low and slow, then seared at the end, they are super tender and just amazing.

Ingredients

1 Tomahawk Ribeye Steaks – With the bone, they weigh about 3 pounds. Serves 2 to 3.
Soy Sauce
Montreal Steak Seasoning

Directions

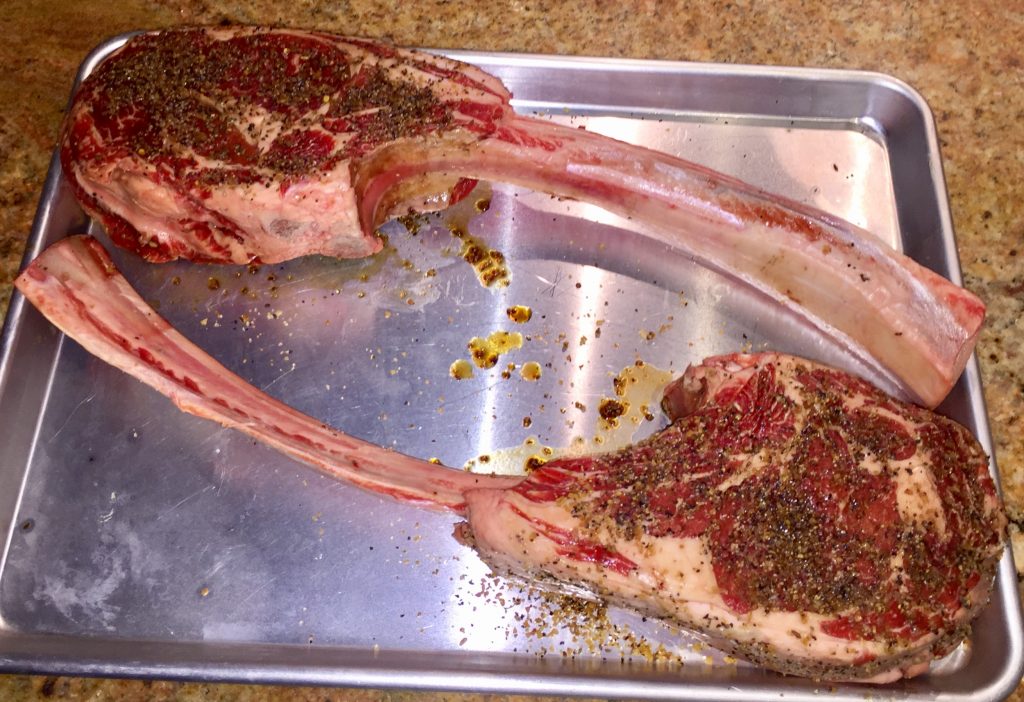
You may need to ask your butcher for these. These were choice grade (fantastic), and I got them from Pavilions. I have heard they can be found sometimes at Costco.

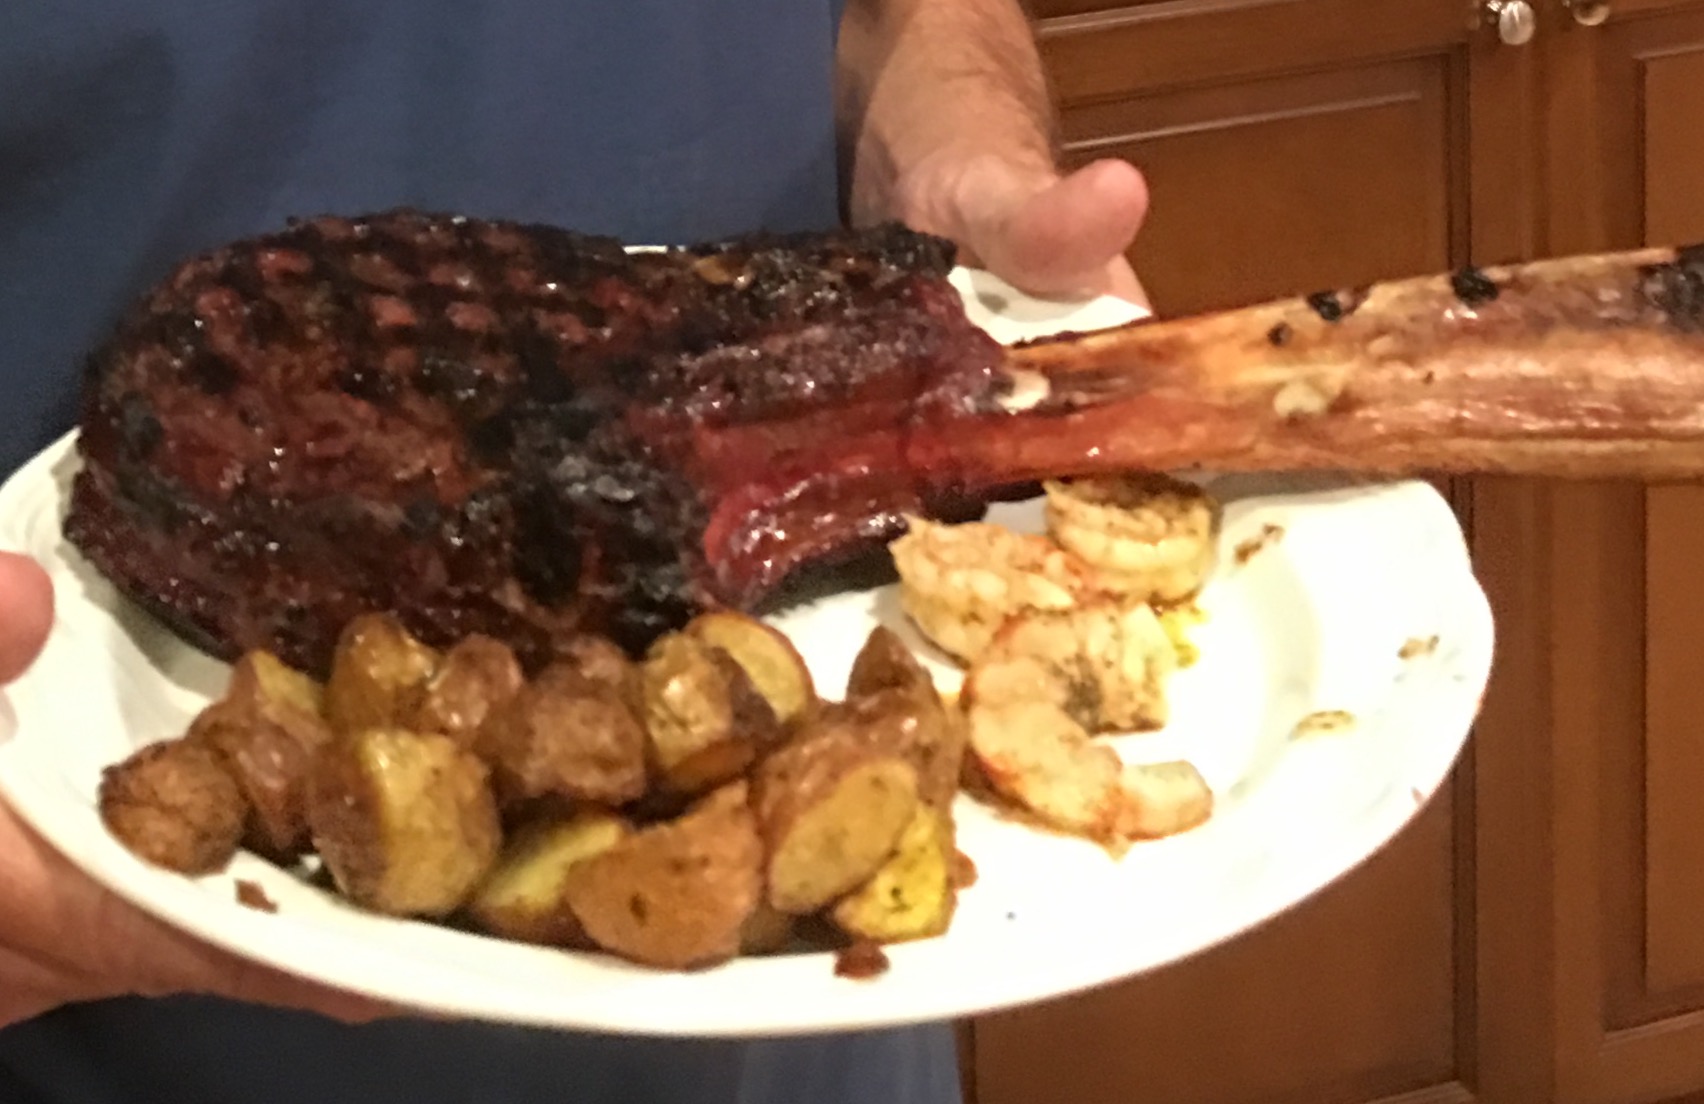
Try to stop your son from playing with the food. Another parenting failure on my part.

I only use two seasonings on steak: soy sauce and Montreal Steak Seasoning. I went heavy on the Montreal. Please let this sit with the spices for at least 30 minutes. You can go up to 12 hours. Letting the salt do its magic is worth the time.

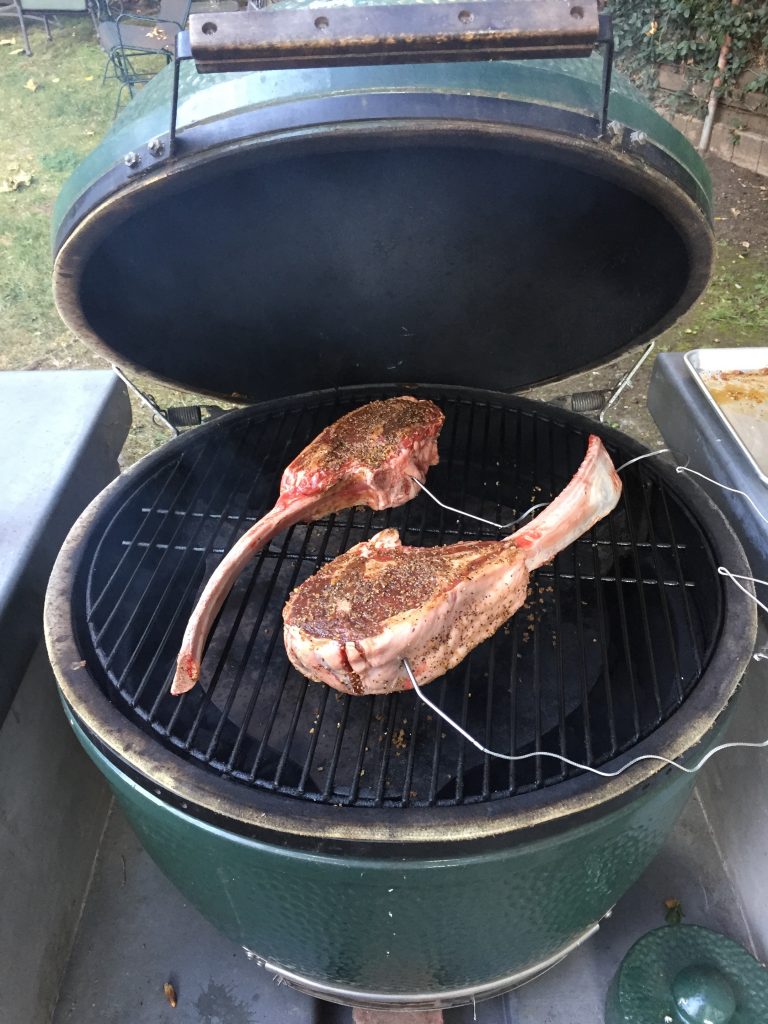
The key with these steaks is that they are almost roasts. They are almost 3″ thick. I think the best way to cook them is to use low, indirect heat (250 degrees) for an hour or so until they reach the desired temp. Then sear them to get a crust and make them look beautiful. My indirect heat source is our course my Big Green Egg, but Traegers are wonderful too. If you are using the cool side of the grill, make sure to rotate the steak every 20 minutes or so.

I am using my new Thermopro probes in there to monitor the temp. I’ll take them off when they hit 128.

I used a small amount of pecan wood for a hint of smoke flavor. Don’t over do it!

Turn them over once during the cook.

Take them out of the Big Green Egg/Oven when they hit your desired temp, and let sit for 10 minutes.

Prepare a high heat grill, and sear each side for 1 to 2 minutes. You’re just looking for a beautiful seared finish here. Turn the steaks 90 degrees halfway through to cross hatch it.
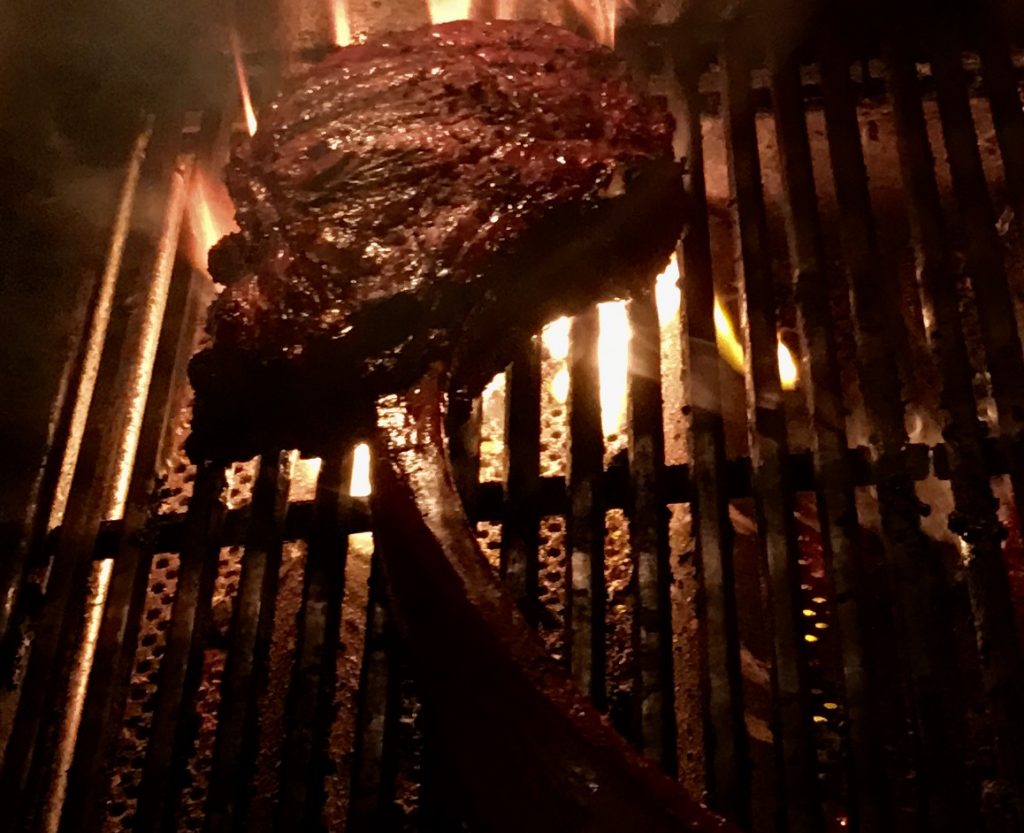
Plate it up!

Serve it up!

“Put Some Mustard On That!” Warm (or cold!) Potato Salad

My friend Michelle is an amazing cook. She’s also a fantastic teacher and principal, but cooking has remained a big part of her life, and she has been a wonderful source of information and inspiration for me over the years. This is based on one of her PUBLISHED RECIPES! The only reason my recipes are published is that I make this website! She’s the real deal and you can find the original recipe here . I love this recipe. It’s a fantastic go-to potato salad for dinner or a picnic/bbq lunch. My friend Maggie, who is both a great artist and fantastic cook, took the picture below when she made this for a lunch she was hosting. Thanks Maggie!

Ingredients

2 lbs Small Red Potatoes
cup Mayo
cup Mustard (I use a mix of grain and dijon)
¾ cup Chopped Red Onion
5 Garlic Cloves, Crushed or Chopped
1 tsp Salt
1 tsp Course ground black pepper)
½ Lime, freshly juiced
3 tbsp Freshly chopped dill or parsley or some fresh herbThe original recipe calls for dill, but I prefer the parsley.
3 Green Onions (chopped, for garnish)

Directions

Boil potatoes for 25 minutes – test as they get close. Drain and rinse. If you are a food temperature fanatic (Thermapen fans, unite!) – somewhere between 200 and 210 degrees.

While the potatoes are cooking, prepare the mixture.

Mix all ingredients together except for green onions. This is a mustard heavy version of the recipe. If you’re not a huge mustard fan (I won’t judge), you can replace some of the mustard with Mayo. The original recipe had a 1 cup of mayo and 1/4 cup of mustard.

Cut potatoes into the size you want them. Don’t go too small – the texture is great. I tend to quarter them.

Mix together, add green onions for garnish, and serve warm, or cool down and serve cold. It’s great either way!

Irish Soda Bread

When I was 16, my family ventured to Ireland for a 3-week bike trip.  It was not a tour, but just my adventurous dad leading us around the country.  We camped half the time.  We were always hungry after a big ride, and we would love anything our parents would make at camp.  This is where my dad uttered his wisdom that I repeat often: “There’s nothing like food when you’re hungry!”  Truer words have never been spoken.

When we stayed in bed and breakfasts, which was a nice break from camping, we loved the breakfasts we were served, at least at first. Eggs, bacon (kind of soft, but very tasty), two sausages, a small glass of orange juice, and brown soda bread. After a while, the lack of variety got a little old (definitely a first world problem), but the brown Irish soda bread was something I looked forward to every day.  It filled me up and gave me energy for the day, and I absolutely loved it with good creamy butter.  40+ years later, I still do!

I found this recipe many years ago at recipeland.com.  I have not changed it, and it is a super easy bread to have in the house any time.It makes spectacular toast in the morning, and goes well with any soup or salad.

Enjoy.


Ingredients

3 cups Whole Wheat Flour
1 cup All Purpose Flour
1.50 tsp Salt
1.50 tsp Baking Soda
1 cup Oats (Old Fashioned is best!)
2 tbsp Dark Molasses
2 cups Buttermilk (or milk with 2 Tbsp lemon or white vinegar that sits for 10 minutes)

Directions

Mix whole wheat flour, white flour, baking soda, and salt in a large bowl.

Stir in oats, make a indentation in the middle

Mix buttermilk and molasses together

Pour buttermilk/molasses into middle of dry ingredients. Mix well with sturdy spoon or even your hands.

Knead 4-5 times on a floured surface.

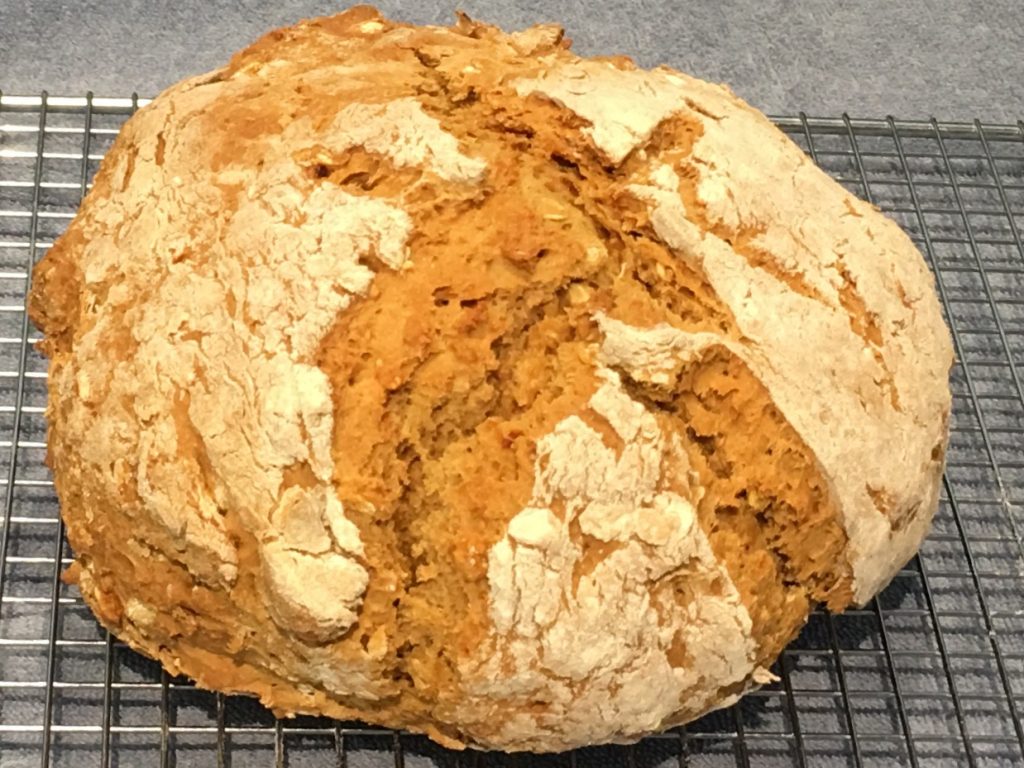
Shape into round loaf, cut the classic cross on top of the bread with a sharp knife – about one inch deep.

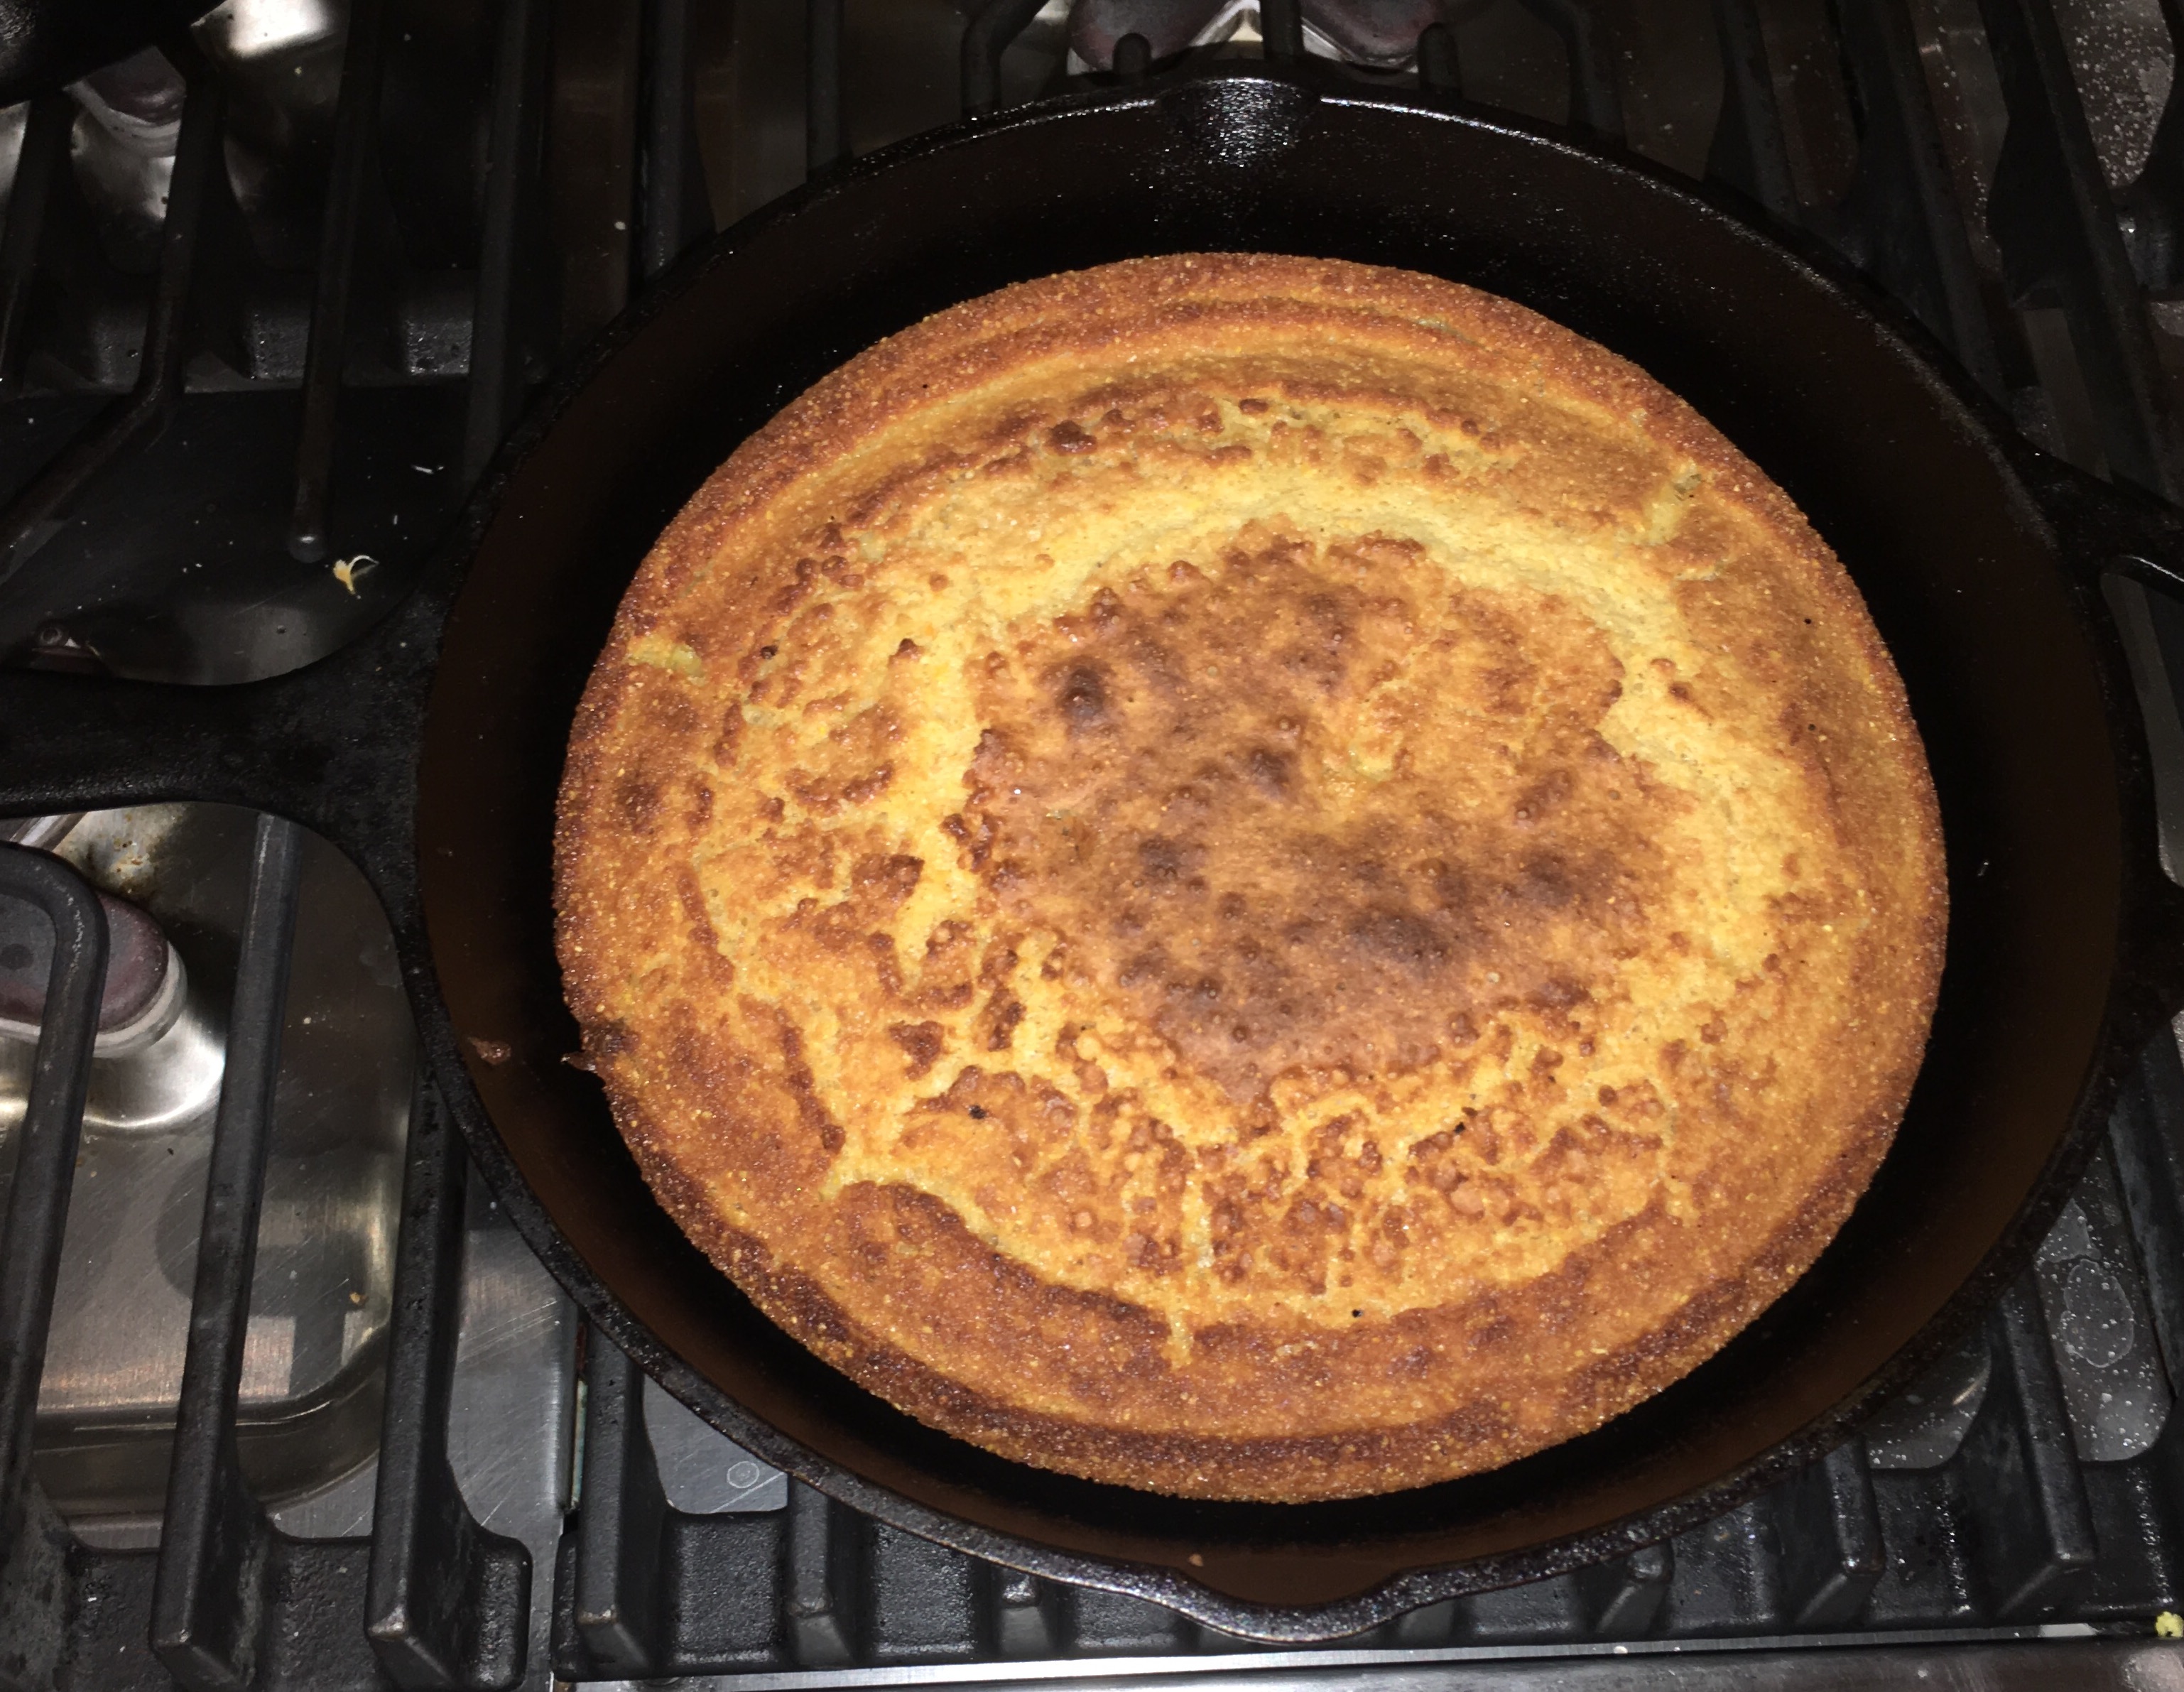
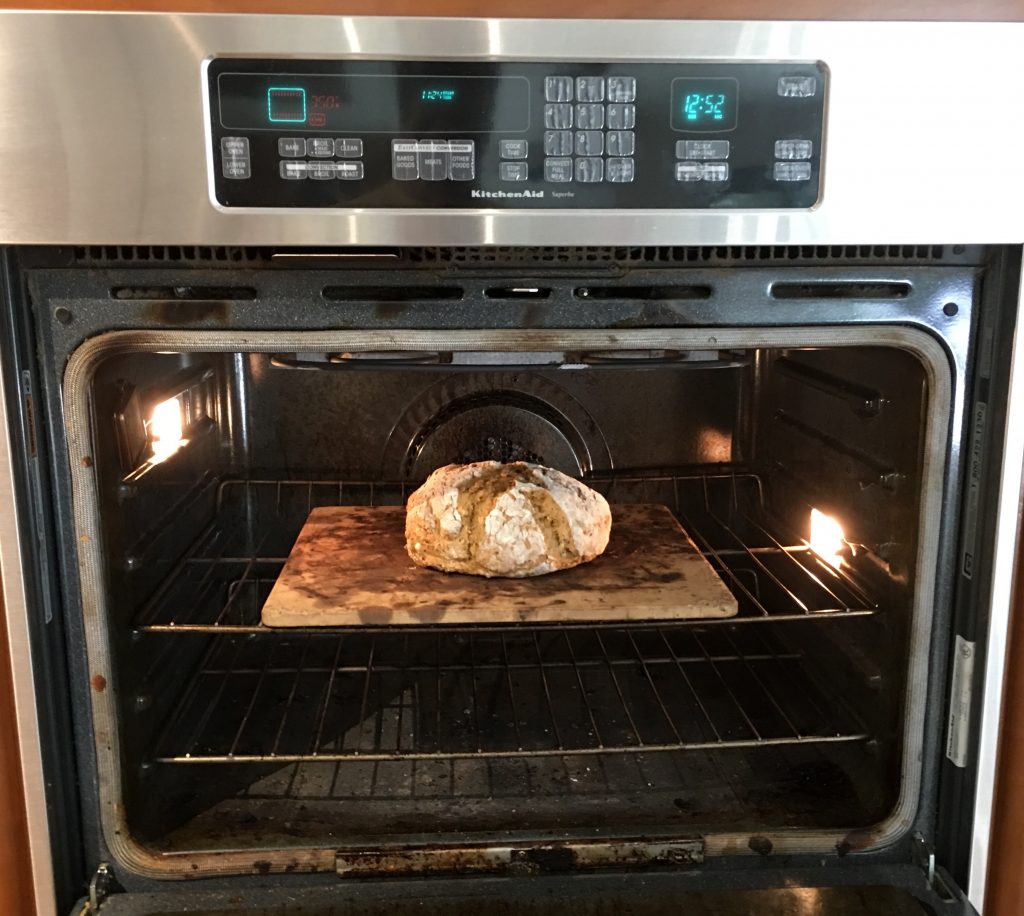
Bake at 425 for 15 minutes. We like to bake it on a pizza stone.

Reduce heat to 350 for 30 minutes

Take it out of the oven and let cool. It’s excellent served with butter or reheated as toast.

Thai Red Curry

I love Thai Gang Ped (Red Curry). When you go to Thai restaurants and order this, all you do is pick what protein to go with it. Tofu is my favorite, but you can’t go wrong with shrimp or chicken. If you can learn to make the sauce, you have a ready made meal sitting in your pantry at all times.

Ingredients

The Curry
2 oz Red Curry Paste. Start with half of the can – you can add more later if you want.I have been using the 4 oz cans of Maesri curry paste.
2 14.5 oz. cans, Coconut Milk
2.50 tbsp Brown Sugar
Optional Ingredients (Choose any or all!)
1.50 lbs Protein, Tofu, Cooked Chicken, Any other cooked meat
1 Can, Bamboo Shoots
1 Can, Water Chestunuts
0.50 lb Spinach Leaves
2 Bell Peppers, Cut into thin 1″ strips
4 Carrots, peeled and cut into rounds or 1″ thin strips
1 cup Broccoli and/or Cauliflower Florets
1 cup Green Beans
1 Bunch, Basil or Cilantro leaves for garnish on top
4 Green Onions, Sliced Thin, for garnish
1 Jalapeño, sliced very thin, for garnish
2 Jasmine Rice

Directions

Whisk in 2 ounces of curry paste with 1 can Coconut Milk over low heat. Stir until mixed.

Add 2nd can of Coconut Milk and 2.5 Tbsp Brown Sugar.

I think this is a pretty good mix, but this is where you taste, and add additional curry (it will get spicer) and/or any of the other suggested ingredients below. You won’t get another chance to make this right after you add the protein and vegetable ingredients.

You can set the curry aside, even refrigerate it, until you are ready to do the cooking.

Make the rice according to directions. Use my foolproof rice recipe if you don’t have a favorite.

Heat the curry sauce until simmering. Add protein and all vegetables and cook for 6 to 8 minutes.

Serve over rice. Add parsley/basil/cilantro/green onions or other fine toppings.

Pasta with Garlic and Oil (Aglio e Olio)

This is such a great classic dish, and you almost always have the ingredients for it right in your pantry. We always have peeled garlic in our fridge, and we have a few fresh or frozen veggies. That’s all you need. And the secret ingredient is the pasta water. Adding that at the end has a crazy amazing impact on the consistency of the dish. Don’t forget to save some!

Ingredients

1 lb Dried pasta of your choice
½ cup Olive Oil
1 Head of Garlic – Minced. At least 12 cloves. (It’s a lot, but look at the title of this dish and stop complaining!)It's a lot, but look at the title of this dish and stop complaining!
½ tsp Salt
3 tbsp Fresh Basil (Or 3 tsp dried Italian Seasoning)
2 tsp Lemon Juice
½ tsp Red Pepper FlakesMore to taste
1 tsp Black Pepper
½ cup Parmesan Cheese (For the Table)
1 Fresh tomato, or some cherry TomatoesThese are optional, but them in a bowl on the table and they make a great topper

Directions

Preparing the Oil/Garlic/Herb Mixture

In a small skillet or saucepan, heat 3 Tbsp olive oil (not too hot!). Add salt and 2/3 of garlic, then gently saute for 7-8 minutes. Turn off the heat when it gets nice and gold, but not yet brown.

WITH THE HEAT OFF, add the remaining olive oil, the remaining garlic, pepper, red pepper flakes, lemon juice, and herbs. Set aside.

Preparing the Pasta.

Boil enough salted water (2 tsp salt) for 1 pound of pasta.

Cook pasta according to directions.

Just before your drain the pasta, take out 1 to 2 cups of the water and set aside.

Drain pasta, then return to pot.

Making It All Happen!

Add every last drop of the Garlic/Oil/Herb mixture to the pasta and stir to coat.

Add 1/2 cup of the reserved pasta water. It will create a looser dish with a nice saucy consistency. Add a little more if you like.

Serve onto plates or bowls. Parmesan cheese, fresh ground black pepper, red pepper flakes, fresh chopped tomatoes, and/or freshly chopped basil all make nice toppings here.

Beer Battered Fish Tacos

There’s a place about 5 miles from our home, Malibu Seafood, that serves the best fried fish tacos I’ve ever had. It’s a long line in the summer, so we don’t go then. As Yogi Berra said about one of the top restaurants in NY, “No one goes there any more. It’s way too crowded.” Ha! Well, we go in the off season. So in the summer, I’ll try my hand at making my own. They’re not as good as the ones at Malibu Seafood, but I love them.

Ingredients

1.50 lbs Fish – Cod is cheap and fantastic, and halibut is a nice (and more expensive) version.
Making the Batter
1 cup Flour
12 oz Beer – I usually have some Fat Tire or Firestone DBA on hand.
1 tsp Ground Black Pepper
1 tsp Salt
Coating Mix
1 cup Flour
1 tsp Salt
1 tsp Ground Black Pepper
Cream Sauce
1 cup Sour Cream
3 tbsp Salsa
0.50 tsp Salt
0.50 tsp Ground Black Pepper
1 Lime, Zest and Juice
Hot Sauce (Cholula is our house favorite)
Toppings
½ Head of Cabbage, Chopped
1 White or Yellow Onion, Chopped
2 Roma Tomatoes, Chopped
2 Avocados
3 Oil for frying – I use
12 Corn Tortillas

Directions

Making the Cream Sauce and Preparing the Toppings

Mix together Sour Cream, Lime zest and juice, salsa, 1/2 tsp salt and 1/2 tsp pepper. Sauce should be lime tangy, and a little spicy. I add about 10 shakes of Cholula.

As an alternative, I have a good tartar sauce recipe that I have not yet put on the website.

Mix cabbage, onion, and tomato together. Bind with a little of the cream sauce if you like.

Slice the avocados and squeeze a little lime or lemon over them.

Move cabbage mix, sliced avocados, and cream sauce to the fridge.

Making the Beer Batter

Mix together flour, 1 tsp salt, 1 tsp black pepper, and 8 ounces of beer. You figure out what to do with the rest of the beer!

Let sit for 15 minutes. Don’t let it get too thick! Add more beer or seltzer water if it does.

Cooking the Fish

On a plate or in a large bowl, mix together 1 cup flour, 1 tsp salt and 1 tsp ground pepper.

Cut fish into thin pieces, 3-4 inches long and 3/4 inch wide. Don’t go too wide here. You want to be able to make a nice taco without a giant piece of fish.

Heat oil in a 9″ cast iron skillet. You can go bigger, but it’s a lot more oil. You want at least 1″ of oil. Oil should heat to about 350 degrees. Thermapens are great for checking temperatures!

Dredge fish pieces in flour, dip in batter, and place in oil. I do about six pieces at a time. Cook for 5-6 minutes until deep golden brown.

Set fish on a wire rack over a cookie sheet lined with paper towels to drain.

Serve as quickly as possible!

Prepare the tortillas by either
(1) Heating them up on a griddle or on the grill (very healthy),
(2) Lightly frying them in canola oil, then resting on paper towels or hanging them in the oven over the oven rack (very awesome),
(3) Wrapping in a paper towel and microwaving for 30 seconds.

I place the tortillas, fish, cabbage mix, cream sauce, avocado and hot sauce on the table, and let people serve themselves!

Skillet Cornbread

I love cornbread. Always have. I’ve gone through phrases in how I made it. My recipe for years was the Marie Calender’s mix, which was a little sweet, but so easy, and really, really good. Then, my mom made this recipe for me a few years ago. It is a non-sweet cornbread with a super crispy kissed-by-butter exterior. And on top of being the best-tasting cornbread I’ve had, it’s yet one more opportunity to utilize your cast iron skillet. Bring this to a pot luck or your own table and once again, you are a hero for the day!

Ingredients

1 cup Yellow CornmealI used Bob's Red Mill Brand Medium Grind Corn Meal
½ cup All Purpose Flour
1 tsp Salt
1 cup ButtermilkIf you don't have buttermilk, you can use milk with 1 lemon squeezed and set aside for 10 minutes, or 1/2 cup sour cream & 1/2 cup milk
½ cup Whole MilkLowfat is OK too. We're a whole milk family.
1 Egg
1 tbsp Baking Powder
½ tsp Baking Soda
1 tbsp Canola Oil
3 tbsp Butter

Directions

Mix Cornmeal, Flour, and Salt in a large bowl.

Add (without stirring) all remaining ingredients except butter and canola oil.

Hand stir (no mixer) and mix well with a large spoon. A few lumps are good. It’s not as thick as you think it should be – thinner than pancake batter – but that’s OK.

Place 9″ or 10″ cast iron skillet and in 450 degree oven for 5 minutes. It will begin to smoke.

Note: If you are doubling the recipe, a 12″ cast iron skillet is perfect.

Take the skillet out, then add butter and canola oil. Let the butter melt, then pour in the cornbread mixture.

Bake for 15-20 minutes at 450 degrees, until the top is brown and the sides pull away from the edges of the skillet. If you are a Thermapen temperature geek like me, the center should be at least 185 degrees.

Sheri’s Spanish Rice

Our friend Sheri loves to entertain in her beautiful home.  One of the dishes we have ‘stolen’ from her is her Spanish Rice.  It is spectacular and it’s now a regular in our home.  The pineapple juice element adds so much to the recipe!

Ingredients

1 tbsp Canola Oil
1 cup Jasmine or Basamati RiceI've been using Basamati more recently – It's less sticky, and seems better for fried rice recipes.
1 tsp Garlic Powder
1 tsp Salt
2 tbsp Taco SauceLa Victoria Taco Sauce is a great refrigerator staple and works perfectly here. Sheri's original recipe calls for tomato sauce, which is really good. But we are taco sauce people now. And when I make it for Asian food, I often use chili garlic sauce!
2 Bay Leaves
2 Water
¼ cup Pineapple Juice. This adds fantastic taste. Do it if you can!

Directions

Heat Canola Oil in a skillet or pot that has a cover.

Add rice, salt, and garlic powder to the hot oil. Saute for 5-7 minutes until just browning.

Add taco sauce/tomato sauce/chili garlic sauce Stir to coat all rice.

Add water, pineapple juice, and bay leaves. Stir. When water begins to boil, cover, reduce heat to low, and simmer for 20 minutes.

Pastrami Cheeseburgers

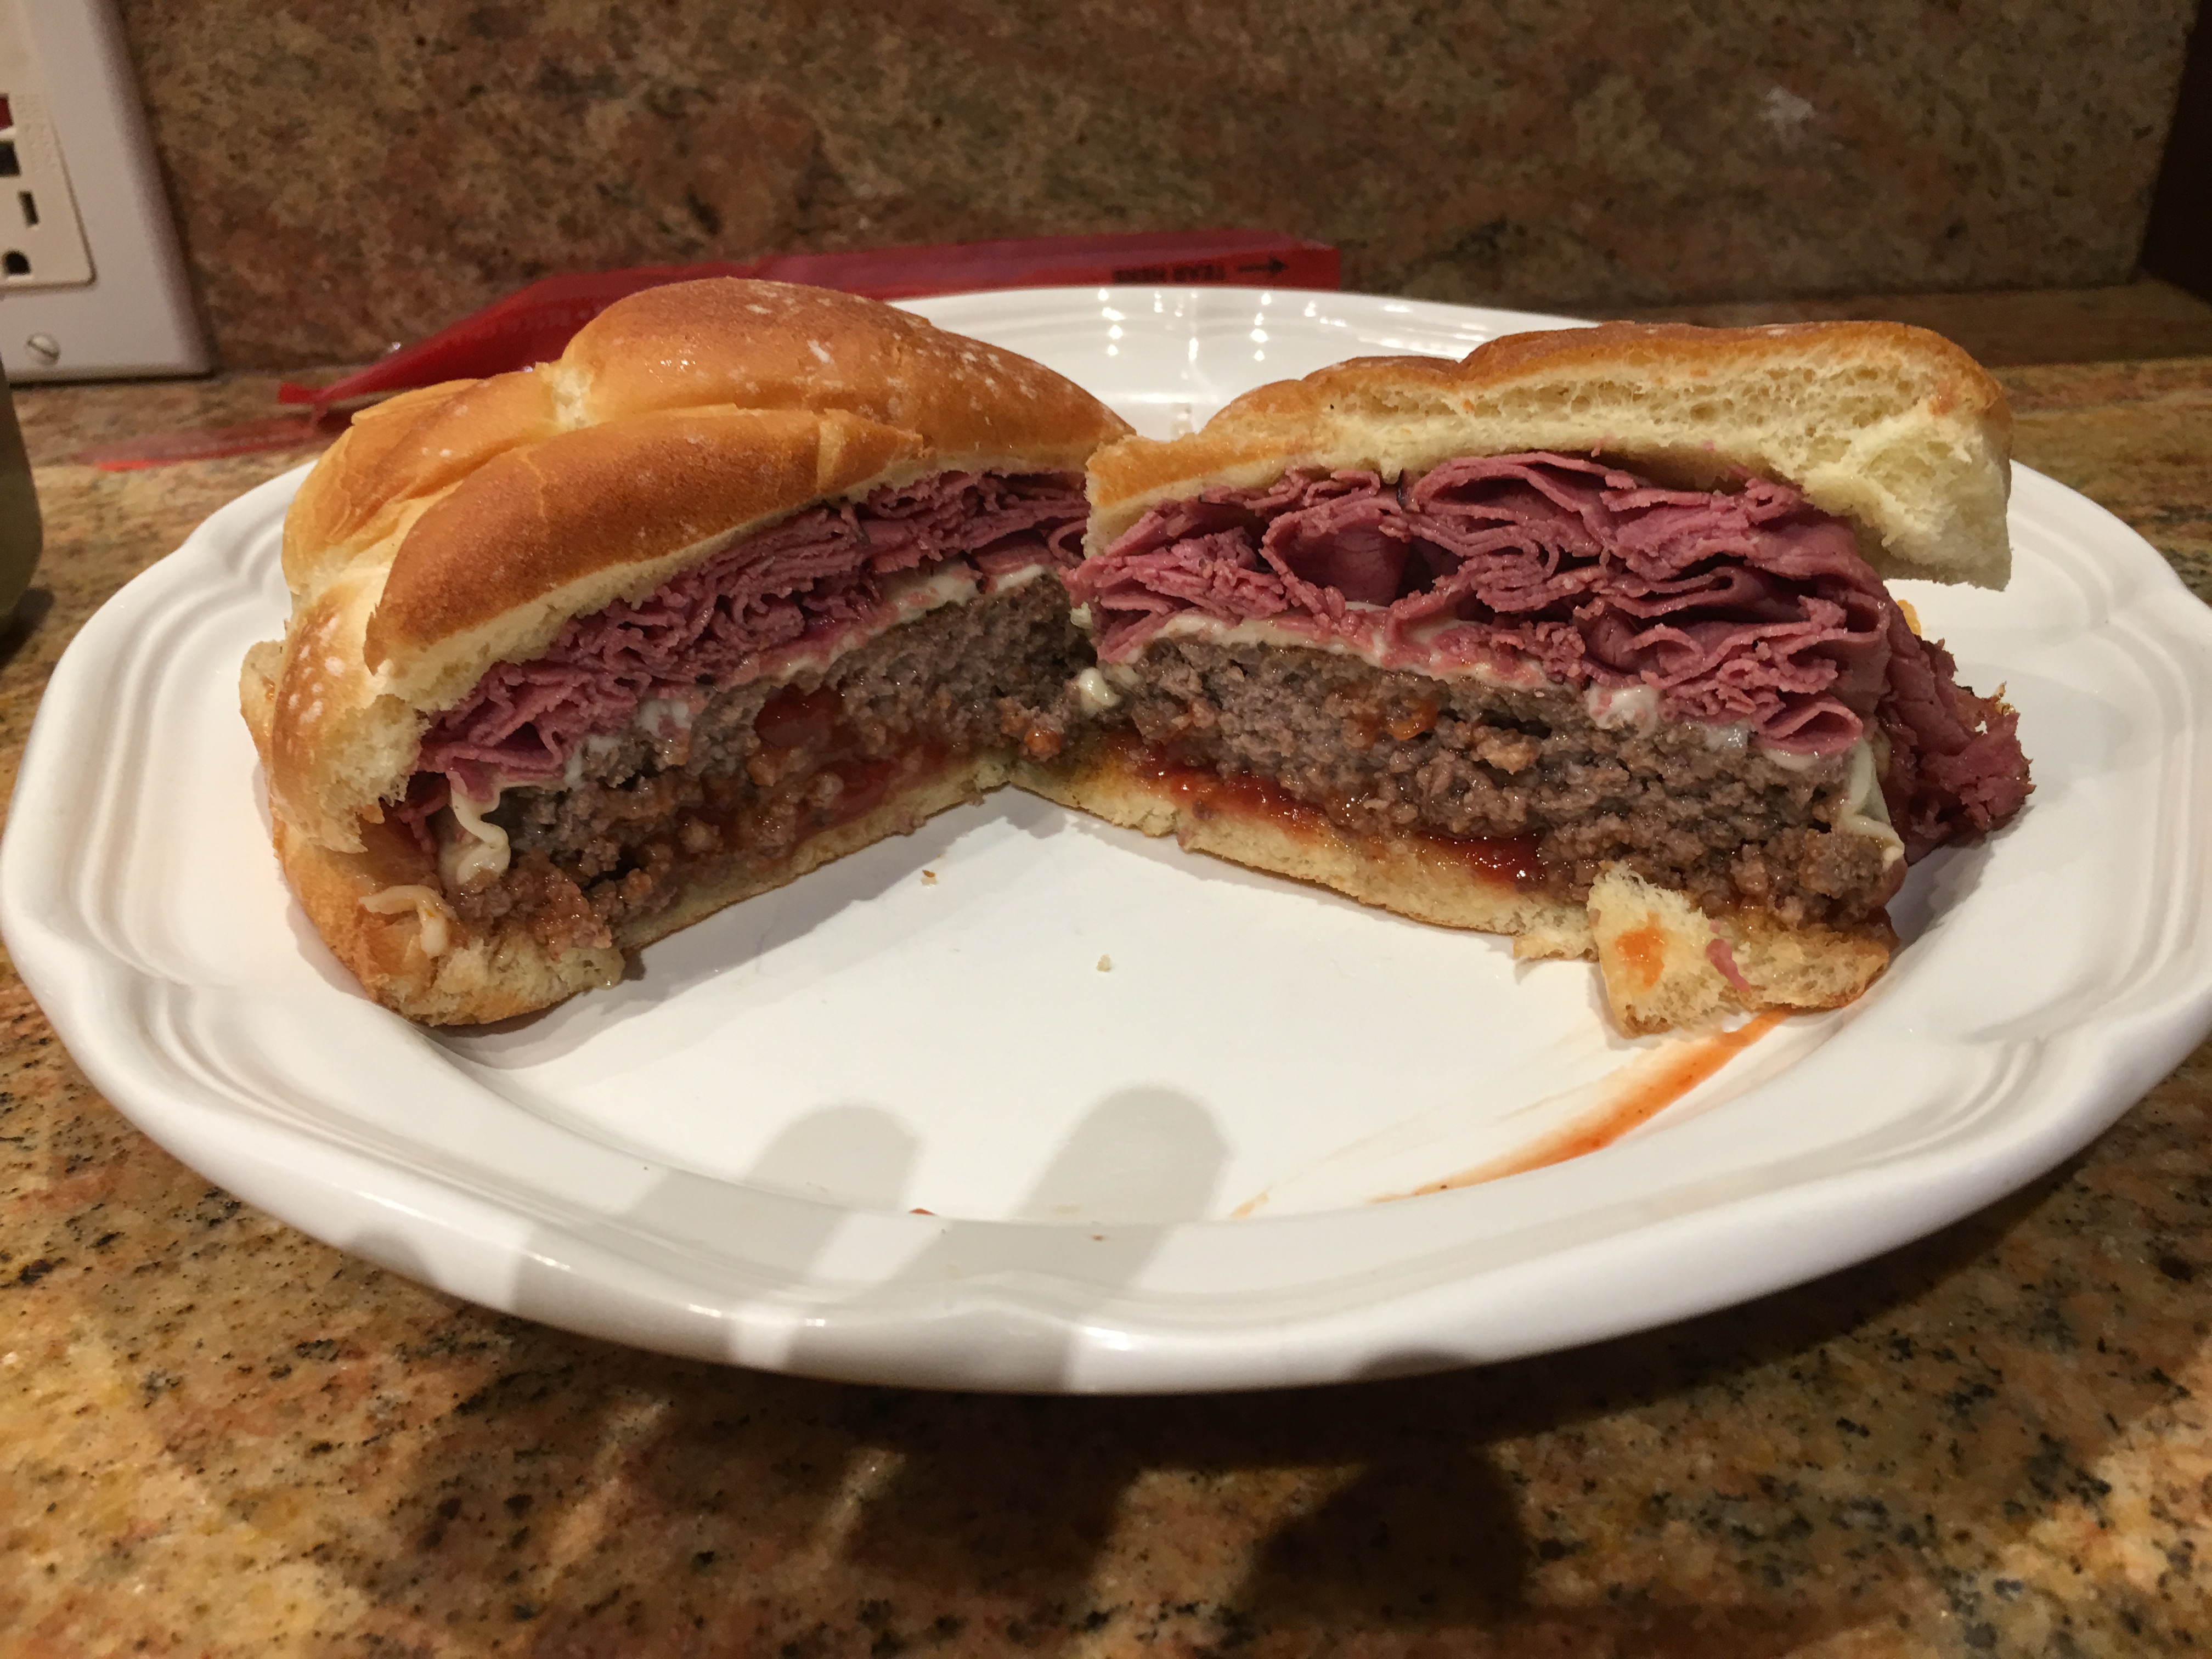
Guy Fieri from Diners, Drive-Ins, and Dives loves a good burger, and so do we! His favorite burger is the Pastrami Burger from a place called Hodad’s in San Diego. Mike Hardin , who ran the place until he recently passed away, had a tatoo of Guy on his thigh. I’m not going to do that. But I’m still a fan, and we will go there one day, have this burger and meet his son who’s now running the place. In the meantime, it’s a good day when pastrami cheeseburgers are happening in my house.

One of the keys to recipes is the amount of mustard you put on the bottom bun of each burger. It’s a lot! But when I was serving these up to my son Ryan and his friends, his friend Dusty said, “Mike. I now know what you’re superpower is. It’s mustard. Nobody else knows the right amount of mustard like you do.” So I got that going for me. Which is nice.

Ingredients

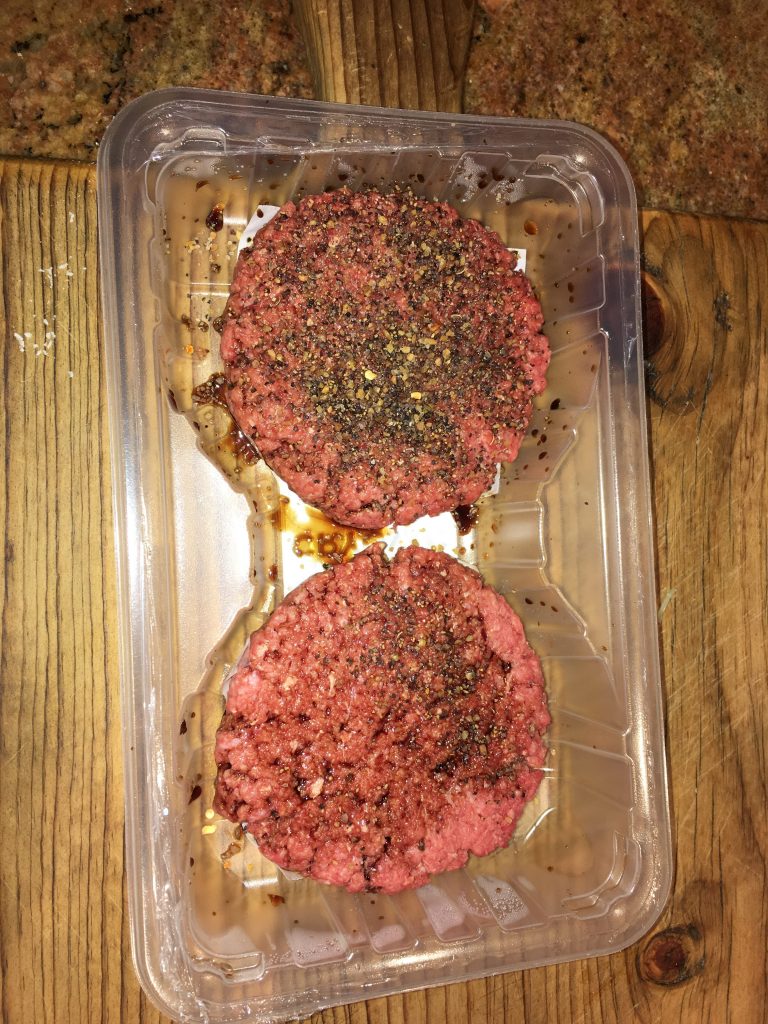
¼ lb hamburger per person. 85/15 is the leanest you should go.I usually make 1/3 pound burgers, but there's so much pastrami, a thin patty works out great.
¼ lb Beef Pastrami, per person. Thinly sliced from your favorite deli. Get more than this, and make some great sandwiches this week.
1 Slice cheese per person, swiss is nice here, but choose your own.
½ Onion, sliced, per person
1 Soft Hamburger Bun, per person. Brioche buns are hot right now, but find a good one.
Mustard, Yellow, Dijon, Spice – the one you like the most with pastrami or a burger.
Ketchup
Soy Sauce
Montreal Steak Seasoning

Directions

Season burgers like you season steaks. Soy sauce and Montreal Steak Seasoning.

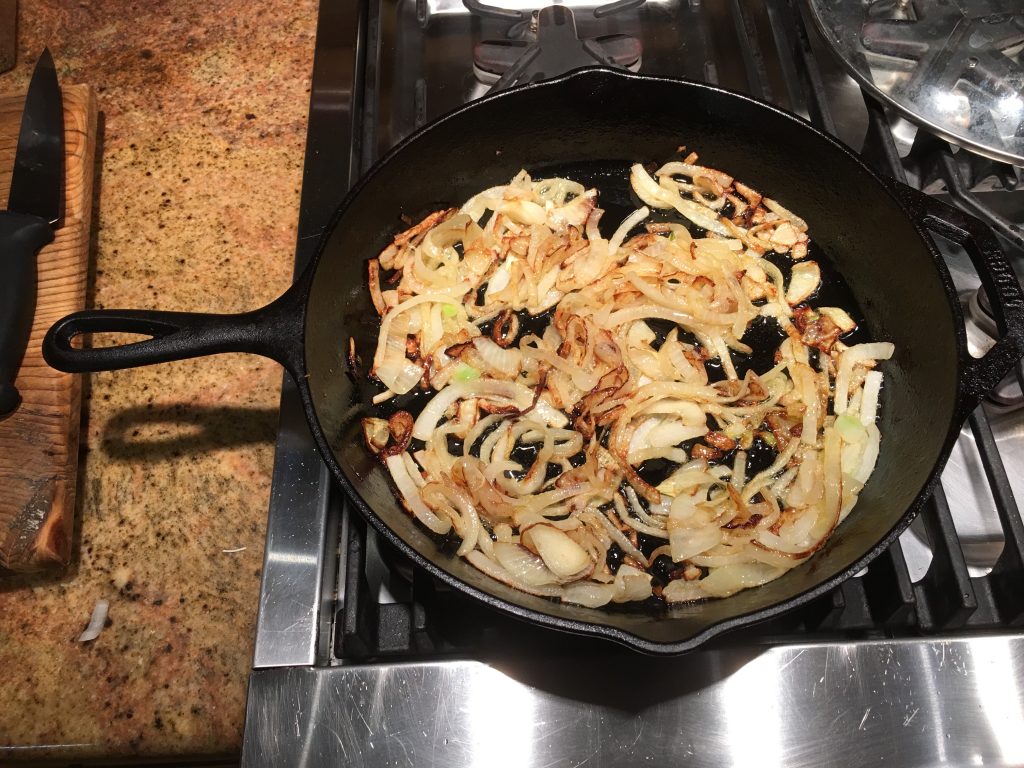
Slice onion thinly and saute in olive oil until nice and browned. Take them out and set aside.

Grill the burger to your satisfaction. I’m a medium well to well done burger guy. Please don’t judge. I like the outdoor bbq grill more, but you can use a griddle or cast iron skillet indoors. That’s how Hodad’s does it.

Just before the burger is done, heat the thinly sliced pastrami. I do this in the cast iron skillet with a tiny bit of oil.

Add cheese to the burger, close the lid, and let it melt for no more than 1 minute.

Assembling the burger

Start with the bottom half of the bun. Put twice as much mustard as you usually put on a burger. Twice. May be 2 and a half times. Go big.

Put the burger with cheese on the mustard-laden bottom bun. Add enough pastrami to make a decent-sized pastrami sandwich. Not a NY Deli sized pastrami sandwich, but enough to be good by itself.

Add the grilled onions. This is a big burger!

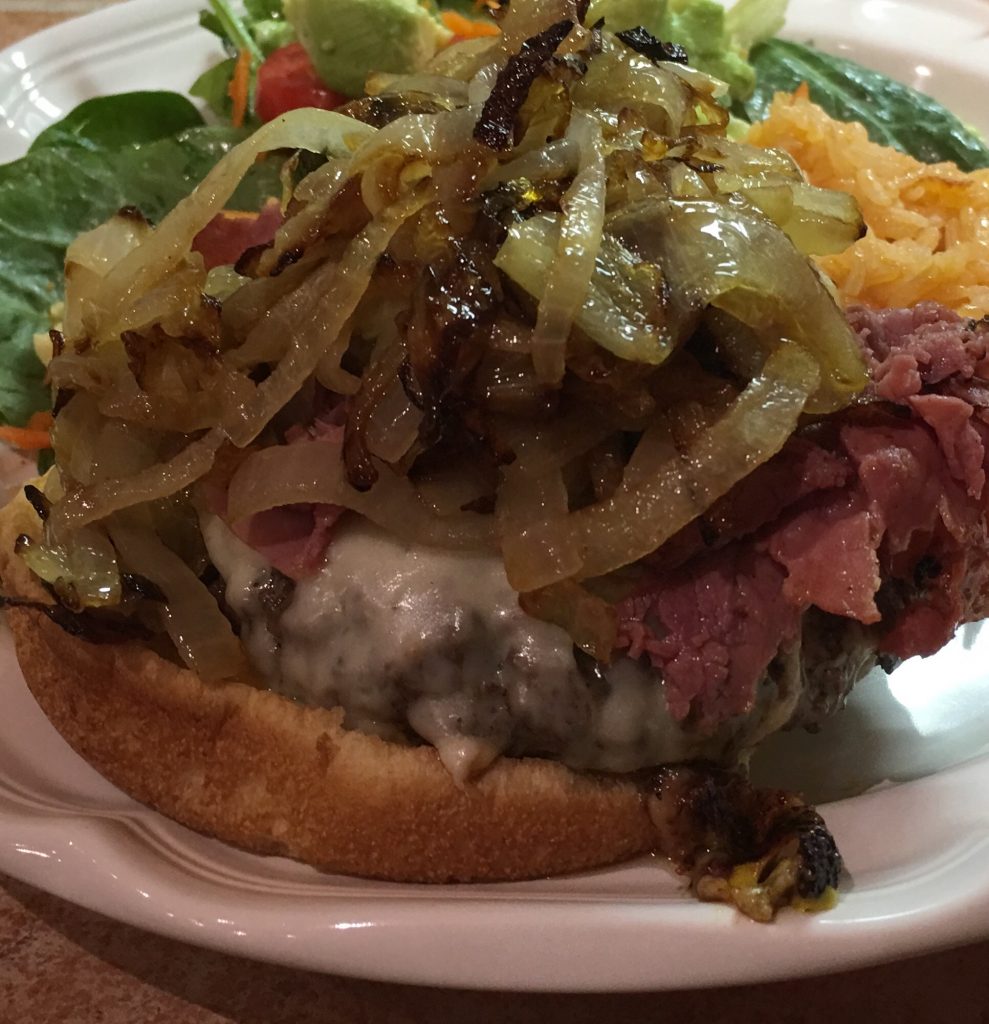
Put a normal sized amount of ketchup on top, place the bun, slice in half if you want, and you are ready to go!

Jilly’s Chili (2014 Malibu West Chili Cook-Off Winner!)

Every Halloween, we get a LOT of trick or treaters at our house. Like 500. Kind of crazy. We always have hot dogs, hot links, cole slaw, and chili for any of our friends who want to take a short break. They can get some food and a beverage while thier kids count and/or trade their loot. Jilly’s Chili is the star of the show. People know it’s no ordinary chili. She won the Malibu West Chili Cookoff, and Jilly’s name is perpetually engraved on the Malibu West Chili Cook Off plaque. Yes – That is big. Really big. She deserves it. Jilly’s Chili is vegetarian, it’s real, and it’s spectacular.

Ingredients

1 Can Kidney Beans, drained
1 Can Black Beans, drained
1 Can Pinto Beans, drained
1 Can Garbanzo Beans, drained
1 cup Corn, Frozen or Fresh
1 Red Pepper, diced
1 Green Pepper, diced
2 Carrots, peeled and diced
1 Red Onion, diced
28 oz Crushed Tomatoes
1 cup Vegetable Broth
5 Garlic Cloves, minced
1.50 tsp Chili Powder
1 tsp Cumin
1 tsp Corriander
1 tsp Cocoa Powder, unsweetened (Ghirardelli is great stuff)
½ tsp Garlic Powder
tsp Cayenne Pepper
½ tsp Salt
1 tsp Smoked Paprika
3 tbsp Butter
Optional Toppings: Shredded Cheddar Cheese, Sour Cream, Chives,

Directions

Chop the garlic, onion, and bell peppers. Sauté lightly in a large pot over medium high heat in 1-2 tsp olive oil.

Add the rest of the ingredients, except for the toppings of course! Sauté for at least one hour. It’s even better on day 2.