Ramen

Tokyo Ramen

We went to Tokyo, Japan in February of 2024. Our youngest son was studying over there, and we felt we were obliged to at least try to understand a little of what he was experiencing. It was cold, a little rainy, and absolutely wonderful. We restricted our visit to Tokyo, but the largest city in the world has plenty to offer. We loved the food – the sushi, the gyoza, and the ramen. We even took a Ramen and Gyoza making class. This ramen recipe is a version of what Chef Andrew Baba Rowe (www.babaramen.com) taught us to make. It’s a little less complex than his version, but after trying it several times, I’m very happy with it. Let me know what you think!

Ingredients

Men-Dare Ingredients
1 cup Soy Sauce (I prefer low sodium)
1 cup Filtered Water
¼ cup Sake
¼ cup Mirin
4 Cloves Garlic (Sliced)
1 2-inch piece of ginger, peeled and sliced
1 tbsp White Granulated Sugar
12 tsp Red Pepper Flakes
2 tsp Bonito Flakes (Optional)
Ingredients for Ramen
2 cups Broth – Chicken, Pork, Beef, Veggie (That’s the amount per person)
1 Medium-Boiled Egg (6 minutes in boiling water, then cooled down)
lb Protein – Ground pork, sliced chicken, fried chicken (boneless), salmon, shrimp, tofu
½ cup Cooked veggies (Bok Choy, Mushrooms, Broccoli)
¼ cup Cilantro, de-stemmed and chopped
1 Green Onion, sliced
½ tsp Aroma Oil for the top – I recommend chili oilOne of the final touches of a ramen is to put some kind of oil on the top that the eater will smell mixing in with all of the other flavors. It's why ramens may seem a little fatty, but it's just a little bit for flavor on the surface. My favorite is chili oil, but you can also use some rendered chicken fat, or anything else you would like.

Directions

Making the Men-Dare

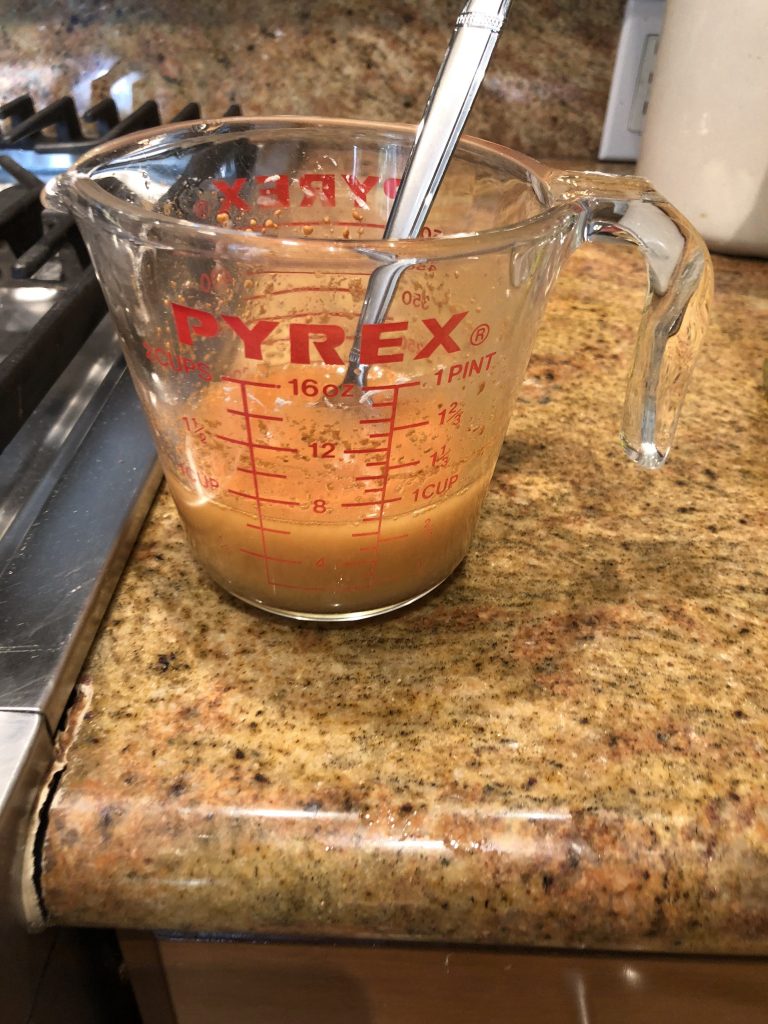
The key to all of this is the Men-Dare – a secret sauce that you store like a sourdough starter in your refrigerator. Make it once, and it will last you for a while. I think there’s enough in this recipe for 25-30 servings of Ramen.

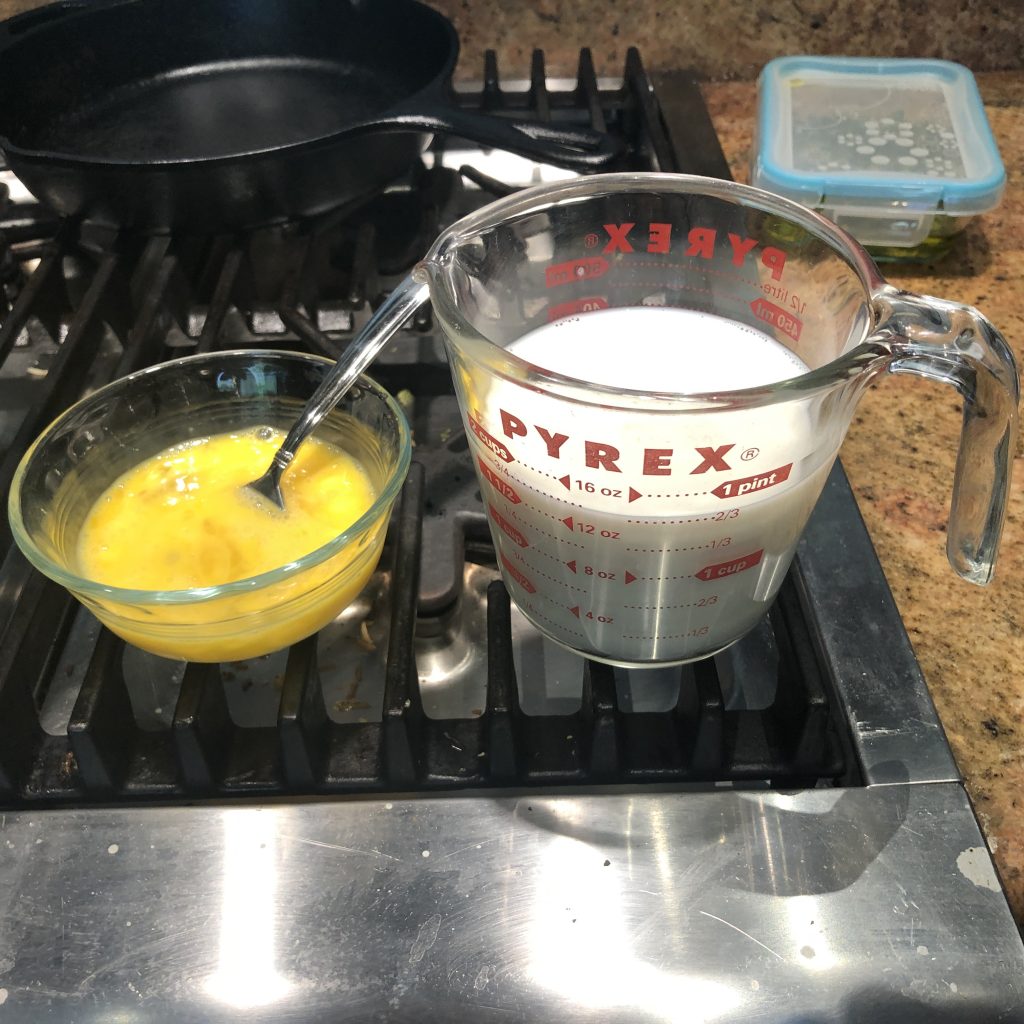
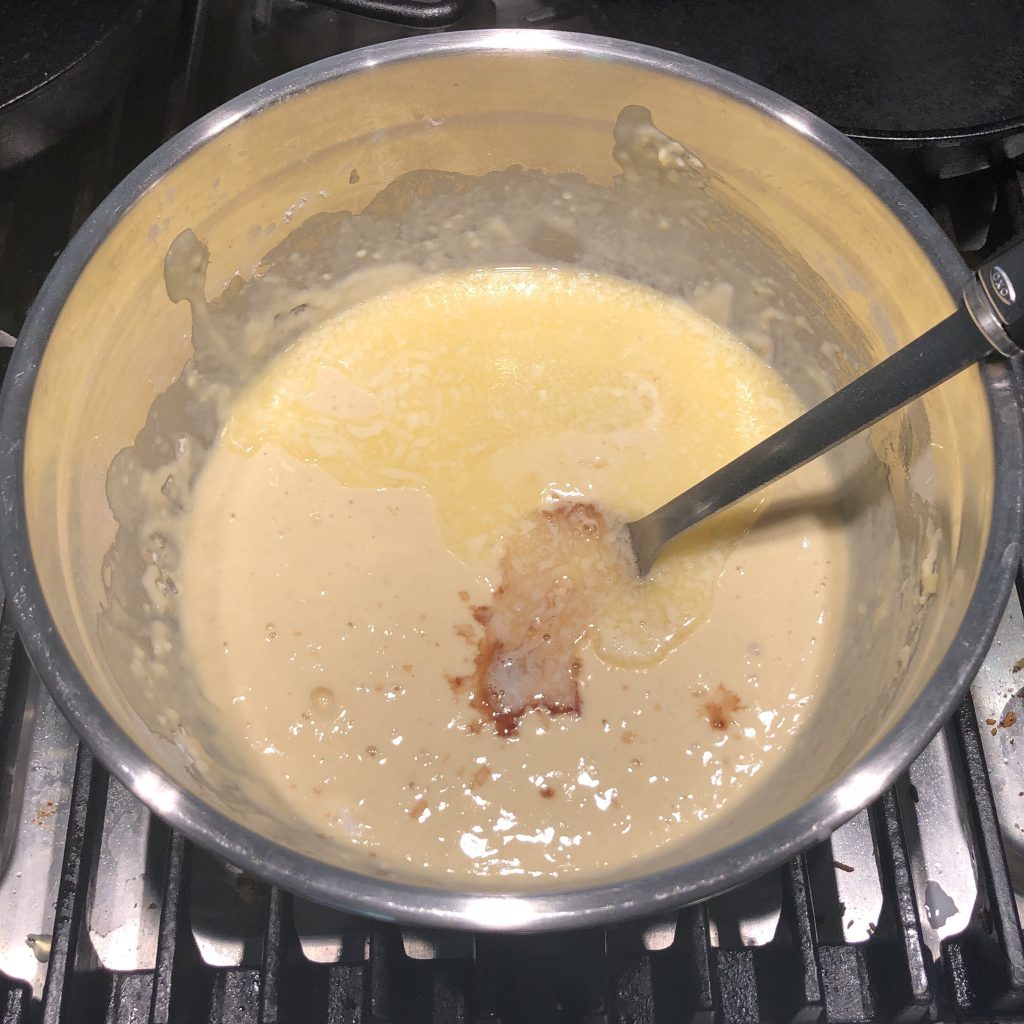
Mix all of the ingredients together, and let them sit for a while. (1 hour, 6 hours, or best, up to 24 hours)

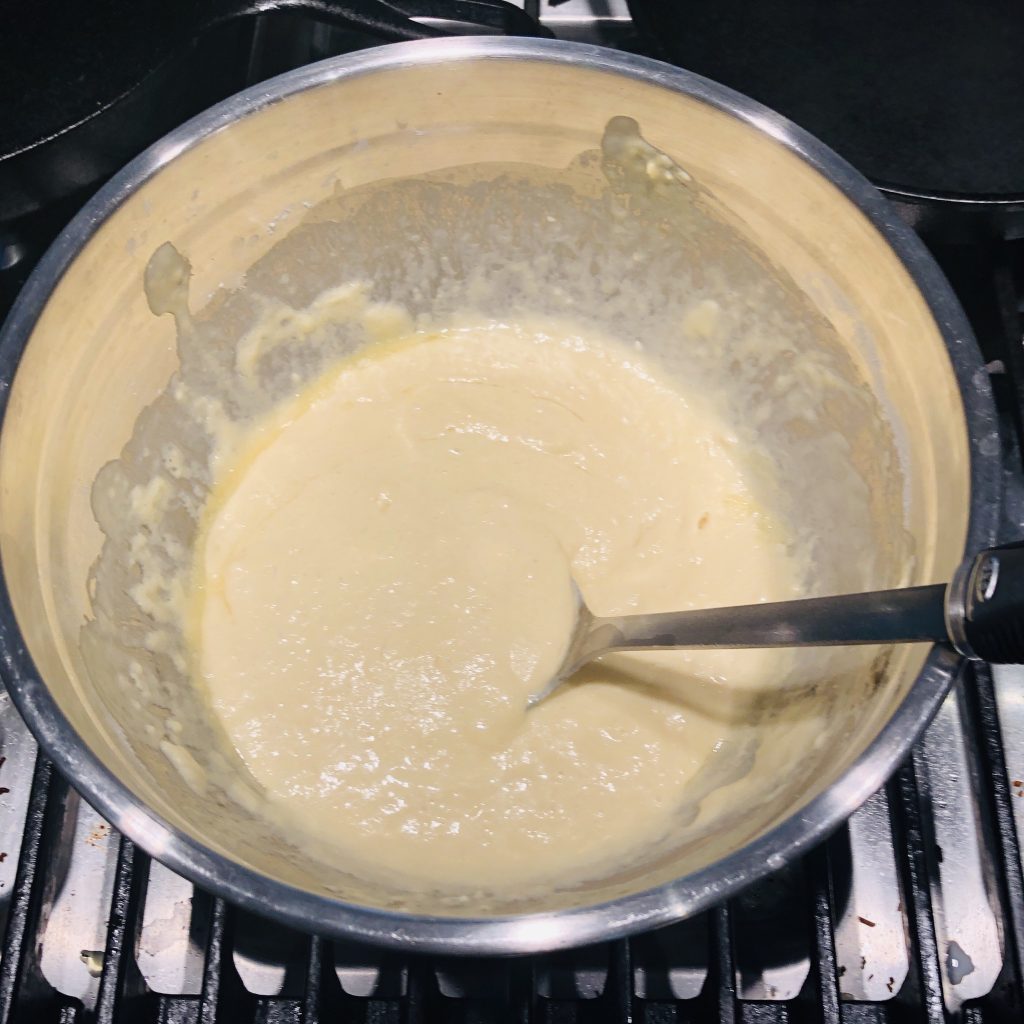
Then slowly bring the mixture to a boil for, turning off the heat once it has reached boiling point.

Let cool, then strain liquids into a jar. Seal and store in the refrigerator until you ready to use it. You will use about 1/8 cup per serving. The Men-Dare will last a long time. I plan to either use mine in a year or get rid of it and make a new batch. I will be disappointed if I don’t use it all!

Assembling the Ramen

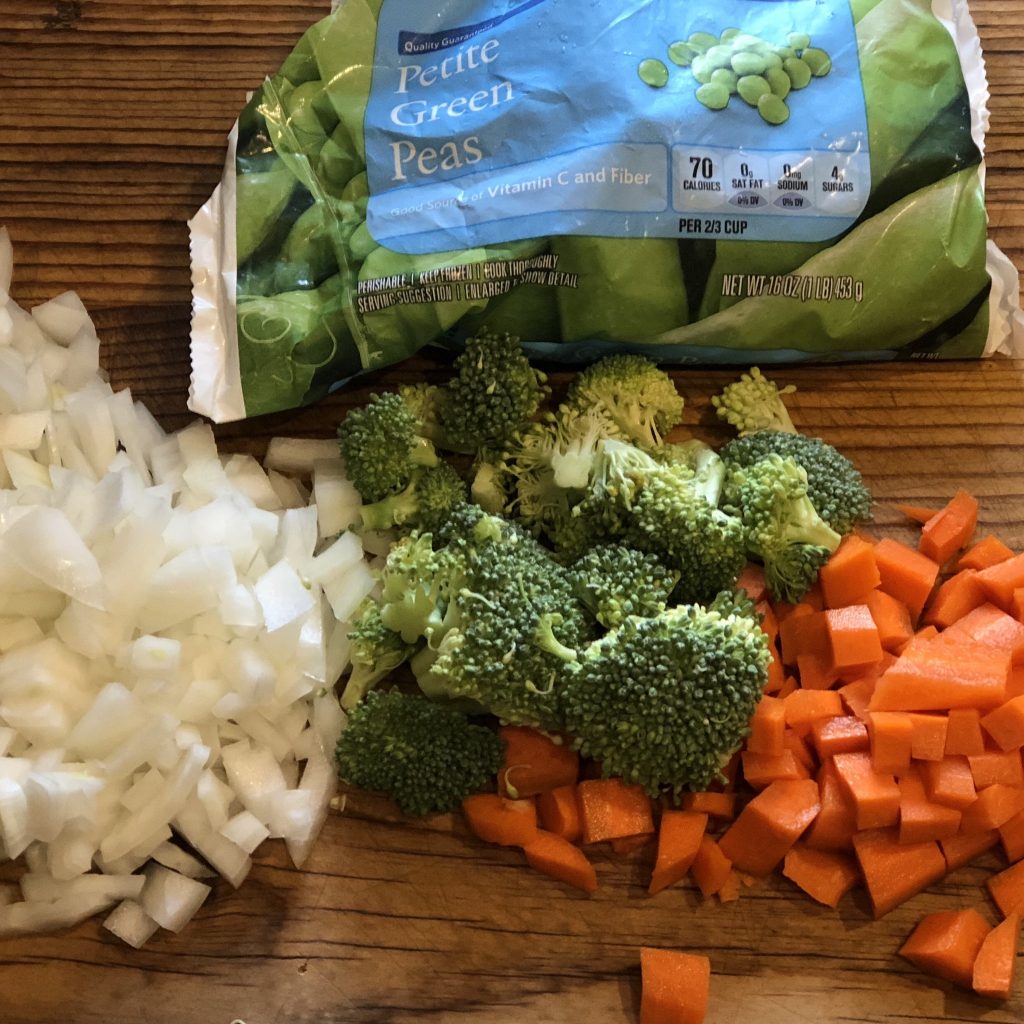
Ramen can be anything. What’s in your pantry? What’s in your refrigerator? The main thing you have to figure out is the broth. True ramen-makers spend three full days making the broth. I spend three full seconds opening a box of it. Sorry, purists.

Our go-to broth these days is Organic Imagine Vegetarian No-Chicken Broth. We use it for everything. Find (or make) a broth you love.

Next – Figure out your noodles. They can be anything. Our current noodle of choice is Trader Joe’s Thai Wheat Noodles. They are precooked and vacuum sealed in single serving pouches. Super easy! But anything will do. I loved the udo noodles in Japan – big thick chewy noodles. And I have some frozen ones, but so far, I don’t like them as much as the ones from TJs.

Preparing Ingredients

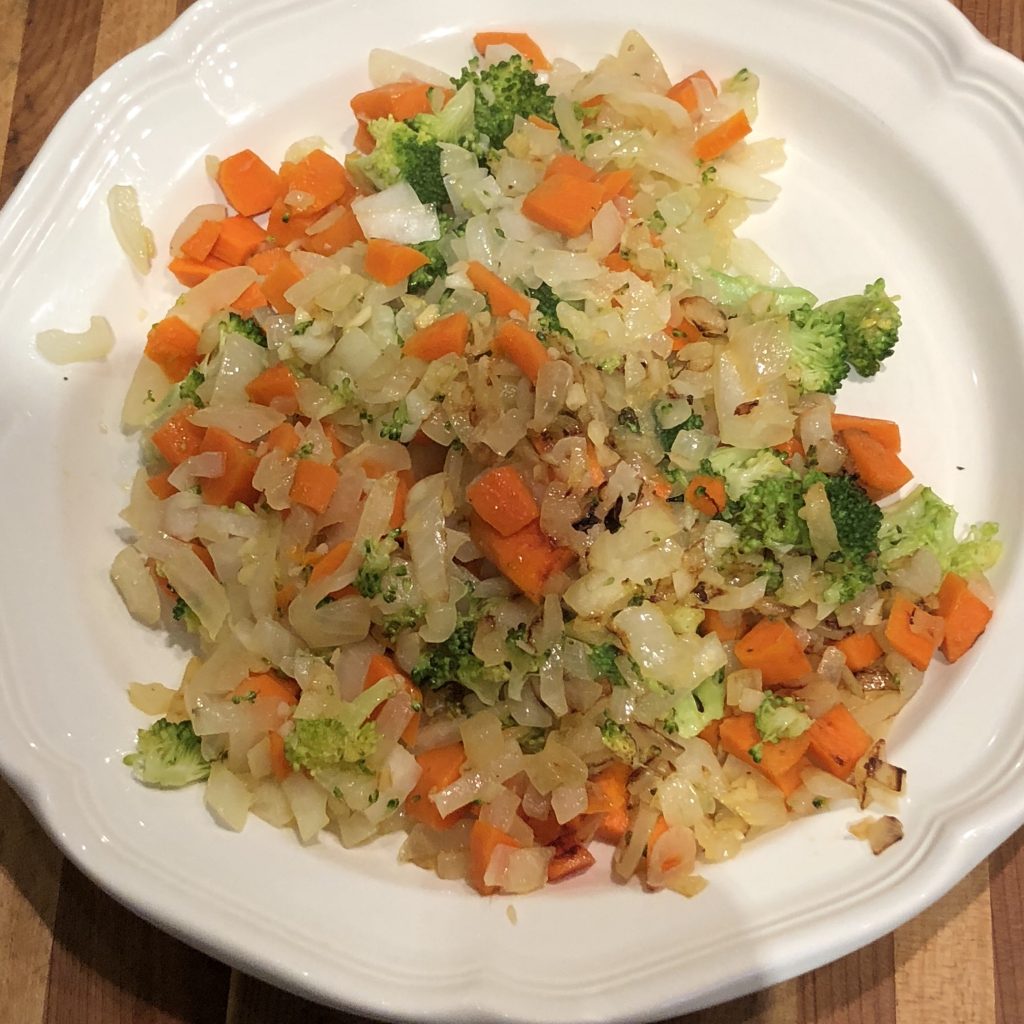
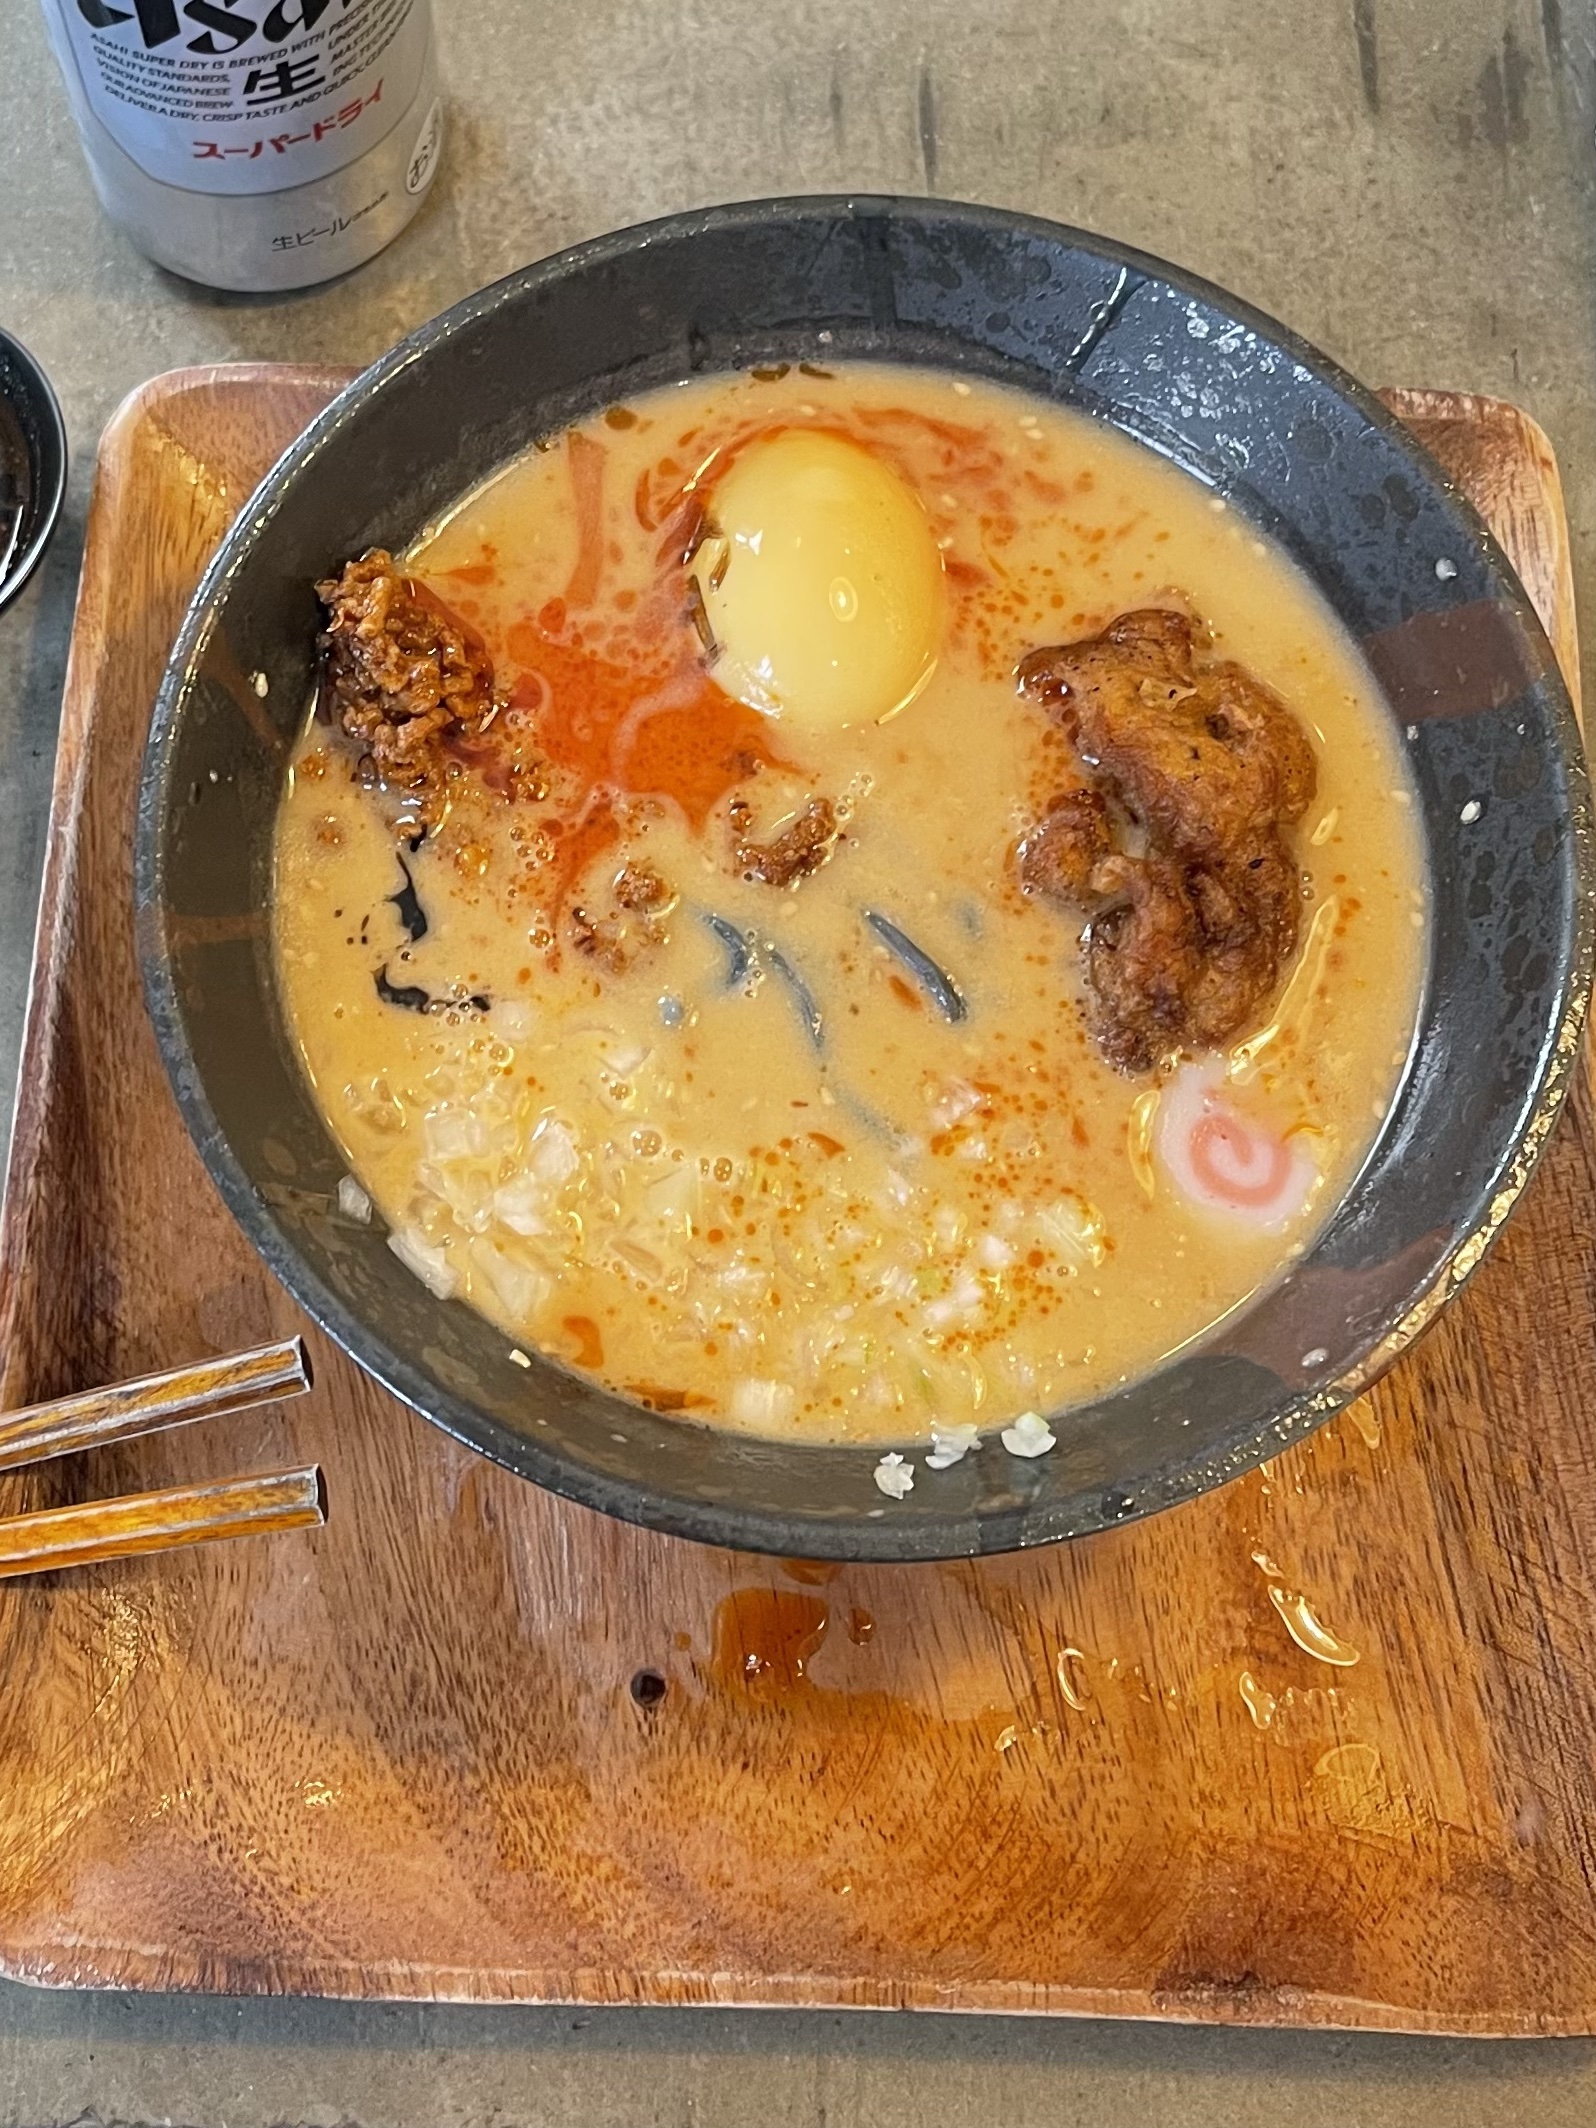
Ramen can be simple – just noodles and broth, or it can be an artistic masterpiece full of ingredients. My favorite ingredients are:
Medium Boiled Egg cut in half (The recommended eggs are cooked, peeled, placed in a bowl with hot Men-Dare mixture poured over them, refrigerated for 24 hours, then served. I haven’t done that yet, but I will!)
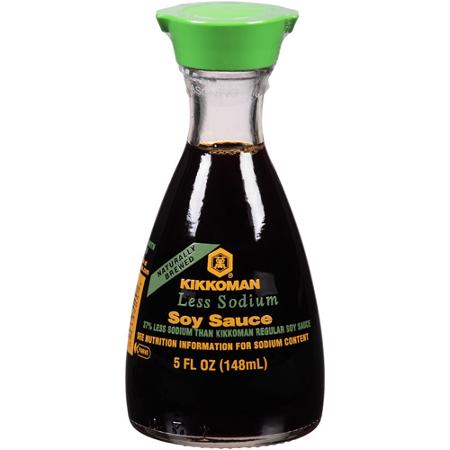
Ground Pork – cooked and seasoned with soy sauce, black pepper, and garlic. Though I must say – we had fried chicken thighs in our cooking class, and it was outstanding.
Bok Choy – Cooked
Cilantro – chopped and de-stemmed
Green Onions – Chopped

Assembling the Ramen

Place 1/8 cup (2 Tbsp) of Men-Dare in Bowl

Add 1.5 to 2 cups of broth to Bowl

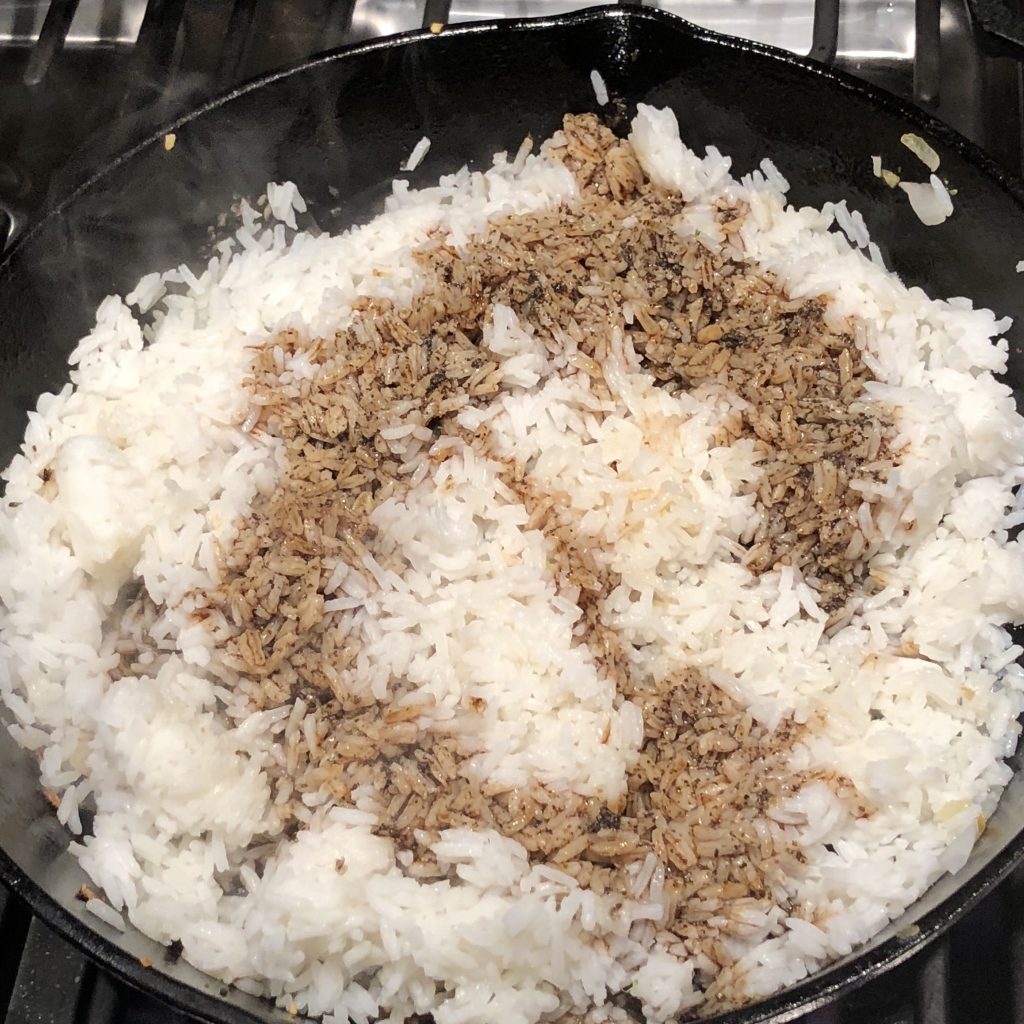
Lay in cooked noodles

Sprinkle the aroma oil (chili oil or other) on top of the broth.

Place other ingredients on top, as artistically as possible!

Eating the Ramen!

I was told the proper ramen etiquette is to first smell the ramen, then taste one spoonful of both, then go to town with chopsticks, and slurping the noodles in considered a sign of respect. I wish I had known that as a kid – I could have corrected my mom when she told me to stop slurping my spaghetti!

Alternative Quantity

One last note – if you wanted to make a Men-Dare for just one meal – you could use these proportions for two servings
– 1.5 Tbsp Soy Sauce
– 1.5 Tbsp Water
– 1 tsp Sake
– 1 tsp Mirin
– 1 Garlic Clove, Sliced
– A little ginger, sliced
– 1/2 tsp white granulated sugar
– 1/8 tsp red pepper flakes

Lentil Loaf

LentilLoaf.Finished

Lentil Loaf

Ingredients

1 cup Dry Brown Lentils (or 2.5 cups precooked Lentils)
1 Small to Medium Yellow or Sweet Onion, Finely Diced
4 Stalks Celery, finely diced
3 Yukon Potatoes
1 tsp Garlic Powder
0.50 tsp Salt
1 tsp Black Pepper
0.25 tsp Red Pepper Flakes
2.50 cups Vegetable Stock (just two cups if using precooked lentils)
1 tbsp Soy Sauce or Tamari
2 tsp Poultry Seasoning
1 tsp Hot Sauce (Cholula or your favorite)
0.75 cup Bread Crumbs or Crushed Crackers
0.50 cup Shredded Cheddar (Sharp or Medium)
5 Eggs, Beaten
Tomato Sauce
1 cup Ketchup (Blend in a little BBQ sauce/Gochujang/Other Favorite if you wish)
2 tbsp Brown Sugar
1 tbsp Yellow or Dijon Mustard
0.50 tsp Hot Sauce (If not already blended in above)

Directions

Making the Lentil Loaf

If using dried lentils, soak them in hot water, while you dice and prepare all vegetables.

Preheat oven to 350 degrees.

Add a little vegetable/canola oil to large dutch oven. Add chopped onion, celery, carrots, and potatoes. Stir in garlic powder and pepper flakes after a few minutes. Cook until veggies start to soften.

If soaking the lentils in hot water, drain them. Add lentils to the veggies, along with vegetable stock. Bring to a boil, and then reduce the heat, cooking until most of the liquid is absorbed. It will take about 1 hour for dried lentils, and about 30 minutes for precooked. Rest and cool for 30 minutes. (You don’t have to let it rest that long, but it will make putting in the eggs a little less tricky.)

While you are waiting, prepare the loaf pan. Put some parchment paper into the loaf pan, pushing it down, then cutting off the excess so there’s about one inch rising above the edge of the pan.

Mix in soy sauce or tamari, poultry seasoning, hot sauce, and crackers. Then stir in eggs and cheddar. (if the mix is still hot, making sure you are stirring quickly when adding the eggs. Mixing in a little of the lentil mixture into the eggs first can make that easier.) The consistency should be like oatmeal or grits or macaroni and cheese before baking. Thick, and glopping, not pouring off the spoon as you spoon it into the prepared pan.

Spoon the mixture into the prepared pan.

Bake for about 90 minutes. I know. It’s a long time. The internal temp should be around 190, and it should be firm to the touch.

While you are cooking it, make the tomato sauce by mixing all of the ingredients together and heating to combine them.

In the last 15 minutes of baking the loaf, spread 1/4 to 1/2 of the tomato mixture on top.

Cool slightly, slice, and serve drizzling more tomato sauce on top. At the Sweet Melissa Café in Laramie, Wyoming, they make this ahead of time, and heat it up by letting it sizzle on the flattop grill. It’s a Guy Fieri DDD-approved dish and recipe. Check it out!

Biscuits with the Boss

If you haven’t yet seen Ted Lasso on Apple TV, you’re missing out. One of the gazillion fun parts of the show is Ted’s “Biscuits with the Boss” start to his day. He loves it, but the Boss (Rebecca) only puts up with it because the biscuits are so damn good. It’s a secret recipe, but this online guess that I found is pretty darn good!

My thanks to those who found this recipe. It’s “just” a shortbread recipe, but I like there’s a sort of sleuthing New York TImes authenticity about it. You can see some of the story here.

Ingredients

2 cups White Flour (All Purpose is fine)
1 cup Cold Butter (2 Sticks)
½ cup White Granulated Sugar
1 tsp Salt (The recipe recommends fine crystal. I use Kosher Salt, as I love the bigger bites of salt in bites)

Directions

Preheat oven to 350 degrees.

Take a small casserole dish (I used a 10″ x 8″) and butter it up. Then take parchment paper (this is essential!) and press it into the pan, leaving an inch or two above the rim of the pan.

You want that oven ready, as the cold butter is key.
Mix together all dry ingredients in a mixing bowl.
Add the cold butter chopped into relatively small pieces.

Using the paddle attachment, mix until the pieces of butter are mixed in, but stop before it becomes a thick batter. I made that mistake the first time and they were still tasty, but stopping when it’s crumbly makes them WAY better.

Add the crumbly mixture to your prepared pan.

With a spatula, press down those crumblies until it’s nice and flat. Take a fork and puncture it throughout. Then, pre-cut the dough into the pieces your biscuits to be. The lines fade away with baking, but I can still find them, and I do think it makes the final cut easier.

Cook about 35-40 minutes until they are a light brown on top. If you’re using a bigger pan, the biscuits will be a little thinner, so less time. And if you’re using a smaller pan . . . (I think you can figure that out)

I may invest in some pink boxes like Ted eventually, but for now, it’s serve and eat! Best served enthusiastically while watching a Ted Lasso episode!

Belgian Waffles

Waffles for breakfast! Chicken and waffles for dinner! Invest a few bucks in a waffle iron and you are ready!

Ingredients

2 cups All Purpose Flour
2 tbsp Sugar, Granulated
2 tbsp Baking Powder
1.50 tsp Kosher Salt (1 tsp regular salt)
2 Eggs, Beaten
1.50 cups Milk, Warmed
6 tbsp Butter, Melted
1 tsp Vanilla

Directions

Mix dry ingredients together.

Add milk and eggs and stir in.

Add Melted Butter and Vanilla

Stir together and let it sit for 5 minutes. The consistency should be like of a thick batter, but still thin enough to pour without clumping. It should slowly ooze to fill in the bottom of the waffle iron. If you need a spoon to spread it, it’s too thick. If it quickly fills, it’s too thin. Add milk as needed.

Follow your waffle iron’s directions. Use as little batter as you can while still filling the bottom. When it comes out, if the batter is right, it will be crispy on the outside and a little airy in the inside.

There’s so much butter, I don’t add more, but I get if if you want it. Add syrup, pecans, fruit or whatever floats your waffle!

Dawson’s Favorite Banana Chocolate Chip Muffins

It’s a great day for all of us when Jill makes these amazing muffins for Dawson. There are two uses for old bananas in our house. Most of them get peeled and put in the freezer to use in a smoothie. But some of them, the lucky ones, live to a ripe old age, and get privilege, nay, the honor, of being the start of Dawson’s favorite Banana Chocolate Chip Muffins. Old bananas, we salute you!

Ingredients

3 Ripe Bananas
cup Butter, Melted
1 tsp Baking Soda
¼ tsp Salt
½ cup White Granulated Sugar
1 Egg, Beaten
1.50 cups All Purpose Flour
½ cup Chocolate Chips (More does’t hurt – make it a rounded 1/2 cup!)

Directions

Preheat oven to 350 (I prefer 325 convection), and spray muffin pan with oil.

Melt butter in Microwave. Let it cool for a minute or two.

Add bananas to the buttery goodness.

Mash until smooth.

Mix in baking powder, vanilla, beaten egg, and salt.

Stir in sugar and flour.

Stir in chocolate chips.

Using a spoon, get enough batter to make them 2/3 to 3/4 full (12 muffin cups sort of evenly), and scrape into muffin pan with small spatula.

They are ready to go into the oven!

Bake for 20 minutes at 350 (or 325 Convection), take out when it looks perfect and a butter knife comes out clean!

Biscuits with Black Pepper and Cheddar Cheese (or without!)

The Arkansas kid in me still loves biscuits. I have tried a variety of recipes, but now I have the one I’m sticking with.  Yes, it has an obscene amount of butter in it. But maybe you just shouldn’t worry about it for this one thing? I adapted it from Joanna Gaines Magnolia Table cookbook, and I just love it. The black pepper and cheddar cheese make them savory additions to breakfast, brunch, or dinner. You can make the dough ahead and cut the biscuits up to 3 days ahead, then pop them in the oven when you absolutely need to have them. I think you’ll love them!

Ingredients

4 cups All Purpose Flour
4 tbsp Baking Powder
1 tsp Baking Soda
1.50 tsp Kosher Salt (or 1 tsp regular salt)
2.50 Sticks Cold Salted Butter, each stick sliced into 8 pieces then quartered
2 Eggs, beaten
1.50 cups Buttermilk
1.50 cups Cheddar Cheese (or mix of Cheddar and Parmesan)
2 tbsp Black Pepper, Course Ground

Directions

Mix together all dry ingredients.

Add cold butter pieces.

Using a pastry blender (or a couple of forks if you don’t have that), blend the butter into the dry ingredients until the butter is in pea-sized pieces.

Add in shredded cheese and black pepper and stir in.

Add beaten eggs and stir in.

Add buttermilk and stir in, then mix with hands. It should be sticky, but not wet. Add flour or buttermilk to dry out or moisten. Refrigerate from 1 to 24 hours.

Spread some flour on a clean surface. Take dough out of the fridge and flatten with hands until you have a circle/square/rectangle/odd shape that is a little more than 1/2 inch thick.

Cut with biscuit cutter/glass/measuring cup/knife.

Cook at 400 degrees for 15-20 minutes, until tops are golden brown.

Take out and serve immediately! We you see how much butter goes into these, you know you don’t need to addd butter. But just a little bit won’t hurt, will it?

Jilly’s Chocolate Chip Scones

One of our favorite days happens when Jill makes scones (she pronounces them with a short O sound from her year in Australia. She’s not alone in that pronunciation.) She uses this recipe from an old Williams Sonoma Chocolate cookbook, and it is a crowd pleaser!

Ingredients

2 All purpose white flour
1 tbsp Baking Powder
0.50 tsp Salt
0.25 cup Sugar (White Granulated)
3 tbsp Sugar (White Granulated) (For topping)
0.75 cup Chocolate Chips (Your favorite type – Hard to beat Nestle’s Semi-Sweet, though the Ghiradelli chips are pretty awesome.))
1.25 Heavy Cream
3 tbsp Butter (I prefer salted, but I think salt is underrated in recipes)

Directions

Preheat oven to 425. Mix flour, baking powder, salt, and 1/4 sugar in a large bowl.

Add chocolate chips.

Pour in cream and mix with a fork until it all holds together. It will be sticky. That’s OK!

Place dough on cutting board dusted with flour. Sprinkle with flour and knead 10 times.

Gently shape into a 9-inch circle. Brush with melted butter and sprinkle with extra 2-3 Tbsp sugar. (Optional – I like adding a few sprinkles of course Kosher salt (or other excellent substantive salt), but that’s not for everybody. But it should be!)

Cut into 12 wedges. (If 12 wedges just seems like too much to eat, reduce to 8!)

Place separated wedges onto ungreased baking sheet, leaving at least 1″ between wedges.

Bake at 425 degrees for 15-17 minutes, or until tops are perfectly golden brown. Serve them warm if you can!

Split Pea Soup

PeaSoup.PS

I’ve had this recipe for over 30 years, written on a note card. I can’t even remember where I got it. But I love it and it’s a staple in our house in the fall and winter. I serve it with my Irish Soda Bread recipe and it always feels like a wholesome, healthy, and very tasty meal.

Ingredients

2 tbsp Olive Oil
2 tbsp Butter
1 Onion, white, yellow, or sweet, chopped.
4 Carrots, choppedI love carrots and always add more – they add color and contrast.
4 stalks celery, chopped(More if they are smaller stalks)
3 cups Cabbage, shredded
1 lb Dried Split Peas
8 cups Vegetable Broth
2 cups Water(It's 10 cups of liquid – any combination of broth and water will do)
1 tsp Basil
1 tsp thyme
1 tsp Marjoram
½ tsp oregano
¼ tsp sage
¼ tsp tarragon
¼ tsp celery seed
1 tsp Salt (more if broth is unsalted)
2 tsp Pepper
Fresh Parsley or other fresh herbs for garnish, if desired

Directions

Heat butter and oil in large dutch oven.

Tip – drop a few pieces of onion in there when you add the oil and butter. Forget about it until you hear them start sizzling, then you can add the remainder. Great tip for multi-taskers!

Add vegetables (onion, celery, carrots, and cabbage) and sauté seven to ten minutes until soft.

Add broth, water, and split peas.

Add spices and stir in.

IMPORTANT NOTE: This is a a wide variety of spices, and I don’t keep all of them in my drawer. Don’t go out and buy the ones you don’t have. This recipe would be great with just salt and pepper. Use what you have. My last round I used salt, pepper, basil, oregano, sage, and tarragon. And it will be different next time!

After it gets to a boil, cover and simmer for 90 minutes, until the consistency is what you like.

Fried Rice

Fried Rice with Egg.PS_

I love fried rice. For us, it’s not a side dish. It’s a one bowl meal. The key is thinking a little bit ahead and having some one to three-day old rice in the fridge. If you keep some shrimp (Trader Joe’s Argentinian) in your freezer, or if you have some crab (Costco) in your fridge, you are ready. Take stuff that’s already in your fridge, freezer, and pantry, add some cooked rice from the night before, and go out there and be a fried rice hero!

Ingredients

3 cups White Rice, Leftover and Chilled
1 Onion, diced
6 Garlic Cloves
2 tsp Ginger, Minced(I usually don't have ginger, or ginger paste, but it's nice when I do)
2 cups Diced Vegetables (Peas, Carrots, Broccoli, Celery, Anything you like!)
2 Eggs, beaten
cup Soy Sauce or Tamari Sauce for less sodium
2 tsp Sesame Oil
1 tbsp Black Pepper(That's not a typo – Black Pepper is KEY for this dish!)
2 Green onions, for garnish
3 tbsp Cooking Oil – Canola or Peanut
1 lb Cooked Crab/Shrimp/Sausage/Pulled Pork/Chicken/Tofu or anything leftover that’s tasty!

Directions

I start by making a super thin omelette, taking it off the heat, and slicing into 1/4″ slivers to mix in the fried rice later. Set aside or refrigerate.

Chop your vegetables!

Create your mixture – Soy Sauce, Pepper, Sesame Oil

Add 1 Tbsp Canola oil to wok or pan. Sauté Onions for five minutes, then vegetables for 5 more, or until they’re just the way you like them. Take out of wok or pan and set aside.

Put 2 Tbsp Canola Oil in wok/pan with heat on high. Add rice and let it sizzle for 4-5 minutes. Use a spoon or spatula to make sure it does not stick, but do not stir. You’re trying to make it a little crispy. Add soy mixture, stir, and mix well.

Add everything except the egg. Stir in and heat. Again, let sit instead of constantly stirring.

Blend in the cooked egg at the very end and serve! Have extra soy sauce and some Thai Chili Garlic sauce or Sriracha sauce for those who like it hot.

Skillet Apple Blackberry Pie

I adapted this recipe from the amazing chefs at Cooks Illustrated. It’s fun to use when you have fruit, and you ALWAys have apples and frozen blackberries. It’s super tasty, it’s easy, and it’s one more chance to showcase your cast iron skillet.

Ingredients

Fruit
6 Granny Smith Apples, peeled and cut into 1/2″ thick slices
15 Blackberries, or dried cherries, or something to mix well with the apples
Apple Cider Mixture
½ cup Apple Cider
cup Maple Syrup or Honey
¼ tsp Cinnamon
2 tsp Cornstarch
2 tsp Granulated Sugar
1 Egg White
Crust
1 Pie Crust (Pillsbury or homemade)
3 tbsp Butter

Directions

Melt butter in cast iron skillet. Throw in apples and start to sauté. Don’t over-stir.

Mix Cider, Honey or Syrup, Cinnamon, and Corn Starch together. Set aside.

As apples get close to ready, add blackberries or other fruit.

After 7-8 minutes, when apples have softened, turn off heat and gently stir in in cider mixture.

Lay crust over apples. Brush with egg white. Sprinkle sugar over the top. Sprinkle a little extra cinnamon if you like it as much as I do.

Bake in a 500 degree oven for 20 minutes. Let cool for at least 15 minutes, and serve with ice cream! Show off that cast iron piece or art before you start serving. You deserve the artistic credit!

Karen’s Canadian Christmas Wreath Cookies

You can’t get much more Christmas traditional than my friend Karen. Do what she does and make her Christmas wreath cookies! These cookies are easy to make and the walnuts make them spectacular! So bring a little Canada into your Christmas, or anytime of the year!

Ingredients

1 Stick Butter (1/2 Cup), Softened
1 Egg, Separated
0.25 tsp Almond Extract
0.25 tsp Vanilla Extract
0.33 cup Granulated Sugar
0.50 tsp Salt
1 cup Flour
0.75 cup Walnuts, chopped
0.50 cup Raspberry Jam

Directions

Beat butter until creamy.

Add vanilla extract, almond extract, sugar, and egg yolk. Beat together until smooth.

Mix salt into flour, stir flour/salt mix into butter mix.

Using a kitchen teaspoon, measure and form into balls. Dip into egg white and roll in chopped walnuts.

Place on cookie sheet and press centre. (Karen’s spelling)

Bake at 300 degrees for 25 minutes. Remove and add cold jam while cookies are still warm.

Quiche – So Hot Right Now – Quiche

Why don’t I make quiche more often? That’s what I always say after I make this quiche! There was a funny book published in 1982, Real Mean Don’t Eat Quiche, by Bruce Feirstein, that nearly destroyed the American Quiche industry. The whole point of his humor was that such thinking is male lunacy! Dudes! It’s OK! A slice of quiche and a side salad is a spectacular lunch or dinner. The problem is, two slices make it even better.

Ingredients

1 Pie Crusts, Refrigerated, or use Martha Stewart’s awesome recipe .
5 Eggs, beaten
¼ cup Milk (Whatever you’ve got – we are whole milk people) – The creamier the better.
½ tsp Salt
1 tsp Pepper
1 tbsp Italian Seasonings (or your favorite – herbes de Provence, parsley, sage, rosemary, thyme)
2 tbsp White Flour
Egg Mixture
Pick Your Cheese!
¾ cup Cheese mixture. Cheddar with a little parmesan is nice. Swiss or Gruyere works. Shredded Mexican blend is excellent. Whatever is in your fridge!)
One Cup of Any of the Following Fillings . . .
1 cup Sausage and Grilled Onions
1 cup Sautéed Broccoli
1 cup Sautéed Spinach and Mushroom
1 cup Sautéed Asparagus
1 cup Bacon and Anything

Directions

Prepare the Crust

Preheat the oven to 350.

Roll out the crust into a pie dish – not too deep of a pie dish, this is not a deep dish apple pie! (Although, that would be really good too!) Try to have the crust go over the edge of the dish. This helps.

Bake the crusts for 10 minutes at 350 degrees.

Prepare the Egg Mixture

Mix all the ingredients together with a whisk. Set aside.

Prepare the fillings

You get to decide! Either go with what you want, or what’s in your fridge.

I like to sauté veggies until they are almost done. They can finish in the oven.

Putting it all together – It’s so easy

Take the crusts out of the oven.

Add your chosen filling, sprinkle the cheese over that, then pour the egg mixture over everything.

Smooth it all out so that no filling is sticking out of the mixture.

Bake at 350 for 40 minutes. Take it out when a knife comes out clean. Enjoy!