We love steak in my house. Except for my lovely vegetarian wife. But she supports the three boys in the house in our passion for steak. So what cut is best?
According to Dawson, nothing beats a filet. It’s butter soft, not as fatty as ribeyes, and a perfect steak for home or the steakhouse.
Ryan and I both prefer ribeyes – the fat is much higher, and so is the flavor. To me, the bone in ribeye is the steak to order in a steakhouse, and nothing beats it.
If high quality New York steaks are on sale, it’s always a fantastic option. They are tougher than filets, but a little more flavorful.
People love Porterhouses, which are like a T-bone, with a New York on one side of the bone, and a filet on the other. To me, they are too hard too cook. Getting two different cuts to the perfect temperature is super challenging.
Finally, when I’m buying steak in the grocery store, a good grass-fed steak is always a great option, as it creates both great flavor and texture.
Ingredients
1 Steak, per person*
Soy Sauce
Montreal Steak Seasoning
Directions
Take it out of the fridge and let it sit at least 30 minutes. Don’t let it sit for hours – it’s unsafe.
Season with Soy Sauce To me, it’s more interesting that Worcestershire sauce
Season with Montreal Steak Seasoning. It’s the best. I cover mine with it, and sprinkle Dawson’s lightly. It has a Steak-au-poivre feel to it.
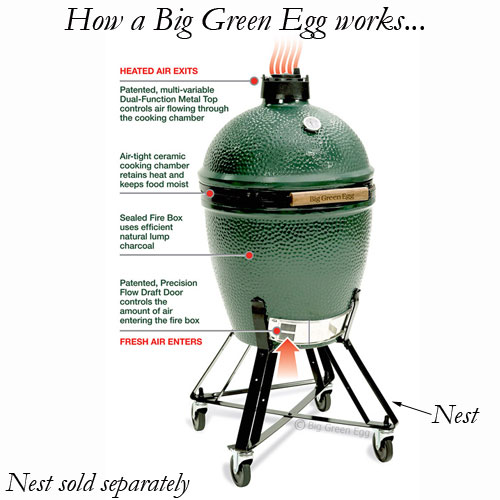
Cook it on the grill or on the Big Green Egg (Direct Cooking). No other way to do it. Get it hot – 400 to 500 degrees is great.
3 Minutes on each side, Rotate 90 degrees and cook 3 minutes on each side again (makes nice cross-hatch marks). I cook my steak until it’s 130 degrees. It’s a perfect medium rare.
Now, if you have a super thick steak – over 2″ thick, please see my recipe for Tomahawk Steaks. You are going to need to use some indirect heat.
Let sit for 3-5 minutes, then serve it up!
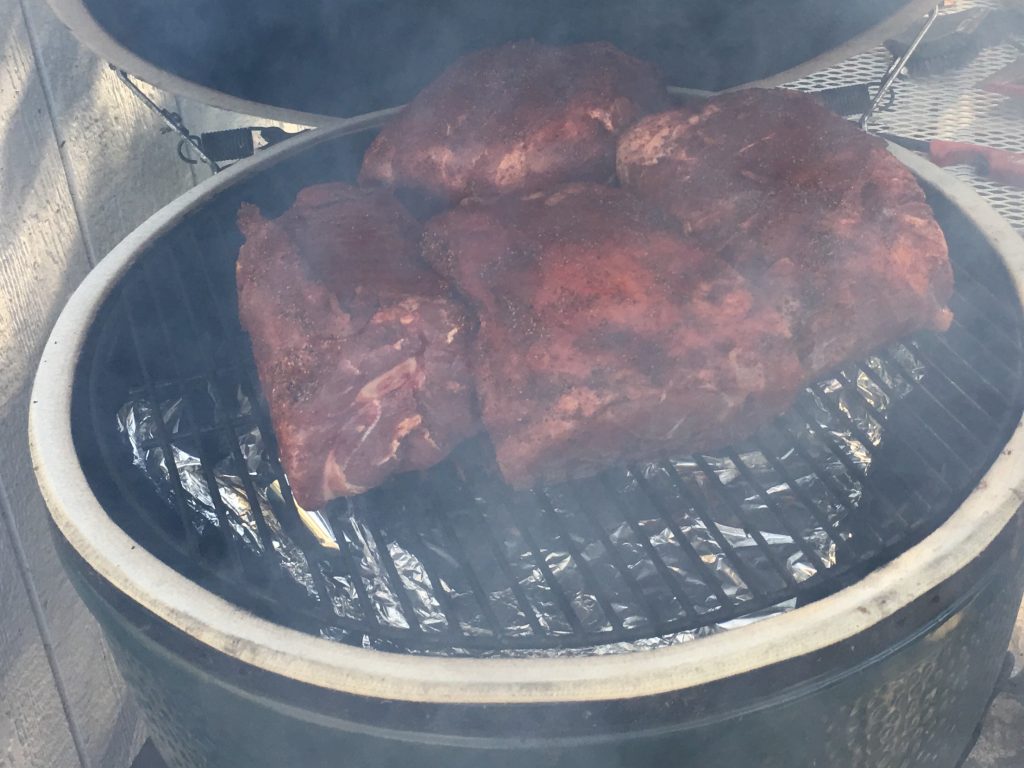
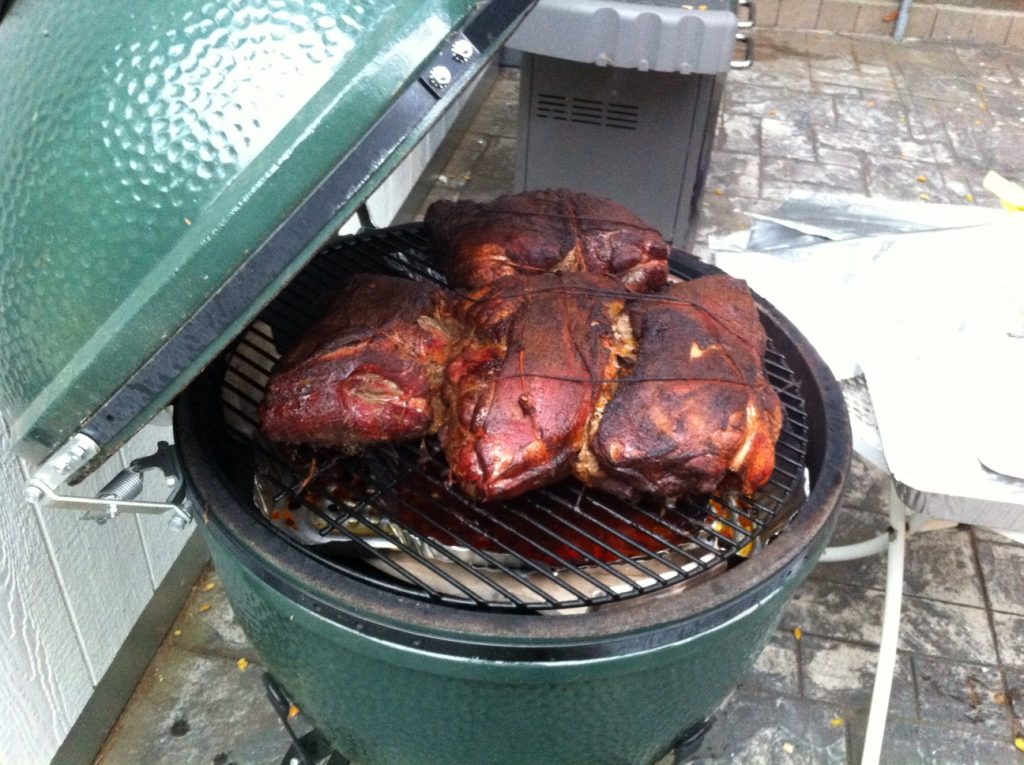
It’s easier than ever to add smoking to your outdoor cooking abilities. And with the right equipment, you don’t have to devote a whole day to the effort. I used to have to tend my $100 offset smoker every 30 minutes. It was tricky to keep the temperature right and the results were inconsistent. If you know this site, you know that I love my XL Big Green Egg. It holds the temperature like a champ, but it takes a little work to get it going, but once you do, it’s a rock and needs little to no attention. And the results are fantastic. But there are easier versions – the Traeger and its copycats are even easier. Plug it in, flip a switch, and you’re smoking. If you like smoke flavor, find your right fit and make it happen.
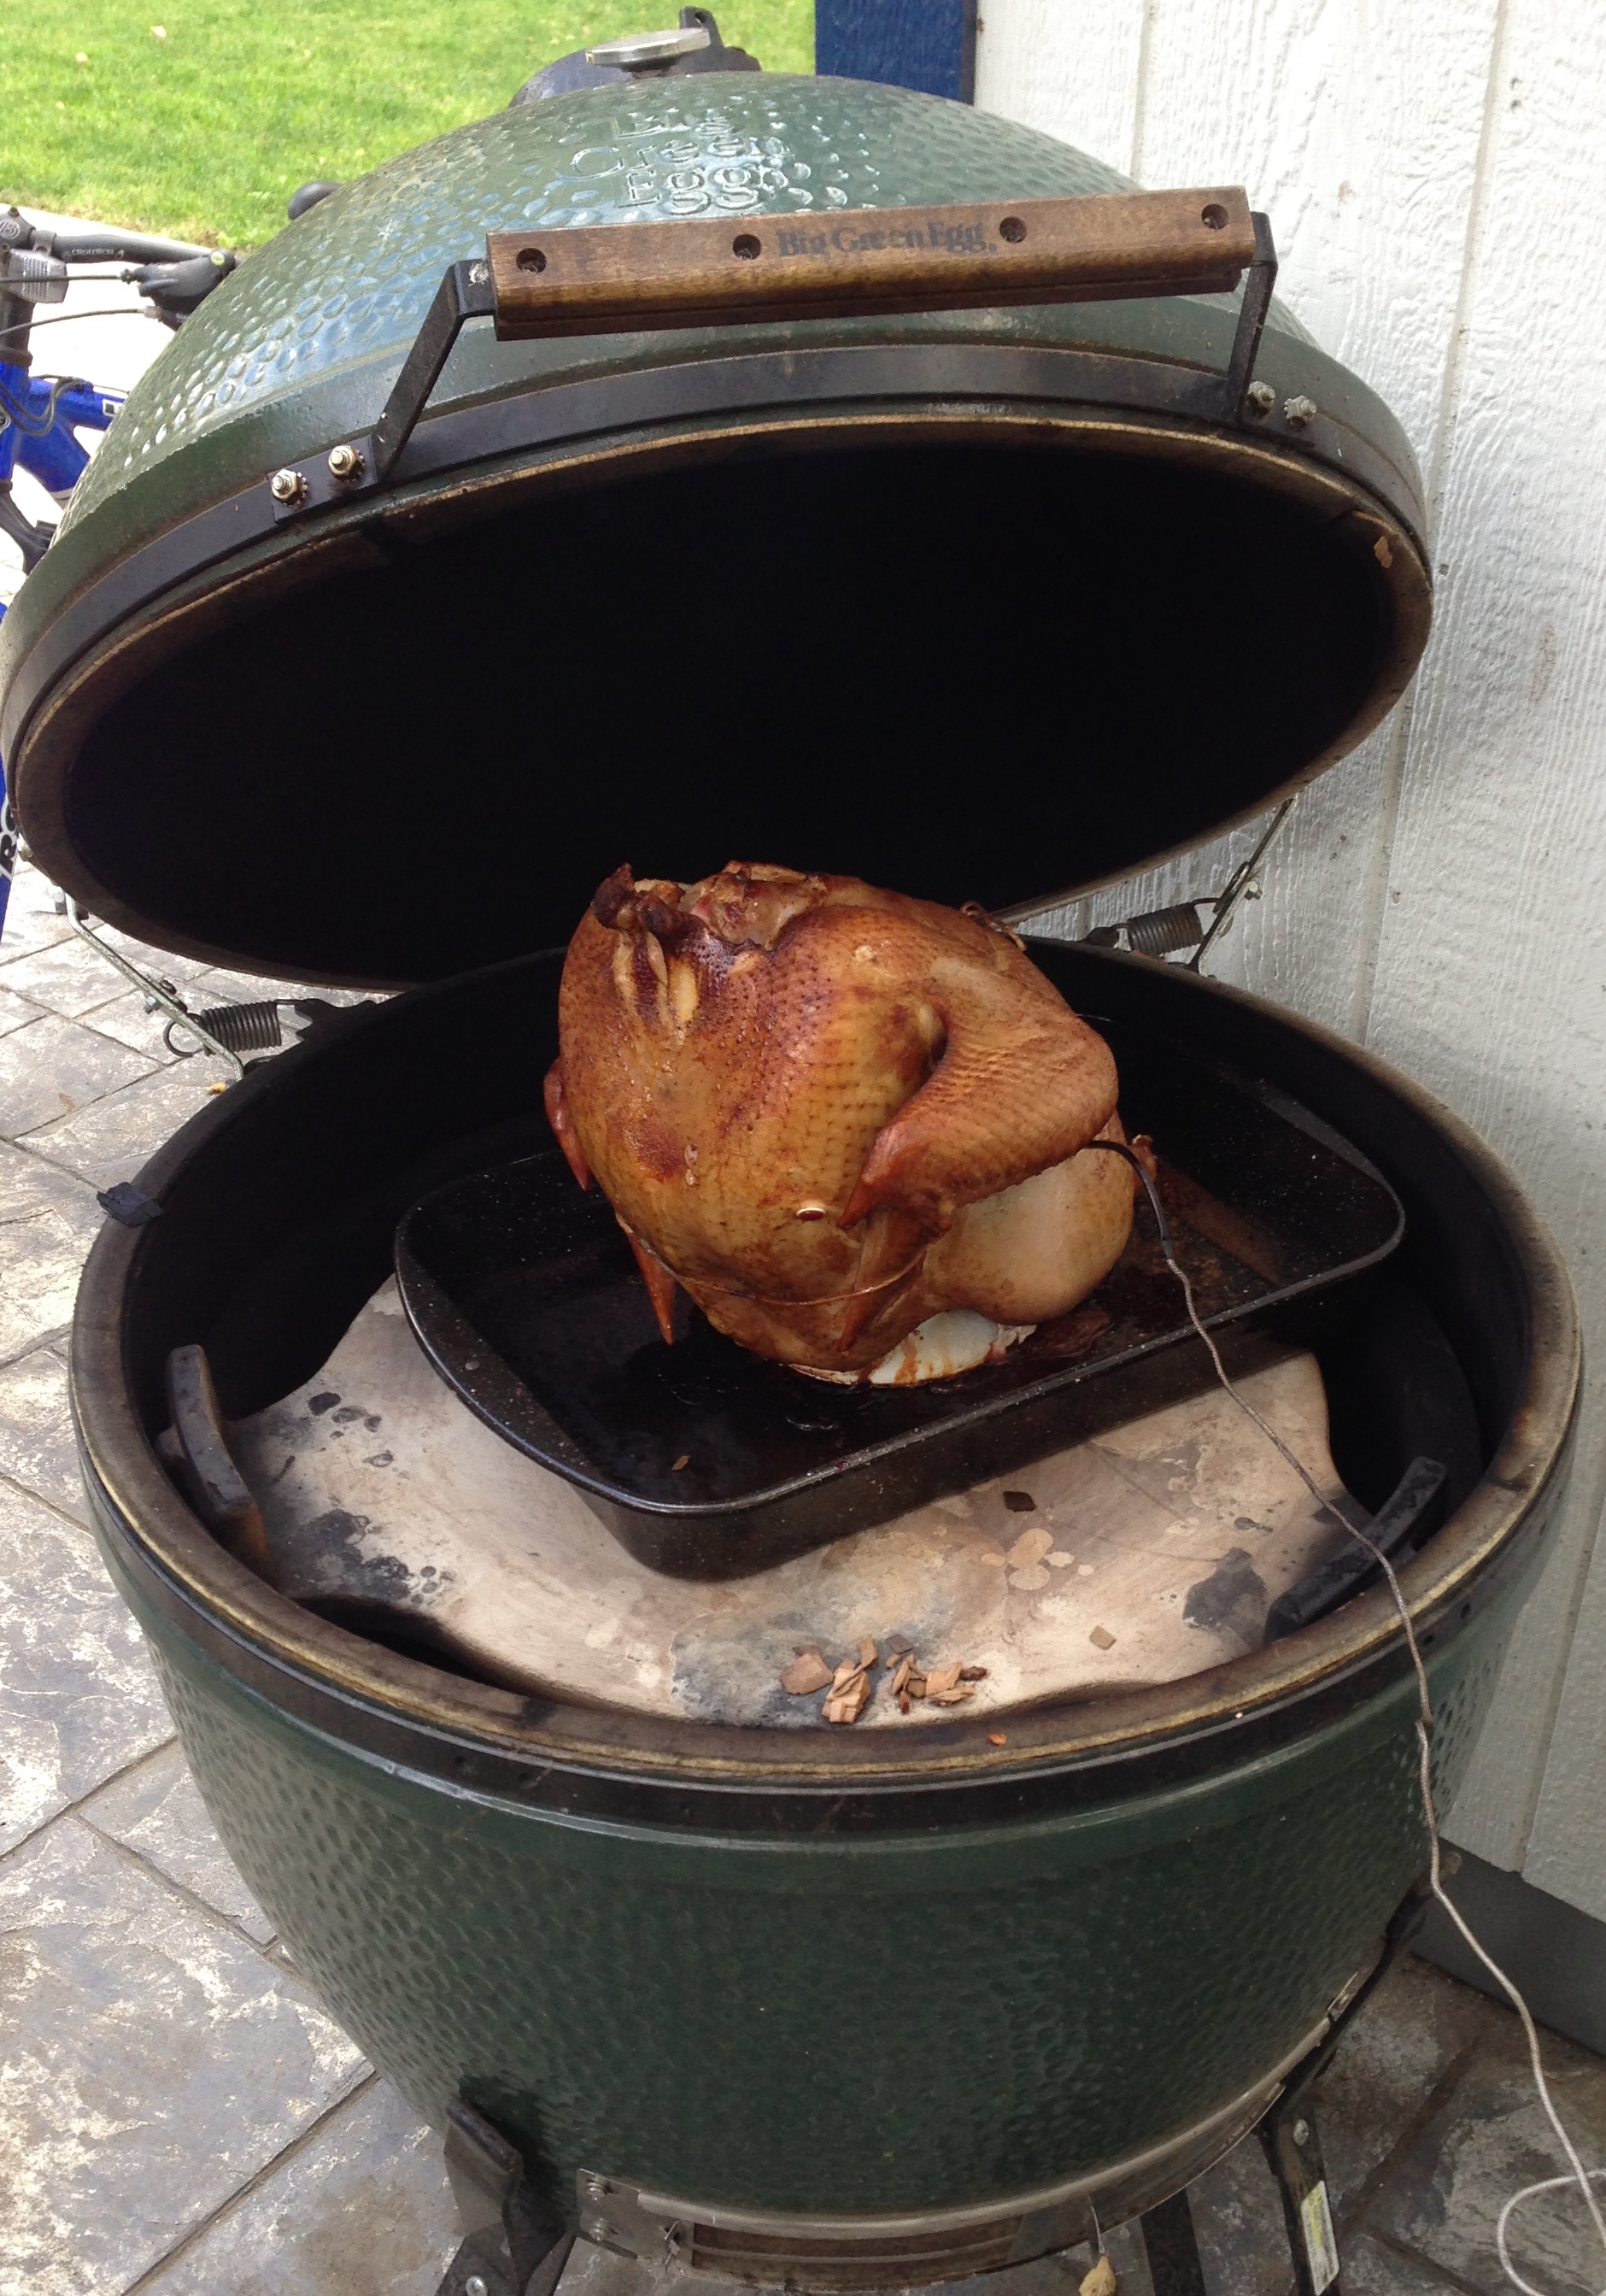
This is just like the Roasted Turkey recipe, but better. A real smoker is just like an oven. A lot of people believe in “low and slow,” where the temperature is 225 or 250, and it takes a long time. That’s a great strategy, but I like to smoke a turkey just like I do it in the oven. Same temp, same time, but a way different flavor.
Ingredients
1 cup BBQ Rub. Choose your favorite or go with my Arkibu Rub .
Directions
Instead of dry brining the turkey, rub the turkey with the BBQ rub. There’s plenty of salt in that to do the work. Let sit for 24 hours.
Instead of preparing the oven, prepare the smoker. For me – it’s the Big Green Egg. Use the same temp as the Roasted Turkey Recipe – 320 degrees. Apple wood chips are outstanding.
Add apple wood chips, and Smoke until the breast temperature reaches 165. There’s no basting.

It’s time to turk the cookie! That’s what my mom, the infamous “Gramma Sue” who is mentioned in so many of these recipes, would say every Thanksgiving morning. It was a mistake the first time, but she was kidding after. I think.
In our Thanksgivings, we do one smoked turkey and one roasted turkey. Jill, even those she’s vegetarian, loves cooking the roasted turkey, and it always comes out great each time. This is how we do it.
Ingredients
1 Turkey (16 – 22 pounds)
1 cup Butter (2 Sticks)
1 cup White Wine or Champagne
2 Onions
2 Oranges
1 tbsp Thyme
2 Stalks celery
1 tsp Black Pepper
8 Good Chicken Broth
Directions
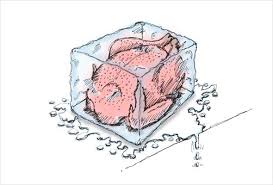
Make sure the turkey is thawed!! To be safe, a frozen turkey should thaw for five days in the fridge.
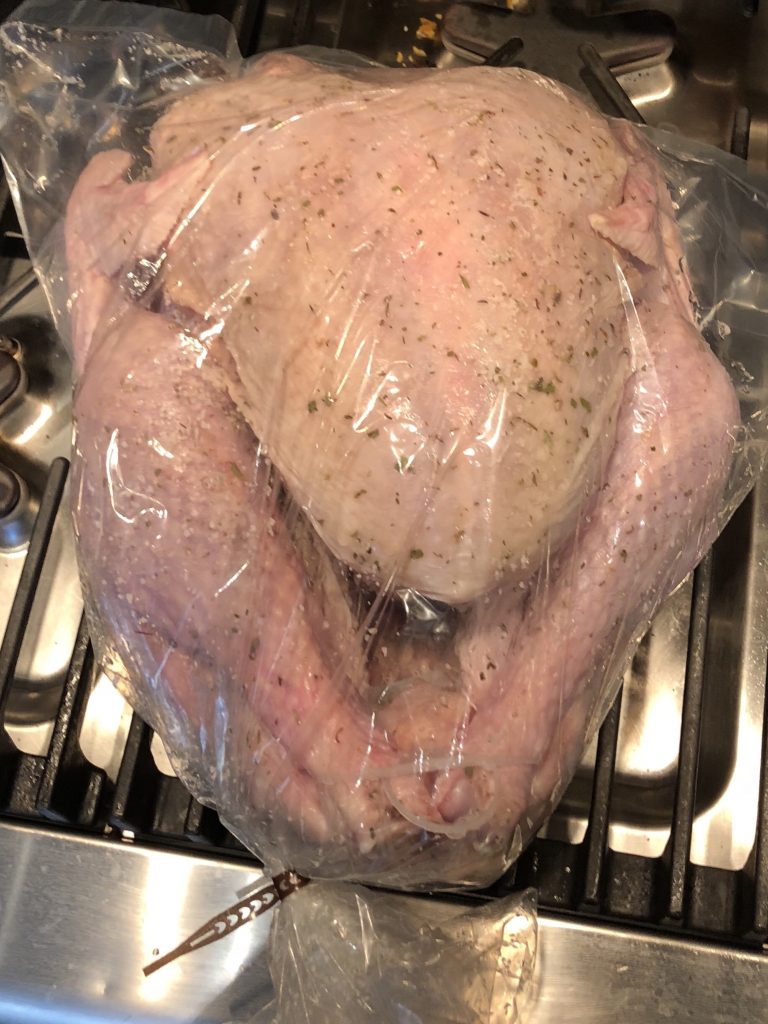
If you have time, brine your turkey. It makes a big difference. I do a dry brine now. Here are the two ways you can brine:
If you have time. Do a three-day dry brine. It’s retty easy really. Take a combination of 2 Tbsp Kosher Salt and 1 tsp Herbs de Provence (or Italian Seasoning if you don’t have the French Stuff) for every five pounds of tukey. And rub the inside and outside of the turkey with the mixture. Put it in a turkey oven bag and keep it refrigerated for 3 days.
If you only have one day – Do an overnight soaking brine. My Aunt Catherine gave me this recipe. Add 1/2 cup salt and 1/4 cup sugar for every gallon of water. You can add lemon or orange slices if you like. She adds 4 cinnamon sticks and a handful of cloves. I don’t do that, but if that sounds good to you, go for it. In a large container, soak the turkey in the brine for at least one full day.
About an hour before you are ready to cook, take the brined turkey out of the fridge. Wash the turkey under running water. Take out the neck and giblets and reserve for broth.
Fill the cavity lightly (don’t stuff it) with a quartered onion, a cut up stick of butter, and some quartered oranges. Smear the turkey with softened butter, sprinkle top with salt and pepper, and cover with a cheesecloth. Yes, I know, it’s a lot of butter. It’s Thanksgiving – give yourself permission!
Preheat the oven to 300 (convection) or 325 (normal).
Make a mixture of the remainder of butter (melted) and the white wine or champagne. Use the cheap stuff! This is for basting.
Place in a Roasting Pan on a rack, and cook for 10-12 minutes per pounds.
Note – Time this out. For me – I plan on 12 minutes per pound (it is usually more like 10 in my oven) plus 30 minutes, and then it’s dinner time. So it you put a 20 pound bird in at 9:00 AM, it takes 240 minutes (4 hours) to cook, and I’m ready to serve any time from 1:30 to 2:30.
Baste the turkey every 30 minutes, using the wine/butter mixture at first, then using the turkey’s own drippings.
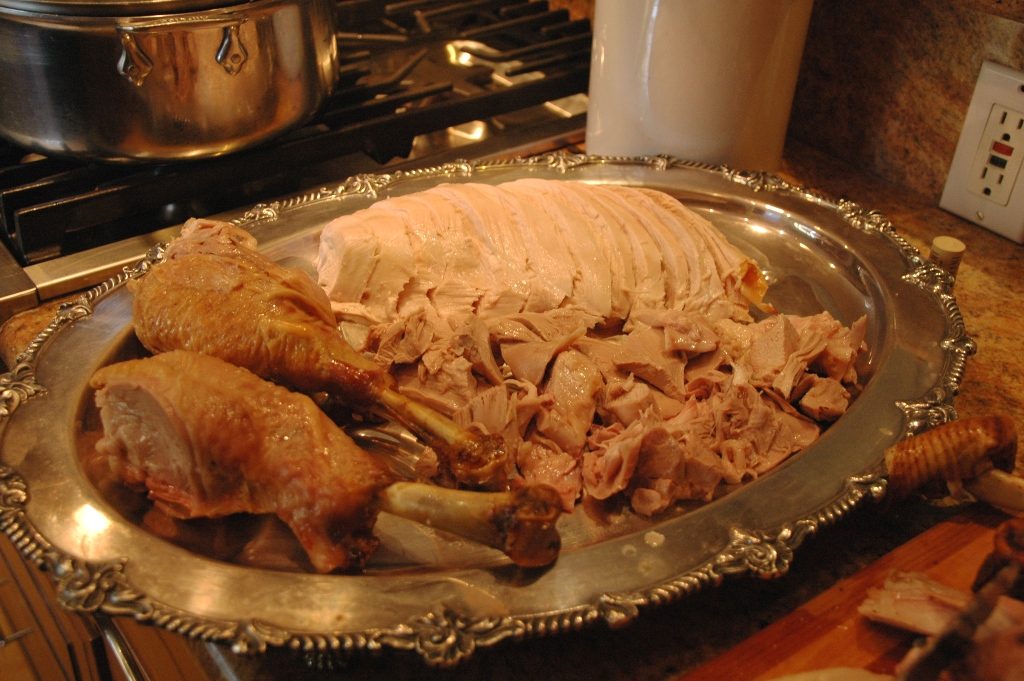
When the breast meat temp reaches 165, and/or the leg temp reaches 175, take the bird out, gently take off the cheesecloth, and let it rest for at least 30 minutes and for up to two hours. If you’re going to wait over an hour, cover loosely with foil.
Making the Gravy!
While the turkey is roasting, Put the neck and the giblets (my father-in will eat giblets all day) in a sauce pan with 6 cups of water, 2 celery stalks, 2 carrots, thyme, a bay leaf, black pepper, and you’re off. Cook for 2 hours, then strain.
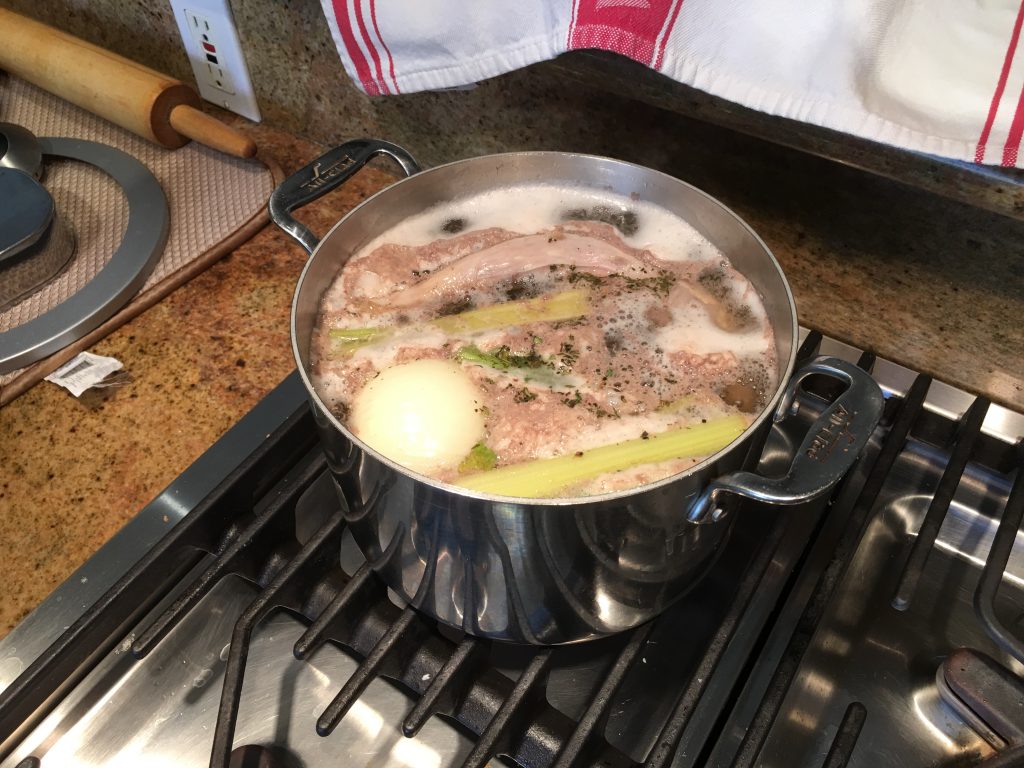
Save the broth for the gravy. Cut up the neck meat for the gravy. We use just the neck meat and let my father-in-law take care of the giblets – not everybody likes them! Throw away everything else. Put the broth and meat aside for later.
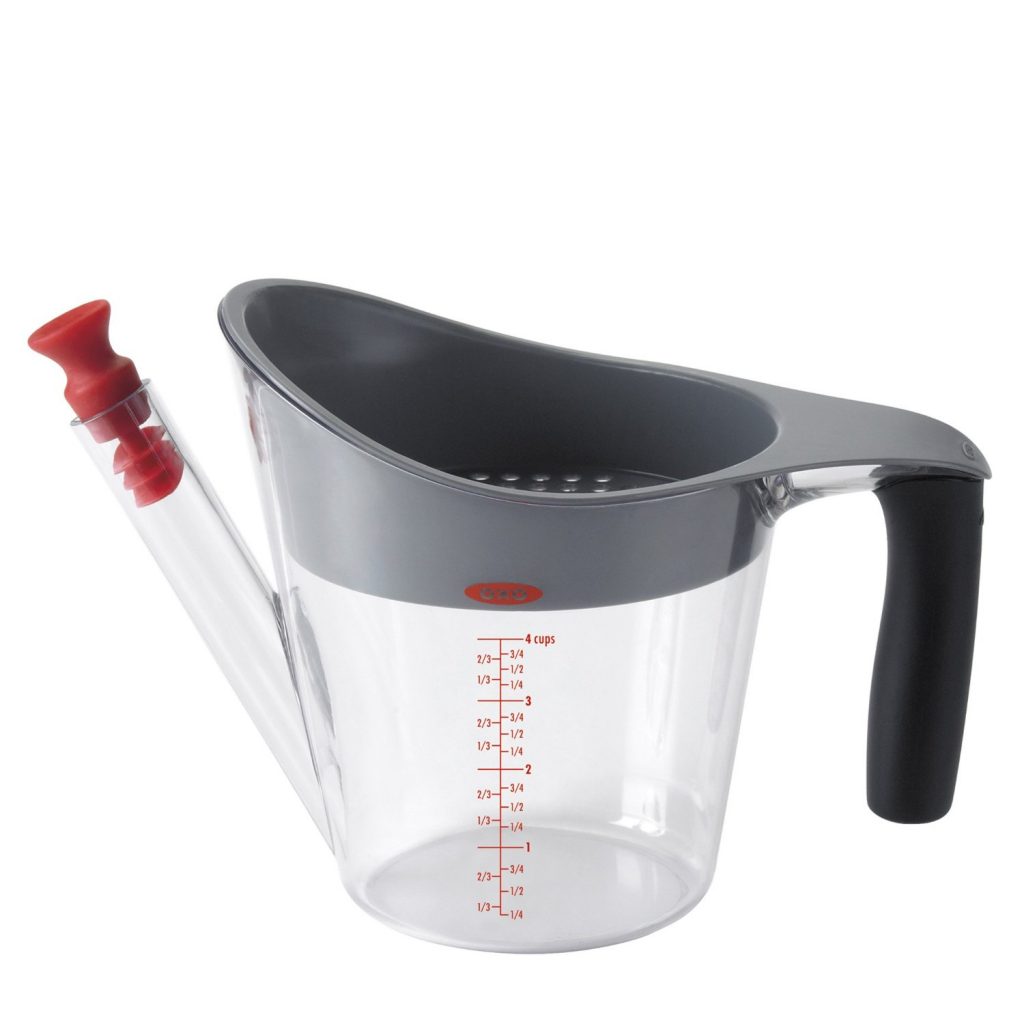
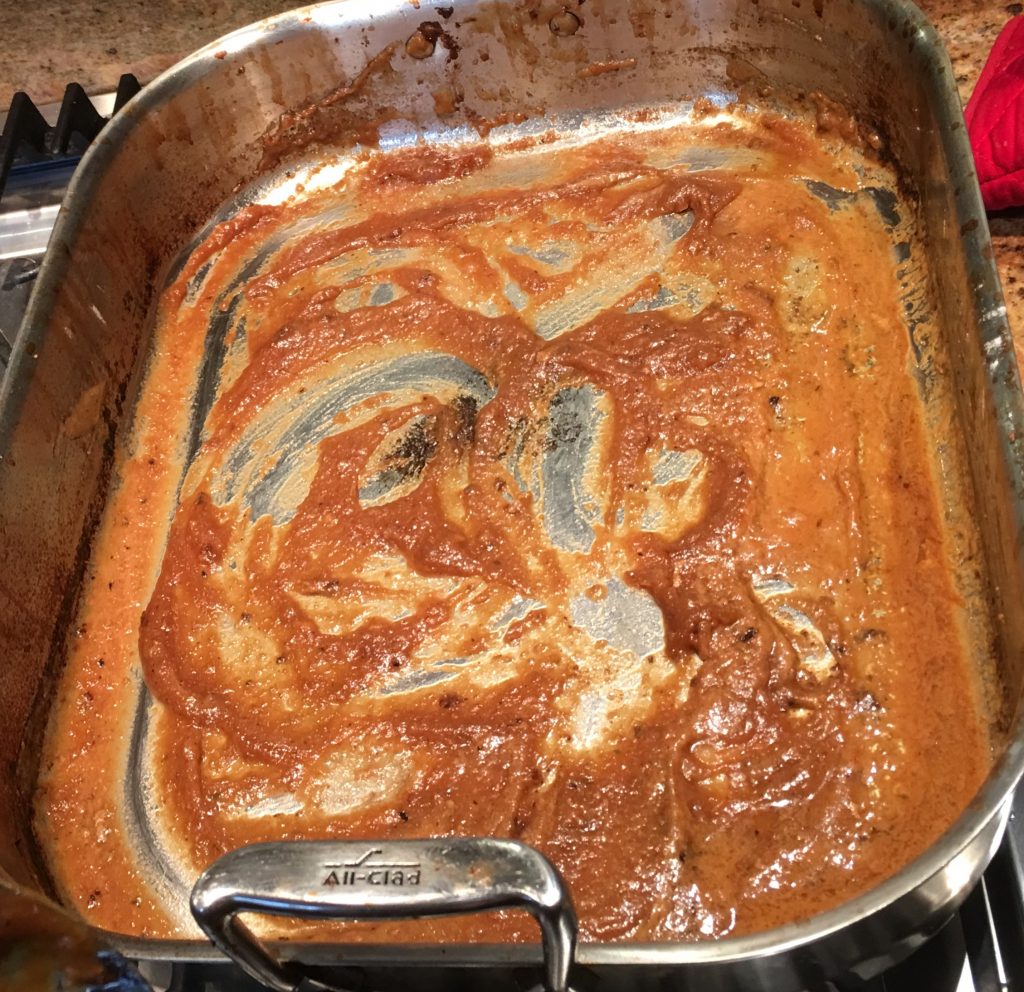
After the turkey is done, take the bird out of the roaster and let it rest. Skim the fat off of the top of the turkey drippings. I cheat on this one. My in-laws gave me a “fat separator” that is very easy to use. I pour the broth into it, wait 5 minutes for it to separate, and pour the fatty drippings back into the pan.
Take the turkey pan with all of the fat-reduced drippings and place it on the stove. Heat, then slowly whisk or stir in 1 cup of flour, making a nice roux.
Note – If your roaster pan won’t go onto the stove, then use another pan. It’s no problem.
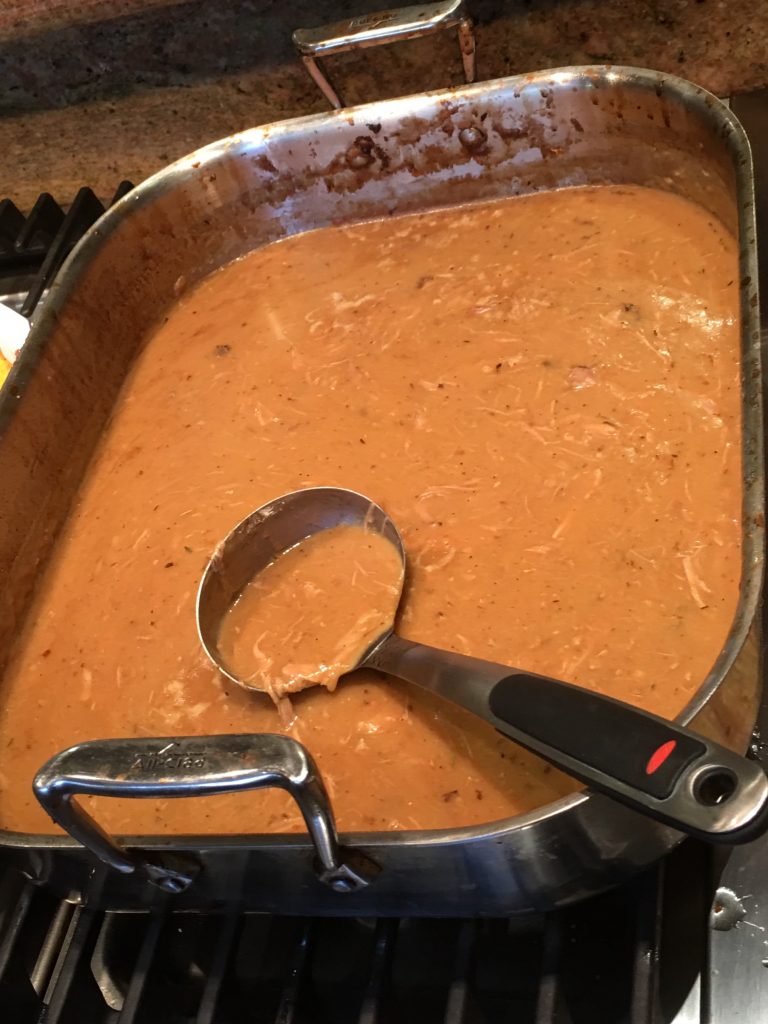
Slowly add the broth that you made, whisking or stirring it into the roux. Add extra broth if you need it until you have a thick, beautiful gravy. Taste and add salt if needed. Add the cut up giblets if you want. See thickening notes below.
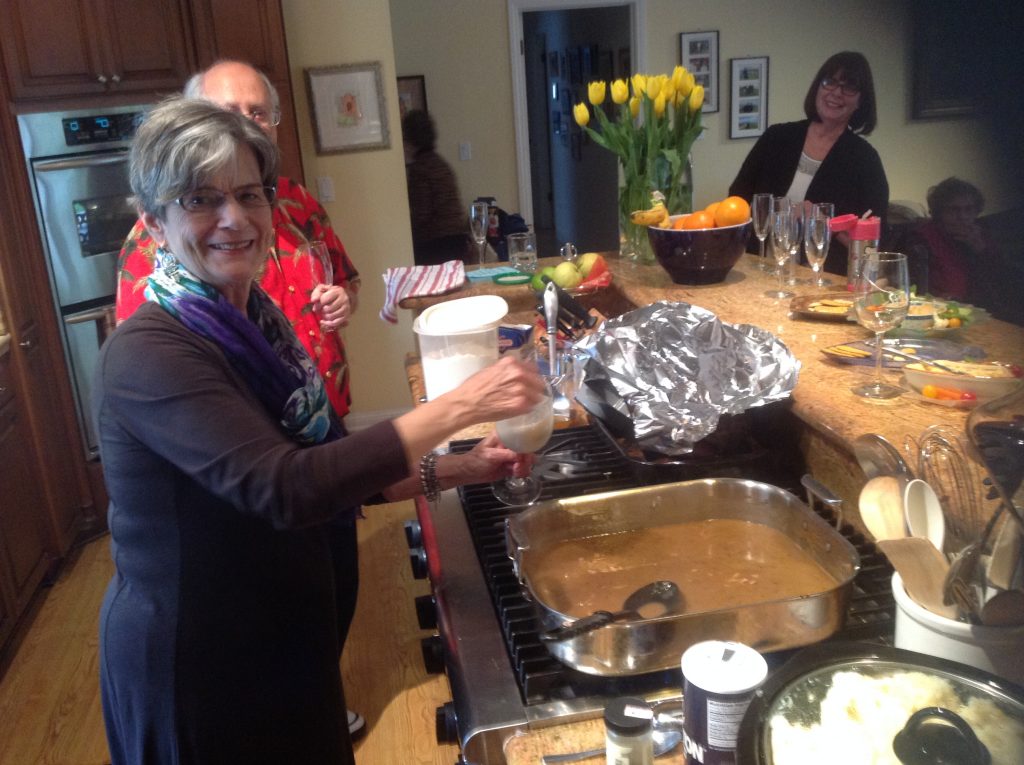
The gravy is ready!
Granny Catlett was my cousins’ grandmother. I would see her quite often, as we lived just two doors down from our cousins, Kathy, James, Joe, and Helen. My brothers and sister (there were four of us too) were always at their house getting into some kind of mischief. Granny Catlett was kind and wonderful, always quick to smile, and she was a great cook. This recipe came out every Thanksgiving. Actually, there were two versions – this one, and the one with oysters mixed in. It was a bad day when you chose poorly. Everyone in my family who cooks uses this recipe – and this recipe makes no mention of oysters.
I think this is one of the many powers of cooking for people. These recipes are way more than chemistry. They are stories, they are memories of friends and loved ones, and they make us slow down and remember. That, my friends, is a good way to live.
Ingredients
7 cups Cornbread (Make the night before if you want)
7 cups White Bread, slightly toasted
1 Bunch of Celery
1 Onion (Small – Use half if you’re not a big onion person)
4 cups Organic Chicken Broth
½ cup Butter (1 Stick)
4 tsp Salt
2 tsp Pepper
1 tsp Poultry Seasoning
2 tbsp Sage
2 Eggs (Beaten)
1 cup Milk
Directions
Make cornbread the night before. Crumble 7 cups of cornbread and place into large bowl.
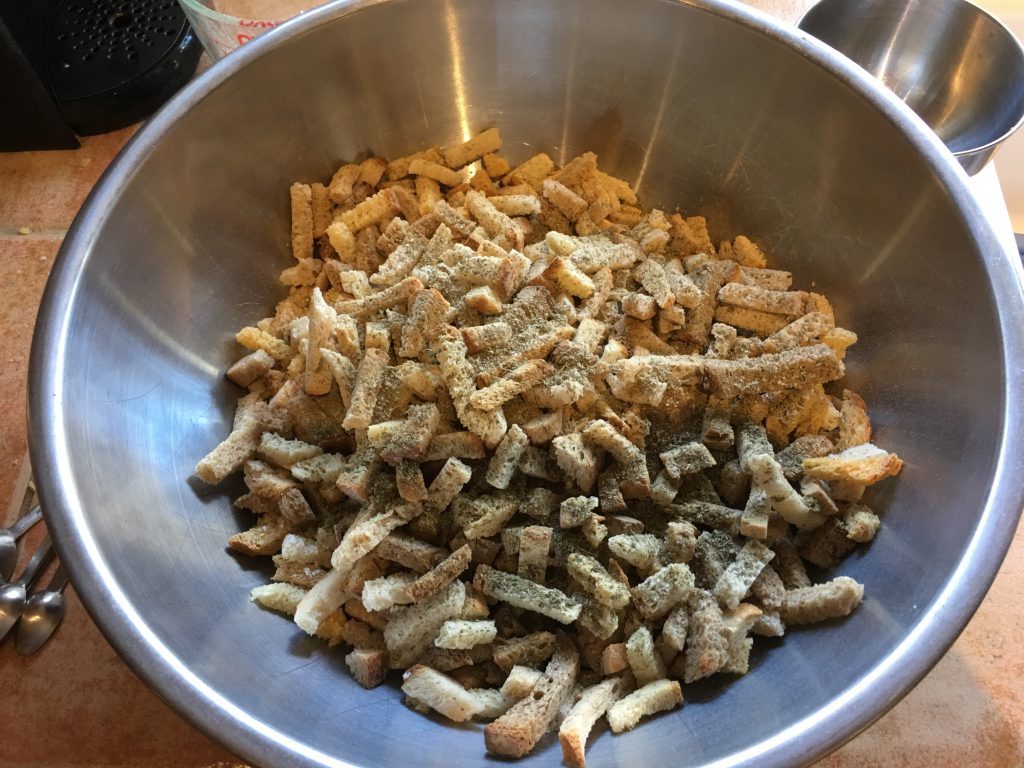
Slightly toast 1/2 loaf of white bread. I use my oven for this. Just put the bread right on the racks and heat for 3 minutes at 350. This dries it out. Crumble 7 cups (just break and tear) and add to large bowl.
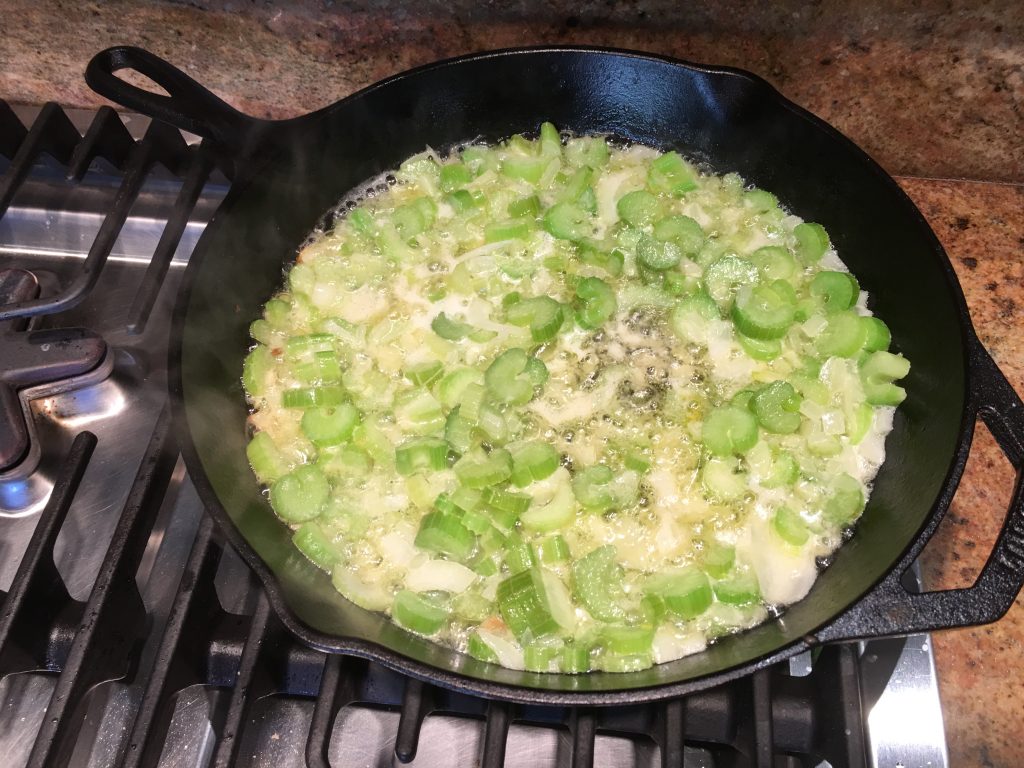
Sauté chopped Celery and Onion in the butter. Get it nice and soft.
Add all of the seasonings. Give the whole mixture a few gentle stirs to mix it up.
Add onion and celery, and everything else into the large bowl! It should be thick, pouring in large globs. Add broth if it’s too thick. Add cornbread if it’s too runny.
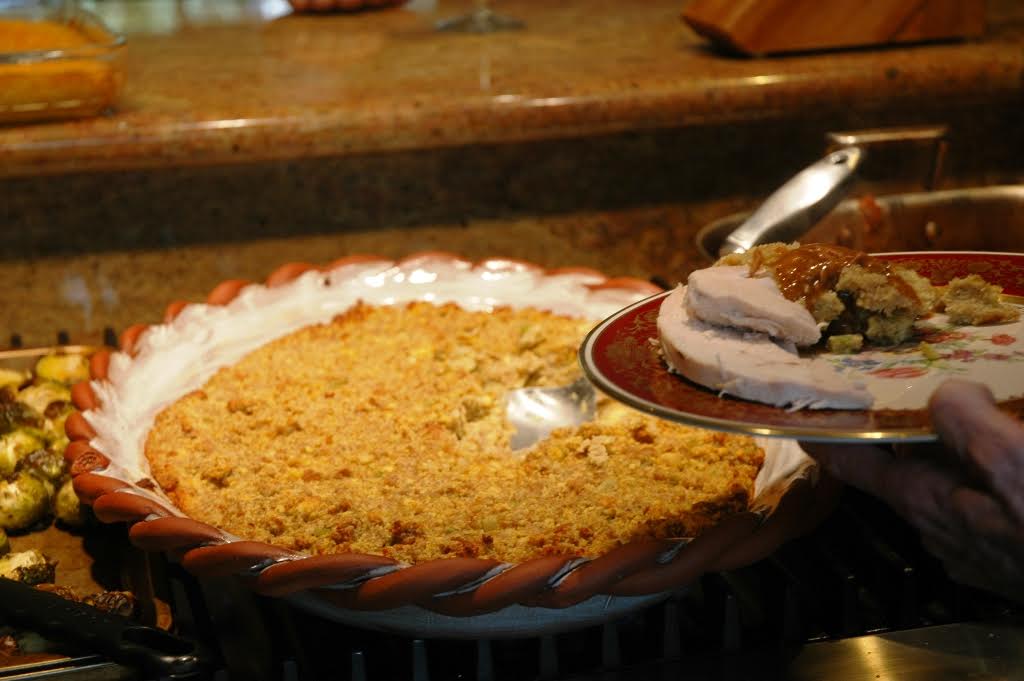
Bake at 350 degrees for 45 minutes, or until it’s slightly brown on the top and a little crispy.
Note: You can prepare this the day before (no baking) and refrigerate it overnight. Take out of the fridge one hour before baking.
I am asked to bring this dish to parties all the time. It’s such a hit with my family, friends, and co-workers. This recipe takes a little time, but it’s a crowd pleaser, and great for leftovers. Little kids may still like Kraft more, but once they have real taste buds, this takes the cake! It’s an entree, it’s a filling side dish, and it’s always a hit.
Ingredients
16 oz Large Elbow Macaroni
4 cups Sharp Cheddar Cheese
1 cup Grated Parmesan Cheese
4 cups Whole Milk, warmed
6 tbsp Butter
6 tbsp Flour (White)
2 tsp Kosher Salt
2 tsp Black Pepper
1 tbsp Chili Garlic SauceMaybe more – People love the zing!
Directions
In a large pot of salted water, boil macaroni. It should be al dente, as it will cook more in the oven. When finished, drain and rinse. Set aside.
Heat up the milk (I microwave it in a big Pyrex measuring cup, but old fashioned stove heating works perfectly too) so that it is nice and warm, almost hot. This will make the cooking go a lot faster. Make a roux by melting butter and whisking in flour. This is quick, so have your milk ready to pour in.
When the roux is thick and bubbly, start gradually add the milk, one cup at a time. Stir with a whisk, until it thickens, then add more milk. When all milk is added, you are done when it reaches it should a pancake batter like consistency. Don’t go too thick – – it will thicken more as it bakes up nicely. Turn off the stove heat.
Stir in salt and pepper, but taste it and see what you like. Add the chili-garlic paste for a little fire. 1 Tbsp is not that much, and people will like it!
Add 3 cups of the sharp cheddar and half of the fresh Parmesan. Mix well until it melts in.
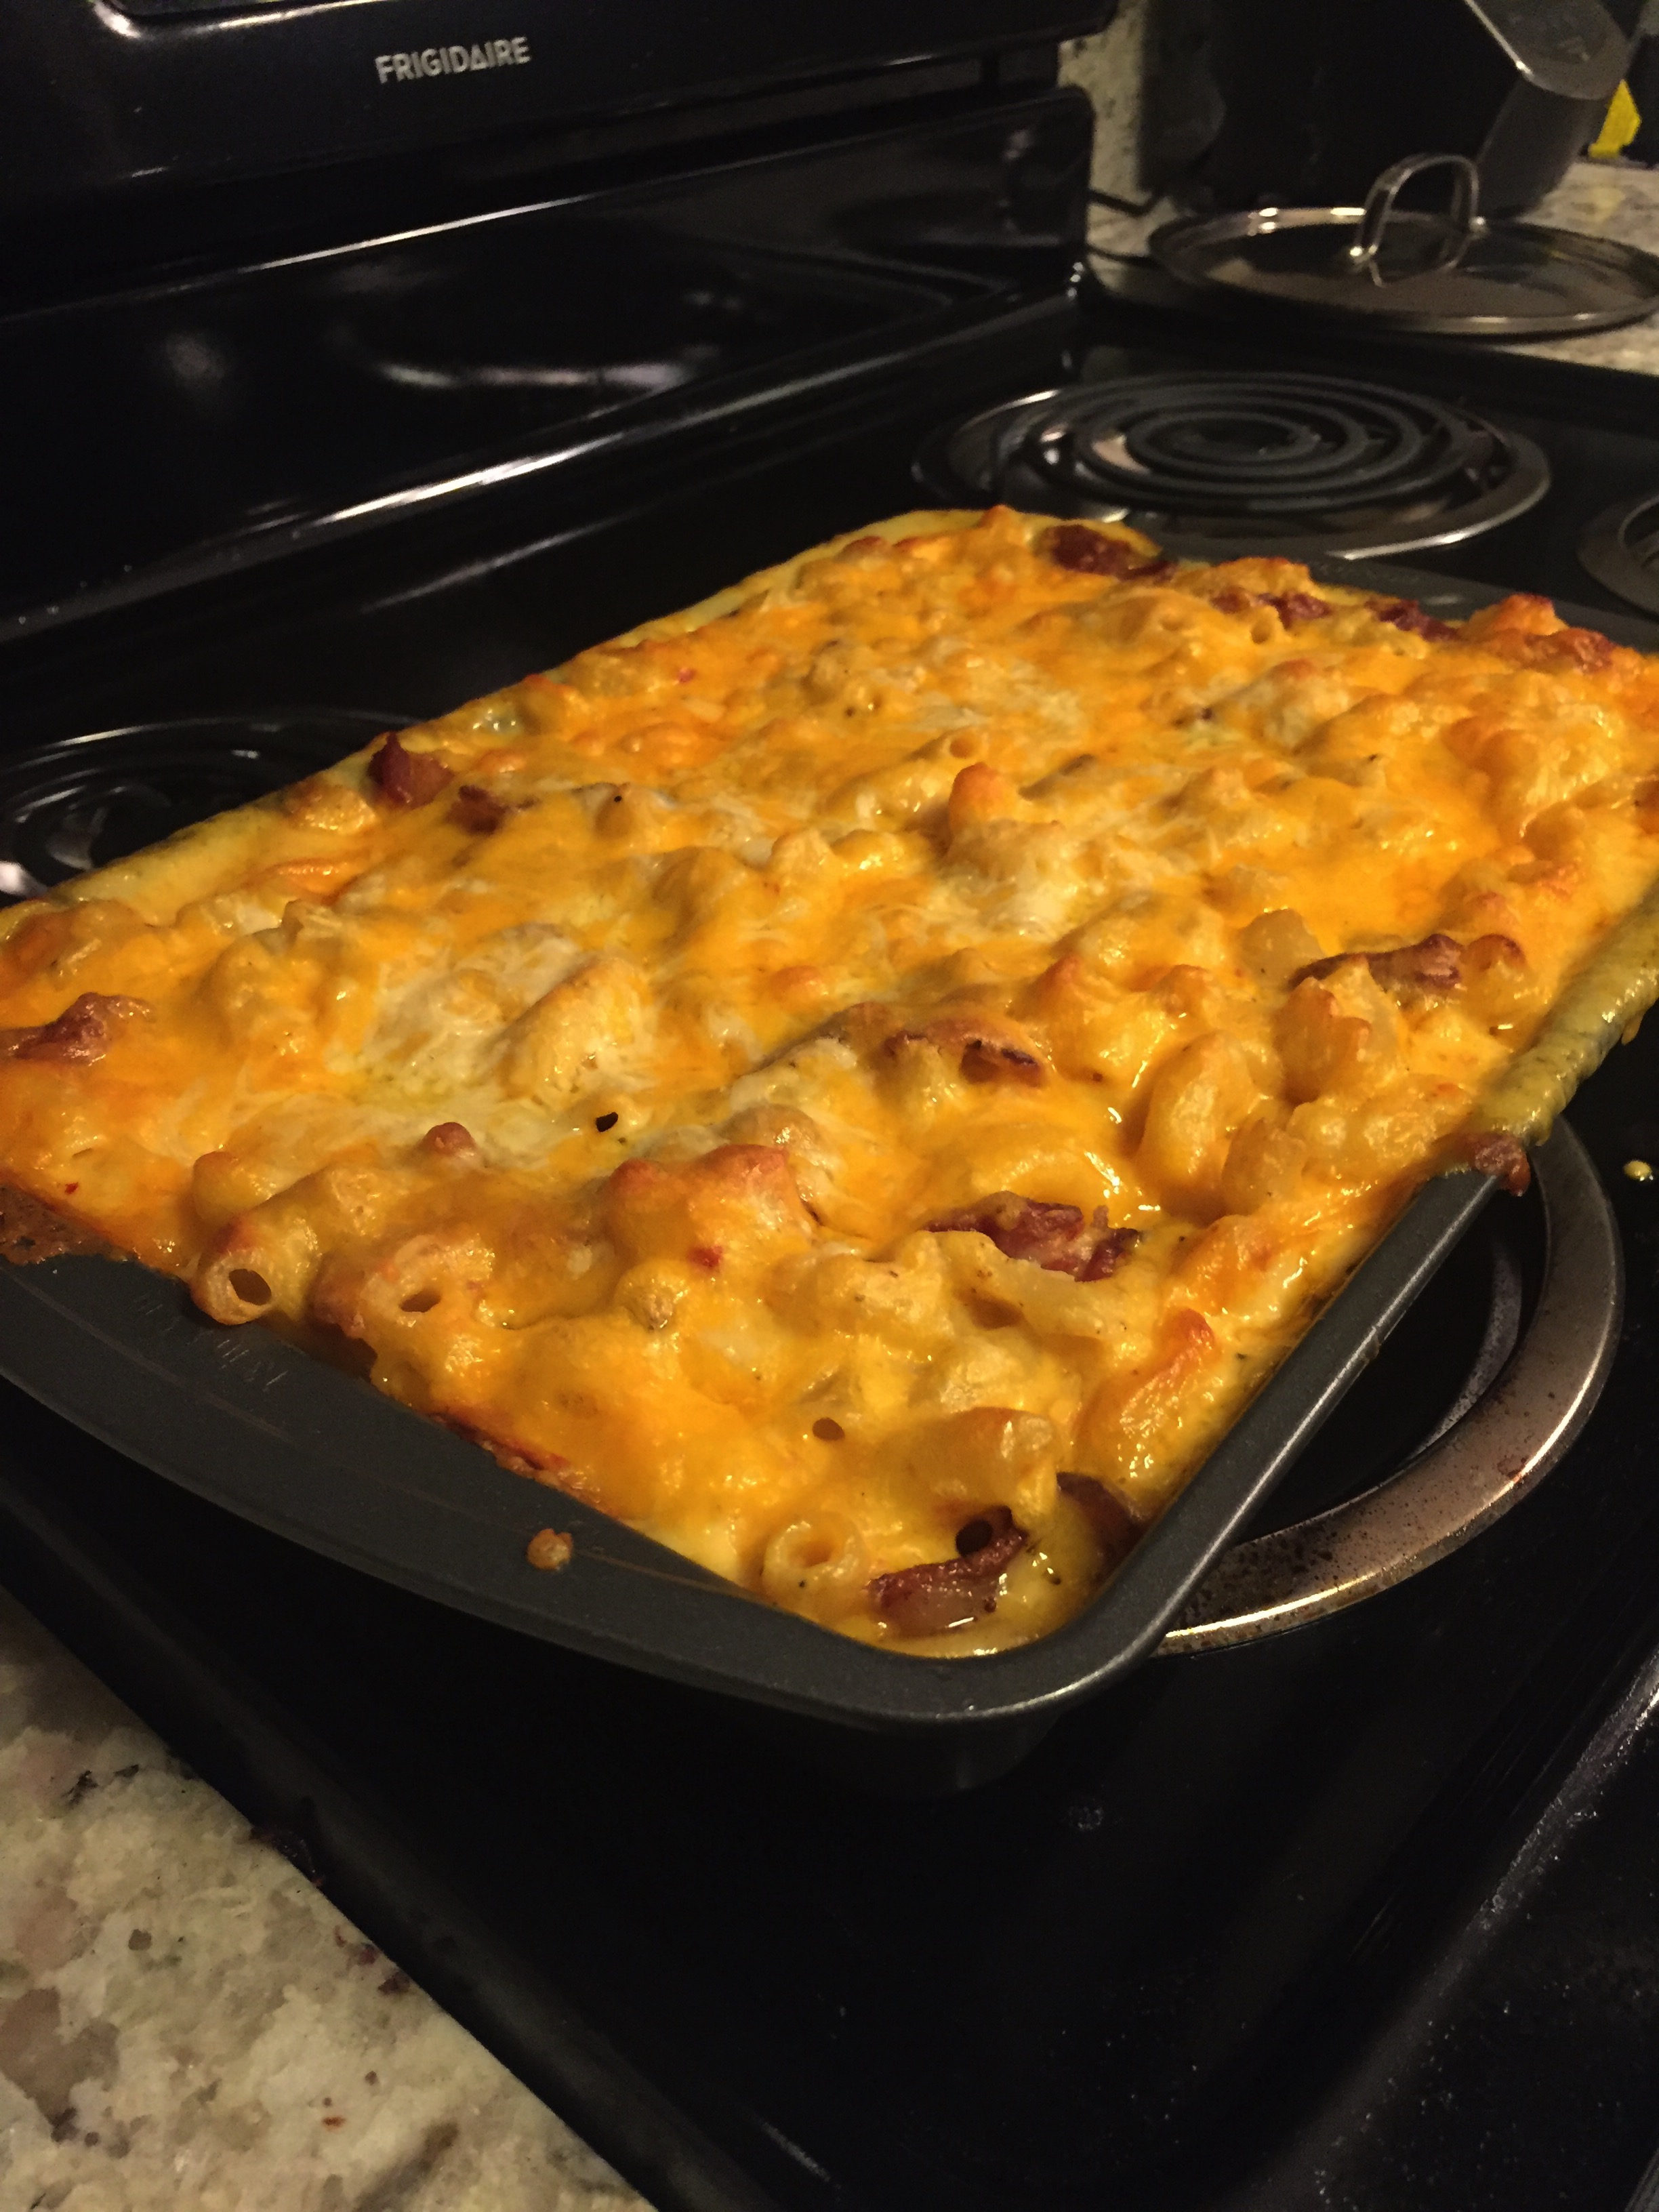
Pour into a baking dish. This should fit into a nice 9 x 13 dish. At this point, you can refrigerate, then take it out about an hour before you are ready to bake it. Or, if you’re ready to go now, go now!
Add the remainder of the cheese on top, and bake at 350 degrees for 30-40 minutes, until the cheese is a little brown and the dish is bubbling. (If you refrigerate prior to baking, cover with foil for the first 15 minutes, then bake for 30-40 minutes.